How to Remove Glued Down Wood Flooring (Cost, Tools & Steps)
Glued-down wood flooring comes up fastest by softening the adhesive with a heat gun, then lifting planks with a floor scraper — cutting boards into 12-15 inch strips first speeds up full rooms. Skip the heat and you’ll gouge the subfloor or leave hardened mastic that ruins new flooring’s grip; over concrete, dry glue can pull up chunks of the slab. This guide covers the cutting method, dissolving stubborn glue, protecting concrete subfloors, and real removal costs per square foot.
Insert your Affiliate Disclosure reusable block here.
Tools and Materials You’ll Need
Best Adhesive Remover Pick
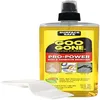
Goo Gone Pro-Power Adhesive Remover – $19.99
For the glue a heat gun won’t fully soften — this spray-on remover is rated for wood glue and mastic and comes with its own scraper, matching the “dissolve it, then scrape it” step covered above.
- Best for: hardened mastic that survives heat-gun softening
- Why we picked it: surface-safe formula with no harsh fumes, includes a built-in scraper
- Main drawback: needs 90 minutes of dwell time per application on tough spots
Compare more flooring-removal tool options
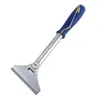 Option 1 QEP Floor & Wall Razor Scraper – $11.99
|
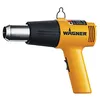 Option 2 Wagner HT1000 Heat Gun – $24.99
|
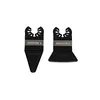 Option 3 Arrow Oscillating Scraper Blades – $8.41
|
As an Amazon Associate we earn from qualifying purchases.
Gather everything before you start a section — stopping mid-strip to hunt for a tool is how planks sit half-lifted and re-stick overnight. If you’re removing this floor to install something new, check our full wood flooring guide first so you know what subfloor prep the replacement actually needs.
- Circular saw — for cutting the flooring into manageable strips (set blade depth to match flooring thickness)
- Pry bar and hammer — for lifting cut strips and loose planks
- Floor scraper or putty knife — for removing adhesive residue after planks are up
- Heat gun — softens hardened glue so it scrapes off instead of tearing
- Utility knife and chisel — for cutting sections and freeing stuck edges
- Adhesive remover or solvent — for glue that won’t soften with heat alone
- Shop vacuum — for dust and debris cleanup
- Safety gear — goggles, gloves, a dust mask (or respirator for solvent use), and knee pads
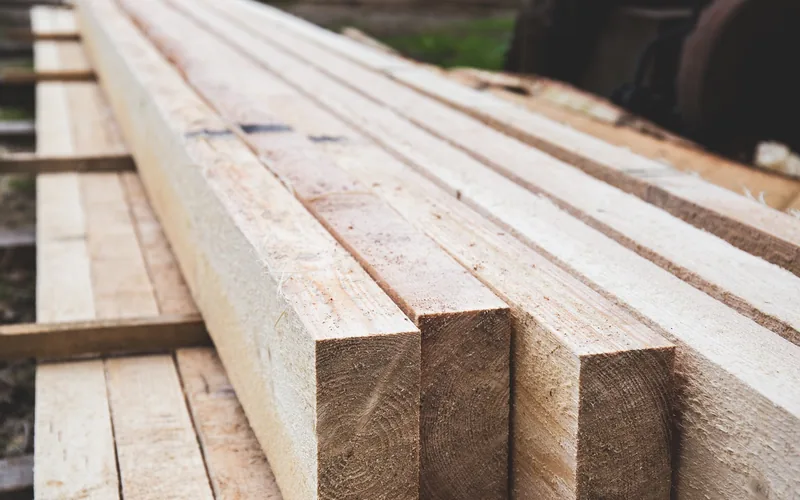
Cutting Glued Flooring Into Strips With a Circular Saw
For anything bigger than a closet, cutting the floor into strips beats prying up whole planks one at a time. Set a circular saw’s blade depth to match the flooring thickness so you score the wood without gouging the subfloor underneath.
- Make a starter cut roughly 15–18 inches from one wall, running the full length of the room.
- From that starter line, make perpendicular cuts every 12–15 inches (tighten to 4–6 inches on heavily interlocked or kerf-cut engineered boards) so you’re left with a grid of manageable strips.
- Chisel down to the subfloor at one corner of each strip, then pry and tap it loose with a hammer — strips lift with far less force than a single continuous plank.
According to hardwood flooring manufacturer Junckers, working in sections and softening stubborn glue with a heat gun before prying is what keeps this method from tearing up the subfloor underneath.
Removing Glued Flooring From a Concrete Subfloor
Glued flooring over concrete is the hardest version of this job — concrete grips adhesive more aggressively than a plywood subfloor, and forcing up dried mastic can pull away the top skim layer of the slab itself along with it.
Why Concrete Makes Removal Harder
A wood or plywood subfloor flexes slightly as you pry, which helps break the glue bond. Concrete doesn’t flex at all, so the adhesive either releases cleanly with enough heat and patience, or it tears the concrete surface. Expect more scraping, a rented floor buffer with a scraper attachment for large rooms, and a self-leveling compound afterward to fill in wherever residue pulled up concrete along with the glue. If you’re prepping the slab for new hardwood afterward, our guide to installing hardwood over concrete covers the moisture-barrier step this kind of subfloor needs.
📊 DIY removal covers roughly 10 square feet per hour by hand — a 200 sq ft room is a realistic full weekend project, before adhesive-residue cleanup. Professional crews charge an estimated $2.50–$3.50 per square foot for the same work. — Source: flooring-contractor labor benchmarks
Preparation Steps Before Starting
Clear the room completely — furniture, rugs, and anything within splinter range — and set up ventilation and lighting before the first cut. Test a small, inconspicuous section first: strong, brittle glue behaves differently than a softer, newer adhesive, and that test tells you which removal method to lean on for the rest of the room.
- Remove furniture, rugs, and loose items; keep kids and pets out of the work area.
- Open windows or run a fan — heat guns and solvents both need ventilation.
- Test a small section: pry one board and note how easily the glue releases.
- Check for loose boards or existing damage — these are your best starting points.
Starting the Removal Process
Start at a corner, a wall edge, or any board that’s already loose — these spots take the least effort and give you a foothold for the rest of the room. Slide a pry bar under the plank edge, apply steady pressure, and tap gently with a hammer if it resists. Work in the strips you cut earlier rather than one random plank at a time; it keeps the pattern of remaining glue predictable and cuts down on splintering.
Dealing With Stubborn Adhesive
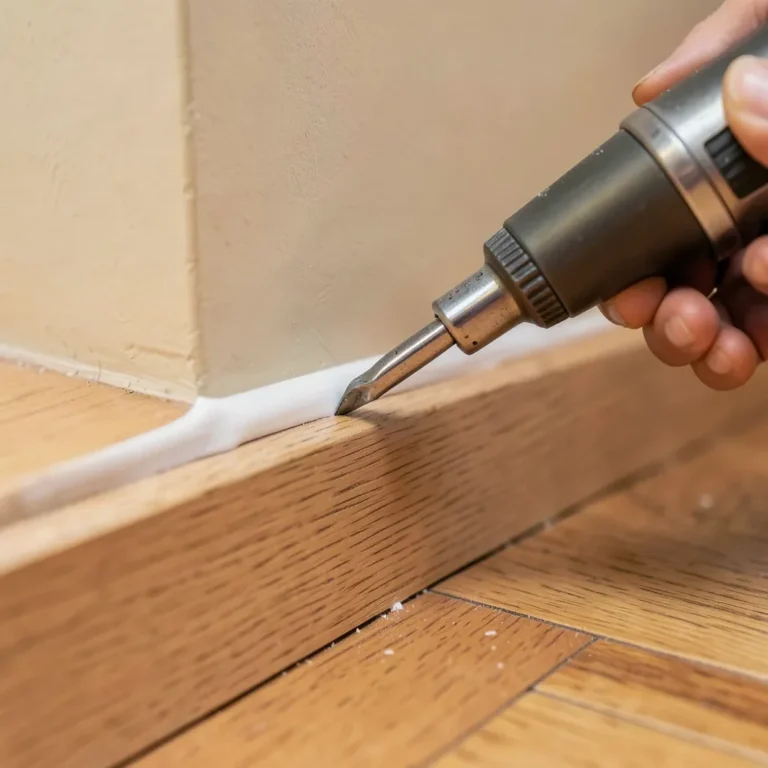
Move a heat gun slowly over the glue in overlapping passes — hold it in one spot too long and you risk scorching the plank or the subfloor underneath. Once the adhesive looks glossy and pliable, scrape it immediately with a putty knife or floor scraper while it’s still warm; it hardens again within a minute or two of the heat moving on. For glue that won’t soften with heat, apply an adhesive remover, let it sit per the product’s dwell time, then scrape and repeat on any remaining residue.
“The biggest mistake I see is rushing the heat gun step — hold it in one spot too long and you’ll scorch the subfloor or the plank you’re trying to salvage. Move it in slow, steady passes and let the glue soften gradually before you scrape.”
— Our team
Minimizing Damage to the Subfloor
Work slowly and let the heat gun do the loosening — forcing a scraper under adhesive that hasn’t softened is what gouges plywood or chips concrete. Once flooring is up, inspect the subfloor for gouges or soft spots. Fill small holes and cracks with wood filler and sand smooth once dry; for larger damaged sections, cut out the bad area with a saw, fit a new patch, and secure it flush with screws.
Handling Waste and Cleanup
Bag old flooring and check local rules before curbside disposal — some municipalities and flooring retailers accept clean wood scrap for recycling, though most glue-backed boards aren’t reusable (see the FAQ below). Separate nails and screws into their own container, then vacuum and damp-mop the subfloor so it’s dust-free and completely dry before new flooring goes down.
Common Mistakes to Avoid
- Rushing the heat gun step. Moving too fast leaves glue too stiff to scrape cleanly; too slow scorches the wood.
- Prying whole planks instead of cutting strips. On rooms over a closet’s size, this wastes hours and breaks more boards.
- Skipping the subfloor inspection. Gouges and soft spots left unrepaired telegraph through new flooring within a year.
- Using the wrong solvent on concrete. Some adhesive removers can stain or etch bare concrete — test a hidden spot first.
Professional Help vs. DIY
A professional crew removes flooring faster and carries the right equipment for large or badly-bonded jobs — worth it when a room is over roughly 300 sq ft, when the subfloor is concrete, or when time matters more than cost. Doing it yourself costs only tools and a weekend, and gives you full control over how carefully the subfloor is protected for whatever goes down next — new hardwood, or an easier bamboo flooring installation. If the existing floor isn’t actually worn out underneath the surface damage, it’s also worth checking how many times you can refinish wood floors before deciding removal is necessary at all.
Frequently Asked Questions
What Is the Easiest Way to Remove Glued Down Wood Flooring?
The easiest way to remove glued down wood flooring is to cut it into 12–15 inch strips with a circular saw, then soften the adhesive with a heat gun and lift each strip with a floor scraper or pry bar. Work in small sections and wear protective gear throughout.
What Tool Is Used to Remove Glued Hardwood Floors?
A floor scraper, pry bar, or an oscillating multi-tool with a scraper attachment are the main tools, backed up by a heat gun to soften stubborn adhesive before scraping.
How Much Does It Cost to Remove Glued Down Hardwood Floors?
Removing glued down hardwood floors costs an estimated $2.50 to $5 per square foot when hired out, depending on location, adhesive strength, and subfloor type. Concrete subfloors typically push costs toward the higher end of that range.
What Dissolves Wood Floor Glue?
Acetone, mineral spirits, or a dedicated adhesive remover can dissolve wood floor glue. Always test a small, hidden area first, since some solvents can discolor certain finishes or etch bare concrete.
Can You Reuse Wood Flooring After Removing It From Glue?
Rarely. Planks glued directly to a subfloor usually crack, split, or keep a layer of hardened adhesive on the back when pried up, so most removed boards aren’t worth reinstalling. Cutting the flooring into strips instead of prying whole boards causes less stress per plank, though tongue-and-groove edges are still likely to chip.
Is Removing Glued Wood Flooring From Concrete Harder Than From Plywood?
Yes. Adhesive bonds more aggressively to concrete, and forcing up dried mastic can pull away the top layer of the slab itself. Plan on a floor buffer with a scraper attachment or a chemical adhesive remover for concrete jobs, plus a self-leveling compound to patch any residue that pulls up concrete with it.
Conclusion
Removing glued down wood flooring is genuinely labor-intensive, but cutting the floor into strips, softening adhesive with a heat gun before scraping, and giving concrete subfloors extra care are what separate a clean removal from a damaged subfloor. Take it section by section, inspect what’s underneath before installing anything new, and budget a full weekend for an average-size room.
Sponsored / affiliate links. As an Amazon Associate I earn from qualifying purchases. I may earn additional commission from eligible campaigns.