Thin Strip Jig for Table Saw: The Safe Way to Rip Thin Stock
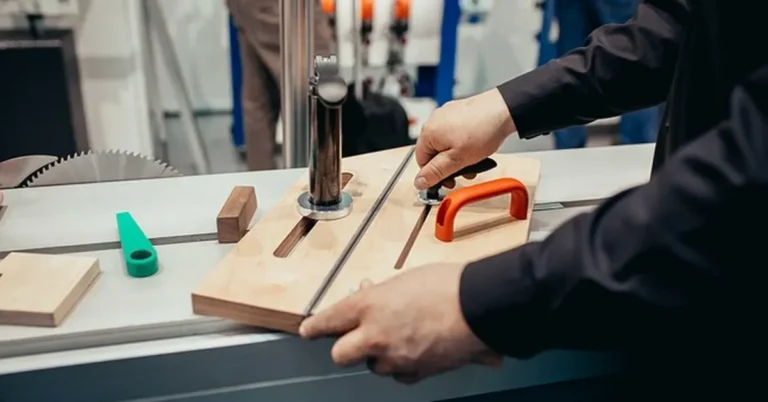
A thin strip jig is a fence-mounted guide or pushblock that lets you rip strips as thin as 1/16″ without ever putting your hand near the spinning blade.
Most factory hold-downs and standard pushsticks can’t grip stock that narrow safely — that’s the exact gap a thin strip jig is built to fill. Below: how the jig works, when to build a simple shop-made version versus buy a pushblock, and the fence-offset trick that keeps every strip the same width.
Why Ripping Thin Strips Is Riskier Than It Looks
Best Table Saw Push Block
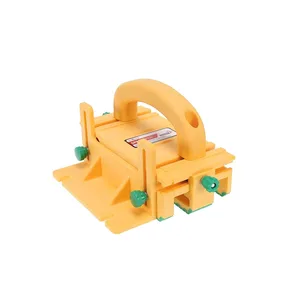 |
MICROJIG GRR-RIPPER GR-100 – $75.07 For ripping thin strips without building a dedicated jig, the GRR-RIPPER handles stock down to about 1/8″ while keeping both hands clear of the blade.
|
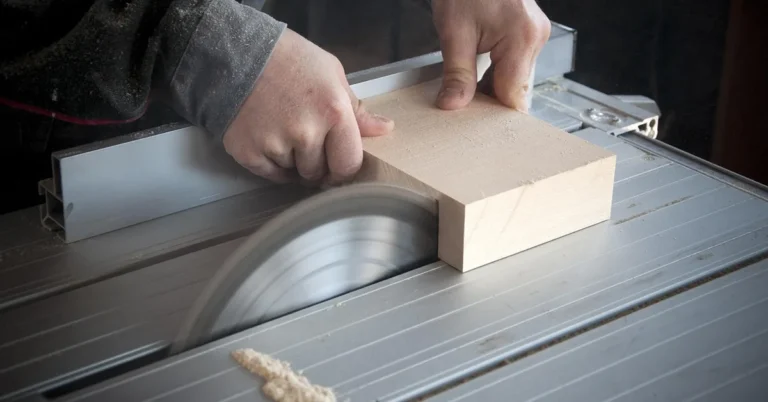
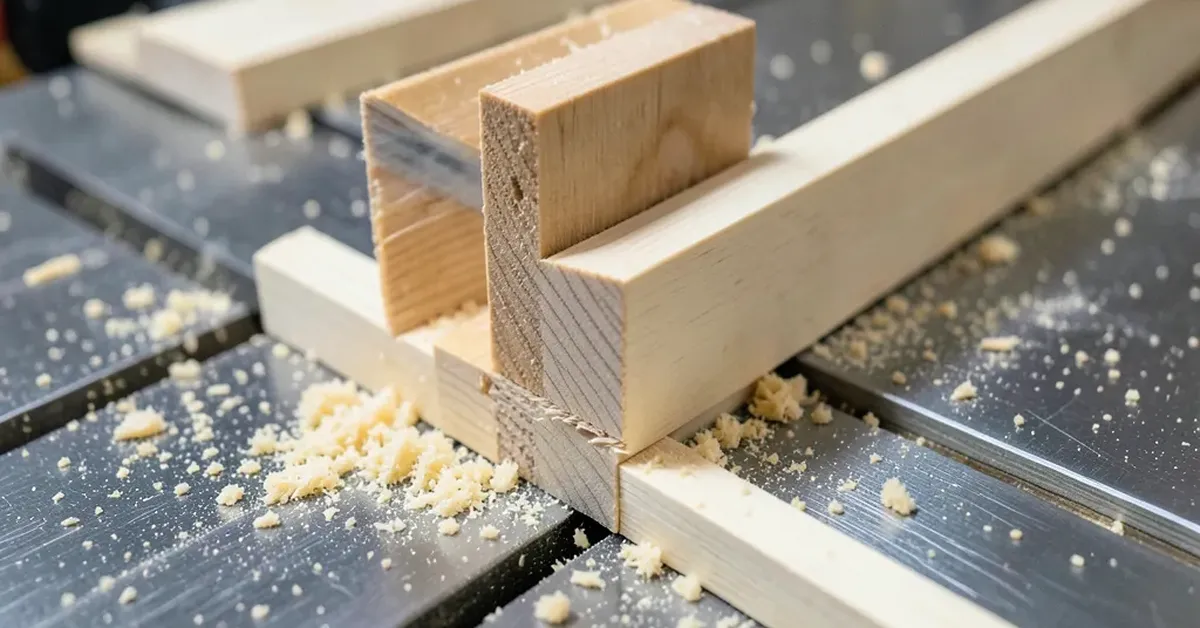
Ripping a strip narrower than about 3/4″ puts the offcut in the worst possible spot on a table saw: trapped in the gap between the spinning blade and the rip fence, with almost nothing to grip it against the table. A standard push stick is built to press down and forward on a wider board, but on a strip that thin, there’s barely any surface left to press on before your hand is passing directly over the blade. Worse, if that narrow offcut drifts even slightly, it can bind between the blade’s rising teeth and the fence — the exact mechanism behind a kickback event, where the workpiece is launched back at the operator at speed. A dedicated jig solves the problem at its root by moving the cutting position away from the fence-and-blade pinch zone, which is covered in the next section, and it’s one part of the fuller process in our guide to cutting thin strips on a table saw.
The Fence-Offset Trick That Makes Thin Rips Safe
The core idea behind almost every shop-made thin strip jig is simple: instead of cutting between the blade and the fence (the pinch zone), you cut between the blade and an auxiliary fence, with the finished strip falling away on the far side, clear of both the blade and the original fence. To build one, attach a straight piece of 3/4″ plywood or MDF, roughly 4″ wide, to the face of your table saw’s rip fence with clamps or screws through pre-drilled holes in the fence’s mounting holes. Set the rip fence so this auxiliary face sits at your target strip width away from the blade, then run the full-width workpiece along the table’s edge or a separate reference fence on the opposite side of the blade — the strip that gets cut off is the piece between the blade and your auxiliary fence, and it drops cleanly away rather than getting trapped.
This is why the technique is called an offset cut rather than a standard rip: the workpiece itself never touches the auxiliary fence directly during the cut, only the offcut strip does, briefly, as it separates. Because the strip is never squeezed between two fixed surfaces, there’s no pinch point for it to bind in, which removes the main kickback risk that makes narrow ripping dangerous with a standard single fence setup.
Building a Basic Shop-Made Version
A basic version needs only a base of 3/4″ plywood or MDF sized to ride along your saw’s miter slot or clamp to the fence, a straight hardwood or aluminum guide edge screwed to the base at your target offset, and a stop block if you need to cut multiple strips to the same width repeatedly. Keep the base long enough (at least 18–24″) to stay stable through the full length of the cut, and true up the guide edge with a jointer or hand plane before final assembly — any waviness in that edge transfers directly into every strip you cut. A zero-clearance throat plate insert is worth making or buying alongside the jig: the standard factory insert has a wide blade slot that lets a thin strip dive down into the gap and get chewed up by the blade’s underside, while a zero-clearance insert supports the strip right up to the edge of the cut.
For anyone doing this only occasionally, a shop-made jig built from scrap plywood costs next to nothing and takes under an hour to build. If thin ripping is a regular part of your workflow — box joints, inlay strips, model-making stock — a commercial pushblock like the GRR-RIPPER above is worth the cost simply for how much faster it is to set up per cut, with no clamping or auxiliary fence to reposition each time.
Setting Up and Making the Cut
Start by installing a zero-clearance insert and, whenever your saw’s design allows it, keeping the riving knife in place — it’s the single component doing the most work to prevent the kerf from closing back onto the blade during a rip. Set your target strip width by measuring from the blade’s outer tooth (not the blade body) to the auxiliary fence or jig edge, since the tooth’s carbide tip is what actually determines the cut line. Run a test cut on scrap stock of the same thickness as your final material, measure the resulting strip with calipers, and adjust the fence in small increments — even a 1/32″ error compounds fast if you’re cutting a batch of matching strips for something like a cutting board or a box joint.
If you’re working without a dedicated table saw, the same offset principle can be adapted to a circular-saw-based setup, though a true table saw with a stable fence gives far more consistent results for repeat thin strips. Once set up, feed stock steadily using a push stick or pushblock rather than your fingers, keep a feather board mounted ahead of the blade if your saw has provision for one to hold the stock flat and against the reference edge, and never reach across or behind the blade to retrieve a finished strip while the blade is still spinning.
Common Setup Mistakes
Most thin-strip problems trace back to one of three setup errors rather than the cutting technique itself.
Cutting Directly Between Blade and Main Fence
This is the mistake the offset technique above exists to avoid. If the strip you’re removing is trapped between the blade and your saw’s primary fence rather than falling away to the outside, you’ve recreated the exact pinch-and-kickback risk a thin strip jig is meant to eliminate — double-check which side of the blade the offcut falls on before running a real cut.
Skipping the Zero-Clearance Insert
A standard factory throat plate has enough gap around the blade that a thin strip can tip down into it mid-cut, resulting in a torn or chipped edge and, in worse cases, a strip that gets thrown by the blade rather than falling cleanly. A shop-made zero-clearance insert, cut fresh for your blade by raising a stationary blade up through a blank plywood insert, solves this in about ten minutes.
Trusting the Fence Scale Instead of Measuring
Factory fence scales are rarely accurate enough for strips under 1/4″ wide, where a 1/32″ reading error is a meaningful percentage of the final width. Measure the actual gap between the blade tooth and the jig edge directly, and confirm with a test cut and calipers before committing good material.
Maintaining a Shop-Made Jig
Sawdust buildup along the guide edge is the most common thing that throws off accuracy over time — brush it clean before each use rather than letting it compact into the corner where the guide meets the base. Check the guide edge periodically for dents or wear from repeated contact with strip offcuts, since even a small nick there will telegraph into every strip width after it. If the jig rides in the miter slot, a light coat of paste wax on the underside keeps it sliding smoothly without the buildup a liquid lubricant can attract.
Beyond Straight Strips
Once built, the same jig setup works for more than just uniform strips for edge-banding or shims — it’s the same technique used to produce consistent inlay strips, thin drawer-box parts, model-making stock, and the individual strips used in bent lamination or basket-weave patterns. Because the setup stays identical regardless of species, the only thing that changes between projects is the target width and, for harder or figured woods, a slightly slower feed rate to avoid burning or chipping the thin offcut as it separates.
Frequently Asked Questions
What Is A Thin Strip Jig For A Table Saw?
A thin strip jig is a fence-mounted guide or pushblock that lets you rip narrow strips of wood, down to about 1/16″, while keeping your hands well clear of the blade. It works by moving the actual cut line away from the pinch zone between the blade and the saw’s main fence.
How Do You Use A Thin Strip Jig?
Attach an auxiliary fence to your saw’s rip fence, set it at your target strip width from the blade’s outer tooth, and run the workpiece so the offcut strip falls away on the far side rather than getting trapped against the fence. Feed with a push stick or pushblock, never your fingers.
Why Is A Thin Strip Jig Important?
Without one, a narrow offcut has almost no surface for a standard push stick to grip, and it can bind between the blade and fence, which is the mechanism behind most table saw kickback events. The jig removes that pinch point entirely by offsetting the cut.
Can I Make My Own Thin Strip Jig?
Yes — a straight piece of 3/4″ plywood or MDF clamped or screwed to your rip fence as an auxiliary guide, paired with a zero-clearance insert, covers most home-shop needs and costs next to nothing to build. A commercial pushblock like the GRR-RIPPER is worth it if you’re ripping thin strips often enough that setup speed matters.
Conclusion
A thin strip jig earns its place in the shop by fixing the one thing that makes narrow ripping dangerous: the pinch point between the blade and the fence. Whether you build a simple offset auxiliary fence from scrap plywood or buy a pushblock like the GRR-RIPPER, the goal is the same — keep your hands clear, let the offcut fall away from the blade instead of getting trapped, and measure from the blade tooth rather than trusting the fence scale on anything under 1/4″. Get those three things right and thin strips become one of the safer table saw cuts, not one of the riskiest.
Sponsored / affiliate links. As an Amazon Associate I earn from qualifying purchases. I may earn additional commission from eligible campaigns.