My Journey with Tongue and Groove Hardwood Floor
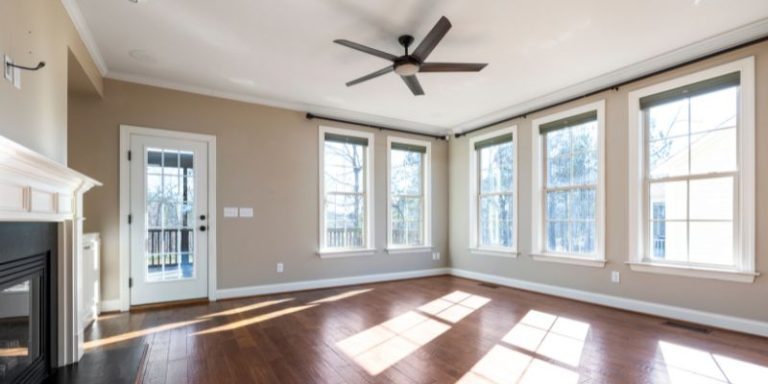
I still remember the day I decided to redo my living room floor. I wanted something sturdy, beautiful, and easy to install. That’s when I discovered tongue and groove hardwood floor. It transformed my home! In this guide, I’ll share what this flooring is, how to install it, its benefits, and tips to make your project a success. Whether you’re new to flooring or a seasoned DIYer, this article has simple advice for everyone. Let’s dive in and explore why this flooring is so special!
What Is a Tongue and Groove Hardwood Floor?
A tongue and groove hardwood floor is made of wood planks that lock together like puzzle pieces. Each plank has a “tongue” (a sticking-out edge) on one side and a “groove” (a slot) on the other. When you slide the tongue into the groove, the planks fit tightly, creating a smooth, strong floor. This design has been used for over 200 years because it’s durable and looks great. It’s perfect for homes, adding warmth and style to any room.
Types of Tongue and Groove Hardwood
There are two main types: solid and engineered hardwood.
- Solid Hardwood: Made from one piece of wood, like oak or maple. It’s super strong and can be sanded many times.
- Engineered Hardwood: Has a real wood top layer glued to layers of plywood. It handles moisture better, great for humid areas.
Both types use the tongue and groove system, making them easy to install and long-lasting.
Why Choose Tongue and Groove Hardwood Floor?
This flooring is popular for a reason. It’s strong, beautiful, and easy to work with. Here are some benefits:
- Seamless Look: The planks fit tightly, so there are no gaps. It looks smooth and polished.
- Durability: It can handle heavy foot traffic, perfect for busy homes.
- Easy Installation: You don’t need tons of nails or glue. The planks lock together naturally.
- Long-Lasting: With care, these floors can last decades, even centuries!
But there are drawbacks. It can be pricey, and solid hardwood may warp in wet areas. Engineered hardwood is a better choice for kitchens or basements.
How to Install Tongue and Groove Hardwood Floor
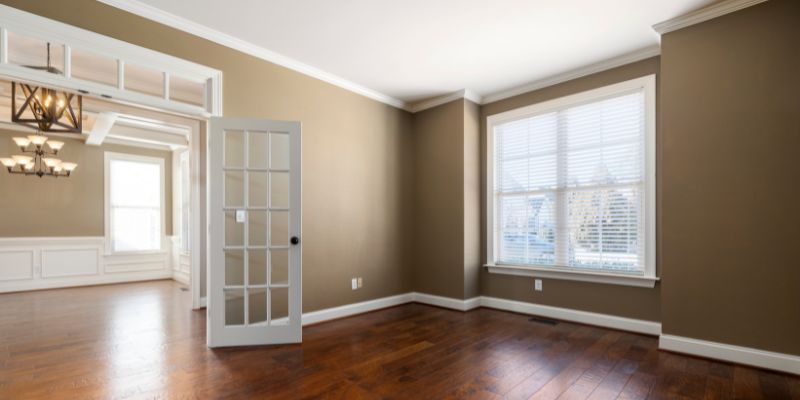
Installing this flooring is fun and doable, even for beginners. I installed mine in my dining room, and it was a rewarding project! Here’s a simple step-by-step guide:
- Prepare the Subfloor: Make sure the surface is clean, dry, and level. Sweep away dirt and fix any bumps.
- Let Wood Adjust: Leave the planks in the room for 48 hours to get used to the temperature. This prevents warping.
- Start with a Straight Line: Mark a chalk line along the wall to guide your first row. Leave a small gap for expansion.
- Lay the First Row: Place the tongue side against the wall. Nail or glue the groove side to the subfloor.
- Fit Planks Together: Slide the tongue of the next plank into the groove of the first. Tap gently with a rubber mallet.
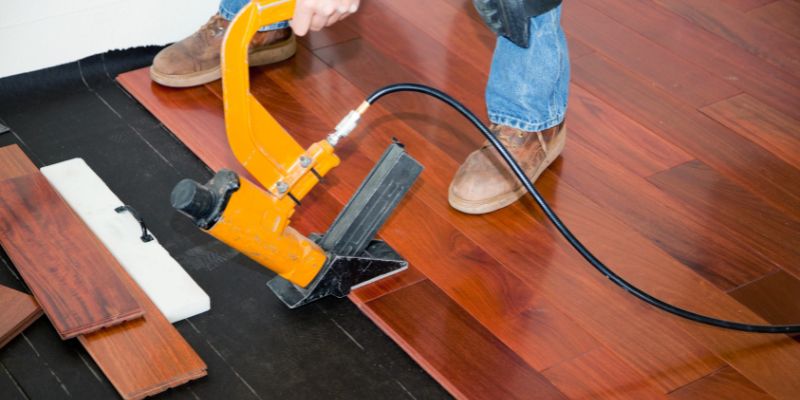
- Nail or Glue: Use a flooring nailer to secure planks through the tongue at a 45-degree angle. Or use adhesive for a glue-down method.
- Finish Up: Add a sealant or stain for extra protection and beauty.
Visual Idea: A diagram showing how the tongue fits into the groove would help beginners see the locking system. Another idea is a room layout showing where to start the first row.
Tools and Materials Needed
You don’t need fancy tools to install this flooring. Here’s what I used:
- Measuring Tape: To measure the room and planks.
- Rubber Mallet: To tap planks into place without damage.
- Flooring Nailer: For securing planks (rent one from The Home Depot).
- Wood Adhesive: For glue-down installations.
- Chalk Line: To mark a straight starting point.
- Safety Gear: Goggles and knee pads keep you safe.
Table 1: Tools for Installing Tongue and Groove Hardwood Floor
| Tool | Purpose | Estimated Cost |
|---|---|---|
| Measuring Tape | Measure room and planks | $10-$20 |
| Rubber Mallet | Tap planks into place | $15-$25 |
| Flooring Nailer | Secure planks to subfloor | $50-$100 (rent) |
Comparing Tongue and Groove to Other Flooring
I once debated between tongue and groove hardwood floor and click-lock flooring for my kitchen. Here’s how they stack up:
- Tongue and Groove: Stronger and more traditional. Needs nails or glue but lasts longer. Great for permanent floors.
- Click-Lock: Easier for DIYers. Planks snap together without glue. Perfect for quick projects or rentals.
- Laminate: Cheaper but not real wood. It mimics hardwood but doesn’t last as long.
Table 2: Flooring Options Comparison
| Type | Cost per Sq. Ft. | Durability | Installation Ease |
|---|---|---|---|
| Tongue and Groove Hardwood | $6-$12 | High | Moderate |
| Click-Lock Hardwood | $5-$10 | High | Easy |
| Laminate | $2-$5 | Medium | Easy |
Visual Idea: A side-by-side diagram comparing tongue and groove and click-lock plank designs would clarify the differences.
My Top Tips for Success
From my experience, here are three tips to make your flooring project shine:
- Check Moisture Levels: Wood can warp if the room is too humid. Use a moisture meter before installing.
- Stagger Planks: Offset the ends of planks by at least 6 inches for a stronger, prettier floor.
- Clean Regularly: Sweep or vacuum weekly to keep your floor looking new. Avoid too much water when mopping.
Common Mistakes to Avoid
I made a few errors when I started. Don’t skip acclimating the wood—it can shrink or swell if you do. Also, don’t use too little glue in a glue-down installation; it can cause gaps. Finally, always check your subfloor for levelness. An uneven base can lead to creaky floors.
Table 3: Common Mistakes and Fixes
| Mistake | Why It’s Bad | How to Fix |
|---|---|---|
| Skipping Acclimation | Wood warps or gaps | Let planks sit 48 hours |
| Using Too Little Glue | Planks separate | Apply adhesive evenly |
| Uneven Subfloor | Floor creaks | Level subfloor before starting |
Maintaining Your Tongue and Groove Hardwood Floor
Keeping your floor beautiful is easy. Sweep or vacuum weekly to remove dirt. Use a damp mop with a wood-safe cleaner, but don’t soak the floor. Every few years, consider refinishing to restore its shine. I refinished my oak floor after five years, and it looked brand new! For extra protection, add a sealant after installation, as advised by This Old House.
Frequently Asked Questions
What Is a Tongue and Groove Hardwood Floor?
It’s a type of wood flooring where planks have a tongue on one side and a groove on the other. They lock together tightly, creating a smooth, strong floor. It’s great for homes because it’s durable and looks elegant. You can choose solid or engineered hardwood, depending on your needs.
How Do I Install Tongue and Groove Hardwood Floor?
Start by cleaning and leveling the subfloor. Let the planks sit in the room for 48 hours. Mark a straight line, then nail or glue the first row. Fit the next planks’ tongues into grooves, tapping gently. Nail or glue them down. Finish with a sealant for protection.
Is Tongue and Groove Better Than Click-Lock?
Tongue and groove is stronger and more traditional, ideal for permanent floors. Click-lock is easier to install and remove, great for DIY or rentals. Tongue and groove lasts longer but needs more skill to install. Choose based on your project and skill level.
Can I Install It Over Concrete?
Yes! Use a moisture barrier under engineered hardwood to prevent water damage. Glue-down or floating installations work well on concrete. Always check the subfloor is level and dry first. This makes it versatile for basements or kitchens.
How Long Does It Last?
With proper care, tongue and groove hardwood floor can last decades. Solid hardwood can even last over 100 years if refinished regularly. Engineered hardwood lasts 20-50 years, depending on the top layer’s thickness. Regular cleaning keeps it looking great.
How Much Does It Cost?
Costs range from $6-$12 per square foot for materials, plus $3-$5 for professional installation. DIY saves money but takes time. Shop at places like Lumber Liquidators for deals. Compare prices to fit your budget.
How Do I Fix Scratches?
For small scratches, use a wood touch-up marker in a matching color. For deeper scratches, sand lightly and apply a new finish. Always test products in a hidden spot first. Regular maintenance prevents scratches from getting worse.
Conclusion
A tongue and groove hardwood floor is a fantastic choice for a beautiful, lasting home upgrade. It’s strong, stylish, and easier to install than you might think. With the right tools and tips, you can create a floor you’ll love for years. Why not start planning your project today? Pick a wood type, grab your tools, and share your ideas with friends. Your dream floor is just a few steps away!