12 Wood Burning Projects by Skill Level (Beginner to Pro)
Basswood is the best wood for wood burning projects – not pine, which gums up hot tips with sap and scorches unevenly. Using the wrong wood or the wrong temperature is why most beginner pieces come out blotchy instead of crisp. This guide sorts 12 wood burning projects into beginner, intermediate, and advanced tiers, with the wood, tools, and finish each one actually needs.
Quick Answer
New to pyrography? Start with basswood coasters or garden markers and a single fine-tip pen. Once you can hold a steady line, move up to cutting boards and spoons with food-safe sealant. Advanced burners add shading and multiple tip sizes for portraits, inlaid boxes, and jewelry.
What You Need Before You Start
Best Wood Burning Kit Pick
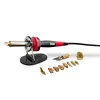
Weller Genuine 15-Piece Woodburning Kit (WLIWBK2512A)
A stay-cool handle and a built-in tip stand make this the easiest kit to hand a first-timer, and the 25-watt element is hot enough for basswood, birch, and cutting-board maple alike.
- Best for: Anyone starting from zero who wants one kit to cover every project on this list
- Why we picked it: Includes soldering, branding, and woodburning tips plus an onboard rest, so you’re not buying add-ons separately
- Main drawback: Fixed 25W element runs hotter than a true variable-temperature pen, so light touches take practice
Compare more wood burning kit options
 Option 1 32-Piece Adjustable Temperature Wood Burning Kit
|
 Option 2 Hoteche 15/30W Dual-Power Kit with Letter Board
|
 Option 3 West Bay 95-Piece Wood Burning Kit
|
As an Amazon Associate we earn from qualifying purchases.
Every project below uses the same core kit. Get this right first and the individual projects go much faster.
- Wood: Basswood is the standard for a reason – fine, even grain and almost no sap, so it burns clean at lower temperatures. Birch and maple work for pieces that need to hold up to handling, like cutting boards and spoons. Save pine for rough outdoor pieces only; its resin pockets gum up tips and cause dark, blotchy scorching.
- Pyrography pen: An adjustable-temperature pen with at least two or three swappable tips (a universal writing tip and a shading tip cover most of these projects). See our best wood-burning pens guide if you’re buying your first one, or our pen temperature and technique guide if you already own one.
- Sandpaper: 220-grit before burning to smooth the surface, 320-400 grit after to knock down raised grain without erasing your lines.
- Pattern transfer: A graphite pencil for freehand sketching, or painter’s tape and a printed pattern for tracing. Our free stencil patterns are sized for most of the projects below.
- Sealant: Food-safe mineral oil or beeswax for anything that touches food (spoons, cutting boards); polyurethane or a clear acrylic spray for décor pieces.
- Safety setup: A metal or ceramic stand for the hot tip, a well-ventilated space, and a fire extinguisher within reach. The fumes to actually worry about come from painted, treated, or MDF-based wood – plain basswood, birch, and maple burn with minimal smoke.
Beginner Wood Burning Projects
These four projects use basswood, one or two tips, and mostly straight or gently curved lines – the fastest way to build a steady hand before you try shading.
Personalized Coasters
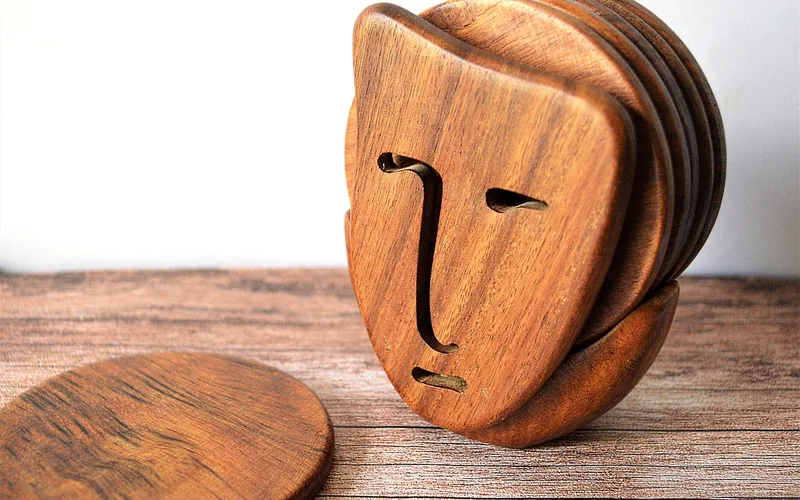
Cut basswood into 4-inch squares or rounds and sketch a simple monogram, geometric border, or single-word design in pencil first. Trace it with a fine-tip pen at a medium setting, then sand the edges with 320-grit paper. Seal with a food-safe finish since coasters sit under drinks, and add felt pads to the underside so they don’t scratch furniture.
Garden Plant Markers
Cut basswood or cedar into stakes, burn the plant name in bold block letters so it reads from a few feet away, and add a simple leaf or vegetable icon if there’s room. Seal with an exterior-rated polyurethane, not an indoor finish – markers left unsealed or under-sealed swell and crack after one rainy season.
Wood-Burned Bookmarks
A 1.5 x 6-inch basswood strip is a forgiving practice canvas – small enough to finish in one sitting, narrow enough that a wobbly line barely shows. Burn a name, a short quote, or a simple vine pattern along the edge, round the corners with sandpaper so they don’t snag on book pages, and skip the sealant entirely; bookmarks don’t need one.
Wall-Mounted Key Holder
Burn a family name, house number, or simple geometric pattern onto a basswood or birch plank, then attach 3-4 cup hooks along the bottom edge. Mount with screws for a permanent hold, or use heavy-duty adhesive strips if you don’t want to drill into the wall. Hang it at eye level near the door so it actually gets used.
Intermediate Wood Burning Projects
Once your lines are steady, these projects add food-safe wood selection, multi-piece assembly, and larger surfaces that take longer to fill.
Customized Cutting Board
Maple is the standard choice here – it’s dense enough to survive knife use and shows fine burn detail better than softer woods. Burn a name, wedding date, or border pattern around the edge, keeping the design at least an inch from the cutting surface itself. Finish with food-safe mineral oil, never polyurethane, and reapply every few months as the oil wears off from washing.
Wood-Burned Kitchen Spoon
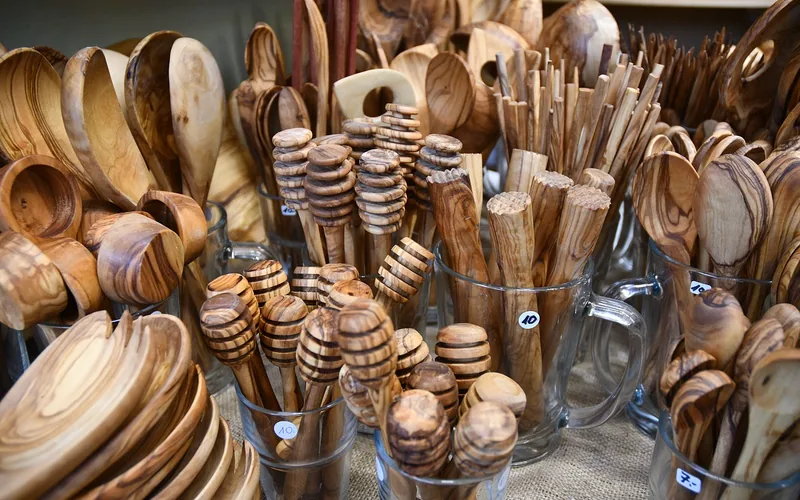
Cherry and maple carve and burn cleanly and are both considered food-safe; skip softer woods like pine, which can splinter with repeated washing. Burn a simple pattern into the handle only, never the bowl of the spoon, since that surface takes the most wear. Practice on scrap first – handle curves burn differently than a flat board because the tip contacts the wood at an angle.
Picture Frame
Cut and sand four basswood or pine strips, then burn a matching border pattern on each piece before assembly – it’s much harder to burn evenly once the frame is glued together. Join the corners with wood glue and clamp until fully dry, then stain or leave natural before inserting a photo.
Decorative Wall Art Sign
Choose a flat, knot-free basswood or maple board – knots deflect the tip and force uneven burn depth. Sketch the full design in pencil first since wall art covers more surface than the earlier projects. Add color with water-based stain or colored pencil, then seal with a clear finish to keep it from fading. For a technique that burns color directly into the grain without paint, see our Japanese shou sugi ban guide.
Advanced Wood Burning Projects
These four bring in shading, multiple tip sizes, and finer control – expect more scrap-wood practice before starting the real piece.
Hinged Ornamental Box
Build the box from pine or oak, sand every seam smooth, and glue and clamp the joints before adding hinges. Burn the design after assembly for panels that wrap around a corner, or before assembly if the pattern needs to stay perfectly flat. Complex motifs like flowers or swirls take several practice attempts on scrap – budget more time here than any other project on this list.
Wood-Burned Jewelry Pendant
Work on small basswood or birch blanks with a fine-tip pen – simple line or dot patterns read best at this scale. Practice on scrap of the same thickness first, since thin jewelry blanks heat up and burn faster than a standard board. Drill the hanging hole before burning, not after, so a slip near the edge doesn’t ruin a finished piece.
Shaded Animal Portrait
Start with animals that have simple, high-contrast shapes – cats, birds, and dogs are easier than anything with fine fur detail. Outline with a fine tip, then switch to a shading tip for depth: light pressure and short strokes for soft gray tones, more pressure and slower movement for near-black shadow. This is the project where tip choice matters most, since a single universal tip can’t produce both a crisp outline and smooth shading.
Holiday Ornament Set
Cut basswood into simple shapes – snowflakes, stars, or trees – and burn matching patterns across the whole set so they look cohesive on a tree. Add metallic paint or fine glitter to raised areas only, applied sparingly, since too much dulls the contrast between burned and unburned wood. Drill a small hole at the top before sealing, and use a clear spray finish so the shine isn’t affected.
Common Mistakes to Avoid
Most disappointing first projects trace back to one of these, not a lack of skill:
- Using pine for detailed work. Its sap pockets gum up the tip and cause dark, uneven scorching exactly where you want the cleanest lines. Save pine for rough outdoor pieces and use basswood for anything with fine detail.
- Holding the tip in one spot too long. Wood burning is a moving-line technique, not a stamping one – a pen left still for even a second burns a dark blotch. Keep the tip moving at a steady pace.
- Skipping the sealant on functional pieces. Coasters, cutting boards, and garden markers all take moisture or handling. An unsealed piece darkens unevenly and can crack within a season.
- Sanding too aggressively after burning. Heavy sanding to fix a mistake often removes the lighter parts of a shaded design along with the error. Sand lightly and only where needed.
- Skipping the scrap-wood test. Every wood species and every new tip burns slightly differently. Two minutes of testing on an offcut saves a ruined final piece.
Frequently Asked Questions
What is the best wood for beginner wood burning projects?
Basswood is the best wood for beginners. It has a fine, even grain and very little sap, so it burns cleanly at lower temperatures and shows crisp lines without much practice. Birch and maple are good second choices once you’re comfortable. Pine is common but not ideal – its resin pockets gum up tips and scorch unevenly.
Can you use a soldering iron instead of a pyrography pen?
Yes, for simple line work, but with real limits. A basic soldering iron has one fixed tip and no fine temperature control, so it works for bold outlines and lettering but struggles with the shading techniques used in the advanced projects above. A dedicated pyrography pen with swappable tips is worth the upgrade once you move past beginner projects.
What temperature should a wood burning pen be set to?
Most basswood work burns cleanly in the medium range of an adjustable pen – if the tip is smoking heavily, it’s too hot. Denser woods like maple need a slightly higher setting to burn at the same speed. See our wood burning pen temperature guide for setting-by-wood specifics.
How do you seal a wood burning project so it lasts?
Match the sealant to how the piece is used. Anything that touches food – spoons, cutting boards – needs a food-safe mineral oil or beeswax finish, reapplied every few months. Décor pieces like frames, signs, and boxes can use polyurethane or a clear acrylic spray for a harder, longer-lasting protective layer.
Is wood burning safe to do indoors?
Yes, with ventilation. Plain basswood, birch, and maple produce minimal smoke at normal burning temperatures. The real hazard is burning painted, stained, treated, or MDF-based wood, which releases fumes worth avoiding entirely – stick to raw, untreated wood and work near an open window or fan.
Conclusion
Pick one project from your current tier rather than jumping straight to a shaded portrait – a clean coaster teaches more about line control than a rushed advanced piece ever will. Work through basswood first, keep the tip moving, and seal every finished piece for its actual use. Twelve projects, three skill levels, and one afternoon is enough to find out if pyrography is your next hobby.
Sponsored / affiliate links. As an Amazon Associate I earn from qualifying purchases. I may earn additional commission from eligible campaigns.