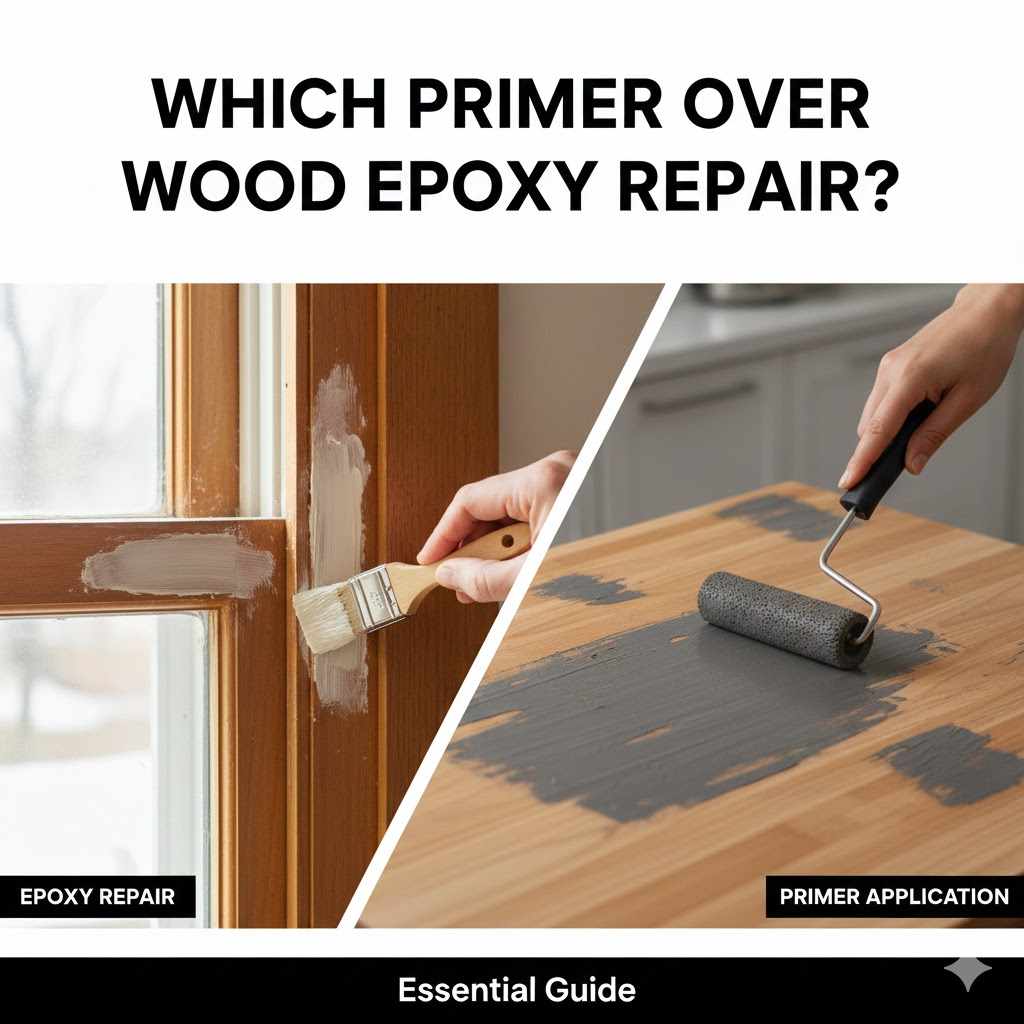
Which Primer Over Wood Epoxy Repair: Essential Guide
For wood epoxy repairs, the best primer is generally a high-quality, oil-based (alkyd) or stain-blocking shellac primer. These types bond well to the epoxy’s surface texture and seal any residual tannins, ensuring your topcoat—whether paint or clear coat—looks smooth, vibrant, and lasts for years.
Hi there! I’m Meraj, and if you’ve ever mixed up a batch of epoxy to fix a gouge, crack, or rotten spot in a favorite piece of wood, you know the repair itself can look great. But then comes the big question: What goes on top?
Choosing the right primer over wood epoxy repair can feel like a puzzle. Use the wrong one, and you might get peeling, bubbling, or weird stains popping through later. Don’t worry! It’s easier than it sounds. We will walk through the simple science behind choosing the perfect primer, making your repair look professional and strong. Let’s get your repaired wood project finished perfectly.
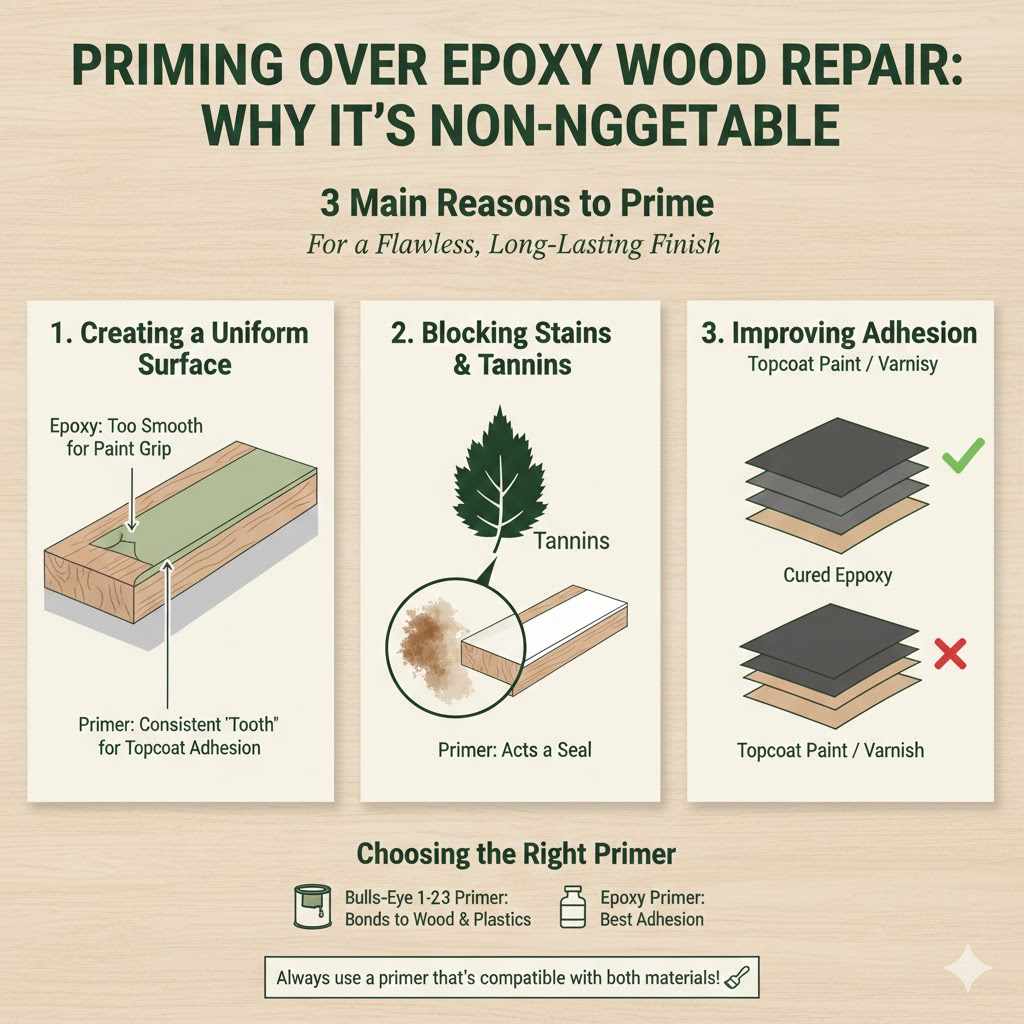
Why Priming Over Epoxy Wood Repair is Non-Negotiable
Many DIYers think that since epoxy is super tough, you can skip the primer and jump straight to paint or varnish. That’s a common mistake that leads to frustrating finishes later on! Priming is vital when working over cured epoxy for three main reasons:
- Creating a Uniform Surface: Epoxy cures smooth, but it doesn’t always have the same surface “tooth” or texture as the surrounding wood. Primer creates a consistent surface that the topcoat can grip onto evenly.
- Blocking Stains and Tannins: Wood, especially woods like oak or redwood, naturally contains tannins (oils) that can bleed through topcoats over time, causing yellow or brown spots. Even though the epoxy sealed the bulk of the wood, tannins can sometimes seep through or be near the edges. A good primer acts as a seal against this.
- Improving Adhesion: Paint needs something to stick to! Primer grips the hard, slick epoxy surface better than paint does, guaranteeing your finish doesn’t flake off a year later.
When choosing which primer over wood epoxy repair to use, we need a product that plays nice with both plastic (epoxy) and organic material (wood). This points us toward a couple of specific chemistries.
Understanding Epoxy Surfaces: Why Primers Matter
To pick the right primer, we need a quick primer on epoxy itself. Epoxy, whether it’s a thick gap-filling pour or a thin coating, cures into a hard plastic. This plastic is generally:
- Non-porous (or very low porosity): Paint doesn’t adhere well to slick surfaces.
- Chemically inert: It won’t react with many chemicals, which is good, but some primers might struggle to “bite.”
- Susceptible to Tannin Bleed-Through: If the epoxy only partially covered porous wood, tannins might still migrate.
Because of these properties, we must choose a primer specifically designed for problem surfaces, not just a standard drywall primer!
The Top Contenders: Best Primers for Epoxy Repairs
When we talk about professional results over cured epoxy, two main types of primer rise to the top. I recommend them because they handle the unique challenges of sealing both wood and the hard epoxy patch underneath.
1. Oil-Based (Alkyd) Primers: The All-Around Champion
Oil-based primers are the heavy hitters of the primer world. They are thick, fantastic at leveling out slight imperfections, and, most importantly for this job, they are incredible stain blockers. If you are unsure what you are painting over, or if the wood you are repairing is known for tannins (like cedar or dark oak), reach for an alkyd primer.
Pros of Oil-Based Primers:
- Exceptional stain-blocking capabilities.
- Builds a very hard, durable film that sands smoothly.
- Excellent adhesion to many surfaces, including slick, cured epoxy.
Cons of Oil-Based Primers:
- Slower drying time than water-based alternatives.
- Strong odor (requires good ventilation).
- Cleanup requires mineral spirits (not just soap and water).
Mentor Tip: Look for specific labeling that mentions “sealing” or “stain-blocking” properties. This ensures maximum performance over tricky substrates like epoxy. Good brands often formulate these specifically for coating bare wood, which gives you the necessary grip over the cured repair patch.
2. Shellac-Based Primers: The Ultimate Sealer
Shellac primers are famous in professional finishing circles for one reason: they seal absolutely everything. They dry incredibly fast and are unbeatable at blocking severe bleed-through, including knots in wood and heavy tannin stains.
Pros of Shellac Primers:
- Dries very quickly (often ready for recoat in under an hour).
- The best defense against moisture and stubborn stains (tannins).
- Adheres aggressively to almost any surface, cured epoxy included.
Cons of Shellac Primers:
- Strong smell (alcohol-based).
- Can sometimes be too effective and might lift some weak underlying finishes if you sand too aggressively beforehand.
- Generally more expensive than other primers.
If you have deep, dark discoloration showing near your repair, a coat or two of shellac primer is your surest path to a clean, uniform finish. You can find more about safe chemical handling practices on government safety sites, like those maintained by OSHA, especially when dealing with strong solvents.
3. Water-Based/Acrylic Primers (Use with Caution)
While water-based primers (like standard latex or acrylic formulas) are the easiest to work with—low odor, fast cleanup—they are generally the least recommended for direct application over large epoxy patches, especially if you are worried about tannins or adhesion.
Why the caution? Standard water-based primers often don’t have the chemical “bite” or stain-blocking resins needed to adhere perfectly to the smooth epoxy plastic surface, leading to peeling down the line. However, there is a HUGE exception…
The Exception: High-Adhesion Water-Based Primers
Modern paint technology has introduced advanced acrylics specifically labeled as “bonding primers” or “multi-surface primers.” These products contain additives that dramatically increase adhesion to non-porous surfaces. If you choose this route, ensure the label specifically states it bonds well to “plastics,” “non-ferrous metals,” or “high-gloss surfaces.”
Comparison Table: Choosing Your Primer Based on Need
To make your decision crystal clear, here is a quick side-by-side look at when to use each type:
| Primer Type | Best For | Adhesion to Epoxy | Stain Blocking | Drying Speed |
|---|---|---|---|---|
| Oil-Based (Alkyd) | General use, durable finishes, hiding minor blemishes. | Very Good | Excellent | Moderate (6–12 hours) |
| Shellac-Based | Severe tannin bleed-through, super fast recoating needed. | Excellent | Best | Fast (under 1 hour) |
| High-Adhesion Acrylic | Low odor projects, if stain blocking isn’t a major concern. | Good (check label carefully) | Fair to Good | Fast (2–4 hours) |
Step-by-Step Guide: Preparing Epoxy for Primer
The best primer in the world won’t stick if the surface isn’t prepped correctly. This preparation step is where we transition smoothly from the hard, glassy epoxy to a surface that holds paint beautifully. This process is critical whether you are repairing a wooden boat or a kitchen countertop.
Tools You Will Need:
- Personal Protective Equipment (PPE): Dust mask or respirator, safety glasses.
- Sanding supplies: 120-grit and 220-grit sandpaper (or sanding block/orbital sander).
- Tack cloth or a lint-free cloth and mineral spirits/denatured alcohol.
- A good quality brush or roller suitable for your chosen primer type.
Step 1: Ensure the Epoxy is Fully Cured
This is foundational! Epoxy needs time to achieve maximum hardness. Check your specific product data sheet, but most standard epoxies take 24 to 72 hours to fully cure to handle abrasion or sanding. Trying to sand or prime too early can cause the epoxy to remain slightly soft, leading to primer failure.
Step 2: The Essential Scuff Sand
You must scuff the surface of the epoxy repair. We aren’t trying to remove the repair; we are just removing the slick “skin” it developed while curing. This gives the primer something rough to grab onto.
- Start with a medium grit, around 120 or 150, to level any minor ridges between the epoxy and the original wood.
- Follow up with a finer grit, like 180 or 220. This final sanding smooths out the 120-grit scratches, leaving a matte finish that primer loves.
Sand the epoxy patch and feather out slightly onto the surrounding, sound wood. This ensures the transition looks seamless when painted later.
Step 3: Deep Cleaning is Crucial
Once you finish sanding, dust is your enemy. Even tiny dust particles will get trapped under the primer, leaving you with a bumpy finish.
Use your vacuum with a soft brush attachment first to remove most of the bulk dust. Then, wipe down the entire area (epoxy and wood) using a tack cloth. If you are using a solvent-based primer (oil or shellac), a final wipe with denatured alcohol or mineral spirits on a lint-free rag can remove any remaining oils or residues. Always let the solvent flash off (evaporate) completely before moving on.
Step 4: Applying the Chosen Primer
Now that you have the right primer picked out—likely oil-based or shellac—it’s time to apply it.
- Mix Thoroughly: Stir your primer well, scraping the bottom of the can to ensure any settled pigment is fully incorporated.
- First Thin Coat: Apply a thin, even coat. Don’t try to cover everything in one go, especially over the slick epoxy patch. A thin coat adheres better initially.
- Focus on Coverage: Ensure that the primer completely covers the exposed epoxy area and feathers smoothly over the surrounding wood.
- Drying Time: Let the primer dry completely according to the manufacturer’s directions. Rushing this step is a huge confidence killer! If using shellac, it might be ready quickly. If using oil, plan for an overnight wait.
Step 5: Lightly Sand the Primer (If Needed)
After the primer dries, you might notice tiny bits of dust or a slight texture. This is totally normal!
Lightly sand the primed area with very fine sandpaper, around 320-grit. You are only knocking down the dust nibs, not sanding through the primer back down to the epoxy. Wipe clean again with a tack cloth.
Step 6: Apply the Topcoat
Once you have a flat, dull, fully covered primer surface, you are ready for your final paint or varnish. The topcoat will adhere strongly to the freshly primed surface, providing the color and protection you want!
Common Pitfalls When Priming Over Epoxy Repairs
As your mentor, I want to save you time and frustration. Here are the most common issues beginners face when trying to prime cured epoxy and how to avoid them:
| The Problem | Why It Happens | The Fix |
|---|---|---|
| Primer is peeling or flaking off the patch. | The epoxy surface was too slick (not sanded properly) or too oily/dirty. | Sanding with 180/220 grit is mandatory. Clean residue thoroughly before priming. |
| Brown/Yellow stains bleed through the primer. | The wood tannins were not sealed, or the primer chosen wasn’t a stain-blocker. | Use a shellac or oil-based primer specifically designed to stop bleed-through. Apply a second coat if necessary. |
| Paint looks bumpy after drying. | Dust was left on the surface after sanding the epoxy or the primer coat. | Use a vacuum and follow up meticulously with a high-quality tack cloth before every coating step. |
| The primer won’t dry hard. | Applying the primer too thick, especially oil-based formulas, can trap solvents. | Always apply primer in thin coats, allowing the surface skin to cure before subsequent layers. |
A Note on Clear Coats vs. Paint Over Epoxy
What if your epoxy repair is beautiful, and you just want to protect it with a clear coat (like polyurethane or spar varnish) rather than painting it?
The answer to which primer over wood epoxy repair changes slightly here, but the preparation remains identical. You still need to scuff sand the epoxy with 220-grit sandpaper!
When Using Clear Polyurethane or Varnish:
If you are trying to match a clear finish, many professionals still recommend a single coat of a specialized, high-clarity sanding sealer, often based on shellac, before the clear topcoat. This thin coat slightly dulls the glossy epoxy and creates a more predictable surface for the polyurethane to grab.
Crucial Detail: Some high-end, modern 2-part clear coats (like marine-grade 2K finishes) are designed to be compatible directly with cured epoxy without primer. Always check the documentation provided by the clear coat manufacturer. If they explicitly state “No Primer Needed Over Fully Cured Epoxy,” you can likely skip it, provided you’ve scuffed the surface perfectly.
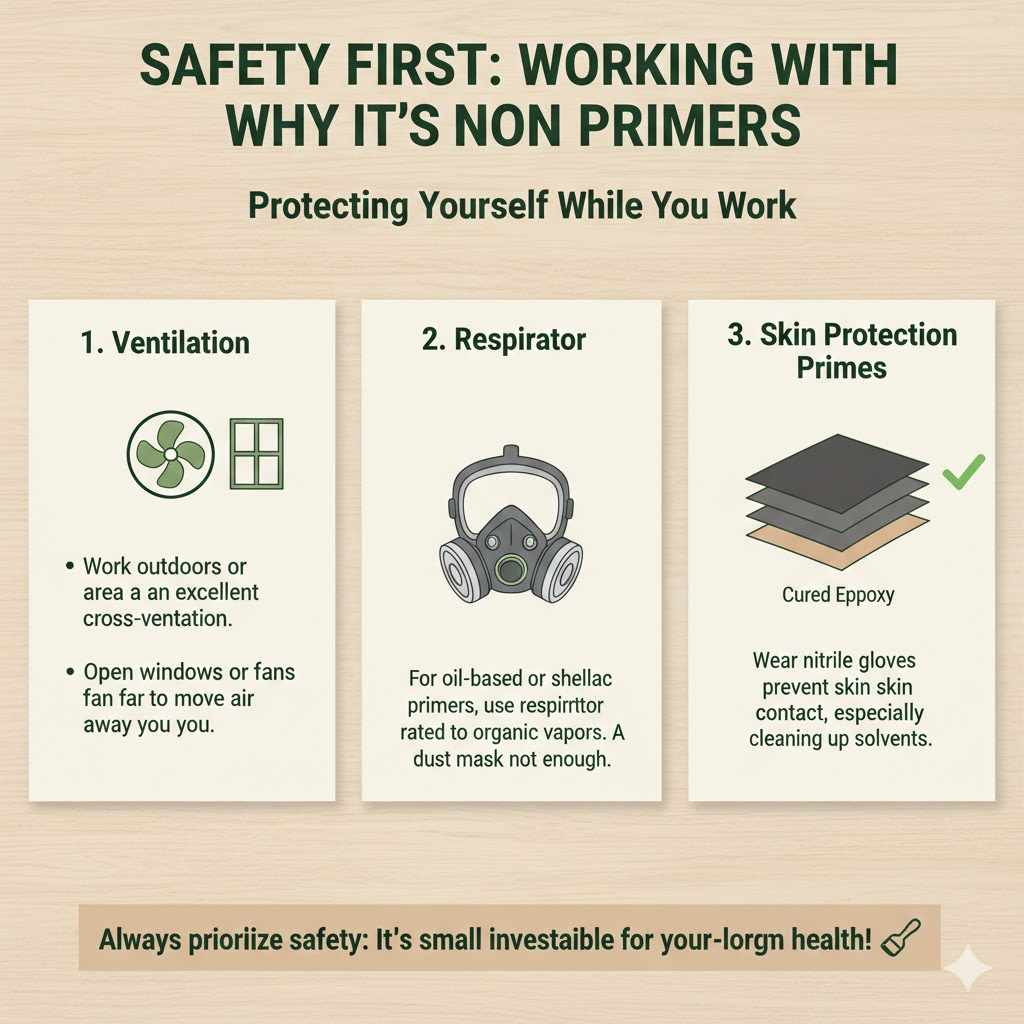
Safety First: Working with Primers
As your woodworking mentor, I must always emphasize safety. Primers, especially the oil-based and shellac varieties, release volatile organic compounds (VOCs) when applied. These fumes can cause irritation and health issues if inhaled over time.
Please always adhere to these safety checks:
- Ventilation: Work outdoors or in an area with excellent cross-ventilation. Open all windows and use fans to move air away from you.
- Respirator: For oil-based or shellac primers, a simple dust mask is not enough. Use a respirator rated for organic vapors. This is a small investment for protecting your lungs.
- Skin Protection: Wear nitrile gloves to prevent skin contact, especially when cleaning up mineral spirits or alcohol.
FAQ: Quick Answers for Epoxy Priming Success
Q1: Do I need to prime epoxy if I am only applying clear varnish over it?
A: Usually, yes, if the surface is large or you are worried about durability. Lightly sanding the epoxy to create a “tooth” (texture) is mandatory. If using a standard oil-based varnish, applying one thin coat of shellac-based sanding sealer first helps ensure the varnish sticks permanently without peeling later.
Q2: How long must the epoxy cure before I can apply any primer?
A: While some light primers can go on after 24 hours, it is safest to wait until the epoxy is rock hard and truly non-tacky—usually 48 to 72 hours, depending on temperature and humidity. Always check the manufacturer’s recommendation for “sanding readiness.”
Q3: Can I use Kilz as a primer over wood epoxy repair?
A: Yes, Kilz (and similar premium brands) offer products that work well. You should choose their oil-based or original formula (which is often shellac or solvent-based). Avoid basic latex Kilz unless the can specifically guarantees superior adhesion to plastic/glossy surfaces.
Q4: If the wood is just next to the epoxy, do I need to prime the whole area?
A: Absolutely. You need to prime both the epoxy patch and the surrounding raw/old wood simultaneously. If you prime the epoxy but not the wood, you risk different absorption rates (one part will soak up the topcoat differently than the other), causing the paint to look blotchy.
Q5: What grit sandpaper should I use to prepare the epoxy surface?
A: Start with 120 or 150 grit to remove any high spots or stickiness, and finish with 180 or 220 grit. This rough profile is essential for maximum mechanical grip by the primer.
Q6: Is there a difference between primers for outdoor epoxy repairs versus indoor ones?
A: For outdoor repairs, UV resistance is key. If the topcoat is exterior grade (like spar varnish), using a high-quality exterior primer—again, usually oil-based or shellac for adhesion—is necessary underneath to ensure the whole system weathers well together.
Final Thoughts: Confidence in Your Finish
You’ve taken the hardest part of this project—the repair itself—and you nailed it! Now that you know which primer over wood epoxy repair is best suited for the job—leaning heavily on durable, stain-blocking options like oil-based alkyds or fast-drying shellac—you have the knowledge to guarantee a finish that lasts.
Remember this simple workflow: Scuff sand the hard epoxy, clean everything perfectly, seal it all with the right primer (oil or shellac), and then apply your finish. Each step builds upon the last, securing a professional-looking result that you built with your own hands. Don’t hesitate to let that primer fully dry; patience here pays off massively down the road with a coating that never peels or stains. Get prepping, and enjoy seeing your beautifully repaired wood project come to life!