
Wood Door Trimmer Essentials: Achieve Perfect Fits!
A wood door trimmer is a tool used to trim wooden doors to fit their frames. It ensures a clean and precise cut for seamless installation.
Wood door trimmers play a crucial role in carpentry and home improvement projects. They help achieve the perfect fit for doors, enhancing both functionality and aesthetics. Using a trimmer saves time and effort, allowing for a professional finish without the need for extensive tools.
Homeowners and contractors alike appreciate the efficiency and accuracy that a wood door trimmer offers. Understanding how to use this tool correctly can significantly improve your woodworking skills. Whether you’re adjusting a single door or multiple installations, mastering the wood door trimmer will elevate your craftsmanship and ensure your doors operate smoothly.
Introduction To Wood Door Trimming
Wood door trimming enhances the look and function of doors. Proper trimming allows doors to fit snugly in frames. It also prevents drafts and improves energy efficiency. Understanding this process is essential for homeowners and DIY enthusiasts.
Importance Of Precision
Precision is crucial in wood door trimming for several reasons:
- Fit: A precise cut ensures the door fits perfectly.
- Appearance: Neat edges improve the overall look.
- Functionality: Proper trimming prevents sticking or gaps.
- Durability: Accurate cuts extend the life of the door.
Measure twice, cut once. This old adage holds true. Small mistakes can lead to big problems.
Tools For The Job
Having the right tools makes wood door trimming easier. Here’s a list of essential tools:
- Measuring Tape: For accurate measurements.
- Chisel: To create clean edges.
- Saw: A circular saw or handsaw works well.
- Planer: For smoothing rough edges.
- Level: Ensures the door hangs straight.
Investing in quality tools saves time and effort. Always prioritize safety gear during trimming.
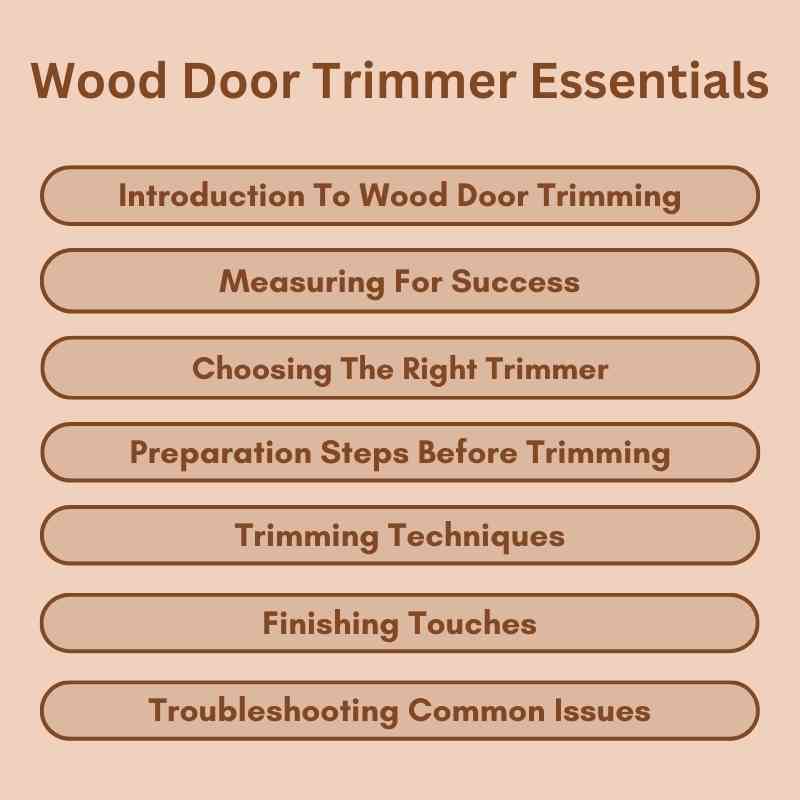
Measuring For Success
Measuring accurately is key to a successful wood door trimmer installation. Proper measurements ensure a snug fit. This section covers essential steps to achieve precise measurements.
Accurate Door Measurements
Getting the right measurements prevents mistakes. Follow these steps:
- Width Measurement: Measure the door’s width at three points: top, middle, and bottom.
- Height Measurement: Measure the door’s height on both sides.
- Thickness Measurement: Use a caliper to measure the door thickness.
Record the smallest measurements. This ensures a perfect fit for your wood door trimmer.
Marking For Cuts
Marking accurately is essential for clean cuts. Use these tips:
- Use a Straight Edge: A straight edge helps make clear lines.
- Mark with a Pencil: Use a fine pencil for precise markings.
- Double-Check Measurements: Always recheck before cutting.
Consider using a square tool for right angles. This helps in avoiding mistakes. Take your time with markings. Rushed work can lead to errors.
Choosing The Right Trimmer
Choosing the right wood door trimmer is crucial for your projects. A good trimmer makes precise cuts. It also saves time and effort. Understand the types available to make an informed choice.
Manual Vs. Power Trimmers
Deciding between a manual and power trimmer depends on your needs. Here’s a quick comparison:
| Feature | Manual Trimmers | Power Trimmers |
|---|---|---|
| Portability | Lightweight and easy to carry | Heavier, needs a power source |
| Precision | High precision for small tasks | Good for larger projects |
| Cost | Generally cheaper | More expensive but efficient |
| Ease of Use | Simple, less skill required | Requires some skill and practice |
Choose a manual trimmer for small tasks. Opt for a power trimmer for larger projects.
Key Features To Look For
Several features enhance a wood door trimmer’s performance. Focus on these key aspects:
- Blade Quality: Look for sharp, durable blades.
- Adjustable Depth: Ensure you can adjust cutting depth easily.
- Ergonomic Design: A comfortable grip reduces fatigue.
- Weight: A lightweight trimmer is easier to handle.
- Warranty: A good warranty indicates quality.
These features improve efficiency and make work easier. Invest in a trimmer that meets your specific needs.
Preparation Steps Before Trimming
Preparing for a wood door trim is crucial. Proper steps ensure safety and precision. Follow these preparations to make trimming easier and effective.
Securing The Door
Securing your door is the first step. A stable door prevents accidents and mistakes. Use the following methods:
- Close the door completely.
- Use a door stop to hold it in place.
- Consider removing the door for better access.
Check the hinges. Ensure they are tight. Loose hinges can cause misalignment.
Safety Gear And Precautions
Safety is essential while trimming doors. Wear appropriate gear to protect yourself. Here’s a list of necessary safety equipment:
| Safety Gear | Purpose |
|---|---|
| Safety Goggles | Protect eyes from dust and debris. |
| Dust Mask | Prevent inhalation of wood particles. |
| Gloves | Protect hands from sharp tools. |
| Ear Protection | Reduce noise exposure from tools. |
Follow these safety precautions:
- Inspect tools before use.
- Keep the workspace clean and organized.
- Never rush the trimming process.
Stay focused on the task. Avoid distractions while working.
Trimming Techniques
Trimming wood doors requires precision and skill. Proper techniques ensure a clean finish. Here are some effective methods to master.
Straight Cuts
Straight cuts are essential for a professional finish. Follow these steps:
- Measure the door carefully.
- Mark the cutting line with a pencil.
- Clamp a straight edge to guide your saw.
- Use a circular saw or table saw for a smooth cut.
Tips for straight cuts:
- Always check your saw blade is sharp.
- Cut slowly for better control.
- Wear safety gear to protect yourself.
Dealing With Imperfections
Doors often have imperfections. Here’s how to handle them:
| Imperfection Type | Solution |
|---|---|
| Chips | Use wood filler to repair. |
| Uneven Edges | Sand down with a power sander. |
| Holes | Fill with dowels or plugs. |
For best results:
- Choose a wood filler that matches your door.
- Sand thoroughly after filling.
- Paint or stain to blend the repair.
Finishing Touches
Finishing touches enhance the beauty and durability of a wood door trimmer. They create a polished look and protect the wood from damage. This section covers two vital steps: sanding and sealing.
Sanding The Edges
Sanding is crucial for a smooth finish. It removes rough spots and imperfections. Follow these steps for effective sanding:
- Gather Materials: Use sandpaper (80 to 220 grit) and a sanding block.
- Start with Coarse Grit: Use 80 grit to smooth rough edges.
- Progress to Finer Grit: Move to 120 and then 220 grit for a sleek finish.
- Sand in the Direction of the Grain: This avoids scratches.
- Clean the Surface: Wipe with a damp cloth to remove dust.
Sealing And Painting
Sealing and painting protect your wood door trimmer. They enhance its appearance and longevity. Here’s how to do it:
- Choose the Right Sealant: Look for water-based or oil-based options.
- Apply Sealant: Use a brush for even coverage. Allow it to dry.
- Sand Between Coats: Lightly sand after the first coat for smoothness.
- Select Paint: Use exterior or interior paint based on location.
- Apply Paint: Use a roller or brush. Apply two coats for best results.
Finishing touches make your wood door trimmer stand out. They add value and charm to your home.
Troubleshooting Common Issues
Wood door trimmers are essential tools for achieving precise cuts. However, users may face challenges. This section highlights common issues and provides effective solutions.
Uneven Cuts
Uneven cuts can ruin your project. Follow these tips to fix this problem:
- Check the Blade Alignment: Ensure the blade is straight and properly aligned.
- Use a Straight Edge: Place a straight edge against the door. This helps guide your cut.
- Adjust the Height: Set the trimmer’s height to the desired depth.
- Practice on Scrap Wood: Make test cuts on scrap pieces first.
Avoiding Splintering
Splintering can damage the wood and ruin aesthetics. Use these strategies to minimize splintering:
- Use a Fine-Tooth Blade: A fine-tooth blade reduces splintering.
- Score the Cut Line: Lightly cut along the line before making a full cut.
- Cut with the Good Side Down: This hides any potential splintering.
- Use Painter’s Tape: Apply tape along the cut line to stabilize the wood.
| Issue | Solution |
|---|---|
| Uneven Cuts | Check alignment, use a straight edge, and adjust height. |
| Splintering | Use fine-tooth blades, score lines, and tape cut edges. |
Maintenance And Care For Trimmers
Proper maintenance and care for your wood door trimmer extend its life. Regular upkeep keeps it efficient and safe to use. Follow these simple tips to ensure your trimmer remains in top condition.
Cleaning The Blades
Cleaning the blades is essential for smooth operation. Dirt and sap can build up, affecting performance. Here’s how to clean them:
- Unplug the trimmer for safety.
- Use a soft brush to remove debris.
- Wipe the blades with a cloth dampened in soapy water.
- Rinse and dry thoroughly.
- Apply a light coat of oil to prevent rust.
Regular cleaning helps maintain sharpness. Check blades after every use for any damage. Replace blades if they become dull.
Regular Servicing Tips
Regular servicing keeps your trimmer in peak condition. Follow these tips:
- Inspect power cords for wear.
- Check all screws and bolts for tightness.
- Lubricate moving parts every few months.
- Store in a dry, cool place to prevent rust.
- Sharpen blades at least once a year.
Consider professional servicing once a year. This helps catch any hidden issues. A well-maintained trimmer performs better and lasts longer.
Advanced Tips And Tricks
Mastering the use of a wood door trimmer can elevate your woodworking projects. These advanced tips and tricks will help you achieve precision and efficiency.
Handling Complex Cuts
Complex cuts can be challenging. Follow these steps for better results:
- Use a Guide: A straightedge or clamp can help.
- Mark Clearly: Use a pencil for precise lines.
- Adjust the Depth: Set the trimmer to the correct depth.
- Make Multiple Passes: Avoid cutting too deep at once.
- Practice on Scrap Wood: Test cuts before the final piece.
Complex cuts require patience. Always prioritize safety by wearing protective gear.
Extending The Life Of Your Trimmer
Proper maintenance can extend your wood door trimmer’s life. Follow these tips:

Frequently Asked Questions
What Is A Wood Door Trimmer?
A wood door trimmer is a tool used to adjust the size of a wooden door. It helps in trimming the edges for a perfect fit in the door frame. This tool is essential for achieving a seamless installation, ensuring your door operates smoothly.
Why Use A Wood Door Trimmer?
Using a wood door trimmer allows for precise adjustments. It ensures that doors fit properly without gaps or misalignment. This tool enhances both functionality and aesthetics, making it a vital choice for DIY enthusiasts and professionals alike.
How To Trim A Wood Door Correctly?
To trim a wood door correctly, measure the excess height or width first. Mark the cutting line clearly and use a straight edge. Then, employ the wood door trimmer for a clean cut. Always double-check measurements before trimming to avoid mistakes.
Can I Use A Wood Door Trimmer On All Doors?
While most wooden doors can be trimmed, some materials may not be suitable. Hollow-core doors often require a different approach due to their construction. Always check the door type before using a wood door trimmer for the best results.
Conclusion
Choosing the right wood door trimmer can enhance both functionality and aesthetics. Quality trimmers ensure a perfect fit, improving energy efficiency. With various styles available, finding one that complements your home is easy. Invest in a wood door trimmer to elevate your space and enjoy lasting benefits for years to come.