How to Make a Wooden Jointer Plane: Complete Guide
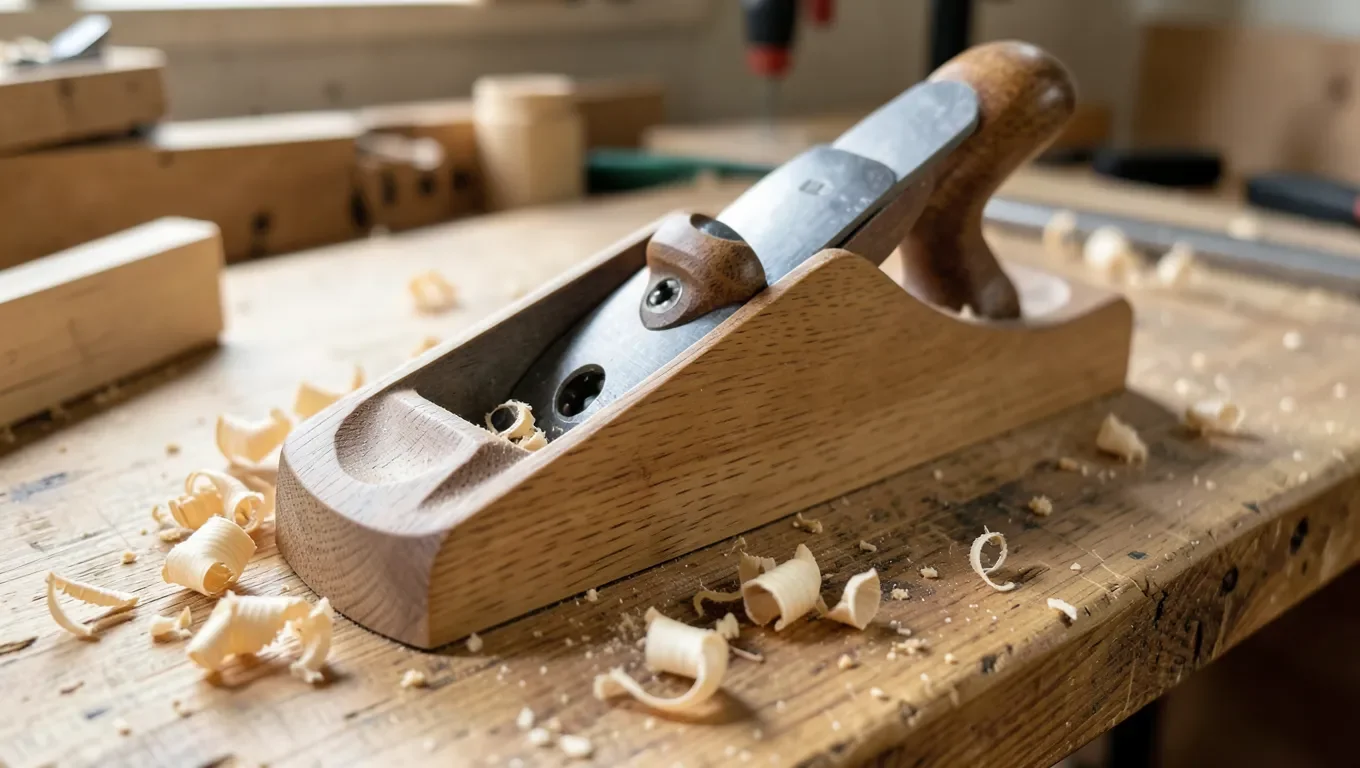
A wooden jointer plane is built from a dense, stable hardwood body (traditionally beech, or hard maple as a common substitute), fitted with a purchased steel iron bedded at the correct angle, and finished by truing the sole dead flat so it can actually joint a straight edge.
Making your own jointer plane is one of the more advanced hand-tool projects a woodworker can take on, but it’s not out of reach if you’ve already built a few mortise-and-tenon joints and can true a board by hand. Unlike a metal-bodied plane, almost everything about a wooden one is something you control: the body wood, the bedding angle, the mouth size, even the balance and grip. The tradeoff is that every one of those choices actually matters to how the finished tool performs, so it’s worth understanding the mechanics before you start cutting.
What You’ll Need: Body Wood, a Steel Iron, and Basic Tools
Best Replacement Iron for a Shop-Made Jointer Plane
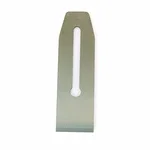 |
WoodRiver V3 Replacement Blade for No. 6/No. 7 Bench Plane – $42.98 A wide, pre-sharpened high-carbon steel iron sized to fit a shop-made wooden jointer body without hand-forging your own blade.
|
Most hobbyists don’t forge their own plane iron, and you shouldn’t either unless bladesmithing is a separate hobby you already have. A purchased tool-steel iron holds an edge more predictably than anything you can heat-treat in a home shop, and it’s the one part of this build where buying rather than making is the practical choice. A wide replacement iron sized for a No. 6 or No. 7 metal jointer plane (roughly 2-3/8 inches) works well in a shop-made wooden jointer body, since that’s the same width tradition settled on for full-length jointer irons.
- A dense, straight-grained hardwood blank for the body (beech or hard maple, at least 3 inches thick to leave room for the bed and mouth)
- A wide steel plane iron, ideally with a matching chipbreaker/cap iron
- A backsaw or cross-cutting hand saw and a set of bench chisels
- A marking gauge, square, and a metal straightedge long enough to span the full sole
- A block of dense hardwood for the wedge, cut from clean, straight-grained offcuts
- Wood glue, if you’re building a laminated (Krenov-style) body instead of a single solid blank
Choosing and Preparing the Body Blank
Beech is the traditional choice for European wooden planes for a specific reason: it’s dense, close-grained, and wears evenly at the sole instead of developing the low spots that softer or more open-grained woods get after repeated use. Hard maple is the common North American substitute and performs similarly well – it’s dense and stable enough to hold its shape and resist wear at the mouth and sole. Avoid softer, more open-grained hardwoods for the body; they compress and round over at the sole edges faster, and the mouth opening wears wider than intended within a season of regular use.
Pick a blank with straight, even grain running the length of the body, not just the face – a plane body with grain that runs out at an angle is more likely to warp as it acclimates to your shop’s humidity. Let the blank sit in your shop for at least a week or two before you start shaping it if it’s coming from a lumberyard rather than wood you’ve had on hand; wood that’s still equalizing moisture content will move on you mid-build.
Laying Out the Bed Angle and Mouth
The bedding angle is the angle the iron sits at relative to the sole, and it’s not just a style choice – it changes how the plane cuts. Common pitch, 45 degrees, is the standard angle for general jointing work in straight-grained wood. For figured or interlocked-grain stock that tends to tear out at a lower angle, a steeper bed – 50 degrees (sometimes called York pitch) or even 55 degrees – presents more of a scraping cut to the wood fibers and reduces tearout, at the cost of needing more effort to push the plane. If you mostly joint straight-grained construction lumber and cabinet-grade hardwood, common pitch is the right default; steepen the bed only if you know you’ll be working difficult grain regularly.
Lay out the bed as a flat ramp cut into the body at your chosen angle, positioned so the iron’s cutting edge lands close to where the mouth opening will be. Chop and pare this bed with chisels, checking it against a bevel gauge set to your target angle as you go – a bed that’s even a degree or two off from flat will rock the iron and cause chatter.
Fitting the Iron, Chipbreaker, and Wedge
Traditional wooden planes don’t hold the iron with a screw the way a metal-bodied plane does. Instead, a wooden wedge bears down on the iron (and chipbreaker, if you’re using one) and locks it against a cross-pin set into the two cheeks of the body. Tapping the wedge in seats the iron firmly; tapping it out releases the iron for sharpening or adjustment. Fit the wedge so its bearing face matches the angle and curve of the iron closely – a wedge that only contacts the iron at one edge will let it shift under use no matter how hard you drive the wedge home. For a smaller laminated build with the same wedge and cross-pin idea, see our guide to making a Krenov-style wooden hand plane.
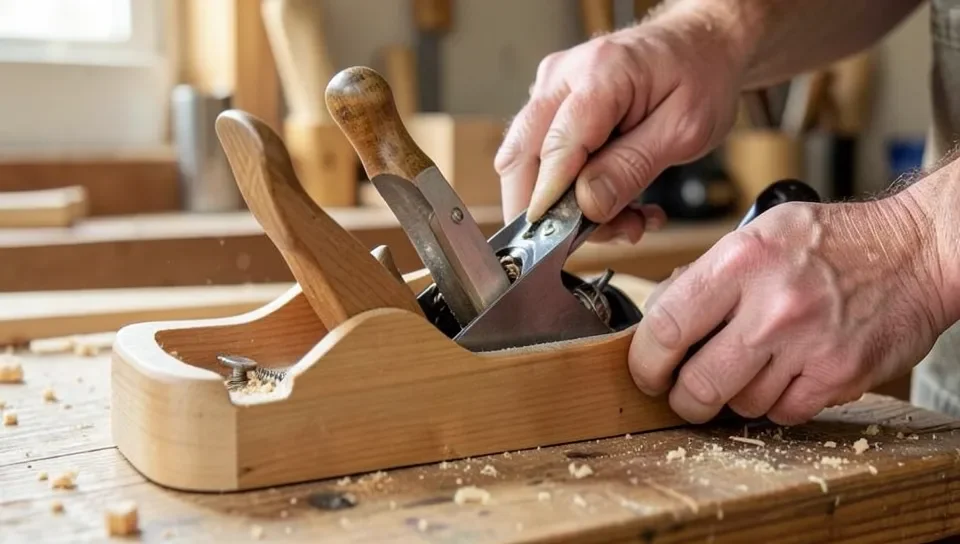
If you’re using a chipbreaker (cap iron), set its edge back from the cutting edge by a small, controlled amount – a fraction of a millimeter for fine finishing shavings, more for rough stock removal. The chipbreaker’s job is to curl the shaving up and break it before it can lift and tear the wood ahead of the cut, which matters more as the grain gets more difficult. A single-iron design without a chipbreaker is simpler to build and is common on Krenov-style planes, but it relies more heavily on a tight mouth and steep bed angle to control tearout instead.
Cutting and Fitting the Mouth Opening
The mouth is the gap in the sole just ahead of the iron’s cutting edge, and its size controls how the plane handles difficult grain. A tight mouth supports the wood fibers right at the point of the cut, which reduces the wood’s ability to tear out ahead of the blade – important on figured or interlocked-grain wood. The tradeoff is that a tight mouth only clears thin shavings, so it demands more precise fitting between the sole, the bed, and how far the iron projects; too tight and the plane chokes on its own shavings. A more open mouth clears thicker shavings easily and is more forgiving to build, but it gives up some tearout control on difficult wood.
For a first jointer plane meant for general dimensioning work in reasonably straight-grained wood, err toward a moderate mouth opening rather than chasing the tightest possible gap – it’s easier to true up later than to open a mouth you cut too tight to clear shavings at all.
Flattening and Tuning the Sole
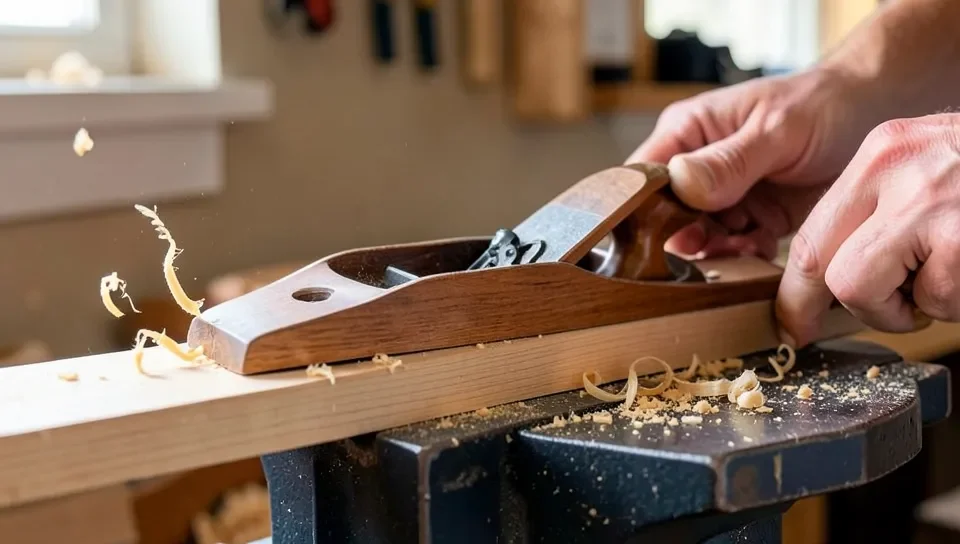
A jointer plane’s entire job is producing a straight edge, and it can’t do that if its own sole isn’t flat. Once the body is assembled, check the sole with a metal straightedge laid along its full length and diagonally corner to corner. Hold it up to a light source and look for gaps – any place light shows through is a low spot, and any place the straightedge rocks is a high spot. Work the high spots down with a block plane, a scraper, or sandpaper glued to a known-flat reference surface, checking again after every pass.
Pay particular attention to the sole immediately in front of and behind the mouth – those two areas do the actual work of registering the plane against the wood as it cuts, and if either one is low, the plane will rock and cut an edge that isn’t truly straight even though the rest of the sole reads flat. Wooden bodies move seasonally with humidity, so plan on rechecking and touching up the sole periodically rather than treating this as a one-time step.
Finishing and Breaking In the Plane
Once the sole is flat and the iron is fitted and sharpened, ease any sharp edges on the body and round over the areas your hands will grip. A light coat of oil or wax on the body helps the sole glide over the workpiece and protects the wood from moisture swings; avoid a thick film finish like varnish on the sole itself, since it adds friction rather than reducing it. Take a few light test passes on scrap before trusting the plane on a real project, and re-flatten the sole after the first few uses once the wood has had a chance to settle from the shaping work.
Frequently Asked Questions
What Wood Should I Use for a Wooden Jointer Plane Body?
Beech is the traditional choice because it’s dense, close-grained, and resists wear at the sole and mouth. Hard maple is a widely available substitute with similar density and stability. Avoid softer or more open-grained hardwoods; they wear unevenly and the mouth opening enlarges faster than it should.
Do I Need to Forge My Own Blade for a Homemade Plane?
No. Almost every hobbyist wooden-plane build uses a purchased steel iron rather than a hand-forged one. A wide replacement iron sized for a metal No. 6 or No. 7 jointer plane, roughly 2-3/8 inches, fits a shop-made jointer body well and holds an edge more predictably than a home-heat-treated blade.
What Bedding Angle Should the Iron Sit At?
Common pitch, 45 degrees, is the standard bedding angle for general jointing in straight-grained wood. A steeper bed, 50 to 55 degrees, presents more of a scraping cut and reduces tearout on figured or interlocked-grain wood, at the cost of requiring more effort to push the plane.
Why Does the Mouth Opening Size Matter?
A tight mouth supports the wood fibers right at the cutting edge and reduces tearout on difficult grain, but it only clears thin shavings and requires precise fitting. A more open mouth clears thicker shavings easily and is more forgiving to build, but it gives up some control over tearout on figured wood.
Sponsored / affiliate links. As an Amazon Associate I earn from qualifying purchases. I may earn additional commission from eligible campaigns.