Ash From Wood Stove: Genius Cleaning Tips
Safely and efficiently cleaning ash from your wood stove is simple with the right tools and techniques. Learn how to remove ash, dispose of it properly, and repurpose it for gardening, preventing messes and making your hearth shine like new.
Hello there, fellow DIYers and home furnace fans! Md Meraj here, ready to tackle a topic that might seem a bit dusty, but is super important for anyone with a cozy wood stove: managing that ash. Seeing that pile of gray powder grow in your stove can sometimes feel like a chore waiting to happen, right? But don’t worry! Cleaning out ash doesn’t have to be a messy ordeal. With a few straightforward tips and the right approach, you can keep your wood stove looking great and working efficiently. We’ll walk through it step-by-step, so you can feel confident and get the job done right. Let’s get that hearth sparkling!
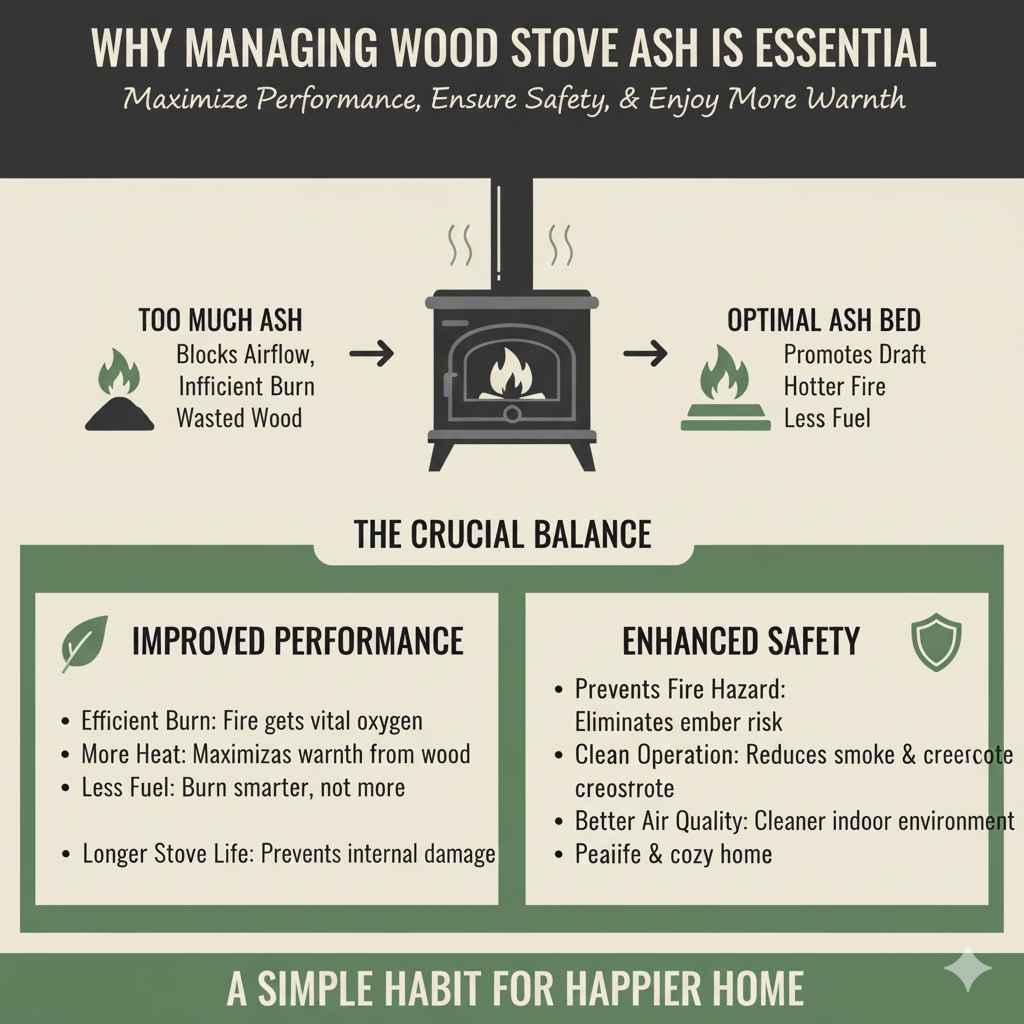
Why Managing Wood Stove Ash is Essential
Owning a wood stove brings a wonderful warmth and ambiance to a home. It’s a classic, reliable way to heat your space, and there’s something truly special about the crackling fire. However, with that fire comes ash, a byproduct of burning wood. Regularly removing and managing this ash isn’t just about keeping your stove looking tidy; it’s crucial for its performance and safety.
An excessive buildup of ash can actually insulate the fire, preventing it from getting enough air to burn efficiently. This means you might be using more wood than you need and getting less heat! Plus, ash can be a fire hazard if it accumulates too close to the stove’s opening or if hot embers are accidentally left in it for too long. Knowing how to handle ash correctly ensures your stove operates at its best, keeps your home safe, and makes the whole wood-burning experience more enjoyable. Think of it as part of the ritual of enjoying your stove – a little bit of maintenance for a lot of cozy comfort.
When and How Often Should You Clean Your Wood Stove Ash?
The frequency of cleaning your wood stove ash depends on how often you use it and how much you burn. A good rule of thumb is to check your stove’s ash levels weekly, especially during the peak heating season when you might be using it daily. If the ash layer reaches about 1 to 2 inches deep, it’s usually time to clean it out. A thin layer of ash (about an inch) can actually be beneficial as it helps insulate the firebox and retain heat, promoting a more efficient burn. However, too much ash can smother the fire and reduce airflow, hindering performance.
You’ll know it’s time to clean when:
- The ash layer is thicker than 1-2 inches.
- You notice your fire isn’t burning as hot or efficiently as usual.
- You can’t see the bottom of the firebox clearly anymore.
It’s also a good idea to do a more thorough cleaning at the end of the burning season or before you start it up for the first time each year to ensure everything is in top condition. Remember, always make sure the ashes are completely cold before you start cleaning – this is a critical safety step.
Essential Tools for Ash Cleaning
Gathering the right tools makes a world of difference when it comes to cleaning ash. You don’t need anything too fancy; in fact, many of these items might already be in your home or garage. Having these on hand will make the process quicker, cleaner, and much safer.
Your Ash Cleaning Toolkit:
- Metal Ash Bucket with Lid: This is your most important tool. A heavy-duty metal bucket with a tight-fitting lid is designed specifically for carrying and storing potentially hot ashes safely. Plastic buckets can melt, so always opt for metal. Look for one with a handle and preferably a snug lid to prevent dust from escaping.
- Metal Shovel or Scoop: A small, sturdy metal shovel or scoop is perfect for carefully gathering the ash from the firebox. Choose one with a long handle if possible to keep your hands away from the heat and dust.
- Wire Brush: A stiff wire brush is useful for scraping any stubborn creosote or ash buildup from the inside surfaces of your stove, including the glass door.
- Shop Vacuum with HEPA Filter (Optional but Recommended): For a truly dust-free clean, a shop vacuum with a fine dust or HEPA filter is a game-changer. Make sure it’s rated for fine dust and is suitable for vacuuming ash. Regular household vacuums can be damaged by ash and may blow fine particles back into the air. HEPA filters are designed to trap very small particles.
- Dust Mask or Respirator: Ash particles are very fine and can be irritating to the lungs and eyes. Wearing a dust mask or a proper respirator will protect you from inhaling them.
- Safety Glasses: Protect your eyes from any flying ash or debris.
- Work Gloves: Keep your hands clean and protected.
- Old Newspaper or Drop Cloths: To place under the stove and around the work area to catch any stray ash or dust.
Step-by-Step Guide: Cleaning Your Wood Stove Ash
Now for the main event! Following these steps will help you clean your wood stove safely and effectively. Remember, patience and caution are key.
| Step | Action | Tips for Success |
|---|---|---|
| 1 | Ensure Ashes are Cold: This is the MOST important step. Never clean ash from a recently used stove. Wait at least 12-24 hours after the last fire has completely died out. Embers can stay hot for a very long time. You can test by carefully probing the ash with your shovel; if you feel any warmth, wait longer. | If you’re unsure, err on the side of caution and wait an extra day. Safety first! |
| 2 | Prepare Your Workspace: Lay down old newspaper or drop cloths around the front of the wood stove. This will catch any ash that might fall during the cleaning process and make cleanup easier. Open a window slightly for ventilation if indoor air quality is a concern, but avoid creating drafts that could blow ash around inside. | Think of this as creating a clean zone before you start the actual cleanup. |
| 3 | Wear Protective Gear: Put on your dust mask or respirator, safety glasses, and work gloves. This will protect you from inhaling fine ash particles and prevent irritation to your eyes and skin. | These simple measures make a big difference in comfort and safety. |
| 4 | Scoop Out the Ash: Using your metal shovel or scoop, carefully gather the cooled ash from the firebox. Start by gently scooping up the bulk of the ash. Avoid vigorous scraping at this stage, as it can send dust into the air. | Don’t try to get every single speck; focus on the main accumulation. |
| 5 | Transfer Ash to Metal Bucket: Place the scooped ash directly into your metal ash bucket. Fill the bucket only about two-thirds full. This leaves room for any accidental spills and makes it easier to carry. | Keep the lid close by and ready to seal. |
| 6 | Clean the Firebox Interior: Once the bulk of the ash is removed, use your wire brush to gently scrape any remaining ash or light creosote from the firebox walls, grate, and door. Then, carefully scoop any remaining loose ash into the metal bucket. | A little gentle scraping can help remove stubborn bits. |
| 7 | (Optional) Vacuuming: If you’re using a shop vacuum rated for fine dust, you can now vacuum out any remaining fine ash particles from the corners and crevices of the firebox. This is the best way to get a completely dust-free finish. Make sure the vacuum is specifically designed for this task. Wood Heat.org offers more detailed advice on stove maintenance. | This step significantly reduces airborne dust, making it a worthwhile investment for frequent users. |
| 8 | Seal the Ash Bucket: Securely place the lid on the metal ash bucket. Ensure it’s sealed tightly to prevent ash dust from escaping. | A tight seal is crucial for safe transport and storage. |
| 9 | Dispose of Ash Safely: Take the sealed metal ash bucket outdoors immediately. Empty it into a separate, non-combustible container, such as a metal trash can with a lid, away from any structures, dry leaves, or combustible materials. Let the ashes sit in this outdoor container for several days (at least 3-5 days) to ensure any hidden embers are fully extinguished before final disposal. NFPA provides safety guidance on fire prevention. | Outdoor disposal is paramount. NEVER dispose of ash in plastic bins or inside your home or garage. |
| 10 | Clean Up Workspace: Carefully gather up the newspaper or drop cloths, fold them inwards to contain any fallen ash, and dispose of them in your outdoor ash bin or garbage. Wipe down any surfaces around the stove. | These simple steps keep your home clean after the job is done. |
Safe Ash Disposal: What You MUST Know
Properly disposing of wood stove ash is incredibly important for fire safety. Hot embers can remain hidden in ash for days, and improper disposal is a common cause of house fires. Here’s a breakdown of how to do it right:
Key Disposal Rules:
- Always Use a Metal Container: Only use a heavy-duty metal ash bucket with a tight-fitting lid for collecting and transporting ash.
- Store Outdoors, Away from Combustibles: Once collected and lidded, store the metal ash bucket in a safe outdoor location. This should be a spot well away from your home, garage, sheds, firewood piles, dry leaves, or any other flammable materials. Ideally, use a dedicated metal trash can with a lid for this temporary outdoor storage.
- Allow Ample Cooling Time: Even after you think the ash is cold, it needs more time. Keep the ashes in their outdoor metal container for a minimum of 3-5 days. This extended period ensures any latent heat or hidden embers have a chance to completely die out.
- Final Disposal: After the cooling period, you can typically dispose of the completely cold ashes in your regular household garbage, as long as local regulations permit. Some areas allow for composting ash, but check with your local waste management or composting facility first. Avoid landfilling if possible, as it’s not the most environmentally friendly option.
- Never Inside: Do not store ash buckets inside your home, garage, or on a wooden porch or deck. The risk of fire is far too great.
Following these disposal guidelines diligently is non-negotiable. It’s a small effort that prevents significant risks.
Repurposing Wood Stove Ash: Eco-Friendly Uses
Don’t just toss that ash! Wood stove ash (from untreated, natural wood only!) is a valuable resource that can be repurposed in several eco-friendly ways around your home and garden. It’s full of minerals that can benefit your soil.
Gardening and Home Uses for Ash:
- Soil Amendment for Gardens: Wood ash is alkaline and can help neutralize acidic soil. It’s rich in potassium, calcium, and phosphorus, which are vital nutrients for plant growth. Before adding to your garden, test your soil’s pH. If it’s already neutral or alkaline, you might not need much ash. If it’s acidic (pH below 7), ash can be beneficial. Aim to spread a thin layer and work it into the soil, avoiding direct contact with plant roots initially. According to Purdue Extension, ash can be a useful amendment when used correctly.
- Composting Boost: Add a small amount of wood ash to your compost bin. It introduces beneficial minerals and can help to balance the C:N (carbon-to-nitrogen) ratio, potentially speeding up the decomposition process. Don’t add too much; a thin sprinkle is enough.
- Pest Deterrent: A ring of wood ash around plants can help deter slugs, snails, and some crawling insects. They tend to avoid crossing a dry, powdery barrier.
- De-icing Sidewalks and Driveways: In a pinch, a light scattering of cold wood ash can provide some traction on icy surfaces, similar to sand. It’s not as effective as salt but is a more environmentally friendly alternative and won’t harm plants or concrete as much.
- Cleaning Agent: Historically, lye (made from wood ash) was used for cleaning and making soap. While you won’t be making lye, a bit of ash can be used as a mild abrasive for cleaning stubborn grime on glass or metal surfaces (test in an inconspicuous area first!).
Important Note: Only use ash from burning natural, untreated wood. Ash from burning painted, stained, treated lumber, or particleboard can contain harmful chemicals and should NOT be used in gardens or compost. Make sure the ash is completely cold before attempting any of these uses.
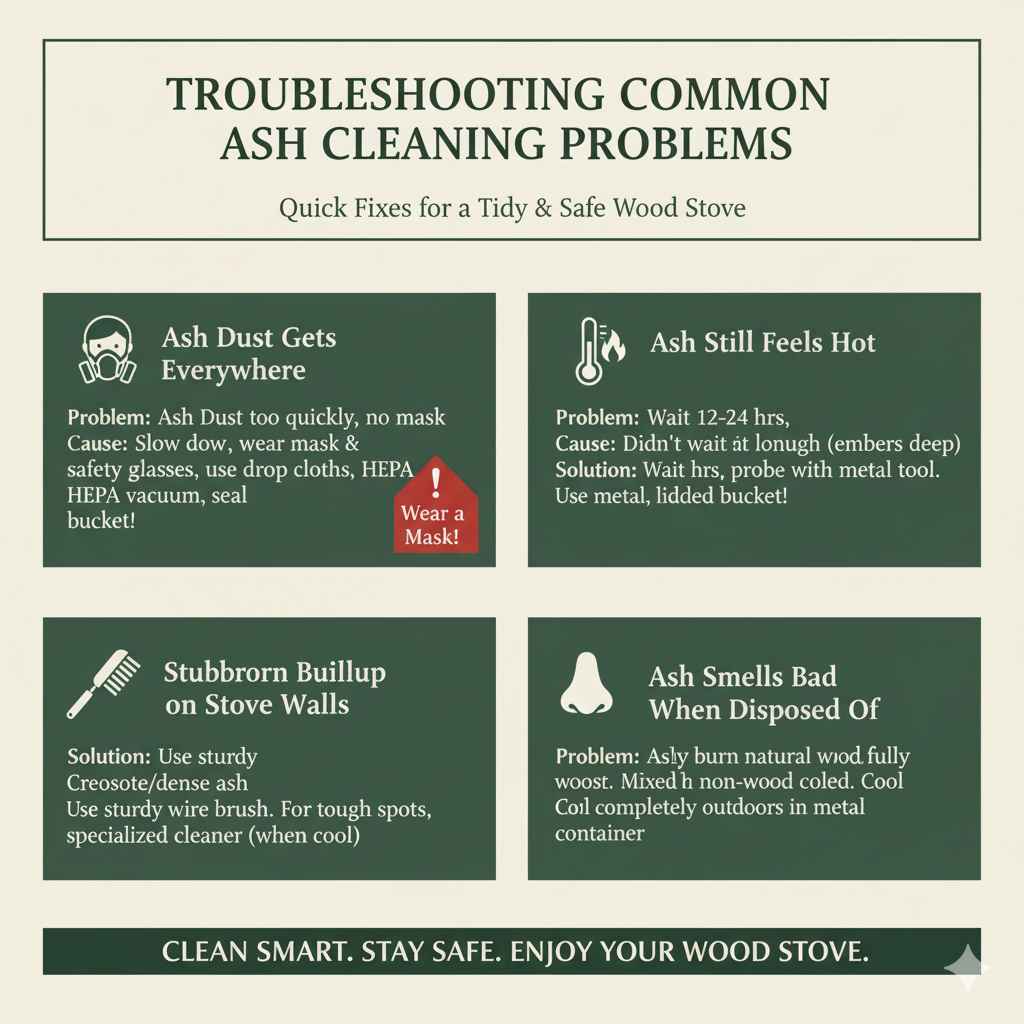
Troubleshooting Common Ash Cleaning Problems
Even with the best intentions, you might run into a few minor hiccups when cleaning your wood stove. Here are some common issues and simple solutions:
| Problem | Possible Cause | Solution |
|---|---|---|
| Ash Dust Gets Everywhere | Working too quickly; not using proper protective gear or containment. | Slow down! Ensure you’re wearing a dust mask and safety glasses. Use drop cloths around the stove. If using a shop vacuum, ensure it has a HEPA filter suitable for fine dust. Seal the ash bucket immediately after filling. |
| Ash Still Feels Hot | Not waiting long enough after the last fire. Embers are deeper than they appear. | Always wait at least 12-24 hours, and if in doubt, wait longer. Carefully probe the ash with a metal tool to check for heat before you start scooping. Ensure your metal ash bucket is designed to handle residual heat and has a secure lid. |
| Stubborn Buildup on Stove Walls | Creosote or dense ash accumulation. | A sturdy wire brush is your best friend here. For very stubborn spots, you might need to use a specialized stove cleaner (follow product instructions carefully) or plan a more intensive cleaning session. Ensure the stove is completely cool before scrubbing. |
| Ash Smells Bad When Disposed Of | Ash mixed with non-wood materials or not fully cooled. | Ensure you’re only burning natural wood. Properly cool ash outdoors in a metal container away from your home. The smell should dissipate as it cools and dries. If the smell persists, double-check that the ash is fully inert. |
Frequently Asked Questions About Wood Stove Ash
Q1: Can I vacuum wood stove ash with my regular household vacuum cleaner?
No, it’s strongly recommended that you do not use a standard household vacuum cleaner for wood stove ash. Ash is extremely fine dust that can clog the vacuum’s filter, damage the motor, or even blow the fine particles back into the air, creating a mess and a health hazard. A shop vacuum with a HEPA filter designed for fine dust is a much safer and more effective option.
Q2: Is it safe to put hot ashes in my metal ash bucket?
It’s best to avoid putting truly hot ashes in the bucket. While metal buckets are designed to handle some residual warmth, they are not fireproof for large, active embers. Always wait until the ashes are cool to the touch, or at least show no signs of glowing or radiant heat. If there’s any doubt, wait longer.
Q3: How often should I deep clean my wood stove, not just the ash?
Beyond regular ash removal, it’s wise to perform a more thorough cleaning of your wood stove at least once a year, typically at the end of the burning season. This involves inspecting and cleaning out the chimney for creosote buildup (which is highly flammable), cleaning the glass, checking the door gaskets, and ensuring all components are in good working order. Consulting your stove’s manual is always a good idea for specific recommendations.