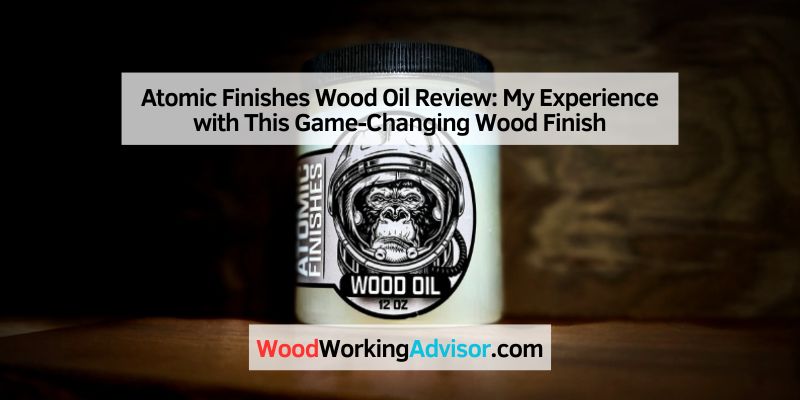
Atomic Finishes Wood Oil Review: My Experience with This Game-Changing Wood Finish
Hey there, fellow woodworking enthusiast! If you’re like me, you’ve probably spent countless hours sanding, shaping, and perfecting your wood projects, only to realize that the finish can make or break the final result. I’ve tried my fair share of wood oils, waxes, and varnishes over the years, but recently, I stumbled across Atomic Finishes Wood Oil, and let me tell you—it’s been a game-changer in my workshop. In this Atomic Finishes Wood Oil review, I’m going to share my honest experience with this product, diving deep into what makes it special, how it performs, and whether it’s worth adding to your woodworking arsenal. Whether you’re a seasoned pro or just starting out, I’ll break it all down in a way that’s easy to understand, so grab a cup of coffee and let’s get into it!
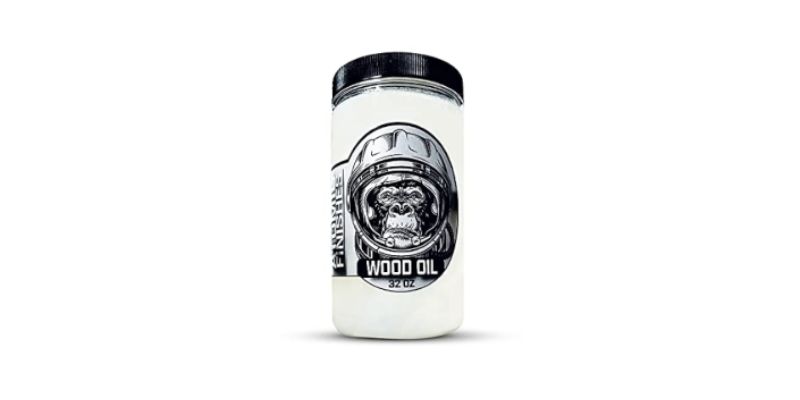
What Is Atomic Finishes Wood Oil?
Let’s start with the basics. Atomic Finishes Wood Oil is a premium wood finish made by Bidwell Wood and Iron, a company based in the USA. It’s designed to enhance the natural beauty of wood while providing a protective, food-safe coating. What caught my attention right away was its claim to be ultra-clear, non-toxic, and vegetarian-friendly, with no volatile organic compounds (VOCs). That’s a big deal for someone like me who loves working on cutting boards and kitchen utensils but worries about harmful chemicals.
This oil is a blend of food-grade waxes, oils, and natural ingredients. It’s marketed as a versatile finish that works on both finished and unfinished wood, from small projects like cutting boards to larger pieces like dining tables. I was intrigued by the promise of a deep, semi-gloss finish that doesn’t yellow over time, unlike some other oils I’ve used. Plus, it’s FDA food-contact safe and certified vegetarian by the American Vegetarian Association, which gives me peace of mind when using it on items that’ll touch food.
Why I Chose Atomic Finishes Wood Oil
I’ll be honest—I wasn’t actively looking for a new wood finish when I found Atomic Finishes. I was pretty happy with my go-to tung oil and mineral oil blends. But I kept hearing buzz about this product in woodworking forums and on social media. People were raving about its ease of application and how it brought out the grain in their projects. Then I saw a post on a woodworking subreddit where someone mentioned a free sample offer (just pay shipping), and I thought, “Why not give it a try?”
What really sold me was the product’s focus on being food-safe and eco-friendly. As someone who makes a lot of kitchen items as gifts for family and friends, I’m always cautious about what finishes I use. I also liked that it was developed by woodworking professionals who were frustrated with the lack of high-quality, safe finishes on the market. That kind of backstory resonates with me—it’s like they made this product for people like us who care about quality and safety.
How to Apply Atomic Finishes Wood Oil
Applying Atomic Finishes Wood Oil is surprisingly straightforward, which is a huge plus for beginners and pros alike. Here’s how I did it, based on the instructions from Bidwell Wood and Iron and my own trial-and-error process.
First, you need to prep your wood. I sanded my project—a walnut cutting board—down to 320 grit for a smooth surface. The instructions say you can use any grit, but 220-320 is recommended for the best results. Make sure the wood is clean and free of dust or debris. I wiped mine down with a damp cloth and let it dry completely.
Next, I stirred the oil well because it can settle, especially if it’s been sitting in a warm shop or during shipping. I applied a heavy coat using a microfiber cloth, spreading it evenly across the surface. The oil has a creamy texture, which makes it easy to work with. For most projects, you’re supposed to let the oil sit for 15 minutes to an hour. I let mine sit for about 30 minutes, but for thirstier woods like walnut, you can leave it overnight for deeper penetration.
After letting it soak, I used a clean microfiber cloth to wipe off the excess and buff the surface. This step is key—it helps the oil absorb into the grain and sets the wax for a smooth, polished finish. For a glossier look, you can use an orbital buffer, but I stuck with hand-buffing for a natural, semi-gloss sheen. The finish sets fully over a few hours, depending on the temperature in your shop.
One thing I love is how easy it is to touch up. If I get a scratch on my cutting board, I just sand the spot lightly, apply a bit more oil, and buff it out. It blends seamlessly, which isn’t always the case with other finishes.
My Experience Using Atomic Finishes Wood Oil
Now, let’s get to the good stuff—how this oil actually performs. I tested Atomic Finishes Wood Oil on a few different projects: a walnut cutting board, a cherry serving tray, and a maple coffee table. Each wood type reacted a bit differently, but overall, I was impressed.
On Walnut
Walnut is one of my favorite woods because of its rich, dark grain. I was worried the oil might dull its natural beauty, but I was pleasantly surprised. The finish brought out the deep chocolate tones and made the grain pop without adding any artificial color. It gave the cutting board a warm, semi-gloss look that felt smooth to the touch. I’ve been using the board for a few months now, and it’s holding up great, even with regular use in the kitchen.
On Cherry
Cherry can be tricky because it tends to blotch with some finishes. Atomic Finishes Wood Oil went on evenly, and the cherry’s reddish hues really shone through. The serving tray looked almost too pretty to use! I noticed that the finish didn’t feel sticky or plastic-like, which is a common issue with some oil-based finishes. It’s been about two months, and the tray still looks as good as new, even after a few wine and cheese nights.
On Maple
Maple is lighter, so I was curious to see if the oil would yellow it, as some finishes do. Thankfully, it stayed crystal clear, enhancing the subtle grain without altering the color. The coffee table has a sleek, modern look now, and the finish feels durable enough to handle daily use. I did notice that maple soaked up more oil than walnut or cherry, so I applied a second coat after a week for extra protection.
Overall, the application process was smooth, and the results were consistent across different woods. The oil didn’t have a strong smell, which was a relief since I work in a small garage shop. It’s also forgiving—if you miss a spot or apply too much, you can easily fix it without starting over.
Pros and Cons of Atomic Finishes Wood Oil
To give you a clear picture, here’s a breakdown of what I loved and what I didn’t about Atomic Finishes Wood Oil.
| Pros | Cons |
|---|---|
| Food-safe and non-toxic, perfect for kitchen items | A bit pricier than basic mineral oil |
| Easy to apply with minimal tools | Requires buffing for the best finish |
| Enhances wood grain without yellowing | May need reapplication for high-use items |
| Versatile for both finished and unfinished wood | Not as durable as polyurethane for heavy wear |
| VOC-free and eco-friendly | Can settle in the jar, so stirring is a must |
| Blends seamlessly for touch-ups | Coverage varies depending on wood type |
What I Loved
The biggest win for me is how safe this oil is. Knowing it’s FDA food-contact safe and free of harsh chemicals makes it my go-to for cutting boards and other kitchen projects. I also love how it enhances the wood’s natural beauty without overpowering it. The semi-gloss finish strikes a perfect balance—not too shiny, not too dull. And the fact that it’s so easy to apply and touch up makes it beginner-friendly.
What Could Be Better
It’s not perfect, though. The price is a bit higher than basic mineral oil or even some tung oil blends, so it might not be the best choice if you’re on a tight budget. Also, while it’s durable for most projects, it’s not as tough as a film finish like polyurethane, so for high-traffic furniture, you might need to reapply it more often. Finally, the oil can settle in the jar, especially in warm conditions, so you have to stir it well before use.
Comparing Atomic Finishes Wood Oil to Other Finishes
I’ve used a lot of wood finishes over the years, so I thought it’d be helpful to compare Atomic Finishes Wood Oil to some popular alternatives like tung oil, linseed oil, and mineral oil. Here’s how it stacks up.
Atomic Finishes vs. Tung Oil
Tung oil is a classic choice for woodworkers, and I’ve used it on everything from tool handles to furniture. It’s durable and water-resistant but can take days to dry between coats. Atomic Finishes Wood Oil dries faster—usually within a few hours—and is easier to apply since it doesn’t require multiple thin coats. Tung oil can also yellow lighter woods like maple, while Atomic Finishes stays clear. However, pure tung oil might offer slightly better long-term durability for outdoor projects.
Atomic Finishes vs. Linseed Oil
Linseed oil, especially boiled linseed oil, is affordable and easy to find, but it has some downsides. It tends to yellow over time, and the drying agents in boiled linseed oil can make it less food-safe. Atomic Finishes is a clear winner here because it’s non-toxic, food-safe, and doesn’t yellow. It’s also more forgiving during application, as linseed oil can get gummy if you don’t wipe off the excess properly.
Atomic Finishes vs. Mineral Oil
Mineral oil is a go-to for cutting boards because it’s cheap and food-safe. But it doesn’t offer much protection beyond preventing the wood from drying out, and it needs frequent reapplication. Atomic Finishes Wood Oil provides a more durable, semi-gloss finish that enhances the wood’s appearance while still being food-safe. It’s pricier than mineral oil, but I think the extra protection and aesthetic boost are worth it.
Who Should Use Atomic Finishes Wood Oil?
This oil is a great fit for a wide range of woodworkers, but it’s especially ideal for certain folks. If you’re someone who makes food-related items like cutting boards, bowls, or utensils, this is a no-brainer because of its food-safe certification. It’s also perfect for hobbyists or professionals who want a low-maintenance finish that looks great without a lot of fuss. If you’re working on furniture or decorative pieces and want a natural, non-plastic look, this oil delivers.
On the flip side, if you’re finishing outdoor furniture or pieces that’ll see heavy wear, you might want to consider a tougher film finish like polyurethane or spar varnish for better durability. Atomic Finishes is awesome for indoor projects or items that don’t take a beating, but it’s not designed for extreme conditions.
Tips for Getting the Best Results
After using Atomic Finishes Wood Oil on several projects, I’ve picked up a few tricks to make the most of it. Here’s what I recommend:
- Stir Well: The oil can separate, especially in warm weather. Give it a good stir before applying to ensure an even consistency.
- Test on Scrap Wood: If you’re using a new wood species, test the oil on a scrap piece first to see how it absorbs and looks.
- Use Thin Coats for Thirsty Woods: For woods like walnut or oak, apply thinner coats and let them sit longer to avoid wasting product.
- Buff Thoroughly: Don’t skip the buffing step. It’s what gives the finish that smooth, polished look.
- Store Properly: Keep the jar in a cool, dry place to prevent settling or clumping.
My Final Thoughts on Atomic Finishes Wood Oil
After spending a few months with Atomic Finishes Wood Oil, I can confidently say it’s earned a permanent spot in my workshop. It’s not just another wood finish—it’s a thoughtfully designed product that balances safety, ease of use, and stunning results. I love how it brings out the natural beauty of the wood without altering its color or leaving a plastic-like coating. The fact that it’s food-safe, eco-friendly, and versatile makes it a winner for both small and large projects.
Is it perfect? No. It’s a bit pricey, and it’s not the most durable option for heavy-duty furniture. But for what it’s designed to do—protect and enhance indoor wood projects, especially kitchen items—it’s hard to beat. I’ve already recommended it to a few friends, and I’m excited to keep experimenting with it on future projects.
If you’re on the fence, I’d say give it a try, especially if you can snag a sample. It’s one of those products that lives up to the hype and makes your woodworking projects look and feel professional. Trust me, once you see how it transforms your wood, you’ll wonder why you didn’t try it sooner!

FAQs About Atomic Finishes Wood Oil
Is Atomic Finishes Wood Oil Safe for Cutting Boards?
Yes, absolutely! It’s FDA food-contact safe and made with food-grade ingredients, so it’s perfect for cutting boards, bowls, and other kitchen items. I’ve used it on several cutting boards, and it’s held up well with regular use.
How Often Do I Need to Reapply Atomic Finishes Wood Oil?
It depends on how much wear your project gets. For cutting boards or kitchen items, I reapply every few months or when the wood starts looking dry. For furniture, once or twice a year is usually enough to keep it looking great.
Can I Use Atomic Finishes Wood Oil on Outdoor Projects?
It’s not the best choice for outdoor furniture. While it’s durable for indoor use, it’s not designed to withstand weather exposure. For outdoor projects, I’d recommend a marine-grade varnish or tung oil with UV protection.
Does Atomic Finishes Wood Oil Change the Color of the Wood?
No, it’s designed to be ultra-clear and doesn’t add any color or yellowing. It enhances the natural grain and color of the wood, which is one of the things I love about it.
How Does It Compare to Other Food-Safe Finishes?
Compared to mineral oil, it’s more durable and gives a nicer semi-gloss finish. Compared to tung oil, it’s easier to apply and dries faster. It’s a bit pricier than both, but I think the results are worth the cost.
Can Beginners Use Atomic Finishes Wood Oil?
Definitely! It’s super easy to apply with just a cloth, and you don’t need fancy tools or experience. Just follow the instructions, and you’ll get great results.