Brushing vs Spraying Paint: An Essential, Proven Guide
Choosing between brushing and spraying paint depends on your project. For small, detailed projects like trim or a single chair, a brush offers superior control and minimal cost. For large, flat surfaces like cabinet doors or fences, a paint sprayer provides a faster, smoother, and more professional-looking finish. Your choice hinges on balancing speed, cost, and precision.
Hello, friends! Md Meraj here. One of the questions I get asked most often in the workshop is about finishing a project. You’ve spent hours cutting, sanding, and assembling your beautiful creation. Now comes the final step: painting. And right away, you face a big choice: do you use a trusty paintbrush or invest in a paint sprayer? It can feel like a tough decision, but I promise it’s simpler than it looks. Both methods can give you amazing results. The secret is knowing when to use each one. In this guide, I’ll walk you through everything, helping you choose the perfect method for a finish you can be proud of.
Understanding the Basics: What’s the Real Difference?
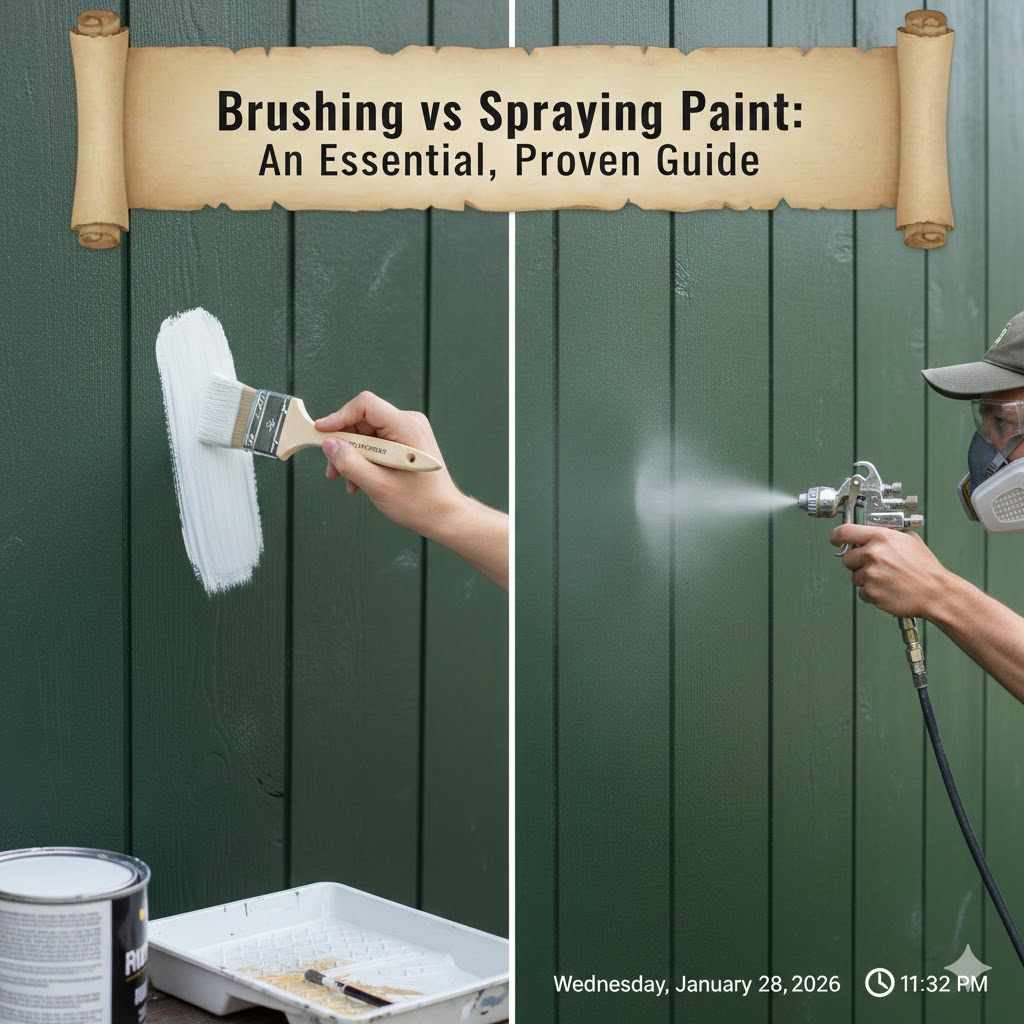
Before we dive into the details, let’s get a clear picture of what we’re talking about. Think of it like this: brushing is like writing with a pen, while spraying is like using a stamp. One gives you fine-tuned control for details, and the other gives you fast, even coverage over a large area.
Brushing is the traditional method we all know. You dip a brush into the paint and apply it directly to the surface. It’s a very hands-on process that gives you direct feedback and control over where the paint goes. It works by physically spreading a layer of paint, and the quality of your brush and your technique directly impacts the final look.
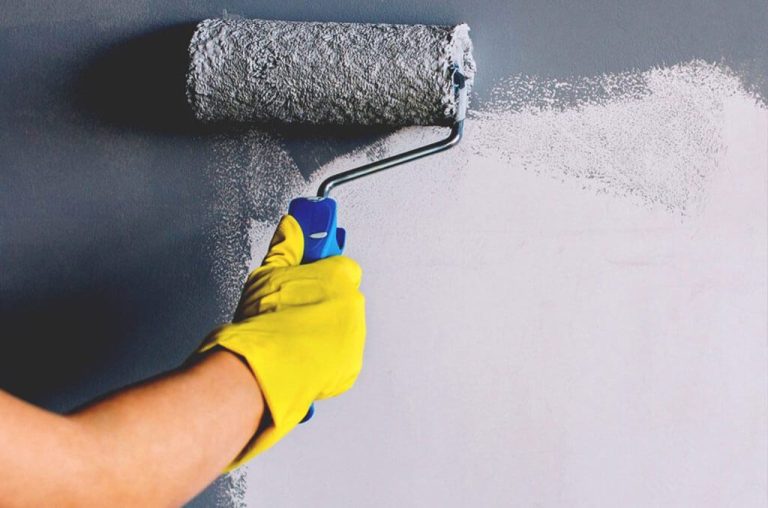
Spraying, on the other hand, uses a tool to atomize paint—breaking it into a fine mist—and propel it onto a surface. Whether you’re using an HVLP (High Volume, Low Pressure) sprayer or an airless sprayer, the core idea is the same: covering a surface quickly and evenly with very little physical contact. This method is all about efficiency and achieving a super-smooth, factory-like finish.

When to Choose a Paint Brush: The Art of Control
A paintbrush isn’t just an old-fashioned tool; it’s a master of precision. For many woodworking and DIY projects, especially for beginners, a good brush is your best friend. It allows you to work carefully and methodically, ensuring the paint goes exactly where you want it and nowhere else.
Pros of Brushing Paint
- Excellent Control and Precision: You can easily paint sharp lines along edges, corners, and detailed molding without making a mess. This is perfect for “cutting in” around trim or windows.
- Low Upfront Cost: A high-quality paintbrush and a tray are very affordable. You don’t need to spend hundreds of dollars on equipment to get started.
- Minimal Prep and Cleanup: Besides laying down a drop cloth and maybe some painter’s tape, there isn’t much prep work. Cleanup is as simple as washing your brush.
- No Overspray Worries: Overspray is a fine mist of paint that settles on everything around your project. With a brush, you have zero overspray, so you don’t have to spend hours masking off your entire room.
- Better Paint Adhesion: The physical act of brushing pushes the paint into the wood’s pores, which can create a stronger bond. This is especially helpful on the first coat or primer.
Cons of Brushing Paint
- Time-Consuming on Large Areas: Trying to paint a large fence or a full set of kitchen cabinets with a brush can take a very long time.
- Potential for Brush Marks: If you use a low-quality brush or poor technique, you can be left with visible brush strokes in the final finish, which takes away from a professional look.
- Difficult on Complex Shapes: Painting intricate items like wicker furniture or chairs with many spindles can be tedious and difficult to get even coverage on.
Best Projects for Paint Brushing
- Small furniture like end tables, nightstands, and chairs.
- Window frames, door trim, and baseboards.
- Touching up small imperfections.
- Projects with intricate details or multiple colors close together.
- Your very first painting project—it’s a great way to learn about how paint behaves.
When to Choose a Paint Sprayer: The Power of Speed
If you have a large project and the phrase “time is money” resonates with you, then a paint sprayer will feel like a superpower. It transforms a weekend-long job into an afternoon task and delivers a finish so smooth it looks like it came from a factory.
Pros of Spraying Paint
- Incredibly Fast Coverage: A paint sprayer can cover a large area in a fraction of the time it would take to brush. This is its biggest advantage.
- Flawless, Smooth Finish: Because the paint is applied in a fine mist, there are no brush or roller marks. The result is a consistent, even, and highly professional-looking finish.
- Great for Textured or Uneven Surfaces: Sprayers easily get paint into all the nooks and crannies of things like popcorn ceilings, ornate furniture, or louvered doors.
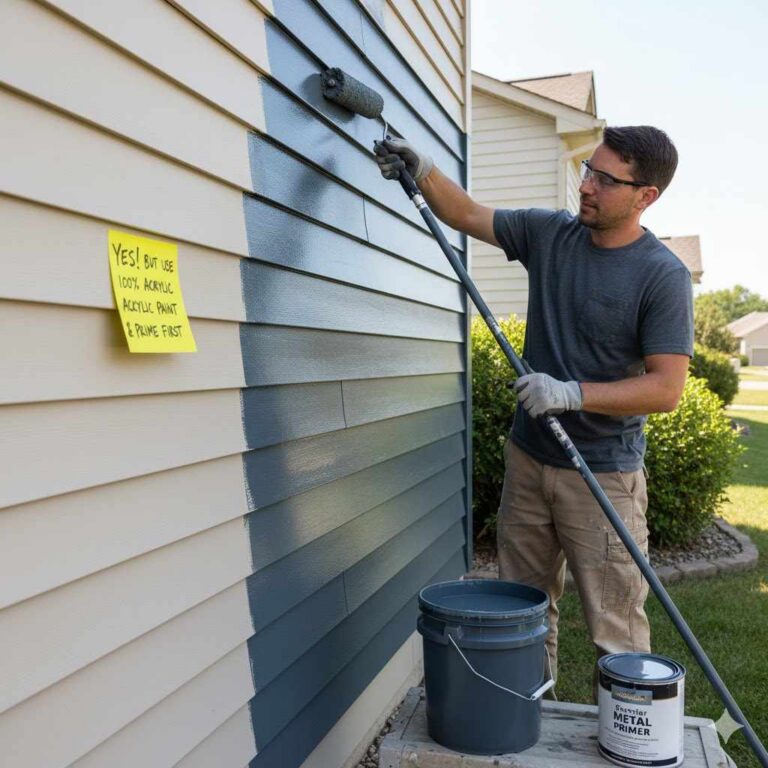
- Efficient for Large Projects: If you are painting a whole fence, a deck, or all your kitchen cabinets, a sprayer will save you an enormous amount of time and effort.
Cons of Spraying Paint
- Requires More Prep Work: You must protect everything you don’t want painted from overspray. This means spending significant time masking with tape, plastic, or paper.
- Higher Initial Investment: A good paint sprayer can be expensive. While you can rent them, buying one is a bigger financial commitment than buying a brush.
- Significant Cleanup Process: Cleaning a paint sprayer is a multi-step process. You have to disassemble the nozzle and flush the entire system, which can take 15-20 minutes.
- Overspray Can Be a Big Issue: That fine mist of paint can travel and settle on floors, walls, and furniture. Proper masking and ventilation are absolutely critical.
- Requires a Learning Curve: It takes practice to learn how to spray evenly without causing drips or runs. You’ll need to get a feel for the speed and distance.
Best Projects for Paint Spraying
- Large, flat surfaces like doors, walls, and cabinet panels.
- Furniture with complex shapes, like wicker chairs or pieces with detailed carvings.
- Fences and decks, where speed is essential.
- A full set of kitchen or bathroom cabinets for a professional remodel.
At-a-Glance Comparison: Brush vs. Sprayer Showdown
Sometimes the easiest way to decide is to see things side-by-side. Here’s a simple table to help you compare the two methods at a glance.
| Factor | Paint Brush | Paint Sprayer |
|---|---|---|
| Speed | Slow and methodical | Very fast |
| Finish Quality | Good to great, but potential for brush marks | Excellent, smooth, and professional |
| Upfront Cost | Very low ($10 – $30) | Moderate to high ($100 – $500+) |
| Prep Time | Low (drop cloth, maybe tape) | High (extensive masking required) |
| Cleanup Time | Fast (5-10 minutes) | Slow (15-20+ minutes) |
| Paint Waste | Very little | Moderate (due to overspray) |
| Best For | Details, trim, small projects, beginners | Large surfaces, complex furniture, speed |
How to Get a Perfect Finish with a Brush: A Step-by-Step Guide
Getting a smooth, professional finish with a brush is all about patience and technique. Don’t rush it! Follow these steps, and you’ll get results you can be proud of.
- Prep Your Workspace and Surface: Lay down drop cloths. Clean your project surface with a tack cloth or a damp rag to remove all dust. Fill any holes with wood filler and sand the entire piece smooth, starting with medium-grit sandpaper (like 120-grit) and finishing with a fine-grit (like 220-grit). A smooth start is key to a smooth finish.
- Choose the Right Brush: Don’t use a cheap brush. A high-quality angle sash brush is perfect for cutting in edges, while a flat brush is good for larger flat areas. For water-based paints (latex), use a synthetic bristle brush (nylon or polyester). For oil-based paints, a natural bristle brush works best.
- Load Your Brush Correctly: Dip only the first third of the bristles into the paint. Tap the brush gently against the inside of the can to remove excess paint. Don’t wipe it on the rim, as this removes too much paint and can cause the can to seal shut later.
- Apply the Paint: Start at the top and work your way down. Use long, smooth strokes in the direction of the wood grain. Your first pass is to get the paint onto the surface. Don’t worry if it looks a little uneven at first.
- “Tipping Off” for a Smooth Finish: After you’ve covered a small section, gently run the very tip of your unloaded brush lightly over the wet paint. Use a single, continuous stroke. This simple trick levels the paint and dramatically reduces brush marks.
- Sand Between Coats: Let the paint dry completely according to the manufacturer’s instructions. Then, lightly sand the entire surface with very fine-grit sandpaper (220-grit or higher). This scuffs up the surface just enough for the next coat to adhere beautifully, and it knocks down any minor imperfections. Wipe away all dust before your next coat.
- Clean Your Brushes Thoroughly: A good brush can last for years if you care for it. For latex paint, wash it with warm, soapy water. For oil-based paint, you’ll need mineral spirits. Use a brush comb to keep the bristles straight as they dry.
How to Get a Flawless Finish with a Sprayer: A Step-by-Step Guide
Using a sprayer is fast, but success depends entirely on your preparation. The actual spraying part is quick; it’s the prep and cleanup that take time.
- The Ultimate Prep Work: This is the most important step. Mask everything you don’t want paint on. Overspray can travel surprisingly far. Use painter’s tape, masking paper, and plastic sheeting to create a protected “spray booth,” even if you’re in a garage. Cover floors, walls, and anything nearby.
- Prepare Your Paint: Some sprayers require you to thin the paint to the right consistency. Your sprayer’s manual will tell you how to do this. A common method is to use a viscosity cup. The paint should flow out in a steady stream. Always strain your paint before putting it in the sprayer to prevent clogs. For accurate information on thinning, always consult your paint’s technical data sheet or resources from the American Coatings Association.
- Practice Your Technique: Before you spray your actual project, practice on a large piece of cardboard. Get a feel for the spray pattern. You want to hold the sprayer about 6-12 inches away from the surface and keep it perfectly parallel. Do not swing your arm in an arc; instead, move your whole body along the piece.
- Apply in Consistent, Overlapping Strokes: Start spraying just before the edge of your project and stop just after the other edge. This prevents a heavy buildup of paint at the beginning and end of each pass. Overlap each stroke by about 50% to ensure even coverage. Keep your speed consistent.
- Apply Multiple Thin Coats: It’s always better to apply two or three thin coats than one thick, heavy coat. A thick coat is much more likely to drip or run. Allow each coat to dry fully before applying the next. A light sanding between coats is still a good idea for the absolute best finish.
- The Big Cleanup: Clean your sprayer immediately after you finish. If you let the paint dry inside, it can ruin the machine. Follow your manual’s instructions precisely. This usually involves flushing the system with water (for latex paint) or mineral spirits (for oil-based) until it runs clear.
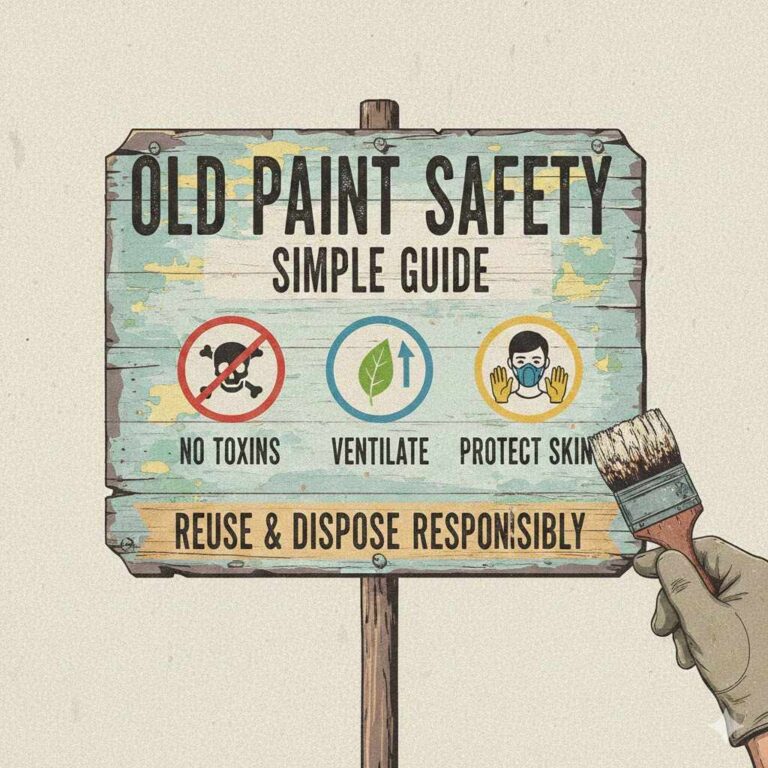
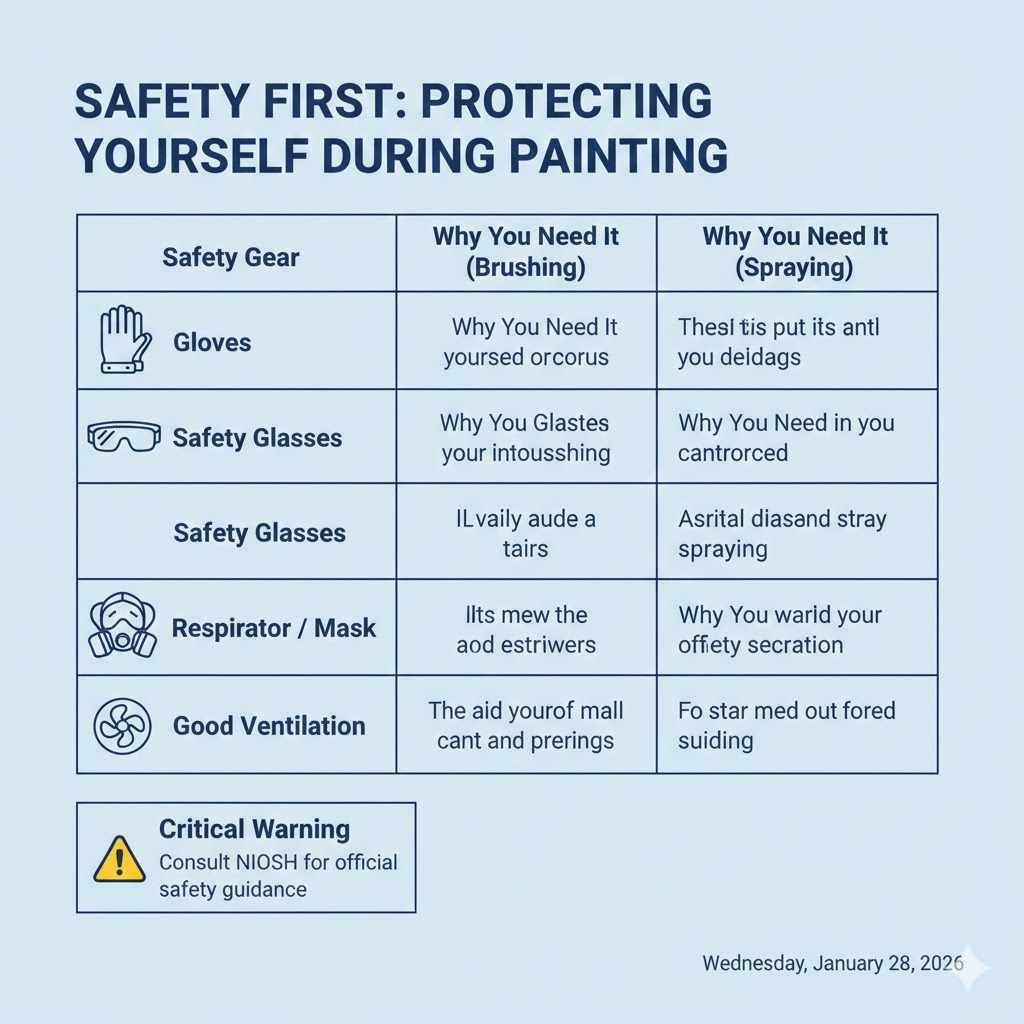
Safety First: Protecting Yourself During Painting
No matter which method you choose, safety is paramount. Paint contains chemicals that you shouldn’t inhale or get on your skin. This is especially true when spraying, as the paint particles become airborne.
| Safety Gear | Why You Need It (Brushing) | Why You Need It (Spraying) |
|---|---|---|
| Gloves | Keeps paint off your hands for easy cleanup. | Protects from paint and cleaning solvents. |
| Safety Glasses | Protects from accidental splashes. | Crucial to protect eyes from airborne paint mist. |
| Respirator / Mask | Recommended, especially in enclosed spaces with poor airflow. | Absolutely essential. Use a respirator with filters rated for paint vapors and particulates. |
| Good Ventilation | Always work in a well-ventilated area to dissipate fumes. | Critical to clear airborne paint particles and fumes. Use fans to direct air outside. |
For official guidance on respirator use and painting safety, I always trust sources like NIOSH (The National Institute for Occupational Safety and Health). Your health is your most important tool, so protect it!
FAQ: Your Top Questions About Brushing and Spraying Answered
Can I use the same paint for brushing and spraying?
Yes, most of the time. However, paint often needs to be thinned with water or a specific thinning agent to be used in a sprayer. Always check the instructions on your paint can and in your sprayer’s manual. Some paints are sold “pre-thinned” or labeled for spraying.
Is a paint sprayer really worth the cost for a beginner?
If you plan on tackling large projects like kitchen cabinets, multiple rooms, or outdoor furniture regularly, then yes, it’s a fantastic investment that will save you dozens of hours. For a one-off small project, it’s probably better to stick with a high-quality brush or look into renting a sprayer.
How do I avoid brush marks when brushing?
There are three keys: 1) Use a high-quality brush. 2) Don’t press too hard—let the bristles do the work. 3) Use the “tipping off” technique I described earlier. You can also add a paint additive or conditioner (like Floetrol for latex paint) which extends the drying time, allowing the paint to level out more smoothly.
What’s the biggest mistake beginners make with a paint sprayer?
The biggest mistake is insufficient prep. Beginners often underestimate how far overspray travels and end up with a fine layer of paint on everything in the room. The second biggest mistake is not practicing first. Spend a few minutes spraying on cardboard to get your technique down before you touch your project.
How many coats of paint should I apply with each method?
Regardless of the method, plan on at least two coats plus a primer, especially if you are painting over a dark color or bare wood. Thin coats applied by a sprayer may require a third coat for full coverage. Always let each coat dry completely before applying the next.
Do I really need to sand between coats?
For a truly professional, ultra-smooth finish, yes. It makes a huge difference. A very light sanding with 220-grit or higher sandpaper removes any dust nibs or minor imperfections and gives the next coat a perfect surface to stick to. It only takes a few extra minutes and elevates your work from “good” to “great.”
The Final Verdict: Making the Right Choice for Your Project
So, brushing vs spraying paint: what’s the final word? The truth is, there is no single “best” method. The best method is the one that’s right for your specific project, budget, and time.
Choose a brush when you are working on something small, detailed, or when you’re just starting out. It’s affordable, forgiving, and gives you incredible control. The meditative rhythm of brushing can be a rewarding part of the creative process.
Choose a sprayer when you need to cover a large area quickly and want a flawless, modern finish. It’s the right tool for big jobs where efficiency and a perfectly smooth surface are your top priorities.
Many professional woodworkers use both! They might spray the large, flat panels of a cabinet and then use a brush for the detailed face frames. Don’t be afraid to mix and match techniques to get the best of both worlds.
No matter which path you choose, remember that patience and preparation are your most important tools. A little practice goes a long way. Take your time, enjoy the process, and soon you’ll be creating finishes that you’ll be proud to show off for years to come. Happy painting!