Can Galvanized Steel Be Painted: Essential Guide
Yes, you absolutely can paint galvanized steel! With the right preparation and materials, you can achieve a durable, beautiful finish that protects your metal projects. This guide breaks down the simple steps to make your galvanized surfaces look great.
Working with galvanized steel can be a bit confusing if you’re new to DIY projects. You see that protective, silvery coating and wonder if it’s tough enough to take paint or if paint will just peel right off. It’s a common question many of us face when we want to add a splash of color or a better look to our metal items, whether it’s a railing, a garden bench, or a tool shed. The good news is, with a few straightforward steps, you can prepare galvanized steel for painting and get a finish that lasts. I’m here to walk you through it, step-by-step, so you can confidently refresh your metal projects and make them look their best.
The Simple Truth About Painting Galvanized Steel
Galvanized steel is steel that has been coated with a layer of zinc. This zinc coating is fantastic for preventing rust, which is why it’s used on so many outdoor items and structures. However, that zinc layer can sometimes be a bit slippery or react with certain paints, leading to peeling or flaking if you don’t prep it correctly. The key to successful painting lies in understanding how to make the paint stick well to this unique surface. It’s not as complicated as it might sound, and with the right approach, you’ll be surprised at how well paint adheres and how long it lasts.
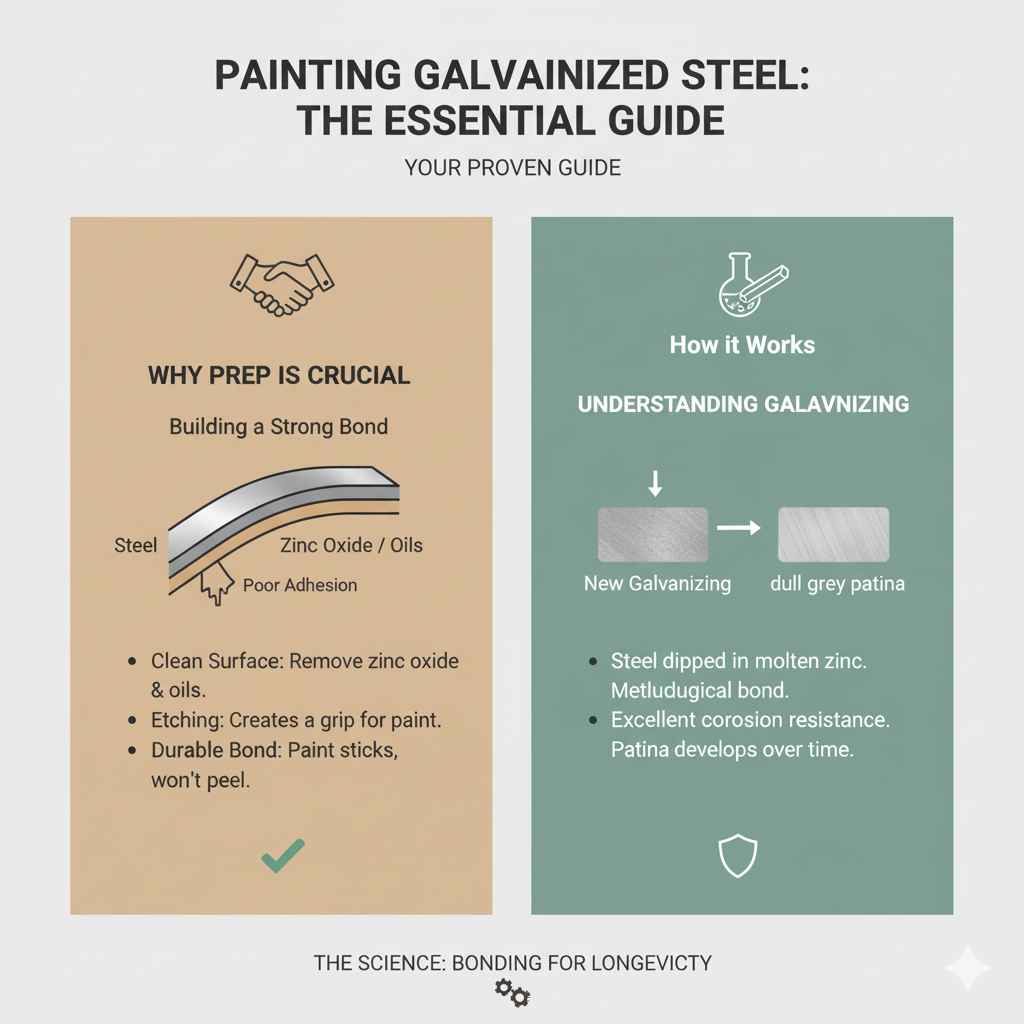
Why Prep is Crucial: The Science Behind a Good Finish
Think of painting as building a strong bond. For paint to stick to galvanized steel, you need a clean surface that the paint can grip onto. The zinc in galvanizing acts as a barrier, and over time, it can develop a dull, chalky layer called zinc oxide, or you might have residual oils from the manufacturing process. If you try to paint directly over these without proper cleaning and etching (or a special primer), the paint will only adhere to the surface layer, which isn’t well-bonded to the metal itself. Eventually, that bond will break, and your paint job will fail. We want a bond that’s strong and durable, ready to face the elements!
Understanding the Galvanizing Process
Galvanizing typically involves dipping steel into molten zinc. This creates a metallurgical bond between the zinc and the steel, offering excellent corrosion resistance. The thickness of the zinc coating can vary, and newer galvanizing will have a brighter, smoother finish, while older or weathered galvanized surfaces might be duller. Understanding this helps us choose the right methods for preparing the surface.
For more detailed information on the galvanizing process and its benefits, you can check out resources like The American Galvanizers Association. They have excellent information on how metal is protected by zinc: How Galvanizing Works.
What You’ll Need: Your Galvanized Steel Painting Toolkit
Gathering the right supplies is the first step to a successful project. Don’t worry, most of these are common items you might already have, or they’re easy to find at any hardware or home improvement store. Having everything ready will make the process smooth and efficient. Think of this as your go-to checklist!
Essential Tools and Materials:
- Safety Gear: Safety glasses, gloves (nitrile or rubber), and a dust mask or respirator (especially if sanding).
- Cleaning Supplies:
- Mild detergent or degreaser (like Simple Green or TSP substitute)
- Clean rags or sponges
- Bucket of clean water
- Wire brush (stiff nylon or brass is often best for galvanized surfaces to avoid scratching too deeply)
- Surface Preparation:
- Optional: Degreaser specifically for metal surfaces.
- Optional: Etching solution or a metal etching product (follow product instructions carefully).
- Priming:
- A high-quality direct-to-metal (DTM) primer or a dedicated etching primer suitable for galvanized surfaces. Look for primers specifically labeled for use on galvanized metal.
- Painting:
- Your chosen topcoat paint: Acrylic latex, oil-based enamel, or specialized exterior metal paints are good choices.
- Application Tools: High-quality synthetic brushes, rollers (foam or mohair for smooth finishes), or a paint sprayer.
- Optional: Sandpaper (very fine grit, like 220-320 grit).
Step-by-Step Guide: Painting Your Galvanized Steel
Now, let’s get to the fun part! Following these steps will ensure your paint adheres beautifully and stays that way for years to come. Remember, patience and thoroughness in each step are your best friends here.
Step 1: Thorough Cleaning – The Non-Negotiable First Step
This is arguably the most critical step. You need to remove any dirt, grease, oil, chalking, or old, peeling paint. If new, the galvanized surface might have manufacturing oils. If it’s older, it might have accumulated grime or developed zinc oxides. Thorough cleaning ensures the primer and paint have a clean surface to adhere to.
- Initial Wipe Down: Use a clean cloth dampened with water to remove loose dust and debris.
- Washing: Mix a mild detergent or a non-sudsing TSP (trisodium phosphate) substitute with water in a bucket. Use a sponge or cloth to scrub the entire surface. For stubborn grime or chalking, a stiff nylon or brass wire brush can be very effective. Avoid using steel wool, as it can leave behind particles that will rust.
- Rinsing: This is vital! Thoroughly rinse the surface with clean water. You want to remove all traces of detergent. A hose with a spray nozzle works well.
- Drying: Allow the surface to dry completely. Depending on the weather, this could take anywhere from a few hours to a day. Ensure there’s no moisture trapped in any seams or crevices.
Step 2: Dealing with Shine and Oxidation (The Etching Process)
New galvanized steel often has a shiny, smooth surface that paint can struggle to grip. Older galvanized steel might be dull but can have a powdery residue (zinc oxide). We need to create a surface that the primer can adhere to. There are two main ways to do this:
- Light Abrasion (Sanding): For new or very smooth galvanized surfaces, lightly scuffing the surface can help. Use a fine-grit sandpaper (around 220-320 grit) or a synthetic scouring pad. The goal isn’t to remove the zinc, but just to create microscopic scratches for the primer to grab onto. Wipe away all dust with a tack cloth or a damp rag immediately after sanding.
- Chemical Etching: Many paint manufacturers recommend using a metal etching solution or a product specifically designed for preparing galvanized surfaces. These solutions chemically create a profile that paint can adhere to.
- Important: Always follow the manufacturer’s instructions precisely for any etching product. Wear your safety gear (gloves, eye protection, and a respirator if the product specifies). Typically, you apply the etcher, let it sit for a short period, and then rinse thoroughly and allow it to dry completely. Failure to rinse properly can leave behind chemicals that interfere with paint adhesion.
Recommendation: For most DIYers, a good quality etching primer or a direct-to-metal (DTM) primer designed for galvanized surfaces often bypasses the need for separate etching, saving a step and reducing the risk of improper etching preparation. Always check the primer’s product label for instructions.
Step 3: Apply the Right Primer – Your Foundation for Success
This is where you create the bridge between the galvanized metal and your topcoat. Using the correct primer is non-negotiable for a long-lasting paint job on galvanized steel.
- Choose Wisely: Select a primer specifically designed to adhere to galvanized metal. Look for labels that say “for galvanized metal,” “direct-to-metal (DTM),” or “etching primer.” These primers are formulated to bond well with the zinc surface and prevent issues like saponification (a reaction between zinc and oil-based paints that causes peeling).
- Application: Apply a thin, even coat of primer using a brush, roller, or sprayer. Avoid applying it too thick, as this can lead to drips and an uneven finish. Ensure you cover all areas, including edges and corners.
- Drying Time: Allow the primer to dry completely according to the manufacturer’s instructions. This is crucial for maximum adhesion. Rushing this step can compromise the entire paint job.
Step 4: Apply Your Topcoat – Color and Protection
Once the primer is dry and you’re happy with the surface, it’s time for the paint!
- Paint Choice: Acrylic latex paints are a great choice for galvanized steel, especially if you’ve used a compatible latex primer. They offer good durability and flexibility. High-quality exterior oil-based enamels can also work well, provided you’ve used a primer that’s fully compatible with both galvanized surfaces and oil-based paints. Specialized exterior direct-to-metal paints are also excellent options that combine primer and topcoat properties.
- Application: Apply your chosen paint in thin, even coats. Avoid one thick coat; multiple thin coats provide a much more durable and professional-looking finish.
- Brush: Use a good quality synthetic brush for smooth strokes.
- Roller: A small foam roller or a mohair roller works well for smooth surfaces.
- Sprayer: Offers the most consistent finish, but requires practice and proper setup.
- Drying Between Coats: Allow each coat of paint to dry thoroughly according to the manufacturer’s recommendations before applying the next. This is usually a few hours, but check the can.
- Number of Coats: Typically, two topcoats are recommended for good coverage and durability.
Step 5: Curing and Maintenance
Paint doesn’t just dry; it cures. Curing is the process where the paint hardens completely, which can take several days or even weeks depending on the paint type and environmental conditions. During the curing period, try to avoid heavy use or harsh cleaning of the painted surface.
- Gentle Cleaning: After the paint has fully cured, you can clean it gently with mild soap and water.
- Inspection: Periodically inspect the painted surface for any signs of damage or wear. Touch up any chips or scratches promptly to prevent rust from forming underneath.
When to Consider Professional Help
While most DIY painting projects on galvanized steel are manageable, there are situations where hiring a professional might be a better option. If you’re dealing with very large structures, complex shapes, or if you’re unsure about any of the preparation steps, a professional painter or metal finisher can ensure the job is done correctly and efficiently. Professionals also have access to specialized equipment and coatings that might be beyond the scope of a typical DIY project.
Common Mistakes to Avoid
Even with the best intentions, a few common pitfalls can derail your painting project. Knowing these beforehand can save you frustration and ensure a better outcome.
Common Mistakes and How to Prevent Them:
- Skipping Cleaning: Trying to paint over dirt or grease is a recipe for failure. Always clean thoroughly.
- Not Priming: Applying paint directly to unprimed galvanized steel is asking for trouble. Use the correct primer.
- Using the Wrong Primer: Not all primers are created equal. Ensure it’s designed for galvanized surfaces.
- Painting in Bad Weather: High humidity, rain, extreme temperatures, or direct sun can negatively affect paint application and drying. Choose a mild, dry day.
- Applying Paint Too Thickly: Thick coats lead to drips, poor coverage, and longer drying times. Thin, even coats are best.
- Not Letting Layers Dry: Peeling, bubbling, or poor adhesion can result if you don’t allow adequate drying time between coats.
- Using the Corrosive Cleaners on New Galvanizing: Very harsh acidic cleaners can sometimes damage new zinc coatings. Stick to milder detergents or specifically formulated etchers.
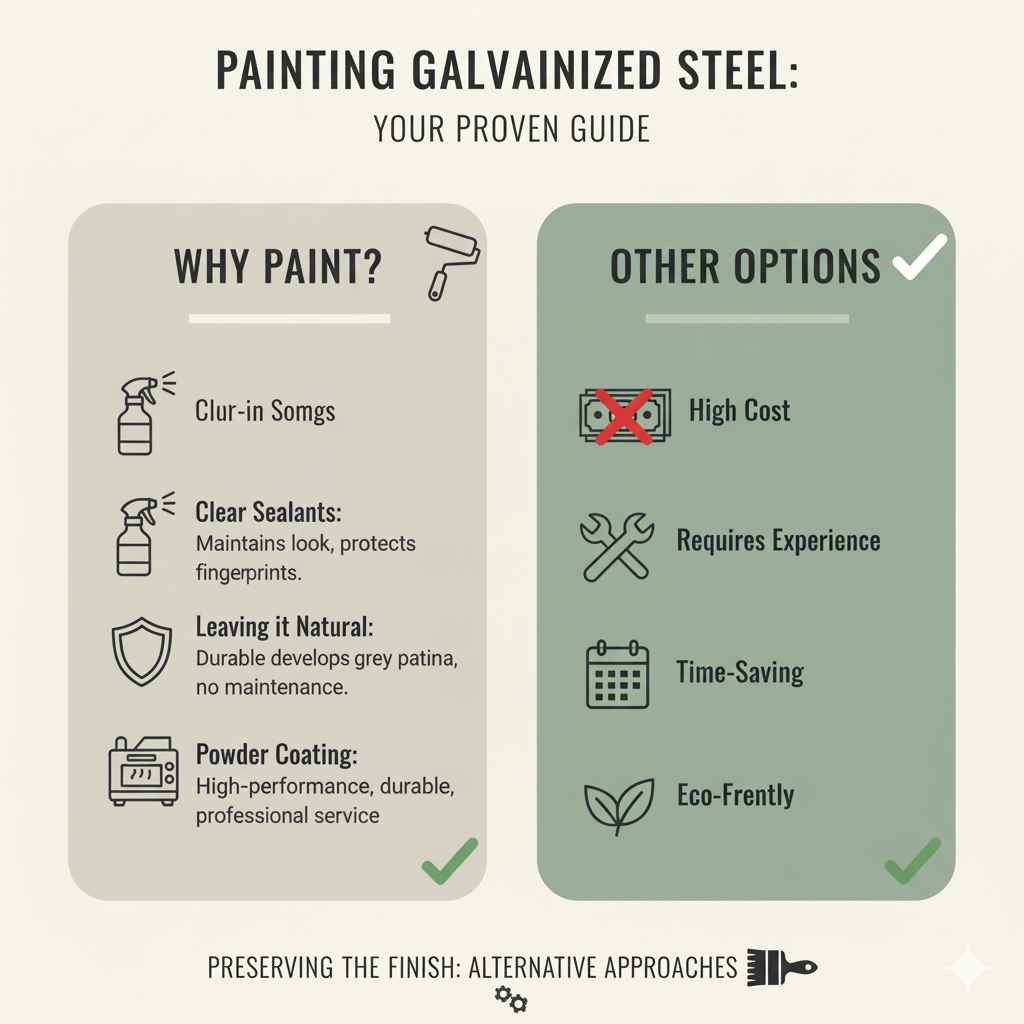
Alternatives to Painting Galvanized Steel
While painting is a popular choice, there are times when you might want preserve the natural look of galvanized steel or opt for a different protective finish. The natural zinc coating offers excellent corrosion resistance on its own and develops a dull grey patina over time, which many people find appealing.
Other options include:
- Clear Sealants: For new, shiny galvanized steel, a clear acrylic sealant can help maintain that look while offering some protection against fingerprints and minor surface damage.
- Powder Coating: This is a high-performance finish that involves electrostatically applying dry powder and then curing it under heat. It creates a very durable and attractive finish, often used for metal furniture and automotive parts. This is typically a professional service.
- Leaving it Natural: For many applications, particularly functional ones like fencing or structural components, the bare galvanized finish is perfectly adequate and requires no further treatment.
FAQ: Your Top Questions Answered
Here are some common questions beginners have about painting galvanized steel. I’ve kept the answers short and sweet for quick understanding.
Q1: Can I paint very old, rusty galvanized steel?
Yes, but with extra steps. You’ll need to remove as much rust as possible using a wire brush or sandpaper until you reach bare metal. Then, apply a rust-inhibiting primer specifically designed for metal, followed by your topcoats. Ensure the entire surface, including the non-rusty galvanized parts, is cleaned and prepped appropriately.
Q2: What’s the best paint type for outdoor galvanized steel?
For outdoor use, high-quality exterior acrylic latex paints or specialized direct-to-metal (DTM) paints are usually best. They offer good durability, flexibility to expand and contract with temperature changes, and resistance to the elements. Always ensure your chosen paint system is compatible with a primer suitable for galvanized surfaces.
Q3: Do I really need to prime galvanized steel?
Absolutely. Priming is essential! It ensures proper adhesion, blocks potential chemical reactions between the zinc and paint, and provides a uniform surface for your topcoat. Skipping primer is the most common reason for paint peeling on galvanized surfaces.
Q4: How long do I have to wait between priming and painting galvanized steel?
Always check the primer’s manufacturer instructions. Generally, you’ll want to wait until the primer is dry to the touch and has reached its recommended recoat time, which can range from a few hours to 24 hours, depending on the product and conditions. This ensures the primer has bonded properly.
Q5: What if I see small white spots on my galvanized metal?
These are likely zinc oxides, a harmless byproduct of the galvanizing process reacting with moisture. They can usually be wiped away with a stiff brush and cleaning solution during your thorough cleaning step. Ensure the surface is completely dry after cleaning and before priming.
Q6: Can I use spray paint on galvanized steel?
Yes, but with preparation! You’ll still need to clean and prime the galvanized surface with a compatible etching primer or a DTM primer. Once primed and dry, you can use spray paint, applying thin, even coats. Look for spray paints formulated for metal, and consider a spray primer designed for galvanized surfaces.
Q7: How do I know if my galvanized steel is too old to paint effectively?
If the galvanized coating is severely damaged, flaking off, or the underlying steel is heavily rusted, painting may not be sufficient to restore it. In such cases, it might be more cost-effective or necessary to repair or replace the component. However, for most surfaces with intact galvanizing, even if weathered, proper cleaning, priming, and painting will yield good results.
Conclusion: A Beautiful, Lasting Finish Awaits!
Painting galvanized steel is a very achievable project for any DIYer, and as you can see, it’s all about the right preparation and materials. By taking the time to clean your surface thoroughly, using a specialized primer designed for galvanized metal, and applying your chosen topcoat with care, you’ll create a finish that not only looks fantastic but also stands up to the test of time and the elements.
Remember, a little patience in the prep stage leads to a big reward in durability and appearance. So, gather your supplies, follow these steps, and get ready to transform your metal projects with color and confidence. Happy painting!