How to Install a Steel Door in a Wood Frame
Steel entry doors mount into a standard wood-framed rough opening the same way a wood or fiberglass door does — the door itself doesn’t require special framing, but its weight (typically 100–150 lbs with the frame, more with glass inserts) makes shimming, leveling, and fastening more failure-prone if rushed. This guide covers preparing the wood frame, setting the door plumb and square, and the fastening/weatherstripping details that determine whether it operates smoothly for years or starts binding within a season.
Tools and Materials Needed
Beyond the steel door unit itself (most residential steel doors now come pre-hung in their own frame, ready to set into the rough opening as a unit rather than installed slab-only), gather: a 4-foot level, tape measure, cordless drill/driver, wood shims, a pry bar for removing the old unit, exterior-grade construction adhesive or expanding foam sealant, 3-inch exterior screws for through-frame fastening, and a caulk gun for the exterior perimeter seal.
If you’re choosing a new steel door rather than replacing an identical unit, the core matters more than it might seem: most residential steel doors have either a polyurethane foam core or a lower-cost cardboard honeycomb core sandwiched between the steel skins. The foam-core version has a meaningfully higher R-value (commonly R-5 to R-6 versus roughly R-2 for honeycomb) and a noticeably more solid feel and sound when closed, for a modest price difference at purchase — worth the upgrade on any exterior door if energy performance and quietness matter more than shaving the initial cost.
Finish the Seal Right
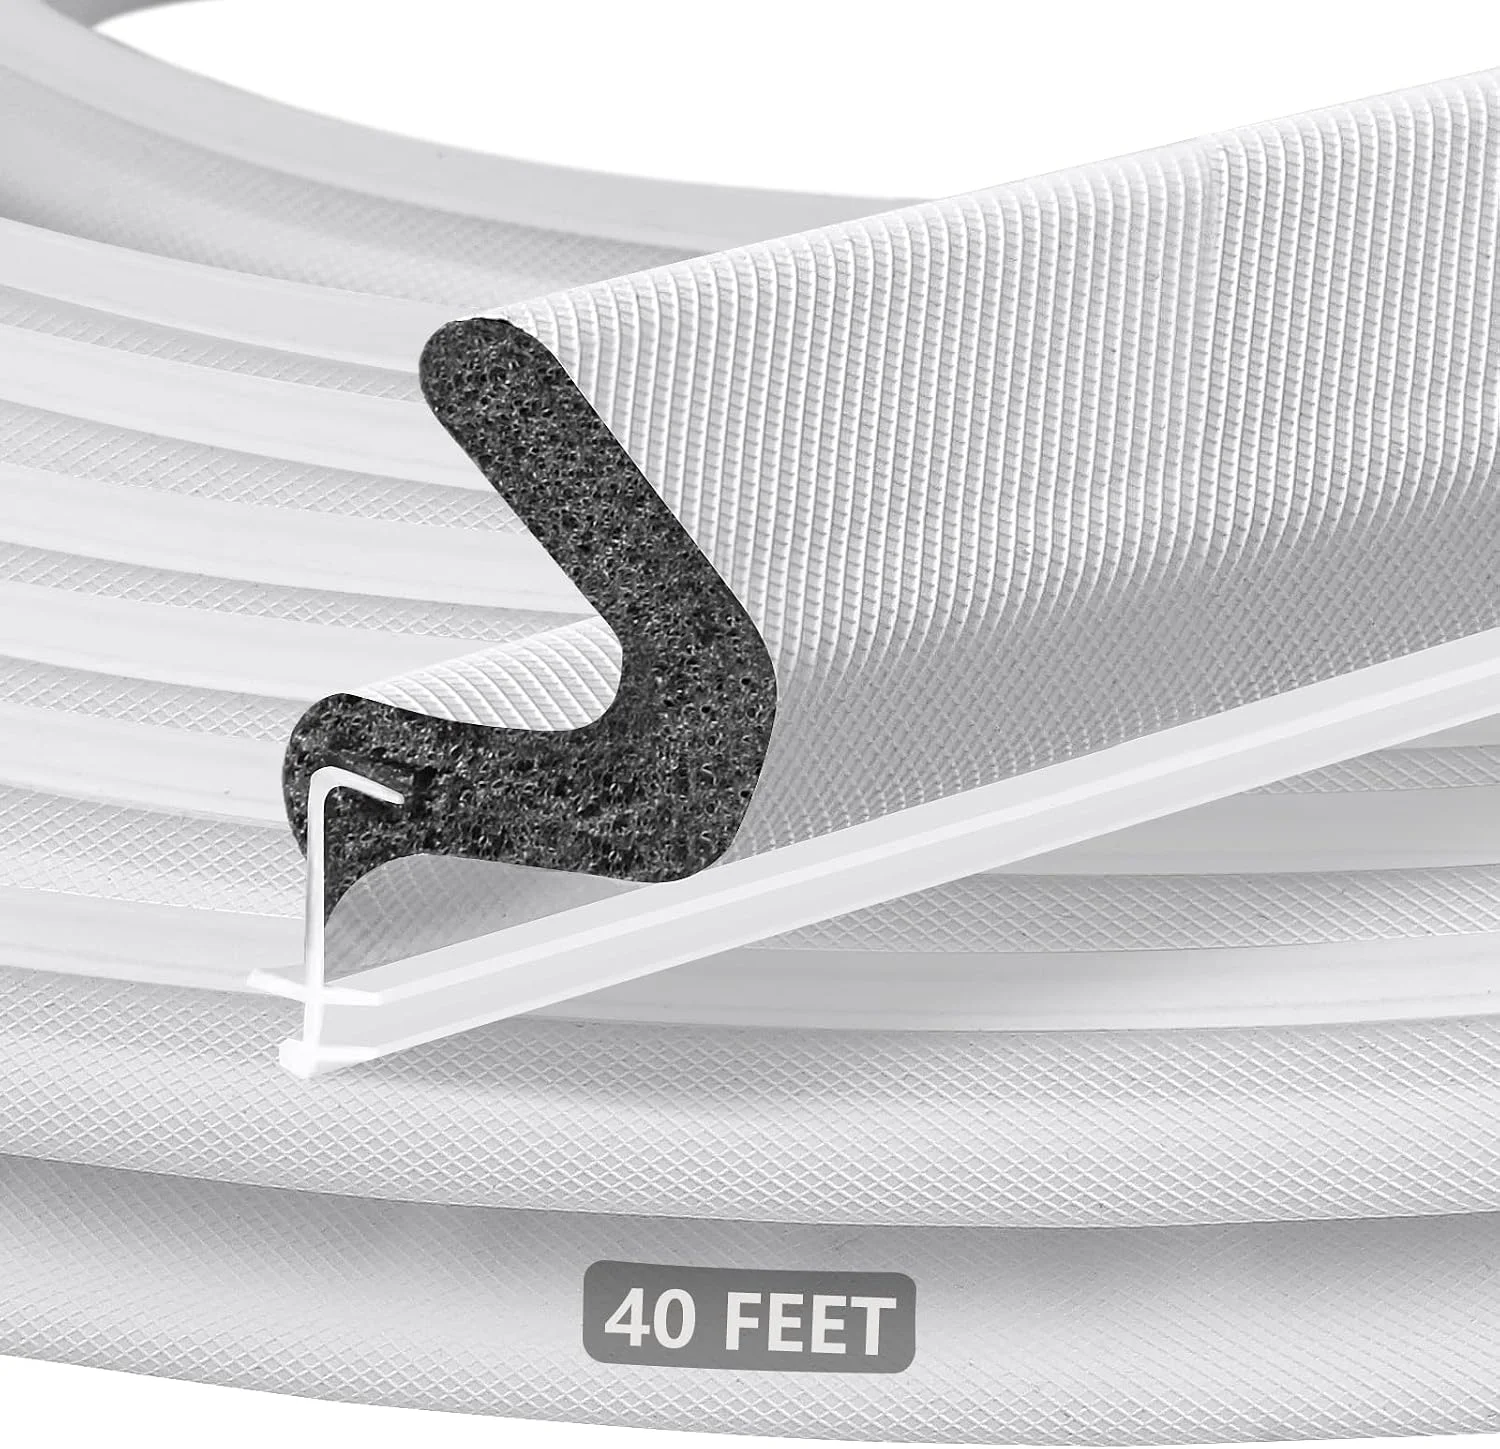 |
Litaibai 40 ft Kerf Weather Stripping – $18.99 A steel door only seals as well as the weatherstripping around it — this replaces worn strips on the frame’s kerf channel.
|
Preparing the Wood Frame
Measuring the Rough Opening
Measure the rough opening’s width at the top, middle, and bottom, and height on both sides — older wood-framed openings are rarely perfectly square, and using the smallest of each measurement avoids ordering a door that’s too large to fit. Most pre-hung steel door units need roughly a 2-inch allowance beyond the door slab’s own dimensions for the frame and shim space; check the specific unit’s installation instructions rather than assuming a standard margin.
Removing the Old Door and Frame
Remove the door from its hinges first, then pry the old jamb away from the framing with a flat bar, working from the top down. Pull or cut out any remaining nails and clear the opening of debris and old shims completely — leftover material behind the new frame is a common cause of a unit that won’t sit flush once installed.
Inspecting and Repairing the Framing
Check the wood framing behind the old jamb for rot or water damage, particularly at the sill and the base of the side jambs, where moisture collects most. Cut out and replace any soft or rotted framing lumber before proceeding — a new steel door fastened to compromised wood will develop the same alignment problems the old door likely had. Confirm the rough opening is plumb and square with a level and a carpenter’s square; shims correct minor gaps during installation, but they can’t compensate for a significantly out-of-square opening.
If your project also includes a glass unit rather than a solid door, our guide on how to install a sliding glass patio door covers the same framing principles for that door type.
Setting and Fitting the Door
Positioning the Pre-Hung Unit
With a helper, set the pre-hung door and frame into the rough opening from the exterior side, resting the sill on the subfloor or threshold. Center the unit side to side and hold it in place with a few shims at the hinge side before letting go — this keeps the whole assembly from shifting while you check level and plumb.
Checking Level and Plumb
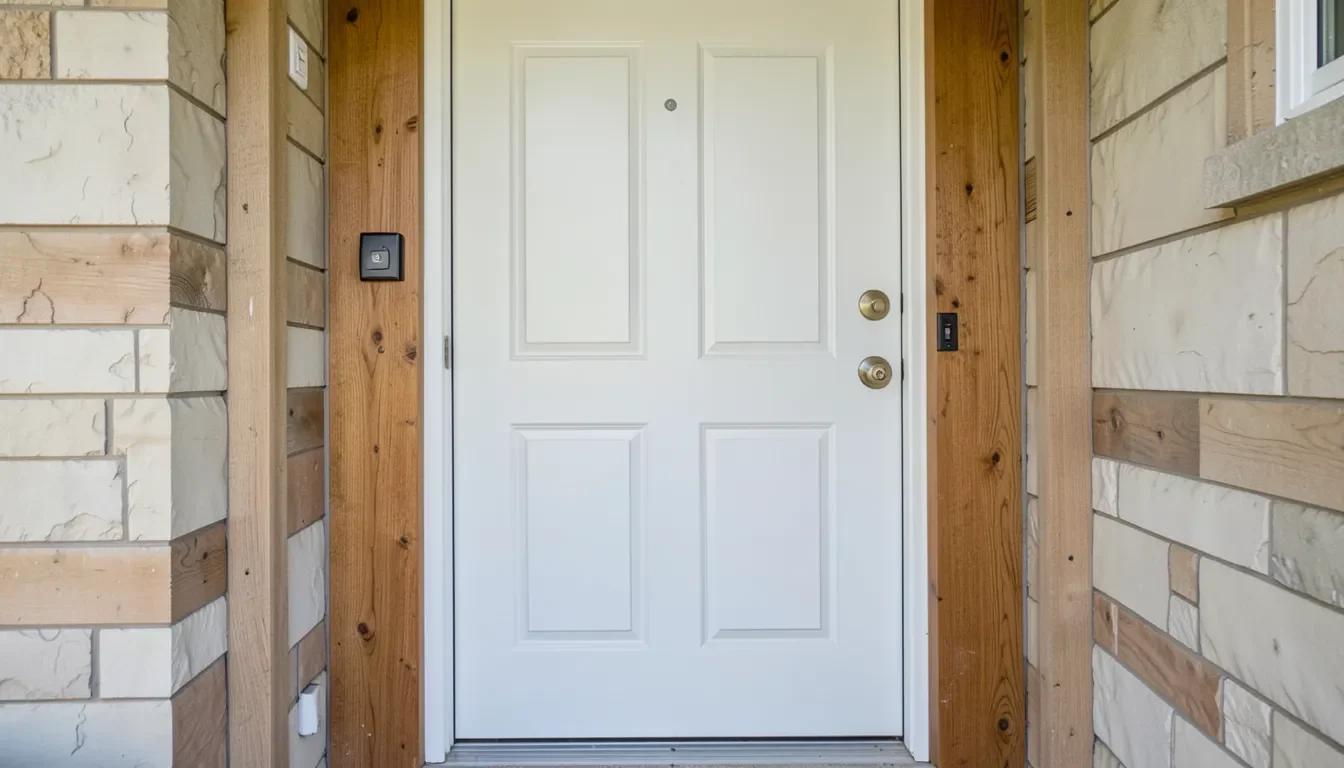
Check the sill for level side to side first, since the whole frame’s alignment builds on it. Then check both side jambs for plumb with the door closed, confirming an even reveal (gap) around all three sides of the door slab — roughly 1/8 inch is standard. An uneven reveal at this stage means the frame needs to shift before fastening, not after.
Shimming and Adjusting
Place shim pairs (thin wedges from opposite directions, driven together) behind the hinge screw locations first, then at the strike-plate side and head jamb. Open and close the door with each adjustment to confirm it swings freely without dragging on the sill or binding at the top corner — catching a misalignment now is far easier than after the frame is screwed in place.
Securing the Frame
Fastening Through the Shims
Drive 3-inch screws through the jamb and shims into the framing at each hinge location first (this is what carries the door’s weight), then at the strike side and head jamb. Drive screws slowly and check plumb again after each one — over-tightening a single screw can pull the jamb out of alignment before the rest are set.
Sealing Behind the Frame
Fill the gap between the frame and the rough opening with low-expansion foam sealant rated for door and window use — standard high-expansion spray foam can bow a jamb inward as it cures, throwing off the alignment you just set. Once fastened and sealed, snap off any shim material protruding past the jamb face.
Installing Hardware
Hinges
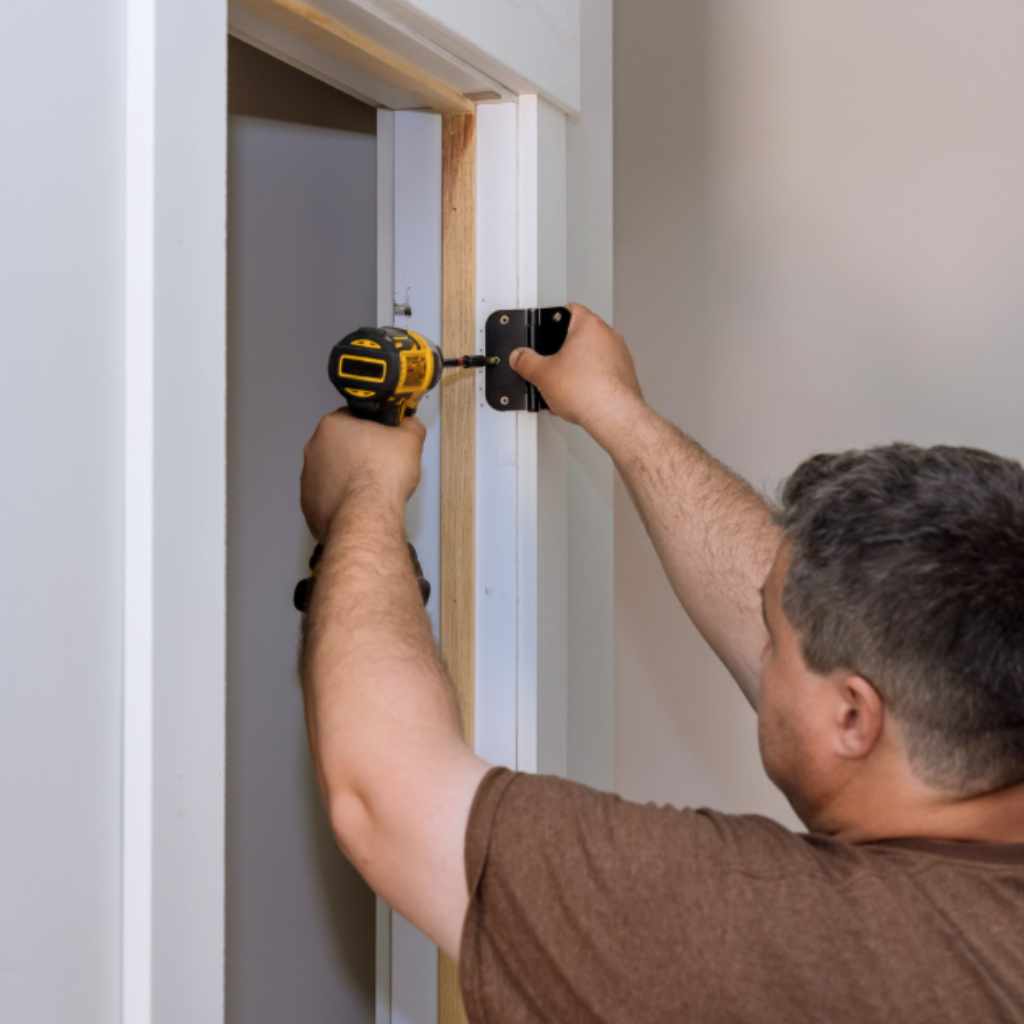
Most pre-hung steel doors arrive with hinges already mounted; if installing hardware separately, drill pilot holes before driving hinge screws to avoid splitting the jamb, and confirm the door swings freely without rubbing before moving on to the lockset.
Lockset and Deadbolt
Follow the lockset manufacturer’s template for hole placement rather than guessing — steel doors typically have factory-bored holes matching a standard backset (usually 2-3/8″ or 2-3/4″), so most residential locksets fit without additional drilling. Test the deadbolt and latch operation before finishing the trim work; adjusting a strike plate is far easier before paint or caulk is involved.
Weatherstripping and Sweeps
Most pre-hung steel doors come with weatherstripping pre-installed in a kerf (milled groove) around the frame. If it’s missing, compressed flat, or torn — common on older doors being replaced or reused frames — a replacement kerf strip pushes into the same channel without needing adhesive. Add or check the door sweep at the bottom last, adjusting it to clear the threshold without dragging when the door swings.
Final Touches
Testing Operation
Open and close the door fully several times, checking for dragging, sticking, or unusual noise at the hinges. Confirm the latch and deadbolt engage smoothly with the door closed under normal pressure, not just when held slightly open.
Finishing the Exterior Trim
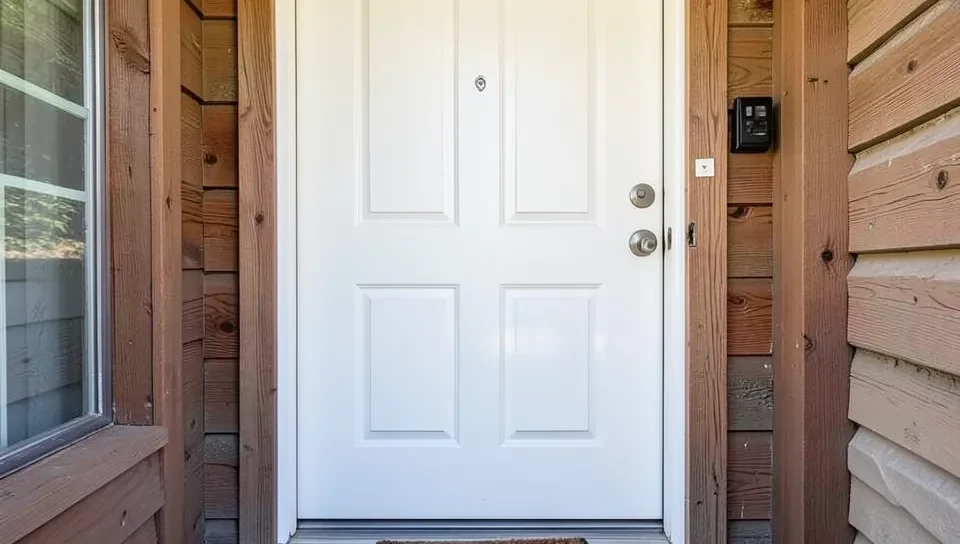
Caulk the exterior perimeter where the frame meets the siding or brick to keep water out, then install or reinstall exterior trim/casing. If the steel door isn’t factory-primed and painted, use a rust-inhibiting metal primer before topcoating — a standard wood primer won’t stop surface rust from forming on bare or scratched steel.
Frequently Asked Questions
How Do I Prepare A Wood Frame For A Steel Door?
Measure the rough opening accurately at multiple points, remove the old door and jamb completely, check the framing for rot and repair or replace any damaged wood, and confirm the opening is plumb and square before setting the new door.
What Tools Are Needed To Install A Steel Door?
A drill/driver, exterior screws, wood shims, a level, tape measure, pry bar, low-expansion foam sealant, and a caulk gun cover most of the installation. A helper is also worth having given the door’s weight.
How Do You Secure A Steel Door Frame To A Wood Frame?
Drive 3-inch screws through the jamb and shim pairs into the wood framing, starting at the hinge locations, then the strike side and head jamb. Check plumb after each screw rather than driving them all before verifying alignment.
Can I Install A Steel Door Alone?
It’s possible but harder than it needs to be — a pre-hung steel door and frame commonly weighs 100–150 lbs, and holding it plumb while shimming is much easier with a second person supporting the unit.
Conclusion
A steel door installs into a standard wood-framed opening using the same shim-and-fasten process as any pre-hung door — the differences that matter are the unit’s extra weight, using a rust-inhibiting primer on any exposed bare steel, and getting the frame level and plumb before driving screws rather than after. Get those details right and a steel entry door installed this way should operate smoothly for years.
Sponsored / affiliate links. As an Amazon Associate I earn from qualifying purchases. I may earn additional commission from eligible campaigns.