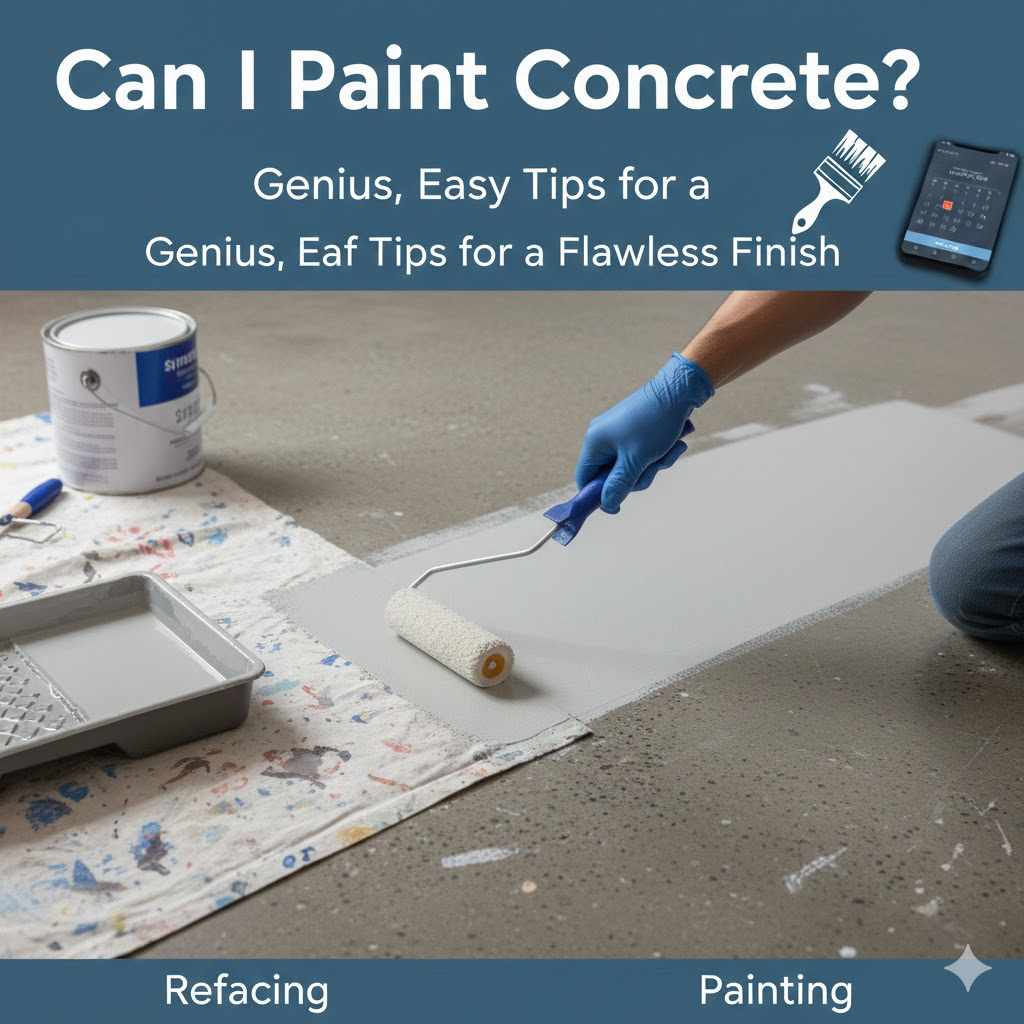
Can I Paint Concrete? Genius, Easy Tips for a Flawless Finish
Yes, you can absolutely paint concrete! With the right prep work, a good primer, and the correct paint, you can transform a dull concrete floor, patio, or wall into a durable and beautiful surface. The key to a long-lasting finish isn’t the painting itself, but the cleaning and priming you do beforehand.
Have you ever looked at a plain, gray concrete floor in your garage or basement and thought it looked a little… blah? Many homeowners feel the same way. Bare concrete can feel cold, dusty, and unfinished. The good news is, you don’t have to live with it!
Painting concrete is one of the easiest and most affordable ways to upgrade a space. It’s a project any DIYer can handle with a little bit of guidance. I’m here to walk you through every step, making it simple and stress-free. Let’s get that concrete looking amazing!
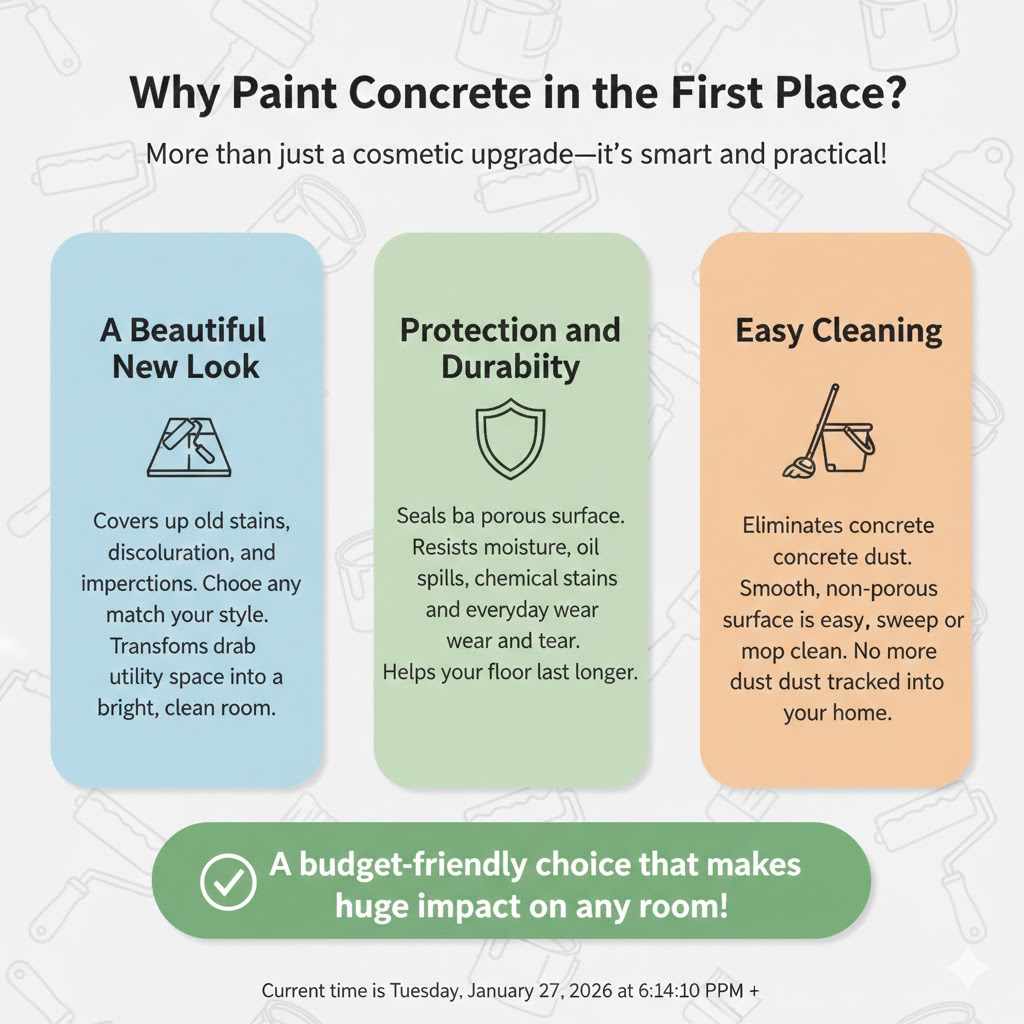
Why Paint Concrete in the First Place?
You might be wondering if it’s worth the effort. Trust me, it is! Giving your concrete a coat of paint is more than just a cosmetic upgrade. It’s a practical choice that offers some great benefits.
- A Beautiful New Look: This is the most obvious reason! A coat of paint can cover up old stains, discoloration, and small imperfections. You can choose any color to match your style, turning a drab utility space into a bright, clean room.
- Protection and Durability: Concrete is tough, but it’s also porous. A good coat of paint seals the surface, acting as a protective barrier. This helps resist moisture, oil spills, chemical stains, and everyday wear and tear.
- Easy Cleaning: Unsealed concrete creates a fine dust that can get tracked all over your home. A sealed, painted surface is smooth and non-porous, making it incredibly easy to sweep or mop clean. No more concrete dust!
- Affordable Transformation: Compared to other flooring options like tile or professional coatings, painting your concrete is a very budget-friendly way to make a huge impact on a room.
The Most Important Step: Choosing the Right Paint
Before you get excited and grab a can of leftover wall paint, stop right there! Painting concrete requires a specific type of paint designed to bond with a masonry surface and stand up to foot traffic and moisture. Using the wrong paint is the number one reason for failure—it will peel and chip in no time.
Here’s a simple breakdown of your main options:
| Paint Type | Best For | Pros | Cons |
|---|---|---|---|
| Epoxy Concrete Paint | Garage floors, basements, high-traffic indoor areas | Extremely durable, resists chemicals and hot tire marks, high-gloss finish | More expensive, complex to mix and apply, strong fumes |
| Latex-Based Concrete Paint | Patios, walkways, porches, basement walls | Easy to apply and clean up with water, low odor, good for UV resistance | Less durable than epoxy, may not hold up to heavy vehicle traffic |
| Masonry Paint (Elastomeric) | Exterior concrete walls, foundations, cinder blocks | Flexible to bridge small cracks, waterproof, breathable | Not designed for foot traffic—do not use on floors! |
| Concrete Stain | Patios, walkways, driveways | Penetrates the concrete for a natural, translucent look; won’t chip or peel | Doesn’t hide imperfections like cracks or existing stains |
For most beginner-friendly DIY projects like a basement floor or a patio, a good-quality latex-based concrete and patio paint is a fantastic choice. Always read the label on the paint can to make sure it’s suitable for your specific project (interior vs. exterior, floor vs. wall).
Gathering Your Tools and Materials
Getting everything you need together before you start makes the whole process so much smoother. You won’t have to make a last-minute run to the store with a half-prepped floor. Here’s your handy checklist:
For Cleaning and Prep
- Stiff-bristled scrub brush or broom
- Shop vacuum
- Concrete degreaser (for oil or grease stains)
- Concrete cleaner and etcher
- Power washer (optional, but very helpful for outdoor areas)
- Wire brush
- Concrete patch or filler (for cracks)
- Putty knife
- Painter’s tape
- Safety gear: rubber gloves, safety goggles, and a dust mask or respirator
For Painting
- High-quality masonry or concrete primer/sealer
- Your chosen concrete paint
- A 9-inch paint roller with a 1/2-inch nap for semi-smooth surfaces
- Paint roller extension pole (this will save your back!)
- Paint tray and liners
- A 2-inch angled paintbrush for cutting in edges
- Optional: Clear concrete sealer for a top coat
The Step-by-Step Guide to Painting Concrete Like a Pro
Ready to get started? We’ll take this one step at a time. The secret to a perfect paint job is all in the preparation. Don’t rush these early steps—they are the foundation for a finish that will last for years.
Step 1: Clear and Clean the Surface Thoroughly
You can’t paint over dirt, dust, or grease. Start by removing everything from the area—furniture, storage boxes, everything. Then, give the entire surface a deep clean.
-
- Sweep and Vacuum: Get rid of all the loose dust and debris with a broom and a shop vac.
- Scrub Away Stains: For oily or greasy spots (common in garages), you’ll need a concrete degreaser. Follow the product instructions, which usually involve scrubbing the solution into the stain and then rinsing it away.
- Deep Clean: Mix a concrete cleaner with water according to the directions. Pour it on the concrete and give the whole area a vigorous scrub with a stiff-bristled brush. For large outdoor areas, a power washer works wonders here.
- Rinse Completely: Rinse the surface thoroughly with clean water until all the cleaning solution is gone. Use a squeegee or shop vac to remove excess water.
Let It Dry: The concrete must be 100% dry before you move on. This can take a full 24-48 hours, or even longer in humid conditions. Patience is key!
Step 2: Repair Any Cracks and Holes
Paint won’t hide cracks or pits; it will actually highlight them. Now is the time to create a smooth, perfect canvas. Use a wire brush to clean out any loose bits from cracks. Then, using a putty knife, press a concrete patching compound into the cracks and holes. Scrape the surface smooth so it’s level with the surrounding concrete. Let the patch cure completely according to the product’s directions.
Step 3: Test for Sealer and Moisture
Before priming, you need to check two things. First, see if the concrete has an existing sealer. Just pour a little water on the surface. If it soaks in and darkens the concrete, you’re good to go. If it beads up, you have a sealer that needs to be removed with a chemical stripper or by mechanical grinding before you can paint.
Next, check for moisture coming up from the slab. Tape a 2×2 foot square of plastic sheeting on all four sides to the concrete. Wait 24 hours. If you see condensation under the plastic or the concrete looks dark, you have a moisture problem that needs to be addressed before painting. A moisture-blocking primer might be necessary.
Step 4: Priming is Non-Negotiable
I can’t say this enough: always use a primer! A quality masonry primer, sometimes called a bonder or sealer, does several important jobs. It soaks into the porous concrete to create a stable surface for the paint to stick to, prevents peeling, blocks stains from bleeding through, and can even help block minor moisture.
Apply the primer just like you will the paint. Use your paintbrush to “cut in” around the edges, then use your roller with the extension pole to cover the main area. Work in small sections, keeping a wet edge to avoid lap marks. Let the primer dry completely for the time recommended on the can.
Step 5: Time to Paint! (The First Coat)
Here comes the fun part! Mix your paint thoroughly. Start by cutting in the edges with your angled brush. Then, pour some paint into your tray and start rolling. Apply a thin, even coat across the entire surface. Don’t try to get full coverage on the first go—a thick coat will not dry properly and can lead to peeling. Just focus on a nice, consistent layer. Again, maintain a wet edge to ensure a smooth, professional look.
Step 6: Apply the Second Coat and Optional Sealer
Let the first coat dry for the time specified by the manufacturer (usually 4-6 hours, but check the can). Once it’s ready, apply a second thin coat in the same way you applied the first. The second coat will provide a rich, uniform color and much better durability.
For very high-traffic areas like a garage floor or an outdoor patio that sees a lot of action, consider adding a clear topcoat sealer. A good sealer adds another layer of protection against scuffs, scratches, and stains. Wait for the paint to fully cure (check the can, this can be 24-72 hours) before applying a sealer. For great insights into different types of sealers, you can check out resources from industry leaders like the Concrete Network.
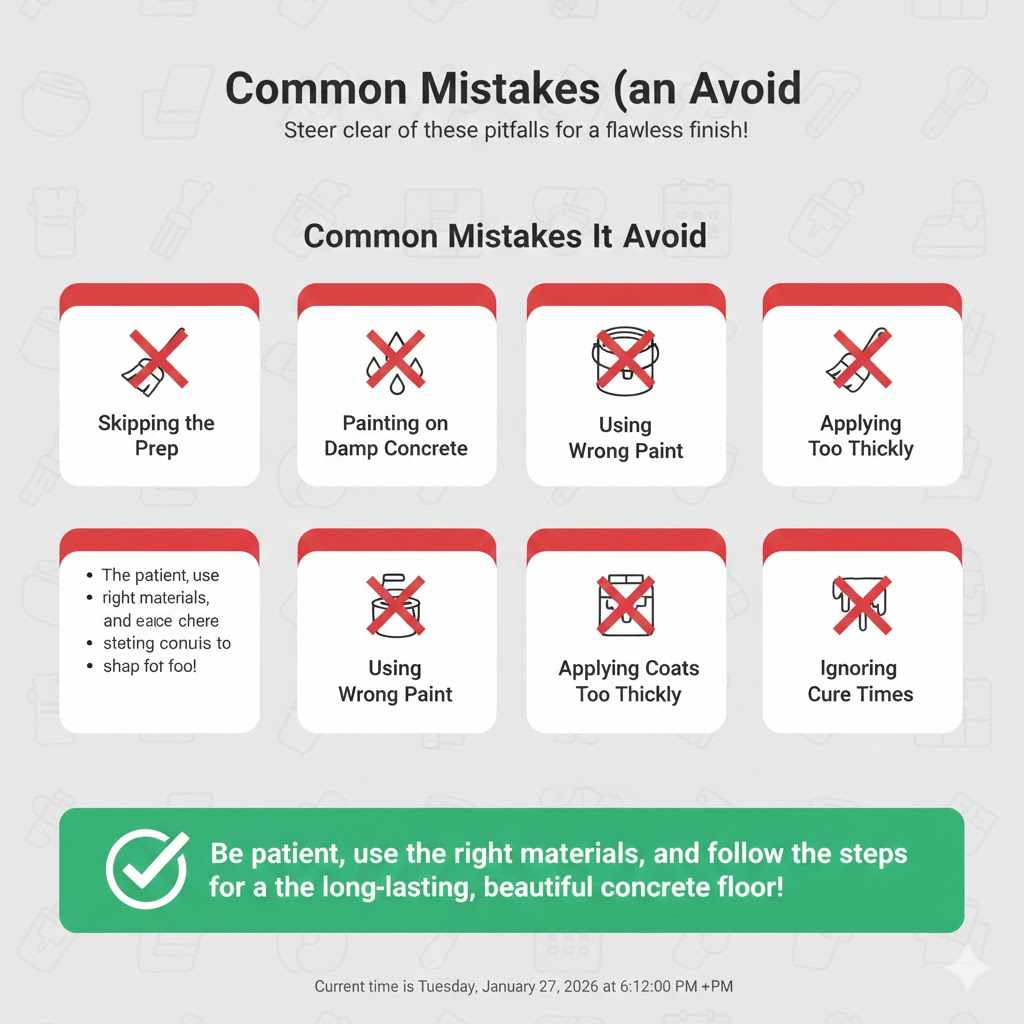
Common Mistakes to Avoid (And How to Get It Right)
Even simple projects have a few pitfalls. Here are the most common mistakes I see people make when painting concrete. Steer clear of these, and you’ll be in great shape.
- Skipping the Prep: This is the biggest mistake of all. If you don’t clean and prime the concrete properly, your paint is guaranteed to fail. Period.
- Painting on Damp Concrete: Moisture is the enemy of paint adhesion. If you trap moisture under the paint, it will cause bubbles and peeling as it tries to escape. Make sure the concrete is bone dry.
- Using the Wrong Paint: Interior wall paint will not work on a concrete floor. You must use a paint specifically formulated for masonry and concrete.
- Applying Coats Too Thickly: It’s tempting to glob on the paint to finish faster, but this is a bad idea. Thick coats dry unevenly and are much more likely to peel off. Two thin coats are always better than one thick one.
- Ignoring Cure Times: The “dry to the touch” time is different from the “cure” time. Your painted floor might feel dry in a few hours, but it needs several days to fully harden and cure before you can place heavy furniture or park a car on it. Be patient! The American Coatings Association provides great resources on how paints work and the importance of curing.
Your Concrete Painting Questions, Answered!
How long does painted concrete last?
When done correctly with proper preparation and the right products, a painted concrete floor can last for many years. Indoor floors (like a basement) can last 5-10 years or more. Outdoor patios and garage floors see more wear and might need a refresh coat every 3-5 years.
Can I paint my concrete driveway?
Yes, but you need to be very selective with your product. Driveways face extreme conditions: heavy vehicles, hot tires, oil, and harsh weather. You’ll need a very durable epoxy-based paint or a penetrating concrete stain specifically designed for driveways.
Do I really need to use a primer?
Yes, 100%. Think of primer as double-sided tape between the concrete and the paint. It ensures the paint has something to grab onto, which is the key to preventing peeling and chipping down the road. Don’t skip it!
What’s the best temperature to paint concrete?
Ideal conditions are typically between 50°F and 90°F (10°C and 32°C). Avoid painting in direct, hot sunlight, as it can cause the paint to dry too quickly and not bond correctly. Also, avoid painting if the humidity is very high or if rain is expected within 24 hours.
How is painting outdoor concrete different from indoor concrete?
The process is nearly identical, but the prep is even more critical outdoors. You’ll likely need to power wash the surface to remove all dirt, grime, and mildew. You must also use a paint specifically rated for exterior use, as it contains additives to resist UV fading and moisture.
How long do I have to wait before walking on my painted concrete floor?
Always check the paint can! Generally, you can walk on it in light sock feet after about 24 hours. However, you should wait at least 72 hours before moving furniture back. For a garage floor, you’ll need to wait the full cure time—often 7 days or more—before parking a car on it to prevent tire damage.
Your Beautiful New Concrete Surface Awaits!
And there you have it! Painting concrete isn’t complicated at all. As you can see, the real work happens before you even open the paint can. By taking the time to clean, repair, and prime the surface properly, you are setting yourself up for a beautiful, professional-looking finish that you can be proud of.
Now that boring gray slab can become a clean, colorful, and welcoming part of your home. It’s a project that delivers a huge reward for a little bit of effort. You’ve got this! Now go enjoy your amazing work.