What Kind of Paint Do You Use for Water Marbling
Are you intrigued by the mesmerizing swirls and patterns of water marbling but unsure about what kind of paint to use? You’re not alone.
Choosing the right paint is crucial for achieving those stunning, vibrant designs that seem to dance on water before transferring perfectly onto your canvas. Imagine the satisfaction of seeing your creative visions come to life with just the right colors and fluid movements.
You’ll discover the best types of paint for water marbling, ensuring your artistic endeavors not only meet but exceed your expectations. Dive into the details with us, and unlock the secrets to mastering this captivating art form.
Water Marbling Basics
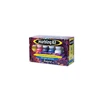
Jacquard Marbling Kit
A complete starter kit with paint that’s already formulated to float on water, so you skip the trial-and-error of thinning acrylic and mixing in a medium yourself.
- Best for: First-timers who want reliable floating paint without buying separate medium and testing ratios
- Why we picked it: Jacquard is one of the few brands making paint purpose-built for marbling rather than repurposed craft acrylic
- Main drawback: Smaller color range than a full craft-store acrylic aisle
 OPTION 1 Jacquard Alum Powder
|
 OPTION 2 DecoArt Water Marbling Comb
|
 OPTION 3 Acrylic Pouring/Flow Medium
|
As an Amazon Associate we earn from qualifying purchases.
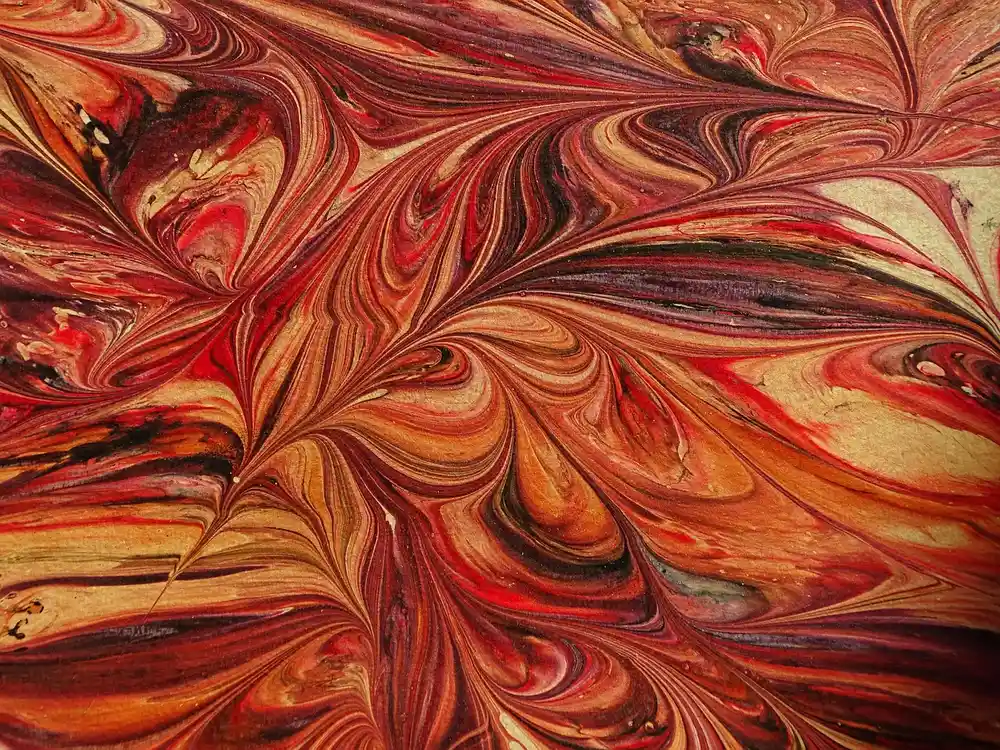
Water marbling is an ancient art. Its best-documented roots trace back over a thousand years to Central Asia and Turkey, where it’s known as Ebru, and to Japan, where a related technique is called Suminagashi (“floating ink”). Artists create patterns on the surface of water. Then, they transfer these patterns onto paper or fabric. This technique requires patience and precision. Each marbled piece is unique. No two designs are ever the same.
The process itself is simple in concept: paint or ink floats on the surface of the water, forms a pattern, and that pattern is captured on paper the instant it touches the surface. What matters most is which paint you choose, because not every paint floats the same way.
Several materials are needed for water marbling. Begin with a shallow tray to hold the water and paint. Use clean water for better results — any soap residue or debris will break up your patterns. Special marbling paints are essential for consistent results, since they’re formulated to float rather than sink or dissolve. A comb or stylus helps you drag the floating paint into patterns. Paper or fabric catches the design. Alum powder is used to prep the paper beforehand — it acts as a mordant that helps the floated paint bond permanently to the fibers instead of smearing off. Finally, keep paper towels on hand for drying and cleanup.
Types Of Paint For Water Marbling
Acrylic paint is the most accessible option for most people starting out. It’s easy to find, comes in a huge range of colors, and dries quickly on the transferred paper. But straight acrylic straight out of the tube doesn’t reliably float on its own — it’s water-soluble, so on plain water it tends to sink, disperse, or blend into the water instead of sitting on top. To get acrylic to float and hold a crisp pattern, you need to thin it and mix in a marbling medium or flow additive first (more on ratios below).
Oil-based paints are the traditional choice, and the reason they work so well for marbling is exactly the property that makes people nervous about them: oil doesn’t mix with water. That’s not a downside for marbling — it’s the whole mechanism. Because oil paint is hydrophobic, it naturally sits on the water’s surface without a medium or additive, holds sharp lines, and creates the classic swirl patterns you see in traditional Ebru and Suminagashi work. The real drawback with oil paints at home isn’t that they “don’t mix with water” — it’s that oil paints typically need solvents like turpentine or mineral spirits for cleanup and thinning, which means good ventilation and more careful handling than a water-based option.
Specialized marbling paints (sold as dedicated “marbling paint” or Ebru paint) are purpose-built for this craft. They’re formulated to float on water without any extra medium, mix cleanly, and give the most predictable, beginner-friendly results. If you want consistent patterns on the first try, these are worth the small extra cost over generic craft acrylic.
Choosing The Right Paint
Paint must be smooth and flow well. Thick paint does not spread nicely. Thin paint spreads too much. Medium consistency is best — it allows for beautiful designs. Acrylic paints mixed with a flow medium are often chosen because they have the right texture once thinned correctly. Water-based paints can work too, since they mix well with the tray water when it’s time to clean up. Check the label before buying, and look for paints marketed specifically for marbling — they’ll say so. Experiment with different brands, since each may spread and float slightly differently.
Bright colors are perfect for marbling, since they make the swirling patterns pop against the paper. Mix different colors for fun effects, though some paints blend more cleanly than others — test colors before committing to a full sheet. Primary colors are a safe starting choice since they combine to form many hues. Metallic paints add shine and a unique touch, but go easy when mixing more than two or three colors at once, since too many can turn the pattern muddy instead of vibrant.
Preparing Paint For Marbling
Using the right water-to-paint ratio is important. Too much water makes the paint too thin and it won’t hold its shape once dropped. Too little water keeps the paint too thick, so it won’t spread. Start with equal parts water and paint, stir well to mix, then add more water a little at a time, checking the paint’s flow as you go. If using acrylic, this is also the stage to stir in your marbling medium — without it, even well-thinned acrylic can still sink instead of floating flat.
Marbling mediums help paint float better and also make colors brighter and more vivid. Add a small amount to each color and mix well. Some mediums are already in liquid form; others come as powders that need to be dissolved first. Read the instructions on the package and use the recommended amount — too much medium can thin the paint past the point of holding a pattern.
Recommended Water Marbling Supplies
If you’d rather skip the trial and error of thinning ratios, a dedicated marbling kit gets you a paint set that’s already formulated to float, plus the alum and tools you need to prep paper and pull a clean design. Here’s what we recommend for getting started, and for keeping your results consistent once you have the basics down.
Applying Paint To Water
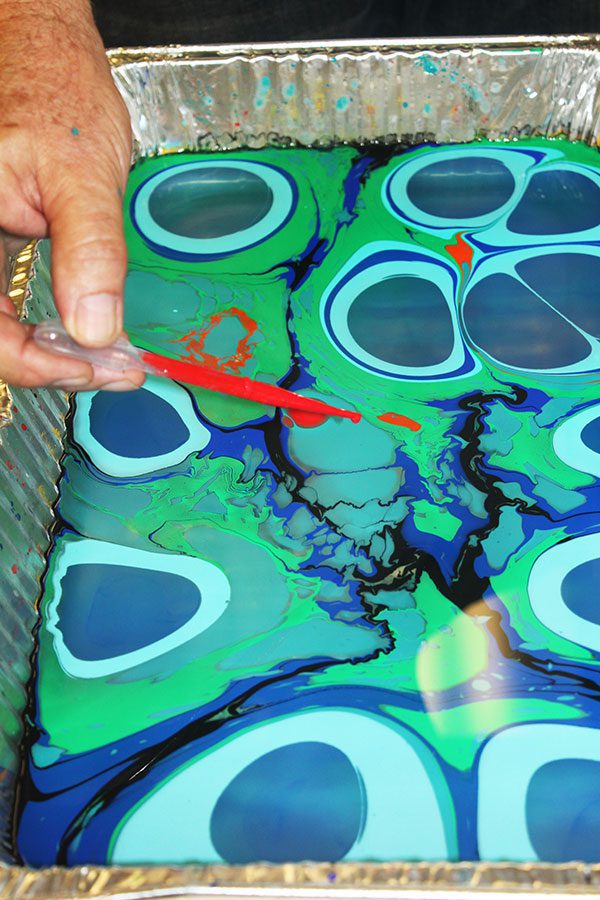
Water marbling is fun and creative once your paint is properly prepped. Whichever paint you’ve chosen — thinned acrylic with medium, dedicated marbling paint, or oil — pour or drop it onto the water gently. Use different colors for beautiful patterns, and swirl them with a comb or stick. Patterns appear almost like magic, and each swirl makes a unique design. Bold colors look striking once transferred to paper.
Control is key in water marbling. Use a small amount of paint first, since too much spreads fast and can sink the whole pattern under its own weight. Properly thinned paint should float and spread evenly across the surface rather than pooling. A dropper helps control flow precisely. Slow movements create neat designs; fast movements can mix colors into mud. Practice on a few test sheets before committing to your final piece.
Common Challenges And Solutions
Paint sinking is a common problem in water marbling. It usually happens because the paint is too heavy, too thick, or — in the case of straight acrylic — missing the marbling medium that helps it float. To fix this, thin the paint with water until it flows like milk, and mix in a marbling medium if you’re working with acrylic. Adding a small amount of surfactant can also help paint spread and float instead of clumping.
Spreading unevenly can also be frustrating. Sometimes the water is too cold — warming it slightly can help the paint spread more smoothly. Using a clean tray also helps, since dirt or old paint residue can make new paint spread in a strange, patchy way.
Achieving Desired Patterns
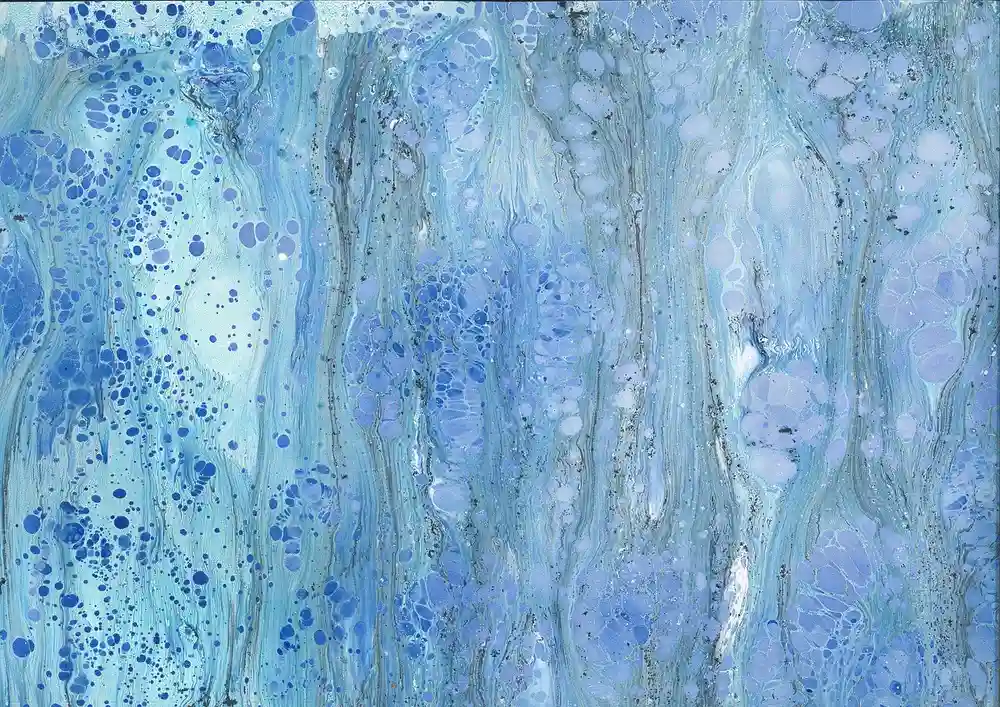
Making pretty patterns is fun. Start by dropping paint gently, using different colors, with each drop smaller than the last to create a nice ring effect. Use a toothpick or stick to swirl the paint, forming unique designs — just be careful not to over-mix, since patterns can turn muddy quickly.
Ebru Vs. Modern Acrylic Marbling: What’s The Real Difference?
Most guides treat “water marbling” as one technique, but there are really two distinct approaches in practice, and knowing which one you’re doing changes what paint you should buy.
- Traditional Ebru/Suminagashi: uses paints or inks that are naturally hydrophobic (oil-based paints or traditional sumi ink) and float on their own without any additive. This is the older, more established method, and it’s what most historical and museum-quality marbled paper is made with.
- Modern acrylic marbling: a craft-friendly adaptation that became popular because acrylic is cheap, non-toxic, and easy to clean up with water. The tradeoff is that acrylic needs help — a marbling medium or flow additive — to mimic the floating behavior oil paint has naturally.
Neither approach is “wrong.” If you want the classic look with the least fuss and don’t mind solvent cleanup, oil-based or dedicated marbling paint is the more forgiving choice. If you want an easy, kid-safe, water-cleanup process and don’t mind an extra prep step, acrylic plus a flow medium gets you there too — you’ll just get more consistent results if you remember that step, rather than skipping straight to pouring acrylic on water and wondering why it sank.
Expert Tips For Successful Marbling
Choosing the right paint is key for water marbling. Acrylic paints mixed with a flow medium work well and float on water nicely once properly thinned. Oil paints can also be used and give bright, saturated colors without any additive. Consistency matters most — paint should be thick enough to hold a shape but not so thick it clumps. Test different brands to see results, since some paints spread better than others. Always use high-quality paints for the best, most repeatable results.
Try different marbling techniques to create unique patterns. Swirling with a stick makes interesting shapes. Dropping paint in water forms circles. Comb tools create stripes. Blowing gently on the water can create waves. Layering colors brings depth to designs. Each technique changes the final look, so practicing helps you get better — experiment with colors and tools to discover what works best for you.
Popular Projects And Uses
Acrylic paints (with a flow medium) are a popular choice for water marbling, offering vibrant colors and easy cleanup. Artists often use these for unique patterns on paper and fabric. Many projects, like decorative items and art pieces, benefit from their versatility and rich hues.
Decorative Art Pieces
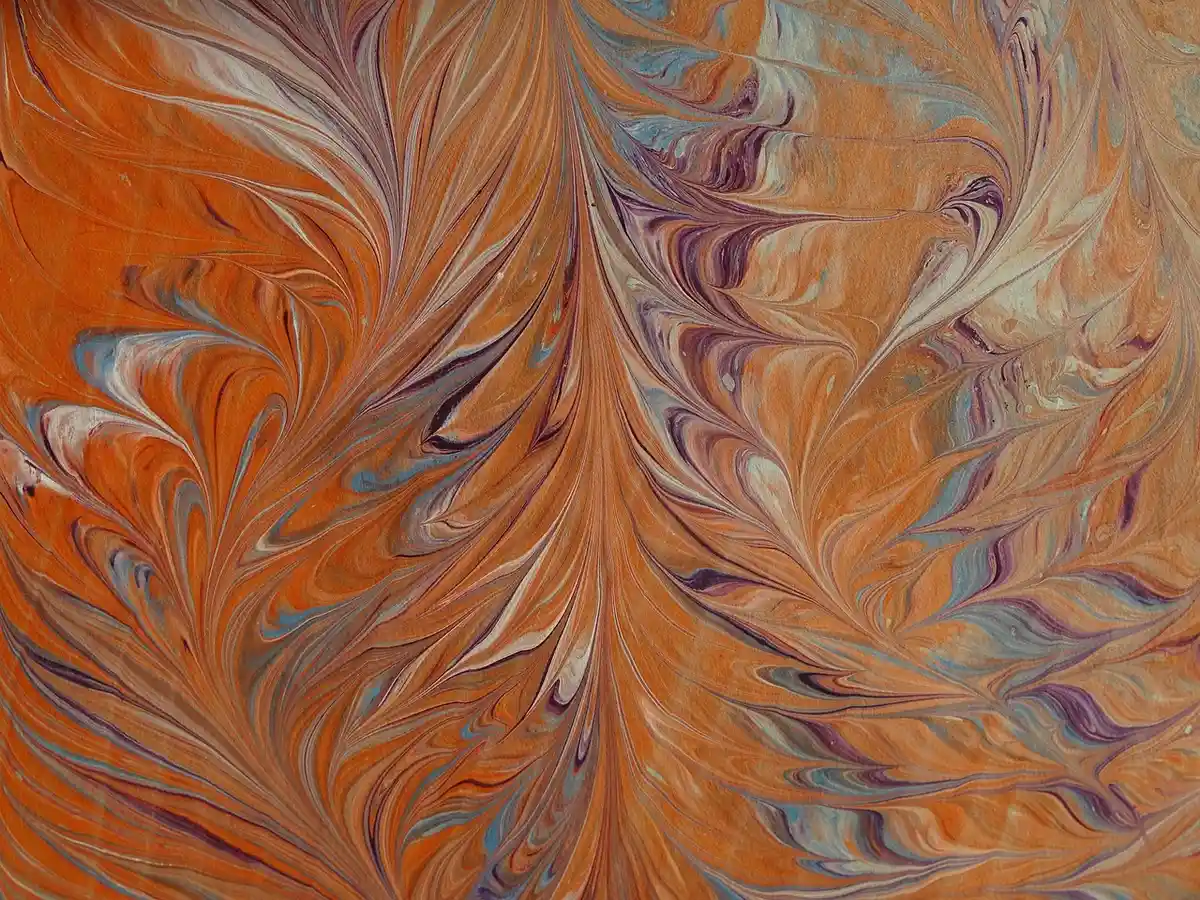
Water marbling paint creates beautiful decorative art pieces. Colors swirl and blend in unique patterns, and each piece is one-of-a-kind. Artists love using it for canvas art, and it’s perfect for home decorations like wall hangings. Even small items like postcards become special. The paint is also used on ceramic surfaces — vases and bowls turn into art. Jewelry makers find it useful too, since pendants and earrings gain unique designs. Paints for these projects are mostly acrylic-based, though some artists prefer oil paints for the richer, glossier finish. Both work well with water marbling techniques.
Functional Applications
Water marbling isn’t just for art — it has functional uses too. Many use it for fabric design, giving t-shirts and scarves vibrant looks. The paint is used on stationery items like notebooks and folders, and shows up on book covers as well. Marbled gift wrap adds a touch of elegance to presents. Even furniture gets a makeover — tables and chairs look modern and chic with a marbled finish. Marbling is also great for pottery, turning plain cups and plates into standout pieces. It’s a creative way to make everyday items unique.
Frequently Asked Questions
What Paint Can I Use For Water Marbling?
You have three real options: dedicated marbling paint (easiest, floats on its own), oil-based paint (the traditional choice, also floats on its own but needs solvents for cleanup), or acrylic paint mixed with a marbling medium (easy cleanup, but needs the medium to float properly — straight acrylic tends to sink or disperse on plain water). Quality matters for better results, so choose a paint marketed for marbling or plan to add a flow medium to whatever acrylic you have on hand.
How To Mix Acrylic Paint For Water Marbling?
Mix acrylic paint with water and a marbling medium in roughly equal parts, then stir gently to avoid introducing bubbles. Adjust the consistency until the paint flows like milk rather than clumping or running thin as water. Test a drop on the water surface before committing — if it sinks, add a little more medium; if it disperses into a cloud, add slightly less water.
How To Do Water Marbling At Home?
Fill a shallow tray with clean water, then drop your prepared marbling paint (or oil paint) onto the surface a few drops at a time. Swirl the floating paint with a comb or stick to build your pattern, then lay a sheet of alum-treated paper flat onto the water for a couple of seconds to transfer the design. Lift the paper straight up, rinse off any excess paint, and let it dry flat. A separate, unrelated craft technique sometimes confused with this is nail polish marbling — dropping nail polish into a container of water to coat small objects like mugs or jewelry — which uses different materials and a different transfer process than paper or fabric water marbling.
Can Acrylic Paint Be Used As Water Paint?
Acrylic paint can mimic watercolors by diluting it with water, creating a translucent effect — use more water for lighter shades. Unlike true watercolors, though, it becomes waterproof once dry. This makes diluted acrylic a flexible option for techniques beyond marbling as well.
Conclusion
Choosing the right paint makes water marbling fun and successful. Dedicated marbling paint and oil-based paint float on their own thanks to their natural resistance to mixing with water, while acrylic paint needs a marbling medium to do the same job. Always test your paint on a small sample of water before committing to a full sheet — this confirms it floats and spreads the way you expect.
Proper paint selection leads to beautiful marbling patterns every time. Experiment with different types and mediums to see what works best for your style, and enjoy the process — happy marbling!
Sponsored / affiliate links. As an Amazon Associate I earn from qualifying purchases. I may earn additional commission from eligible campaigns.
 PINTAR | 26 PACK | Acrylic Paint Markers Medium Point | Shoes, Leather, Rock Painting, Wood, Glass | Acrylic Paint Pens | Medium Point 5.0mm
 PINTAR Skin Tone Acrylic Paint Pens, 20 Pack Medium 5.0mm Tip — Opaque Multi‑Surface Paint Markers for Portraits, Rock Painting, Wood, Glass, Leather, Shoes, Canvas