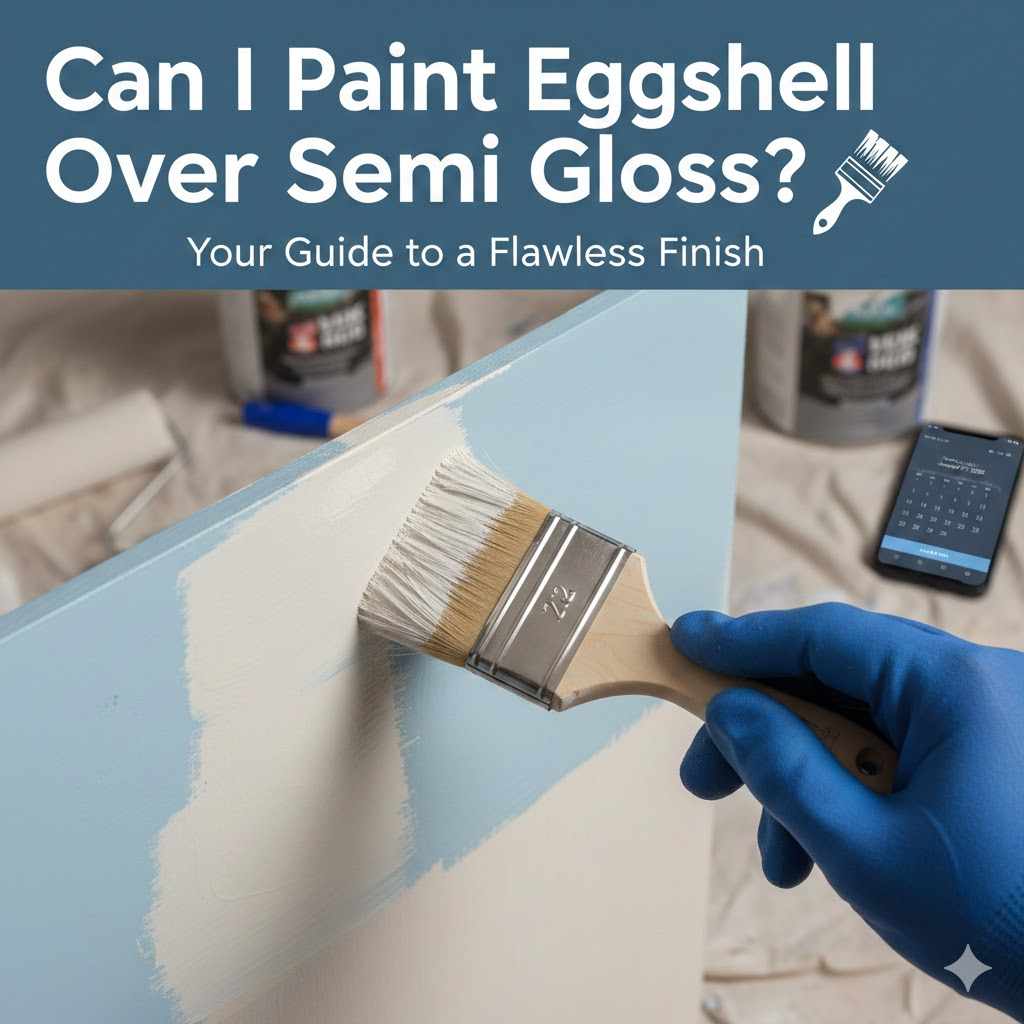
Can I Paint Eggshell Over Semi Gloss? Your Guide to a Flawless Finish
Yes, you can paint eggshell over semi-gloss, but not without proper preparation. The secret to a lasting, professional finish is to first clean, lightly sand (de-gloss) the shiny surface, and apply a quality bonding primer. This simple prep work ensures your new eggshell paint adheres perfectly and won’t peel or chip.
Tired of that shiny semi-gloss paint? Want a softer, more modern eggshell finish? You’re not alone. Many homeowners try to paint directly over a glossy surface and end up with peeling, chipping paint. It’s frustrating! But don’t worry, there’s a simple and effective way to get it right. I’m going to show you the effortless secret to getting a perfect eggshell finish over your old semi-gloss, every single time. Let’s get started and give your walls a beautiful, durable update you can be proud of.
Hello, fellow DIYers! Md Meraj here, your friendly guide in the workshop. Today, we’re tackling one of the most common painting questions I hear: “Can I paint eggshell over semi-gloss?” It’s a project that seems tricky, but I promise you, with the right steps, it’s completely achievable for anyone. We’re going to break it down, make it simple, and get you that beautiful finish you’ve been dreaming of.
Why You Can’t Just Paint Directly Over Semi-Gloss Paint
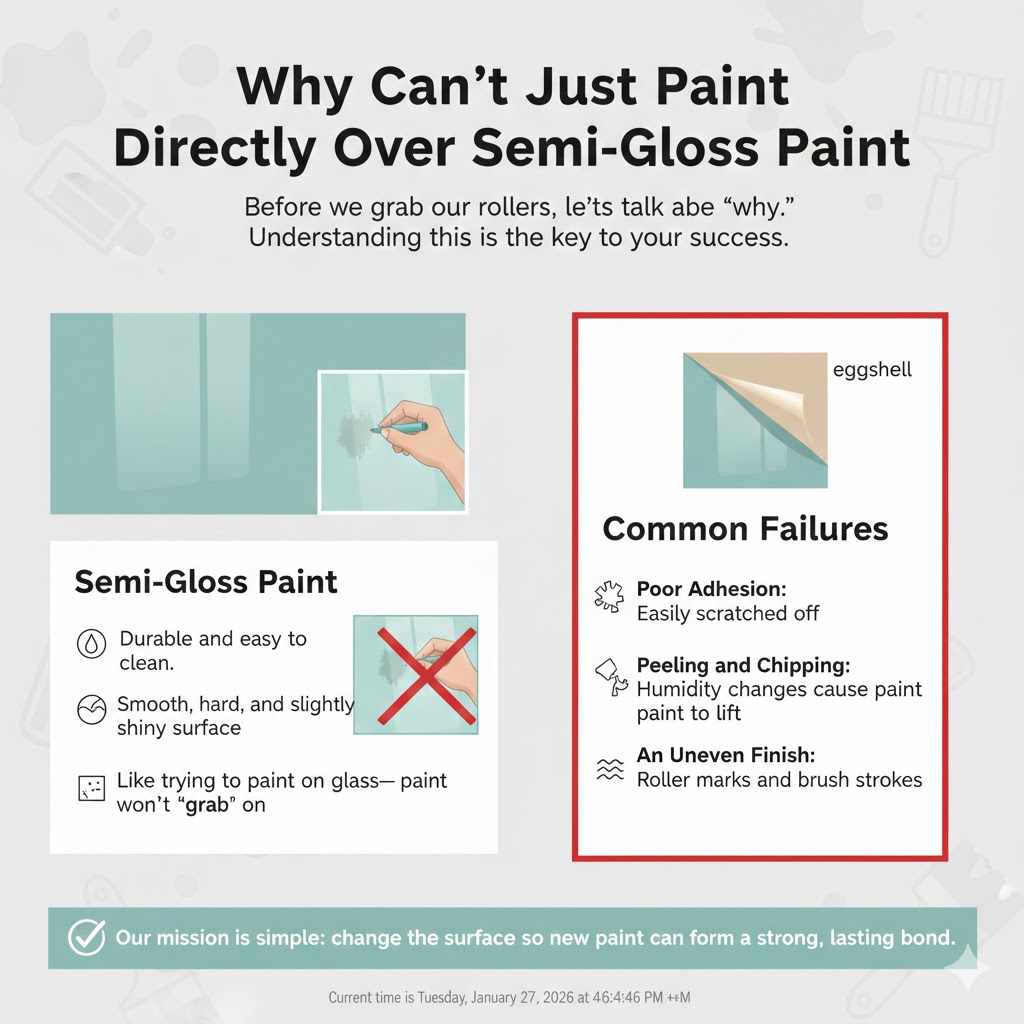
Before we grab our rollers, let’s talk about the “why.” Understanding this is the key to your success. Semi-gloss paint is popular in kitchens, bathrooms, and on trim for a good reason: it’s durable and easy to clean. Its surface is smooth, hard, and slightly shiny.
Think of it like a pane of glass. If you tried to paint on glass, what would happen? The paint would bead up, slide around, and peel off easily once dry. It has nothing to “grab” onto.
Semi-gloss paint acts in a very similar way. Its slick surface is designed to resist stains, moisture, and grime. Unfortunately, it also resists new paint. If you apply a coat of eggshell paint directly on top, you’ll likely experience:
- Poor Adhesion: The new paint won’t stick properly and can easily be scratched off with just a fingernail.
- Peeling and Chipping: Over time, humidity changes and everyday bumps will cause the top layer of paint to peel away from the glossy surface underneath.
- An Uneven Finish: The paint may not level out correctly, leaving you with roller marks, brush strokes, and an unprofessional look.
So, the challenge isn’t the eggshell paint; it’s the semi-gloss surface. Our mission is simple: we need to change that surface so the new paint can form a strong, lasting bond.
The “Effortless Secret”: It’s All About the Prep
Here’s the big secret, and it’s not really a secret at all: proper preparation is everything. I know, I know. You want to get to the fun part of painting. But trust me, spending a little extra time on prep work is the difference between a project you have to redo in six months and a beautiful finish that lasts for years.
Think of prep as the foundation of your house. You’d never build on weak ground, right? The same goes for painting. The steps we’re about to cover are your foundation for a perfect paint job. They are not difficult, and they will save you so much time and frustration in the long run. Let’s gather our tools and get it done right.
Your Tools and Materials Checklist
Having everything ready before you start makes the process smooth and stress-free. Here’s what you’ll need:
- Cleaner: A bucket of warm water with a degreasing cleaner like Trisodium Phosphate (TSP) or a safer TSP substitute. This is for removing grime.
- Sponges or Rags: One for cleaning and another for rinsing with clean water.
- Drop Cloths: To protect your floors and furniture. Canvas drop cloths are more durable than plastic.
- Painter’s Tape: For creating clean, sharp lines around trim, ceilings, and outlets.
- Fine-Grit Sandpaper (180 to 220-grit): A sanding block or a sanding sponge makes this job much easier on your hands.
- Tack Cloth or Damp Rag: To wipe away all the sanding dust.
- High-Quality Primer: This is crucial! Look for a “bonding primer” or an “adhesion-promoting primer.”
- High-Quality Eggshell Paint: The star of the show. Your choice of color.
- Painting Tools: A 2-inch angled brush for cutting in, a 9-inch roller with the right nap (usually 3/8″ for smooth walls), and a paint tray.
Step-by-Step: The Foolproof Method to Paint Eggshell Over Semi-Gloss
Ready to transform your space? Follow these steps exactly, and you’ll be amazed at the professional results you can achieve.
Step 1: Clean the Surface Thoroughly
You can’t paint over dirt, grease, or dust. Even if a wall looks clean, it’s likely covered in a thin layer of grime, especially in kitchens or bathrooms. This layer will prevent your primer and paint from sticking properly.
- Mix your TSP or degreasing cleaner in a bucket of warm water according to the manufacturer’s instructions.
- Using a sponge, wash the entire surface you plan to paint. Work from the bottom up to avoid streaks.
- Fill a second bucket with clean water. Using a fresh sponge or rag, rinse the wall thoroughly to remove any cleaning residue.
- Let the wall dry completely. This might take a couple of hours. Be patient!
Step 2: De-gloss the Surface (A Light Scuff Sanding)
This is the most important step for adhesion. The goal here is not to remove the old paint, but simply to “scuff up” the shiny finish. We need to create thousands of microscopic scratches for the primer to grip onto.
Using your 180 or 220-grit sandpaper on a sanding block, lightly sand the entire surface. You’re just trying to take the shine off. You’ll know you’re done when the glossy sheen has been replaced by a dull, matte appearance. You don’t need to apply a lot of pressure; a light touch is all it takes.
Once you’re finished sanding, wipe down the entire surface with a tack cloth or a slightly damp rag to remove every bit of sanding dust. Dust is your enemy!
Sanding vs. Liquid De-glosser
You might see products called “liquid sandpaper” or “de-glossers.” These are chemicals that etch the surface of the paint. While they can work, I generally recommend light sanding for beginners. It gives you more control and you can visually confirm that the entire surface has been dulled. Here’s a quick comparison:
| Method | Pros | Cons | Best For |
|---|---|---|---|
| Light Sanding | Inexpensive, gives a visible indicator of progress, foolproof for beginners. | Creates fine dust (wear a mask), can be time-consuming on large areas. | Walls, trim, doors—most flat surfaces where you can control dust. |
| Liquid De-glosser | No dust, fast application, great for detailed or hard-to-sand areas. | Strong chemical fumes (requires good ventilation), can be messy, you have to trust it worked. | Ornate trim, detailed cabinet doors, areas where sanding is physically difficult. |
Step 3: Prime with a High-Quality Bonding Primer
Do not skip the primer! And more importantly, use the right kind of primer. A standard drywall primer won’t do the job here. You need a bonding primer.
Bonding primers are specifically formulated with special resins that allow them to stick to tough, non-porous surfaces like semi-gloss paint, vinyl, and even glass. They create the perfect bridge between the old, slick surface and your new eggshell paint.
Apply one even coat of your bonding primer using your brush for the edges (“cutting in”) and your roller for the large surfaces. Follow the instructions on the can for drying times. Most primers will be ready for a topcoat in just a few hours. Choosing the right product is essential; great painters know that a good primer is the secret to a job that lasts. For a deeper understanding of primers, resources from experts like Benjamin Moore offer fantastic guidance on why specific primers are needed for specific jobs.
Step 4: Apply Your Beautiful Eggshell Paint
Finally, the moment you’ve been waiting for! Now that you’ve created a perfectly prepped surface, painting will be a breeze. Your paint will glide on smoothly and cover evenly.
- Stir your eggshell paint thoroughly.
- Using your angled brush, carefully paint the edges and corners of the wall (this is called “cutting in”). Paint about a 2-3 inch border.
- While the cut-in areas are still wet, use your roller to paint the main part of the wall. Roll in a “W” pattern to distribute the paint evenly, then go back over it in straight, vertical strokes from top to bottom.
- Let the first coat dry completely. Check the paint can for the recommended recoat time. Don’t rush this!
- Apply a second coat for a rich, even, and durable finish. Two thin coats are always better than one thick, heavy coat.
Step 5: Let it Cure
Once you’ve finished your second coat, carefully remove the painter’s tape while the paint is still slightly wet to get the cleanest lines. Then, let your hard work pay off.
It’s important to understand the difference between “dry time” and “cure time.”
- Dry Time: The paint may feel dry to the touch within a few hours. This means the solvents have evaporated.
- Cure Time: This is the time it takes for the paint to fully harden and reach its maximum durability. For most latex paints, this can take anywhere from a week to 30 days.
During the curing period, be gentle with the newly painted surface. Avoid scrubbing it or placing heavy objects against it. Patience here will ensure your beautiful new finish stays beautiful for a long, long time.
Eggshell vs. Semi-Gloss: A Quick Refresher
Wondering why you’d choose one over the other? Here’s a simple breakdown to help you understand the differences and choose the right finish for every room in your home.
| Feature | Eggshell Finish | Semi-Gloss Finish |
|---|---|---|
| Sheen/Gloss Level | Low sheen, with a soft, subtle glow like an egg’s shell. | Noticeable shine and reflects light. |
| Durability | Good durability, stands up to moderate wear and tear. | Very durable and moisture-resistant. |
| Hiding Imperfections | Excellent at hiding minor wall imperfections due to its low reflectivity. | Tends to highlight bumps, dings, and other flaws on the wall. |
| Ease of Cleaning | Can be wiped down gently. More scrubbable than a flat or matte finish. | Very easy to scrub and clean, making it highly stain-resistant. |
| Best Rooms | Living rooms, bedrooms, hallways, dining rooms—areas with less moisture. | Kitchens, bathrooms, laundry rooms, doors, and trim. |
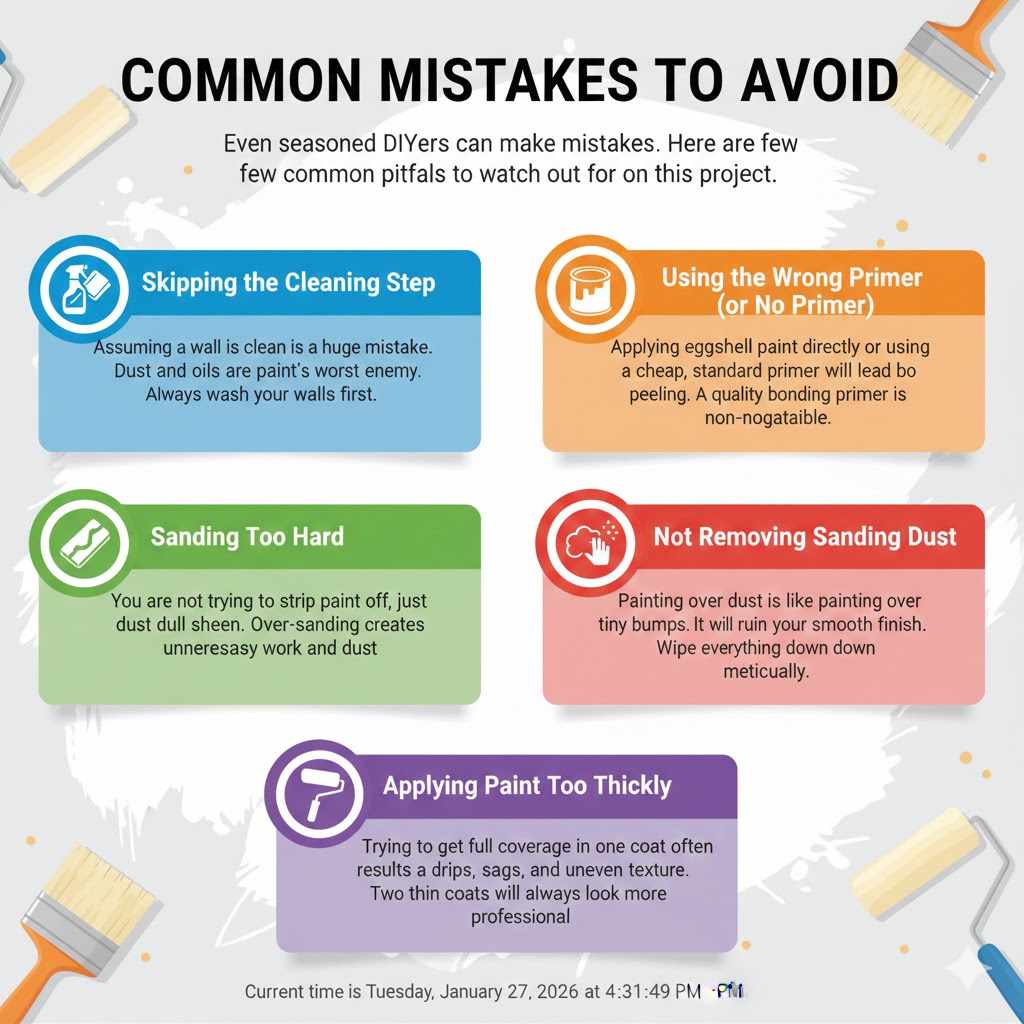
Common Mistakes to Avoid
Even seasoned DIYers can make mistakes. Here are a few common pitfalls to watch out for on this project:
- Skipping the Cleaning Step: Assuming a wall is clean is a huge mistake. Dust and oils are paint’s worst enemy. Always wash your walls first.
- Using the Wrong Primer (or No Primer): Applying eggshell paint directly or using a cheap, standard primer will lead to peeling. A quality bonding primer is non-negotiable.
- Sanding Too Hard: You are not trying to strip the paint off, just dull the sheen. Over-sanding creates unnecessary work and dust.
- Not Removing Sanding Dust: Painting over dust is like painting over tiny bumps. It will ruin your smooth finish. Wipe everything down meticulously.
- Applying Paint Too Thickly: Trying to get full coverage in one coat often results in drips, sags, and an uneven texture. Two thin coats will always look more professional.
Frequently Asked Questions (FAQ)
Do I really have to sand semi-gloss paint before painting?
Yes, you really do. Sanding, or de-glossing, is the most critical step to ensure the new paint can adhere. It creates the “tooth” that the primer needs to grab onto. Skipping this step is the number one cause of paint failure on glossy surfaces.
Can I use a “paint and primer in one” product?
For this specific job, I strongly advise against it. While “paint and primer in one” products are great for painting over previously painted flat or matte surfaces, they are not formulated to bond to slick, glossy finishes. You need a dedicated bonding primer for guaranteed results.
What is the best primer to use over semi-gloss paint?
Look for a primer specifically labeled as a “bonding primer” or “adhesion primer.” Popular and reliable options include Zinsser B-I-N Shellac-Base Primer, Kilz Adhesion High-Bonding Primer, or INSL-X Stix Waterborne Bonding Primer. Ask the expert at your local paint store for their recommendation.
How long should I wait between priming and painting?
Always follow the manufacturer’s instructions on the primer can. Most water-based bonding primers have a recoat window of about 1-4 hours. Letting it dry properly ensures it has formed a solid foundation for your topcoat.
What grit sandpaper is best for de-glossing?
A fine grit, such as 180 or 220-grit, is perfect. You don’t want anything too coarse, as it could leave deep scratches that might show through your final paint job. The goal is to scuff, not gouge.
Can I use this same method to paint over high-gloss paint?
Absolutely! This method is perfect for painting over any glossy surface, including high-gloss. In fact, it’s even more important to follow these steps meticulously for high-gloss, as its surface is even slicker and less porous than semi-gloss.
Will eggshell paint hide imperfections better than semi-gloss?
Yes, it will. One of the best qualities of an eggshell finish is its ability to mask minor flaws on a wall, like small bumps or repaired patches. Because semi-gloss reflects so much light, it tends to highlight and magnify every imperfection.
Conclusion: You’ve Got This!
So, can you paint eggshell over semi-gloss? Not only can you, but you can do it beautifully and create a finish that will make you proud every time you walk into the room. The “effortless secret” is simply taking the time to do the prep work right. By cleaning, scuffing, and priming, you are setting yourself up for guaranteed success.
Painting is one of the most rewarding DIY projects. It offers a huge transformation for a small investment. Now you have the knowledge and the step-by-step plan to tackle those shiny walls and give them the soft, elegant eggshell finish they deserve. Take your time, trust the process, and enjoy creating a space you truly love.
Happy painting!