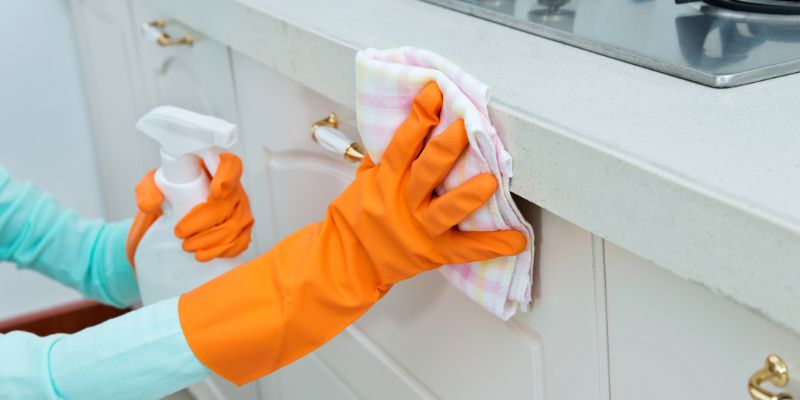
How to Clean Kitchen Cabinets Before Painting: TSP vs Degreaser
Grease left on kitchen cabinet doors is the single biggest reason DIY paint jobs chip within a year — dish soap and warm water handle dust, but stovetop grease needs a real degreaser or TSP substitute. Skipping the rinse-dry-sand sequence lets paint peel at the hinges within months. This guide covers what to clean with, how long to dry before priming, and why the 220-grit scuff-sand step matters as much as the cleaning itself.
Quick Answer
Wash cabinet doors with warm water and mild dish soap for light dust, or Krud Kutter/TSP substitute for kitchen grease — but skip straight ammonia or bleach, which can haze factory finishes. Rinse, dry fully, then scuff-sand with 220-grit before primer. Grease left behind is the single biggest cause of peeling cabinet paint.
Gather Your Supplies
Best Cabinet Deglosser Pick
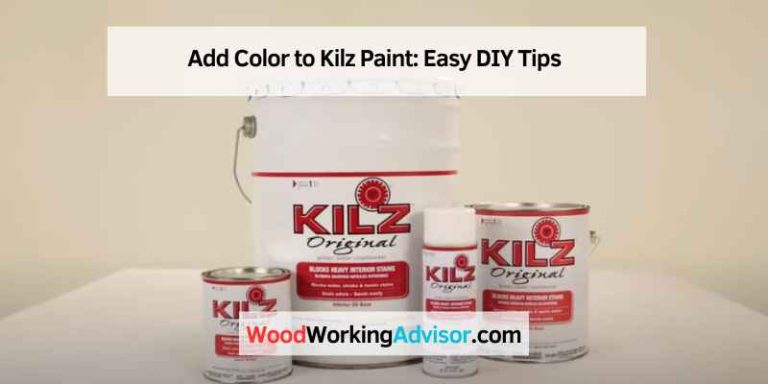
Krud Kutter Gloss-Off Prepaint Surface Preparation Cleaner
A no-sanding liquid deglosser built specifically for cabinets, trim, and doors — it strips grease and gloss in one wipe so primer actually bonds.
- Best for: painted or factory-finish cabinet doors that need degreasing and degloss in one step
- Why we picked it: it replaces both the wash step and the scuff-sand step on lightly soiled doors
- Main drawback: heavy grease above the stove still needs a stronger degreaser first
Compare more cabinet-prep cleaning options
 Option 1 Jasco TSP No-Rinse Substitute Cleaner
|
 Option 2 3M 220-Grit Sandpaper Sheets
|
 Option 3 Krud Kutter Original Cleaner Degreaser
|
As an Amazon Associate we earn from qualifying purchases.
- Warm water and mild dish soap, or a degreaser such as Krud Kutter
- A TSP substitute (Jasco or Savogran) for heavy stovetop grease
- Soft microfiber cloths — lint-free, unlike sponges
- Rubber gloves and safety glasses
- A screwdriver to remove doors and hardware
- 220-grit sandpaper and a tack cloth
- A quality wood primer
Open a window or turn on the range hood before you start — degreasers and TSP substitutes both work by dissolving oil, and that means fumes. Never mix cleaning products together, especially anything containing bleach or ammonia.
Remove Doors and Hardware First
Unscrew cabinet doors and drawer fronts and pull every knob and hinge before you clean. Working on a flat surface, laid over a drop cloth, gets cleaner into corners and hinge mortises that a wall-mounted door never lets you reach. Number each door with painter’s tape as you go so nothing gets mismatched during reinstall.
How Much Cleaner Do Your Cabinets Actually Need?
Not every cabinet needs the same treatment — and this guide is one piece of our broader wood paint and prep coverage. Dust and light fingerprints near a pantry door come off with dish soap. A film of amber grease above the stove needs something stronger. Match the cleaner to the grime, not the other way around — over-cleaning with harsh chemicals can haze a finish you were about to paint over anyway, but under-cleaning leaves an oily layer that stops paint from bonding at all.
| Cleaner | Cuts Grease | Rinse Needed? | Best For |
|---|---|---|---|
| Dish soap + warm water | Light | Yes, clear water | Dust and light fingerprint grime |
| Krud Kutter degreaser | Strong | Yes | Stovetop-adjacent grease film |
| TSP substitute (Jasco/Savogran) | Very strong | Some are no-rinse | Years of baked-on kitchen grease |
| Denatured alcohol | Moderate | Yes | Deglossing right before primer, evaporates fast |
Light Cleaning: Dish Soap and Warm Water
Mix a few drops of dish soap, like Dawn, into a bucket of warm water. Dip a microfiber cloth, wring it out so it’s damp rather than wet, and wipe each door in sections. Rinse the cloth in clean water and go back over the surface to lift the soap residue, then dry immediately with a dry towel. This is enough for most cabinet interiors and any door that doesn’t sit near the stove.
Heavy Grease: Degreaser or TSP Substitute
For the grease film that builds up above and beside the range, dish soap alone usually isn’t enough. Spray a degreaser directly onto the surface, let it sit for 5 to 10 minutes so it can break down the oil, then wipe with a clean cloth. If grease has been building for years, step up to a phosphate-free TSP substitute — apply per the label, work in small sections, and rinse with clean water before it dries on the surface.
Baking soda paste (mixed roughly 3 parts baking soda to 1 part water) works as a gentle abrasive for stuck-on spots that a cloth alone won’t lift. Apply, let sit a few minutes, then scrub lightly with a soft brush and wipe clean.
Handling Different Cabinet Materials
Solid wood cabinet doors tolerate the most moisture but should still be dried immediately — standing water can raise the grain and telegraph through a fresh coat of paint. Laminate surfaces clean easily with a gentle cleanser and should never see harsh chemicals, which can dull or discolor the surface. Veneer is the most delicate of the three: keep water use to a minimum, dry right away, and check for lifting or cracked edges before you paint, since veneer damage needs repair first.
Dry Completely Before You Sand or Prime
Wipe off standing water with a towel, then let doors air dry in a warm, ventilated area for a full 24 hours before moving to the next step. Painting or priming over cabinet doors that still hold moisture in the seams or grain is one of the most common causes of primer failure and bubbling paint — and it’s invisible until the paint is already on.
📊 Manufacturers who publish cabinet-repaint prep guides (Benjamin Moore, Sherwin-Williams) consistently call for a 220-grit scuff sand and full drying before primer — not just a wipe-down. Skipping the sand step is the most common reason DIY cabinet paint jobs chip within the first year.
Scuff-Sand With 220-Grit Before Primer
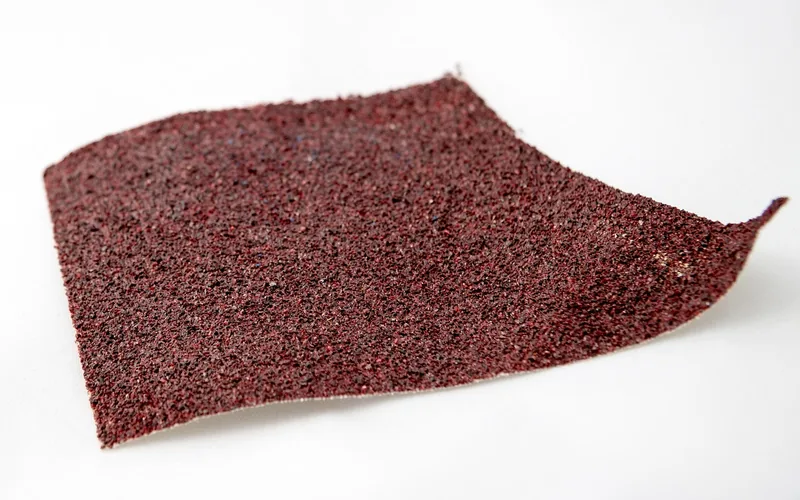
Cleaning removes dirt and grease, but a factory or older painted finish is still glossy and slick — primer needs texture to grip, not just a clean surface. Once doors are bone dry, sand every surface lightly with 220-grit sandpaper, just enough to knock down the sheen without cutting through to bare wood. Wipe away the dust with a tack cloth, then inspect under a flashlight for any residue or missed spots before priming.
“The paint job is only as good as the prep. Skip the degrease-and-scuff step and even a $70 quart of cabinet enamel will chip within months over stovetop grease.”
Choose the Right Primer for the Material
Once the doors are clean, dry, and scuff-sanded, apply a quality primer suited to the material — a bonding or oil-based primer holds up best over glossy factory finishes. Apply an even coat with a brush or foam roller and let it cure fully per the label, which is often longer than it feels like it should take. Then follow with your cabinet paint of choice, and refer to our guide on preventing painted cabinets from chipping for the topcoat side of the job.
Common Mistakes That Ruin the Paint Job
- Skipping the degrease step entirely — even a light film of cooking oil stops paint from bonding, no matter how good the primer is.
- Painting over damp wood — moisture trapped under paint causes bubbling and peeling within weeks.
- Mixing cleaning products — never combine bleach and ammonia-based cleaners; the fumes are dangerous.
- Skipping the scuff sand — a clean but glossy surface still won’t hold primer well.
- Leaving hardware on — paint bridges over hinges and knobs, which then have to be scraped clean or reinstalled sloppily.
Frequently Asked Questions
What is the best thing to clean cabinets before painting?
Mild dish soap and warm water handle light dust and fingerprints. For real kitchen grease, a degreaser like Krud Kutter or a phosphate-free TSP substitute cuts through buildup that soap alone leaves behind. Whatever you use, rinse thoroughly and let the doors dry fully before sanding or priming.
Can I use Dawn to clean cabinets before painting?
Yes. Dawn dish soap mixed with warm water cuts light grease effectively and is safe on most painted, wood, and laminate finishes. For heavier stovetop grease it may take more scrubbing than a dedicated degreaser, but it will not damage the surface.
Do you need to sand cabinets after cleaning and before painting?
Yes. Cleaning removes dirt and grease, but factory finishes are still glossy and slick. A light pass with 220-grit sandpaper after the doors are completely dry dulls the sheen so primer has something to grip, which is what actually prevents chipping later.
How long should cabinets dry before priming?
Let cleaned cabinet doors air dry for a full 24 hours in a warm, ventilated area before sanding or priming. Painting over doors that still hold moisture in the wood grain or seams is one of the most common causes of primer failure.
What do professionals use to clean kitchen cabinets before painting?
Many painting contractors use a dedicated degreaser or a TSP substitute like Jasco or Savogran for grease-heavy kitchens, followed by a clean-water rinse and a 220-grit scuff sand. Microfiber cloths are preferred over sponges because they will not leave lint behind.
Conclusion
Clean cabinets take paint; greasy ones don’t. Remove doors and hardware, match your cleaner to the grime — dish soap for dust, degreaser or TSP substitute for kitchen grease — rinse well, and give doors a full 24 hours to dry before scuff-sanding with 220-grit and priming. Skip any of those steps and even good paint will chip within months.
Sponsored / affiliate links. As an Amazon Associate I earn from qualifying purchases. I may earn additional commission from eligible campaigns.