How to Remove Chipping Paint From Wood (4 Methods + Lead Check)
Scraping is the safest way to remove chipping paint from wood, but check for lead first if the surface was painted before 1978 — the EPA requires lead-safe work practices unless you test with an EPA-recognized kit. Skip that check and you risk lead dust exposure; skip proper prep and the new coat fails within a season. This guide compares scraping, vinegar, chemical stripping, and heat-gun methods, then covers the sanding sequence that makes new paint stick.
Quick Answer
Scrape loose paint with a metal or plastic scraper first — it’s free and works on most chips. Use a chemical stripper for multiple stacked layers or detailed trim, and a heat gun only on thick exterior paint away from glass or wiring. Whatever method you choose, sand with 80 then 120 then 220 grit before priming.
What Causes Wood Paint to Chip?
Best Paint Scraper Pick
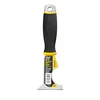
Purdy Premium 6-in-1 Multi-Tool
A rubberized-grip 6-in-1 tool that combines a scraper, a nail-set hammerhead, and edge tools in one piece — no need to switch tools mid-job.
- Best for: general scraping on trim, furniture, and siding
- Why we picked it: stainless steel blade resists rust and holds an edge through a full scraping job
- Main drawback: the metal edge can gouge soft or antique wood if you press too hard
Compare more paint scraper options
 Option 1 Goldblatt 9-in-1 Paint Scraper Tool
|
 Option 2 Bates 10-in-1 Painters Tool Scraper
|
 Option 3 Purdy Premium Multi-Utility 10-in-1 Folding Prep Tool
|
As an Amazon Associate we earn from qualifying purchases.
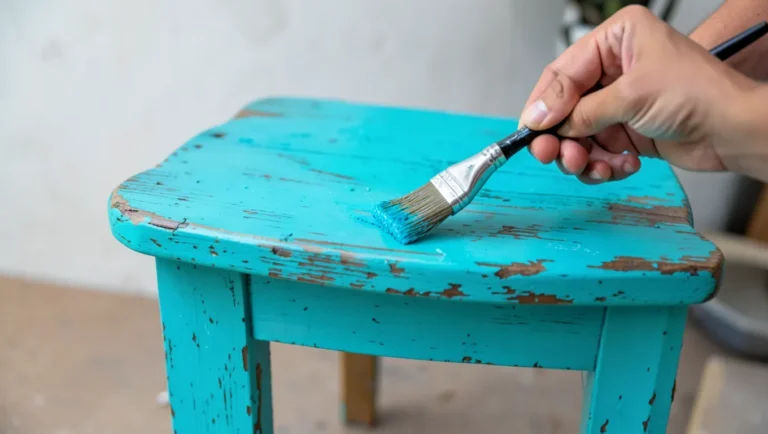
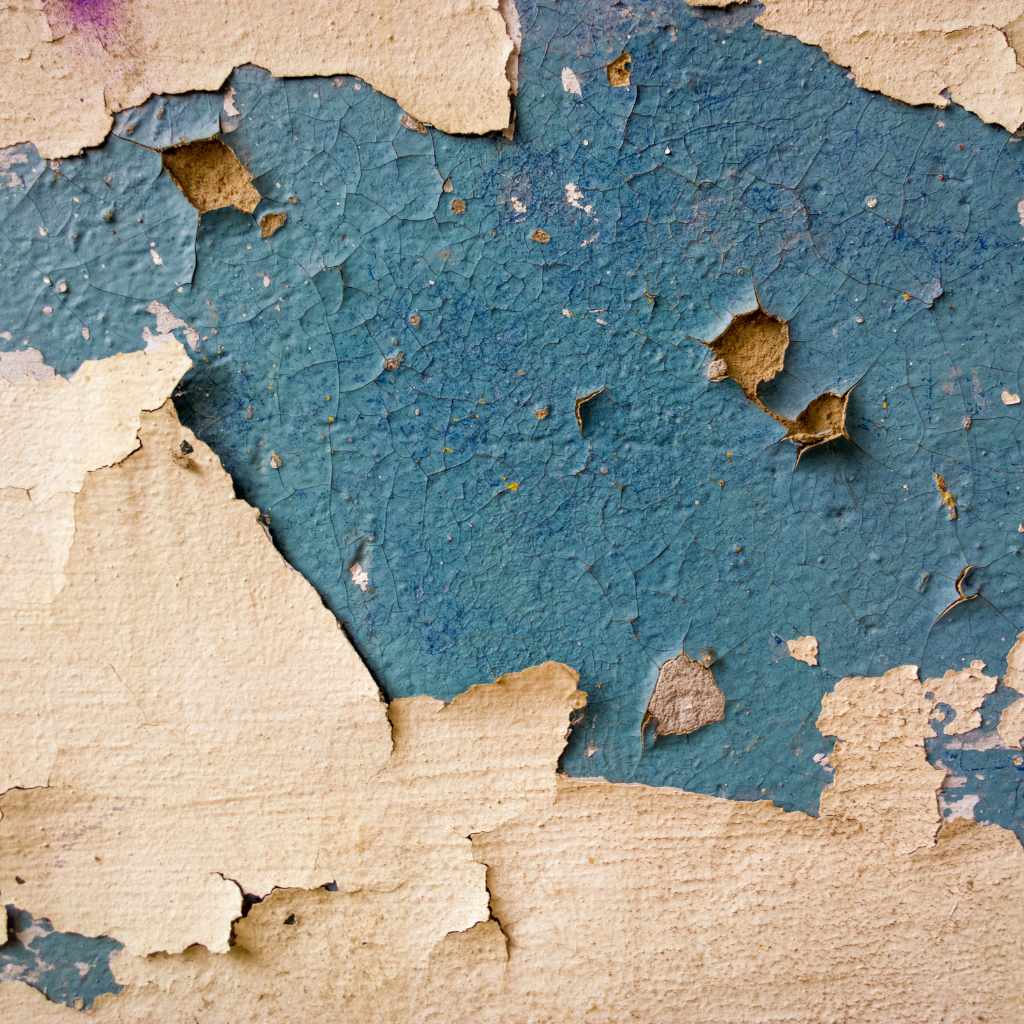
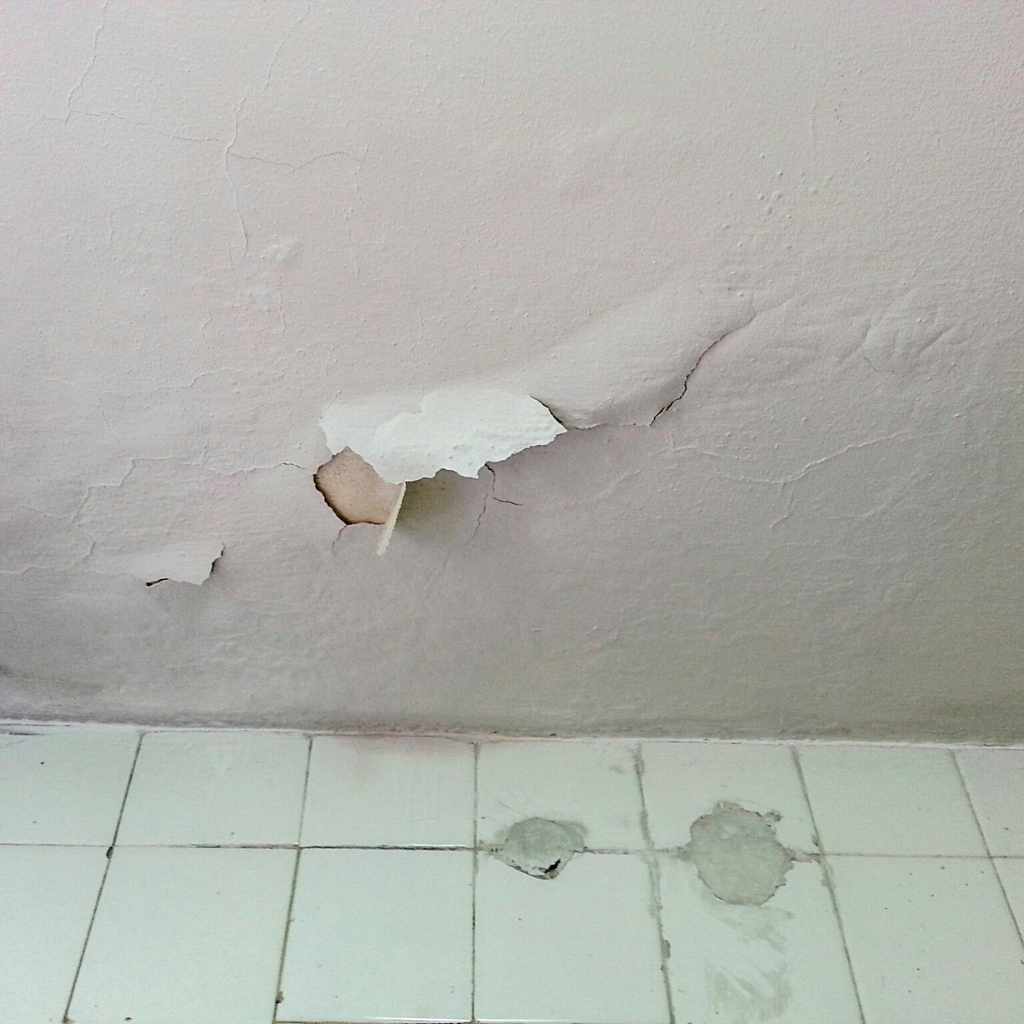
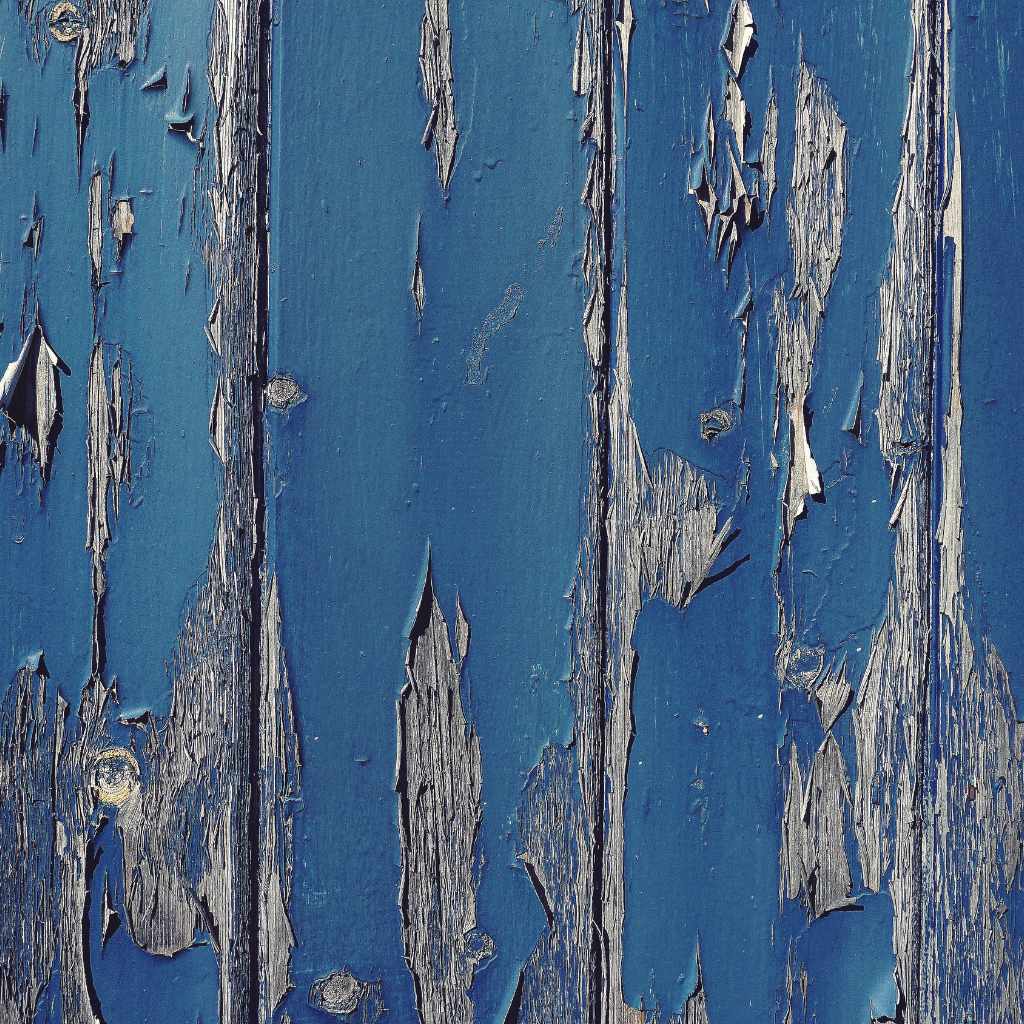
Chipping paint signals a bond failure between the coating and the wood underneath — small flakes or rough patches are early warning signs, and they only get worse with foot traffic, moisture, or sun exposure.
Common Causes
Moisture is the top cause — water seeps under the paint film and makes it bubble and lift. Poor surface cleaning before the original paint job, sun exposure that makes paint brittle, and cold-weather application all shorten a coat’s life. Low-quality paint and simple age also play a role — older paint jobs naturally lose adhesion over time.
Areas Most Affected
Exterior walls, window and door trim, and any wood surface that sees temperature swings chip first. Indoors, trim and baseboards peel, and kitchen cabinets and bathroom trim chip from steam and water contact. Wood chips faster than metal or plastic because it expands and contracts with humidity, flexing the paint film until it cracks.
Is Chipping Paint Dangerous? Lead Paint Safety Check
Lead-based paint is a coating that was legal for residential use until the federal government banned it in 1978, and it becomes a real hazard once it chips or turns to dust. Roughly three-quarters of U.S. homes built before 1978 still have some lead paint on a surface somewhere, and friction points — window sashes, doors, stair rails — are the areas most likely to shed lead dust as they chip.
The EPA’s Renovation, Repair, and Painting (RRP) Rule doesn’t force you to test before you start — but if you don’t know the paint’s age, the rule says to treat it as lead-based and follow lead-safe work practices unless you test first. An EPA-recognized test kit (LeadCheck or D-Lead are the two most common) gives a same-day answer for under $20; a paint-chip sample sent to an EPA-recognized lab gives a more precise result if the swab test is inconclusive.
- Test any chipping paint on a home, deck, or piece of furniture built or painted before 1978 before you scrape, sand, or heat it.
- If the test is positive, wet-sand instead of dry-sand, use a HEPA vacuum for cleanup, and skip the heat gun — heat above 1100°F releases toxic lead fumes.
- For a positive test on a large surface, hire an EPA-certified renovator rather than DIYing the removal.
Essential Tools and Materials
The right tools make paint removal faster and safer. Gather everything below before starting so you’re not stopping mid-job.
Safety Equipment
- Safety goggles to keep dust and paint chips out of your eyes
- A dust mask or, if lead is possible, a NIOSH-rated respirator
- Gloves to protect against chemical strippers and sharp scraper edges
- Long sleeves, long pants, and a well-ventilated work area
Scrapers and Sandpaper
A metal scraper removes stubborn old paint fastest on tough surfaces; a plastic scraper protects delicate trim and veneer. Sandpaper finishes the job — coarse grit strips remaining paint, fine grit smooths the surface so new paint adheres cleanly.
Paint Strippers and Removers
Chemical strippers dissolve old paint so it lifts off in sheets instead of small chips. Match the stripper to the surface — a citrus-based stripper is gentler on furniture, while a heavy-duty methylene-chloride-free stripper handles thick exterior layers. Apply evenly with a brush, wait the label’s dwell time, then scrape off the softened paint.
Preparing the Surface
Preparing the surface first keeps dust and paint chips from spreading and protects the parts of the wall or furniture you’re not touching. A few extra minutes here makes the actual removal cleaner and faster.
Cleaning Techniques
Remove dust and dirt with a soft brush or vacuum, then wipe with a damp cloth — mild soap and water handles stubborn grime. Avoid soaking the surface, and let it dry completely before you start removing paint; a clean, dry surface also helps the new coat stick later.
Protecting Surrounding Areas
Cover floors and furniture with drop cloths, and secure them with painter’s tape. Tape plastic sheeting over windows or nearby door frames so you’re not cleaning up chips and dust for the rest of the day.
4 Ways to Remove Chipping Paint
Which method wins depends on the surface, how many paint layers you’re dealing with, and whether the wood is delicate. Start with the least aggressive option that will realistically work — chemicals and heat both carry more risk to the wood underneath.
Manual Scraping
A paint scraper or putty knife handles loose paint and small areas well. Work in one direction with firm, even pressure — scraping against the grain risks gouging the wood. It’s the cheapest and safest method, but slow on large surfaces.
Vinegar Solution (Chemical-Free Option)
For paint that’s already peeling, a vinegar soak loosens the bond without solvents. Mix one part white vinegar to two parts water, warm it for about 30 seconds in the microwave, then soak a thick cloth and press it against the paint for up to 15 minutes. Scrape once the paint softens — this works best on paint that’s already lifting, not paint that’s still fully bonded.
Chemical Stripping
Chemical strippers soften paint with solvents so it lifts off in sheets. Brush the stripper on evenly, wait for it to bubble, then scrape off the softened paint. This is the best option for multiple stacked layers and detailed trim. Wear gloves and work in a ventilated area — and confirm the paint isn’t lead-based first (see the safety check above).
Heat Gun Usage
A heat gun melts paint so it scrapes away easily. Hold it a few inches from the surface, move it slowly, and watch for bubbling before scraping. It’s fast on thick exterior paint but risks scorching the wood or, on lead paint, releasing toxic fumes above 1100°F — skip this method entirely if your lead test came back positive.
| Method | Cost | Best For |
|---|---|---|
| Manual scraping | $ (tool only) | Small areas, loose paint, any surface |
| Vinegar solution | $ (pantry staple) | Already-peeling paint, chemical-free jobs |
| Chemical stripper | $$ ($10–$30/quart) | Multiple layers, detailed trim, furniture |
| Heat gun | $$$ ($30–$70) | Thick exterior paint, non-lead surfaces only |
Sanding for a Smooth Finish
Sanding removes rough spots left after scraping or stripping and preps the surface so new paint sticks and lasts.
Choosing the Right Grit
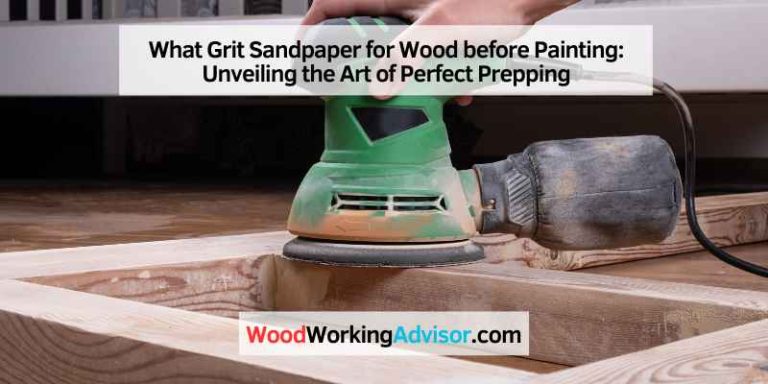
- 60–80 grit: removes large paint chips and levels rough patches quickly.
- 120 grit: smooths what the coarse pass leaves behind.
- 220 grit: final polish pass right before priming.
Skipping straight to fine grit leaves scratches under the new paint; the coarse-to-fine sequence is what prevents that.
Sanding Tips
- Sand with the wood grain, not across it, to avoid visible marks.
- Use light, even pressure — pressing hard gouges soft wood.
- Swap sandpaper once it clogs; a clogged sheet burnishes instead of cutting.
- Wipe dust off often so you can see your progress, and wear a mask throughout.
Repairing Damaged Surfaces
Repairing cracks and holes after paint removal keeps the new coat from failing at the same weak points as the old one.
Filling Cracks and Holes
Clean the damaged area, then press wood filler into cracks and holes with a putty knife until they’re completely full. Let it cure per the package instructions, then sand smooth with fine sandpaper — the goal is a surface you can’t feel the repair on. If you need more detail on this step, see how to fill gaps in woodworking.
Priming for Paint
Primer helps the new paint bond, blocks stains, and adds a moisture barrier. Brush or roll it over the entire repaired area and let it dry fully before topcoating — a rushed primer coat is one of the most common reasons paint chips again within a year.
Repainting for Lasting Results
A fresh coat over properly prepped wood is what actually stops chipping from coming back — skipping straight to repainting over old, unrepaired damage just resets the clock on the same failure.
Selecting Quality Paint
Match the paint to the surface — exterior paint for outdoor wood, interior for indoor trim. Look for strong adhesion and weather resistance on the label; higher-quality paint covers in fewer coats, which offsets some of the higher sticker price. If you still need a primer, our wood primer comparison covers eight options by real cost.
Applying Paint Correctly
Clean and sand the area to remove any remaining loose flakes, prime, then apply paint in thin, even layers — letting each coat dry fully before adding the next. Avoid painting in very hot or cold weather; both extremes keep the film from curing evenly.
Maintenance to Prevent Future Chipping
Regular checks catch small problems before they turn into another full paint-removal job.
Regular Inspections
Check painted surfaces for cracks, bubbles, or peeling a couple of times a year, especially areas that face heavy sun or rain. Clean gently with a soft brush or cloth — harsh scrubbing damages the paint film itself.
Protective Coatings
A clear sealant or varnish over painted surfaces adds a layer against water and dirt. Choose a product designed for your paint type, and reapply every few years — it slows down paint peeling and keeps colors from fading as fast.
Common Mistakes When Removing Chipping Paint
- Skipping the lead check on pre-1978 surfaces — dry-sanding or heat-gunning lead paint spreads toxic dust and fumes.
- Sanding straight to fine grit instead of working coarse to fine, which traps scratches under the new coat.
- Using a heat gun near glass or wiring — the heat can crack panes or damage insulation.
- Painting over a damp or dusty surface — trapped moisture blisters the new film within weeks.
- Skipping primer on bare or repaired wood because the topcoat is labeled self-priming — that label only applies over sound, previously painted wood.
Frequently Asked Questions
What Is the Best Way to Remove Chipping Paint Safely?
Scrape it with a metal or plastic paint scraper, working in one direction with light pressure. Wear goggles and a dust mask, and test for lead first if the paint is older than 1978. Sand the surface afterward with 80, then 120, then 220 grit for a smooth base before priming.
How Do I Know If Chipping Paint Contains Lead?
Use an EPA-recognized test kit like LeadCheck or D-Lead, which gives a color-change result in minutes for under $20. If the paint was applied before 1978 and you don’t test it, the EPA’s RRP Rule says to treat it as lead-based and use lead-safe work practices.
Does Vinegar Actually Remove Paint From Wood?
Yes, for paint that’s already peeling or chipping. Warm a mix of one part white vinegar to two parts water, press a soaked cloth against the area for up to 15 minutes, then scrape. It won’t touch paint that’s still fully bonded to the wood.
Can Chemical Paint Strippers Help Remove Chipping Paint?
Yes — chemical strippers dissolve old paint so it lifts off in sheets rather than small chips. Use them in a ventilated area, follow the dwell time on the label, and confirm the paint isn’t lead-based before applying.
Is Sanding Necessary After Removing Chipping Paint?
Yes. Sanding removes leftover paint flakes and levels the surface so new paint adheres evenly. Skip it and the new coat telegraphs every bump and edge left behind by scraping or stripping.
Should I Remove All the Paint or Just the Chipped Areas?
Remove all loose and chipped paint, but sound, well-bonded paint in good condition doesn’t need to come off — feather-sand the edges where old paint meets bare wood so the transition is smooth, then prime and repaint over both.
Conclusion
Removing chipping paint comes down to picking the right method for the surface, checking for lead before you start on anything pre-1978, and sanding through a full grit sequence before you prime. Scrape or vinegar-soak loose paint, reach for a stripper or heat gun only when layers are thick, then repair, prime, and repaint with a matching paint type so the new coat actually holds.
Sponsored / affiliate links. As an Amazon Associate I earn from qualifying purchases. I may earn additional commission from eligible campaigns.