Can You Buff Wood Floors? A Beginner’s Guide to Wood Floor Care
Figuring out Can You Buff Wood Floors? is a common question. It’s because wood floors need care, and the terms can seem confusing. Don’t worry, it’s simpler than you might think! This guide will break down the process step-by-step. Get ready to learn how to make your floors shine, and we’ll start with the basics.
What Is Buffing a Wood Floor?
Buffing a wood floor is like giving it a spa day. It’s a method of cleaning and smoothing the surface to remove minor scratches, dullness, and marks. Think of it as a lighter version of sanding, which is used for more serious damage. Buffing generally involves using a special machine with a rotating pad. This pad works to gently polish the floor’s finish. It’s a great way to refresh your floors, bring back their shine, and extend the lifespan of your finish without the full-scale effort of refinishing. It’s a cost-effective way to keep your wood floors looking beautiful.
The Tools You Will Need
Before you begin, gathering the right tools is essential. Having the right equipment ensures a smooth and effective buffing process. Not having the correct tools can lead to uneven results or even damage to your floors. Let’s explore the essential tools required to buff wood floors effectively.
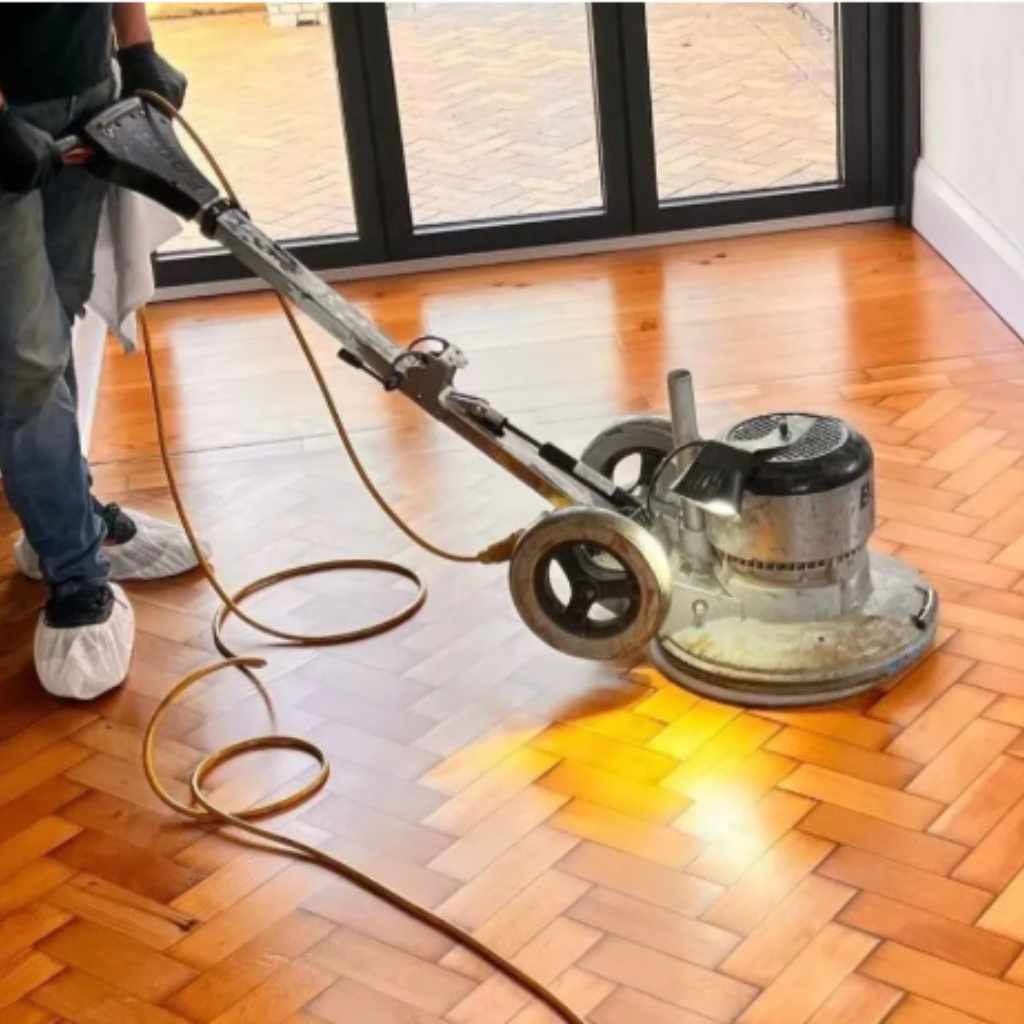
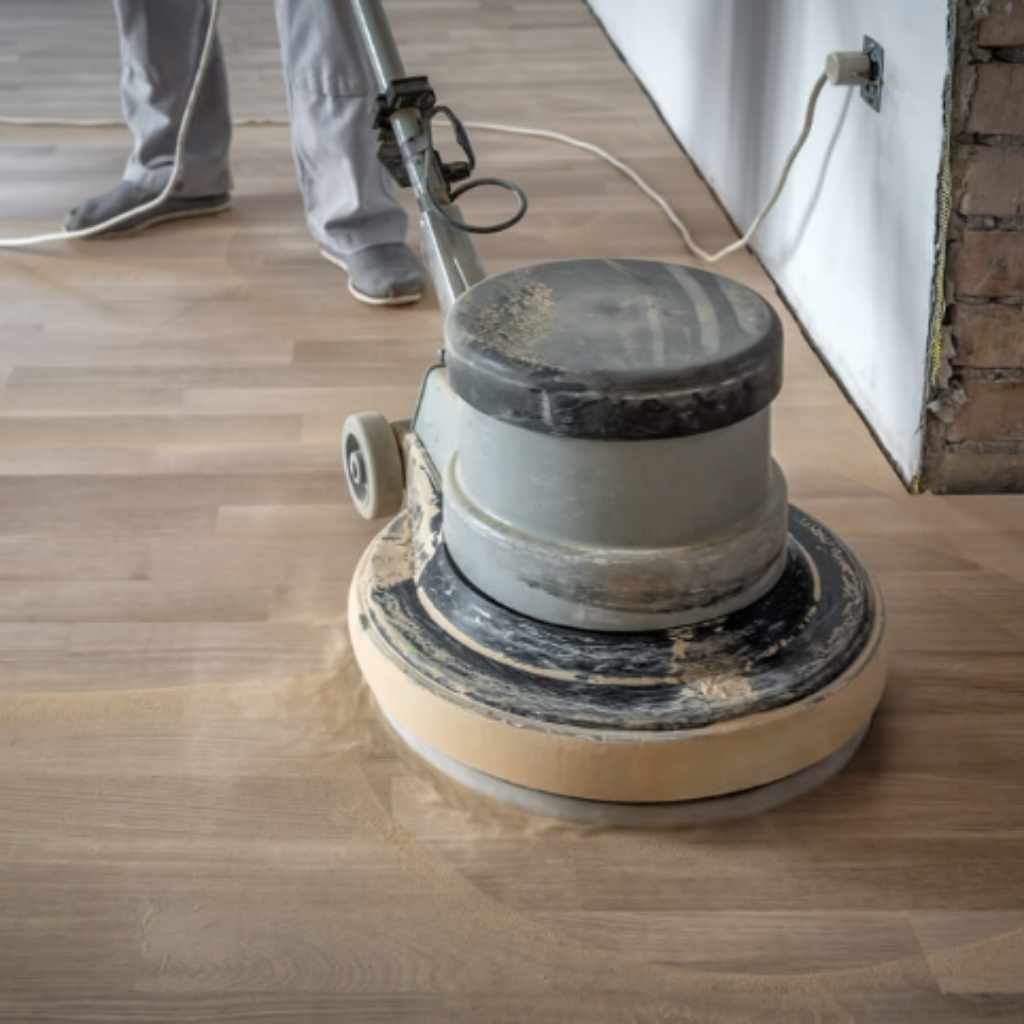
Buffing Machine: This is the main tool, a floor buffer. You can often rent these from local hardware stores. Make sure it’s specifically for wood floors. The size of the buffer is a factor. Larger buffers cover more area, while smaller ones are easier to maneuver in tight spaces.
A floor buffer is a rotating machine with a large, flat pad designed for cleaning and polishing floors. It uses a rotating motion to apply pressure and cleaning products to the floor surface, effectively removing dirt, scuffs, and old finish. The pad attached to the buffer can be made from various materials, such as felt, synthetic fibers, or a combination, depending on the job. Floor buffers come in different sizes, from smaller models that are suitable for residential use to larger, more powerful industrial models.
Buffing Pads: Choose the right pads for the job. There are different types, like those for cleaning, polishing, or applying finish. White pads are commonly used for general cleaning and light buffing. Red pads offer a bit more abrasive action for removing minor scratches or imperfections. Green or blue pads might be used for heavier cleaning or to prepare the surface for refinishing.
Buffing pads are circular pads that attach to the bottom of the floor buffer. They are made from various materials, such as felt, microfiber, or synthetic fibers. These pads are designed to gently abrade the floor’s surface. Each color corresponds to a specific task, such as cleaning, polishing, or removing old finish. The choice of pad depends on the floor’s condition and the desired outcome. For example, a fine pad is suitable for cleaning. A coarser pad would be best for removing scratches.
Wood Floor Cleaner: Use a cleaner specifically made for wood floors. Avoid harsh chemicals that can damage the finish. There are various types, including those designed for daily cleaning and those for preparing the surface before buffing. Some cleaners incorporate oils or polymers to enhance the shine and protect the wood.
Wood floor cleaners are specially formulated cleaning solutions designed to clean and protect wood floors. These cleaners are typically pH-neutral and gentle enough to avoid damaging the finish. They often contain surfactants to lift dirt and grime and other ingredients to maintain the wood’s natural beauty. When selecting a wood floor cleaner, check the product label to ensure it’s compatible with your floor’s finish. Avoid cleaners that contain harsh chemicals, bleach, or ammonia, which can strip away the protective coating.
Vacuum or Broom: Essential for removing dirt and debris before buffing. A soft-bristled broom is a good option. Make sure there is nothing on the floor, like loose dirt, before starting the buffing process to avoid scratching the floor.
A vacuum or broom is crucial for pre-cleaning your wood floors before you buff them. Removing loose dirt, dust, and debris prevents scratches and ensures a smoother buffing process. For vacuuming, use a soft brush attachment designed for wood floors. This attachment will gently lift dirt without scratching the surface. When using a broom, opt for a soft-bristled model to effectively sweep up debris without damaging the floor. Cleaning your floors before buffing them can make a huge difference.
Understanding the Basics: Can You Buff Wood Floors?
Before you dive in, it is important to know if your wood floor is a good candidate. Not all wood floors are created equal. Knowing the type of finish, age, and condition of your floor is key to determining if buffing is the right choice. This helps you avoid causing any damage. Let’s delve deeper into the types of wood floors and their finishes to determine the best approach for buffing.
Types of Wood Floors and Finishes
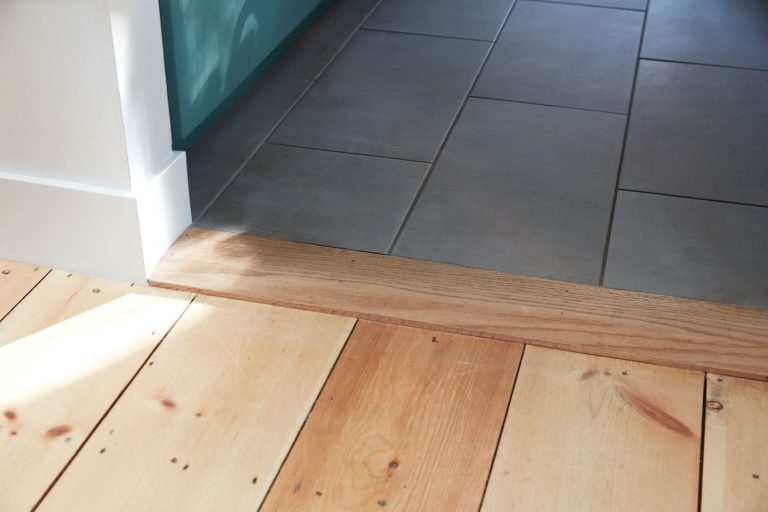
Wood floors come in many different forms, including solid hardwood, engineered wood, and laminate. Each type requires specific care. The finish on your floor is what protects it from damage and helps determine how it should be cleaned and maintained. Common finishes include polyurethane, oil-based, and water-based. Knowing your floor type and finish is essential before deciding whether to buff. Different floor types require distinct maintenance strategies to ensure they are properly cared for and can withstand the process.
Solid Hardwood: These floors are made from solid pieces of wood. They can be sanded and refinished multiple times. Solid hardwood is a classic choice, offering a timeless aesthetic and the flexibility to be refinished when needed. Buffing solid hardwood floors is often possible, provided the finish is compatible and not excessively worn.
Solid hardwood floors are made from a single piece of wood, typically ranging from 3/4 inch to 1 inch thick. This construction allows for multiple refinishing, including sanding and buffing, which makes them a durable and long-lasting choice. Solid hardwood floors are often a favorite choice due to their natural beauty and ability to adapt to changing design trends. They also add value to a home, making them a popular investment.
Engineered Wood: Engineered wood has a core of plywood with a thin layer of hardwood on top. Buffing is generally okay if the top layer is thick enough. Engineered wood floors can be a more budget-friendly option. Engineered hardwood floors are designed with multiple layers, giving them stability and resistance to changes in humidity and temperature. The top layer is a thin veneer of real hardwood. The thickness of this top layer determines whether the floor can be sanded and buffed.
Engineered wood floors are made with a core of plywood or high-density fiberboard (HDF) and a top layer of real hardwood veneer. This construction allows them to be more stable. They are a great choice. Engineered wood is less prone to warping and expansion. They can be installed in a variety of ways, including floating, gluing, or nailing. This makes them a versatile flooring option for any home.
Laminate Floors: These floors are made of a photographic layer covered with a protective top coat. Laminate floors aren’t suitable for buffing or sanding. Laminate floors are not made of wood; this means they cannot be sanded or refinished.
Laminate floors are manufactured with multiple layers. The top layer is a decorative paper that looks like wood, and a clear protective layer protects the surface. These floors are highly durable and resistant to scratches. Laminate floors are a popular option because of their affordability and easy installation. They can’t be sanded or refinished; if the surface is damaged, the planks must be replaced.
Check the Finish
Knowing your wood floor’s finish is very important before you try to buff. The finish protects the wood and determines how to best care for it. There are several different types of wood finishes, including polyurethane, oil-based, and water-based. Each of these finishes requires different cleaning and buffing methods. Here’s a brief look at some of the most common finishes.
Polyurethane Finishes: Polyurethane is a durable, protective coating. It comes in oil-based and water-based forms. Generally, polyurethane finishes are suitable for buffing. It’s a very resilient option. Knowing which kind of polyurethane is on your floors will help you in the buffing process.
Polyurethane finishes are a popular choice for wood floors due to their durability and resistance to wear and tear. They create a strong protective layer that resists scratches, spills, and other types of damage. Oil-based polyurethane has been used for a long time. Water-based polyurethane is more environmentally friendly and dries faster, but it also has a shorter lifespan.
Oil-Based Finishes: Oil-based finishes are traditional and offer a warm look. However, they may need more maintenance. Oil-based finishes require special care. Be sure to check with a professional about whether to buff an oil-based finish.
Oil-based finishes create a rich, warm tone on the wood. They are known for their ability to bring out the natural grain and beauty of the wood. However, they are more susceptible to scratches and water damage. This means they require more frequent maintenance, including regular cleaning and occasional re-oiling. The need for buffing depends on the finish’s condition.
Water-Based Finishes: These finishes are low-VOC (volatile organic compounds) and dry fast. They are often a good choice, but you must ensure the buffing products are compatible. Water-based finishes offer an environmentally friendly option. They are a good choice if you’re looking for a finish with less odor and quicker drying times. However, water-based finishes can be less durable than oil-based ones. They also require compatible cleaning and buffing methods.
Water-based finishes have become increasingly popular because they emit fewer odors and release fewer harmful chemicals. They offer a clear, transparent look, which preserves the wood’s natural color. Water-based finishes also dry quickly, which allows for faster project completion. They may not be as hard-wearing as oil-based finishes. That said, water-based polyurethane is a great choice for many homes.
How to Buff Wood Floors Step by Step
After checking your floor type and finish, you can get ready to buff. This process involves several steps, from preparing the room to the final touches. Following these steps can help you achieve a smooth and beautiful finish. Understanding each step ensures you buff your wood floors effectively and avoid mistakes that could damage the finish or the wood. Let’s delve into the process of preparing your floors for buffing.
Prep Work
Proper preparation is key to a successful buffing project. It involves cleaning the area, clearing away furniture, and gathering all the necessary tools and supplies. Before you can begin, it’s crucial to clear the space completely. This allows easy access to every part of the floor. It ensures the whole floor is prepared for the process.
Clear the Room: Take everything out of the room. This includes furniture, rugs, and anything else on the floor. Removing these items will make the process much easier. It’s easier to maneuver the buffing machine.
Clearing the room is the first step. Move all furniture, rugs, and decorative items to another area. This is essential for a smooth and effective buffing process. This preparation will allow you to work freely and prevent accidents. It also ensures that every inch of the floor is accessible and gets the attention it needs.
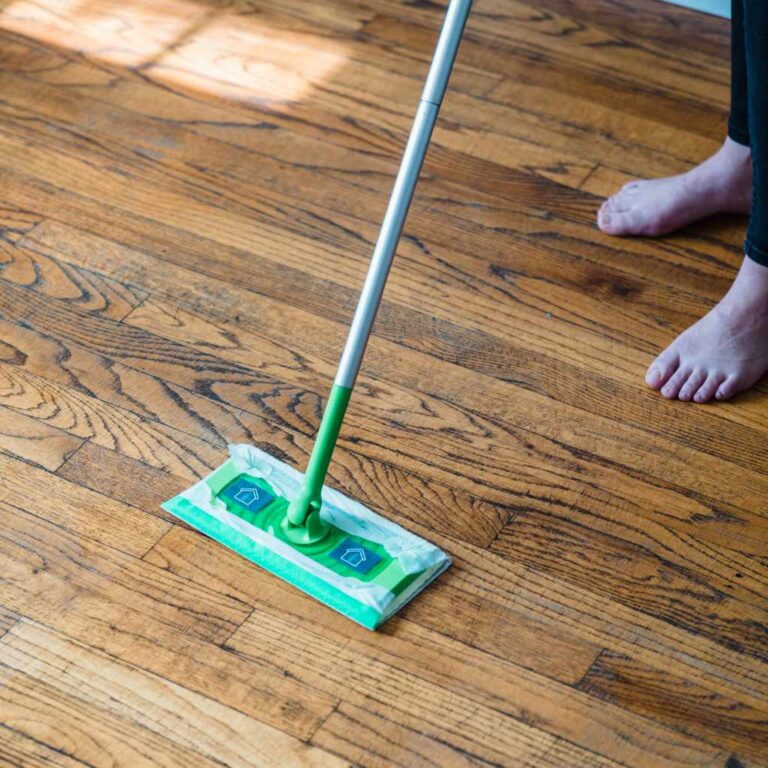
Clean the Floor: Sweep, vacuum, and thoroughly clean the floor. This eliminates dust, dirt, and debris. Any dirt left behind can scratch the floor during the buffing process. Start by sweeping or vacuuming the entire floor surface to remove loose dirt and debris.
A good cleaning is very important to get a smooth and even finish. Any dirt or debris left on the floor can become trapped under the buffing pad, resulting in scratches. Use a vacuum with a soft brush attachment designed for wood floors. This will prevent scratches. Sweep the entire floor surface. This is to remove any remaining dust and debris. Before buffing, ensure that the floor is completely clean and ready for the next step.
Inspect the Floor: Look for any areas with deep scratches or damage. Determine whether buffing is the appropriate solution. You may need to repair or address these issues before you start buffing. Evaluate the overall condition of the floor.
Take the time to examine the floor carefully. Look for areas with deeper scratches, gouges, or signs of significant wear. This inspection helps you decide if buffing is the right approach or if more extensive repairs are needed. Deep scratches or extensive damage may require sanding. A close inspection will help you determine the best course of action and what to do.
Buffing the Floor
Once you’ve prepped your floor, it’s time to get to the main event. This process requires a steady hand and attention to detail. This section covers all the essential steps of the actual buffing process. You can refresh and restore your wood floors by following these steps carefully.
Attach the Right Pad: Put the correct buffing pad on the machine. Follow the manufacturer’s instructions for attaching the pad. Using the right pad is very important.
The type of pad you choose depends on the condition of your floor and the finish you are trying to achieve. Make sure the pad is clean. Put the pad on the machine securely. This will ensure that the buffing process is effective and prevents potential damage to your floor. Choosing the right pad is crucial for a smooth and even result.
Apply Cleaner (if needed): Some cleaners can be applied directly to the floor. Follow the cleaner instructions. Apply the cleaner evenly to the floor. Do not apply too much at once.
If you’re using a cleaner, apply it in small, even sections to prevent the floor from becoming oversaturated. The amount you use will vary depending on the product. Use a spray bottle or a mop with a built-in applicator. This can help with even distribution. If you use too much cleaner, it can damage the wood. Applying the cleaner evenly will allow you to refresh your wood floors.
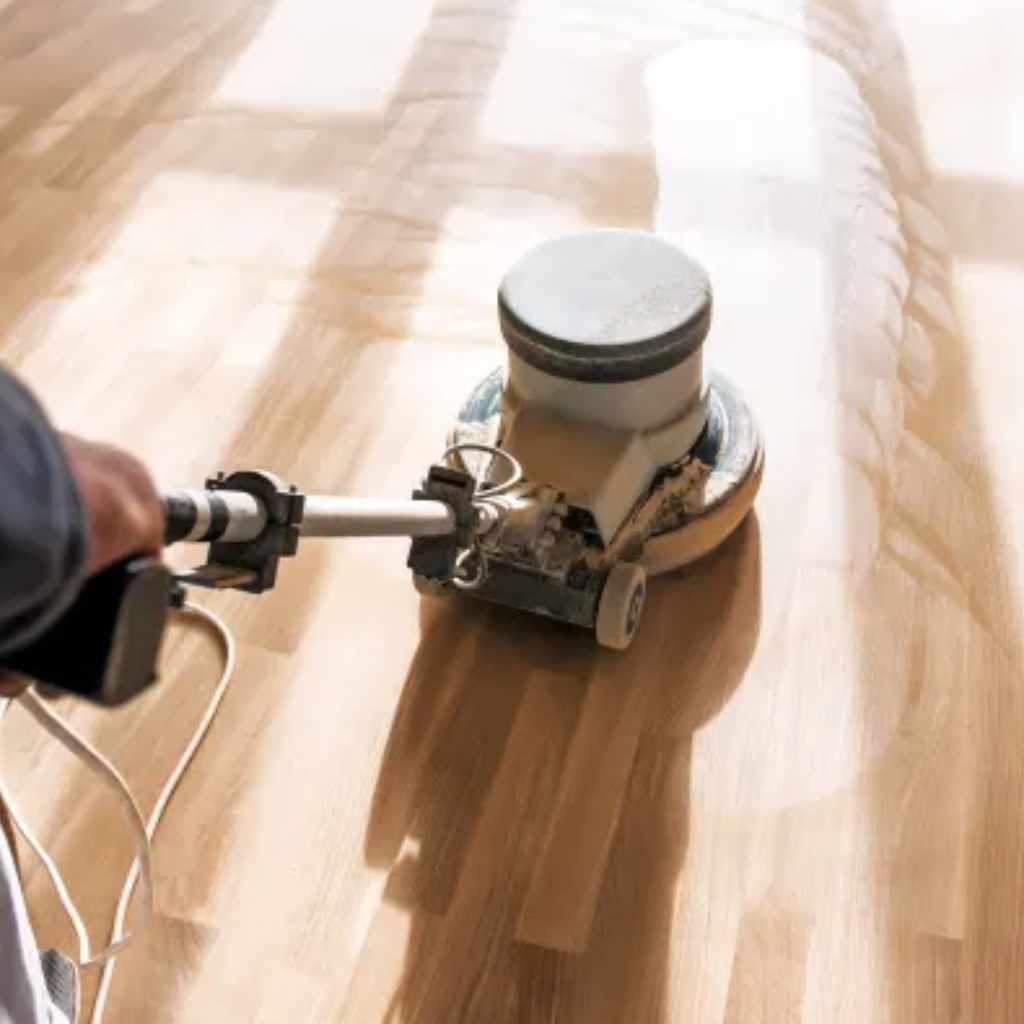
Start Buffing: Turn on the buffing machine and move it across the floor in overlapping patterns. Work in small sections, always moving in the direction of the wood grain. This ensures you cover the entire floor evenly.
Begin by turning on the buffing machine and guiding it across the floor. Overlap each pass to ensure no areas are missed. Use a slow, controlled pace. Do not press too hard. Let the machine do the work. Buffing the floor with the grain is key to a smooth and consistent finish. This will improve the look of the floor and protect it.
Check Your Work: Periodically check your work to make sure the finish looks even. The floor should have a uniform sheen. You can spot any spots that need a little more work. This will ensure that all areas of your floor get the attention they need.
As you buff, it is important to stop and check your progress. Ensure the finish is smooth and even. Look for any inconsistencies or areas that require extra attention. If you see streaks or uneven spots, go over those areas again with the buffer. Checking your work can prevent any potential issues, allowing you to maintain and restore the luster of your floors.
Finishing Touches
After buffing, the final touches include cleaning up and applying a new coat of finish if needed. This step ensures that your floor not only looks good but is also properly protected. The finishing touches are vital for preserving the wood’s beauty and extending its life. Following these final steps will help ensure that you will get the best results from your work.
Clean Up: Once you’re done buffing, thoroughly clean the floor of any dust or residue. Use a clean cloth or a vacuum cleaner with a soft brush attachment. This will get rid of any dust or leftover particles.
After you have completed the buffing process, remove any dust or leftover particles. This will leave your floor clean and ready for any additional treatments. Use a clean cloth or a vacuum with a soft brush attachment to remove the dust. This step is essential to ensure that your floor looks its best and that any new finish or coating can adhere properly.
Apply a New Coat of Finish (optional): If the finish is worn, you might want to apply a new coat. Allow the floor to dry completely. If you are applying a new coat of finish, follow the manufacturer’s instructions. A new coat can help improve the floor’s durability.
If the finish on your wood floor is looking worn or scratched, you may want to apply a new coat. After buffing, give the floor a thorough cleaning. Then, apply a fresh coat of finish. Make sure to choose a finish that is compatible with your existing finish. This will help restore the floor’s shine. When applying a finish, follow the manufacturer’s instructions. This will ensure that the finish dries correctly.
Allow to Dry: Give the floor enough time to dry. Avoid walking on the floor until it is fully dry. Check the manufacturer’s drying time to know how long it will take. This will allow the finish to set and harden.
Before you use your newly buffed and finished floors, give them enough time to dry completely. Follow the manufacturer’s recommendations for drying times. This is very important for the finish to cure properly. Avoid walking on the floor until it’s completely dry. This will help prevent any marks or damage and ensure that the finish looks its best.
Common Problems and How to Solve Them
Even though buffing can be an easy process, you may encounter problems. Knowing how to handle these issues can save you time and frustration. From uneven buffing to scratches and residue, you can learn to troubleshoot problems and achieve the best results. By knowing these issues and their solutions, you will be able to restore the beauty of your wood floors.
Uneven Buffing: If you notice that your floor doesn’t look even after buffing, it could be because of an uneven pad or improper technique. Go back over those spots with the buffer and make sure to overlap your passes.
Uneven buffing can occur for several reasons. For example, using a worn or improperly attached pad can lead to inconsistent results. To fix this, change the pad and re-buff the area. Overlapping each pass ensures complete coverage and a uniform shine. Make sure to work with the grain of the wood.
Scratches: If the floor is scratched after buffing, it could be from debris left on the floor. Always clean the floor completely before you begin. Deep scratches may need more extensive work, such as sanding.
Scratches can appear from debris that gets trapped under the buffing pad. To prevent this, clean the floor thoroughly before buffing. Deep scratches might require more than just buffing. For minor scratches, a light buffing can often fix the problem. For more serious scratches, you may need to sand and refinish the area. Regular cleaning will help preserve your floor’s finish.
Residue: If there’s a sticky residue, you might have used too much cleaner or applied it unevenly. Clean the floor again, this time using a cleaner specifically made for wood floors. Make sure you don’t use too much cleaner.
Residue can arise from overusing the cleaner or applying it unevenly. To fix this, clean the floor again with a wood floor cleaner. When you clean the floor again, use a cloth. Make sure not to use too much cleaner. This will help restore the floor. This is a common issue that is easily fixed.
Dull Finish: A dull finish after buffing could mean the pad or cleaner you used isn’t right for your floor. Be sure to use the right pad and cleaner for your finish type. If the finish is old, a new coat of finish might be needed.
A dull finish after buffing can result from a pad or cleaner that isn’t compatible with your floor. Choose the right pad and cleaner for your finish. If your floor still appears dull, consider applying a fresh coat of finish. Regular maintenance will preserve the shine of your floors. This will bring life back to your home.
When to Call a Professional
Sometimes, it’s best to call in a professional. Professionals have special equipment and experience. They can give the best results. However, knowing when to bring in the pros can save you time and protect your floors from damage. Let’s delve into some cases where hiring a professional is the smartest choice.
Extensive Damage: If your wood floors have deep scratches, gouges, or large areas with damaged finish, it might be time to call in a professional. They may recommend sanding. These issues require expert care.
When you have extensive damage, a professional can assess and address the issues. They have the experience and the right equipment to provide high-quality results. Extensive damage is more complicated to fix and requires more skill to handle. If you have any questions, it’s best to call in a pro.
Unsure About Your Finish: If you aren’t sure what kind of finish your wood floors have, it’s best to call a professional. They can identify the finish and recommend the best approach. Using the wrong products on the wrong finish can damage the floor.
It’s important to know your finish type to ensure proper care. A professional can identify the finish on your floors. They can then recommend the best products and methods. This is one of the most important things for wood floor care. This will ensure your floors are protected and beautifully maintained.
Large Areas: Buffing a large area can be time-consuming. A professional can quickly and efficiently complete the job. Large projects can be overwhelming if you’re not used to doing them.
If you have a lot of floor to buff, calling in a professional can save you time and effort. They have the equipment and experience to complete the job efficiently. By hiring a professional, you will have your floors looking great without having to put in the time.
Frequently Asked Questions
Question: How often should I buff my wood floors?
Answer: It depends on how much foot traffic your floors get. Most homeowners buff their floors every 1-3 years. This helps maintain the shine and condition.
Question: Can I buff my wood floors more than once?
Answer: Yes, you can buff your floors multiple times, provided the finish isn’t completely worn down. Each time, you remove a tiny amount of the finish, so you’ll eventually need to refinish the floor.
Question: What’s the difference between buffing and sanding?
Answer: Buffing is a light surface treatment to remove surface imperfections. Sanding is a more aggressive method to remove old finishes and level the wood.
Question: What type of cleaner should I use before buffing?
Answer: Use a cleaner specifically designed for wood floors. Make sure it’s compatible with your type of finish. Avoid harsh chemicals.
Question: Is it safe to buff wood floors myself?
Answer: Yes, in many cases. However, if you are not comfortable or have serious damage, it’s better to hire a professional.
Final Thoughts
So, Can You Buff Wood Floors? Absolutely! With the right knowledge and tools, it’s a project most homeowners can handle. From understanding the basics to the step-by-step process, you now have the insights to refresh your floors. Remember to choose the correct pads and cleaners and always work with the wood grain. Whether you decide to do it yourself or bring in a pro, keeping your wood floors looking their best is achievable. Ready to bring back that shine? Start by gathering your supplies and give it a shot.