Can You Paint Over Wood Stain? Yes, With a Stain-Blocking Primer
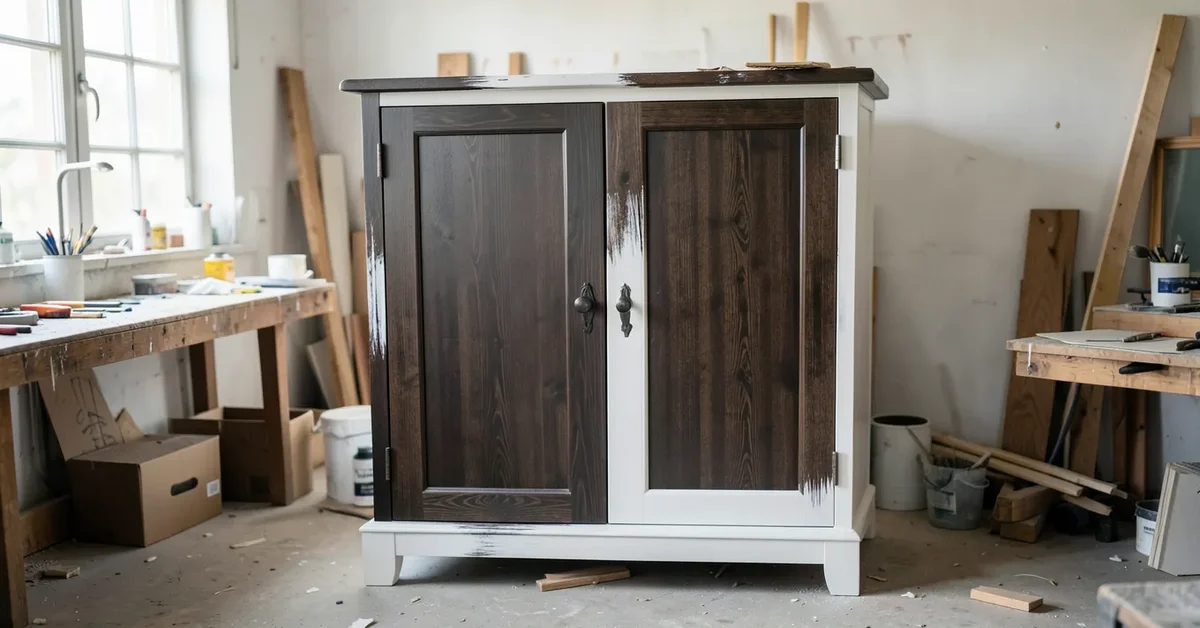
Yes, you can paint over wood stain. The key is proper prep: clean the surface, scuff-sand it, and apply a stain-blocking primer before you paint. Skip the primer and you risk two separate failures at once – paint that won’t grip a sealed, slick surface, and old stain pigment bleeding through your new color.
Why Painting Over Stain Is Trickier Than Painting Bare Wood
Best Primer For Blocking Stain Bleed-Through
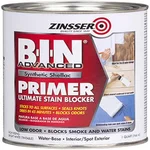 |
Zinsser B-I-N Shellac-Based Primer-Sealer, 1 Quart – $25.41 A regular wall primer will not stop dark stain from bleeding through new paint. Shellac-based B-I-N is the strongest stain-blocker available and sticks to slick, sealed surfaces a water-based primer can’t grip.
|
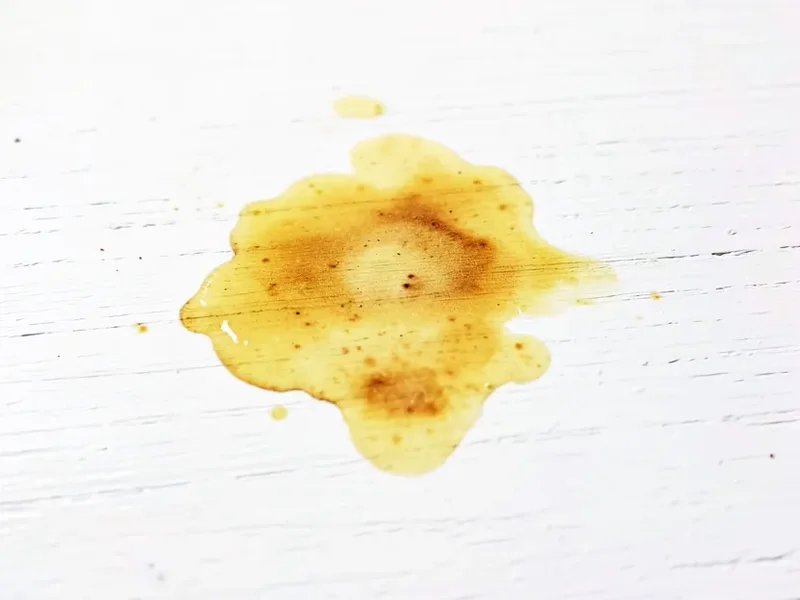
Wood stain soaks into the fibers rather than sitting on top like paint does, and it’s usually sealed under a clear topcoat (polyurethane, lacquer, or varnish). That creates three specific problems: bleed-through, where pigment from dark or red-toned stains (mahogany, cherry, dark walnut) migrates up through new paint and leaves yellowish or pinkish splotches; poor adhesion, because paint has nothing to grip on a glossy, non-porous sealed surface; and an oil/water conflict, where water-based latex paint applied directly over an oil-based stain can bubble or fail to bond. A stain-blocking primer solves all three at once – it’s the one step in this whole project that isn’t optional.
Paint Over It, Or Strip And Restain?
| Situation | Recommendation | Why |
|---|---|---|
| Dated color, surface smooth and sound | Paint over it | Faster and less messy than stripping when the underlying finish is intact |
| Finish is chipping, cracking, or peeling | Strip and refinish first | Painting over a failing finish just gives the new paint the same unstable base to peel from |
| High-value or sentimental antique | Consult a pro before painting | Painting can significantly reduce an antique’s value – get an opinion first |
| You want to keep the visible wood grain | Strip and restain | Opaque paint hides grain completely; only a stain or clear finish shows it |
| Intricate carvings or tight detail work | Paint over it | Stripping chemicals and sanding struggle to reach fine detail that primer and paint can still cover |
What You’ll Need
- Cleaner: A degreasing cleaner (TSP substitute) or dish soap and warm water
- Sandpaper: 120-150 grit for scuff-sanding (not stripping)
- Stain-blocking primer: Shellac-based (strongest) or oil-based (next best)
- Paint: A quality latex or enamel, ideally labeled for cabinets/trim, in satin or semi-gloss
- Brushes and rollers: A 2-inch angled brush for edges, a foam roller for flat surfaces
- Safety gear: Gloves, a respirator (especially with shellac or oil-based primer fumes), safety glasses
Step-By-Step Process
- Inspect and test: Repair any deep scratches or dents with wood filler. Optionally test the stain type by rubbing a hidden spot with denatured alcohol on a rag – if color transfers, it’s shellac or water-based; if nothing happens, it’s oil-based under a polyurethane topcoat. Either way, a stain-blocking primer works on both, so this is informational, not a step that changes your plan.
- Clean thoroughly: Degrease and wipe down the entire piece, rinse, and let it dry completely – primer won’t bond to a surface with hand oils or grime on it.
- Scuff-sand: Lightly sand with 120-150 grit until the surface looks dull rather than glossy. You’re not removing the stain, just breaking the sheen. Wipe away dust with a tack cloth.
- Prime: Apply one thin, even coat of stain-blocking primer. It doesn’t need to look perfectly even – its job is sealing, not final coverage. Let it dry fully per the can’s instructions.
- First coat of paint: Apply a thin, even coat with brush and roller. Thin coats beat one thick coat – a heavy application is the most common cause of drips and a soft, slow-curing finish.
- Second coat: Once the first coat is dry to the touch, apply a second thin coat for even color and full coverage.
- Optional topcoat: For high-traffic pieces (cabinets, tabletops, chairs), a water-based polycrylic topcoat adds durability without yellowing the way oil-based polyurethane can over time.
Choosing Between Primer Types
| Primer Type | Best For | Trade-off |
|---|---|---|
| Shellac-based (e.g. Zinsser B-I-N) | Heavy stains, knots, odors, slick sealed surfaces | Strong fumes, needs denatured alcohol for cleanup |
| Oil-based | General-purpose stain blocking with a durable base | Slower drying, needs mineral spirits for cleanup |
| Water-based stain-blocking | Mild stains, low-odor priority projects | May not fully block heavy stains like mahogany or knotty pine |
Common Mistakes
- Skipping cleaning: Invisible hand oils and grime stop primer from bonding even on a surface that looks clean.
- Wrong primer (or none): The single biggest cause of both peeling and bleed-through. If stains show through your first paint coat, stop, let it dry, and apply a proper stain-blocking primer over it before continuing.
- Sanding too much or not enough: You’re scuffing the sheen, not stripping to bare wood – a dull, non-shiny surface is the goal.
- Paint applied too thickly: Causes drips, extended cure time, and a soft finish. Fix drips by sanding them smooth once dry, then blending in another thin coat.
Frequently Asked Questions
Can I paint over stained wood without sanding?
You can sometimes get away with skipping sanding on a matte, non-glossy stained surface using a strong bonding primer, but a light scuff sanding takes only a few minutes and dramatically improves adhesion – it’s cheap insurance against peeling later.
What is the best primer to use over wood stain?
A shellac-based primer like Zinsser B-I-N blocks even the toughest stains and bonds to almost any surface, including glossy sealed finishes. An oil-based stain-blocking primer is the next-best option if you want to avoid shellac’s strong fumes.
Do I really have to use a primer to paint over stained wood?
Yes. Skipping primer risks both poor adhesion (paint peeling off a slick sealed surface) and stain bleed-through (old pigment showing through your new color) – primer is the step that prevents both failure modes at once.
How can I tell if the stain on my furniture is oil-based or water-based?
Rub a hidden spot with a rag dampened in denatured alcohol. If color or finish comes off onto the rag, it’s likely a shellac or water-based finish; if nothing happens, it’s almost certainly an oil-based stain under a polyurethane or varnish topcoat. A stain-blocking primer works over either, so this test is informational, not something that changes your prep steps.
Will the wood grain show through the paint?
On open-grain woods like oak, some texture can still show through paint even after multiple coats – many people like this because it still reads as real wood. For a perfectly smooth, grain-free surface, a grain-filling primer applied in a couple of coats before your color coat is the fix.
Conclusion
Painting over wood stain works reliably once you respect the three failure modes it’s prone to: clean thoroughly, scuff-sand to kill the sheen, and use a real stain-blocking primer before color goes on. Skip any of those three and the project’s success comes down to luck rather than preparation.
Sponsored / affiliate links. As an Amazon Associate I earn from qualifying purchases. I may earn additional commission from eligible campaigns.