Can You Refinish Engineered Wood Floors? Your Easy Guide
Thinking about updating your floors? You might be wondering, Can You Refinish Engineered Wood Floors? It’s a common question! Many people find the idea a bit tricky, especially if they’re new to home projects. But don’t worry, it’s totally doable! This guide will break down the process step-by-step. Get ready to explore how you can refresh your floors. Let’s get started!
What Is Engineered Wood and How Does It Differ?
Before jumping into refinishing, let’s explore what engineered wood actually is. Engineered wood is a popular choice for flooring. It’s constructed with multiple layers of wood. The top layer, called the veneer, is real hardwood. This gives you the look and feel of solid wood. The layers underneath are typically made from plywood or high-density fiberboard (HDF). This construction method provides more stability and helps to resist warping, especially in areas with changes in humidity. Knowing these layers is important, since they impact the process of refinishing.
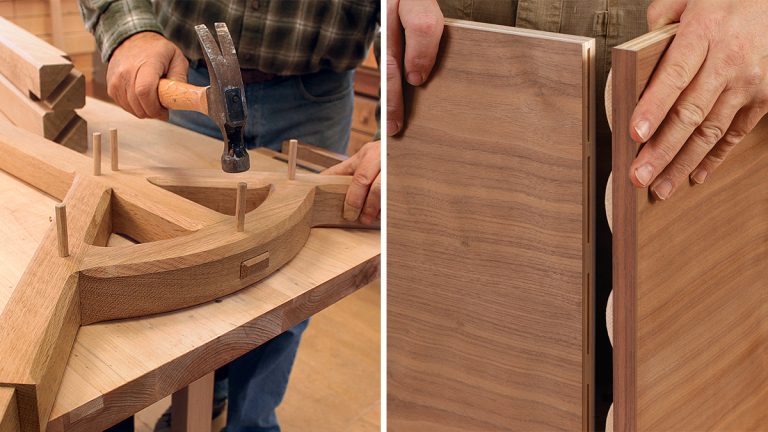
The Anatomy of Engineered Wood Flooring
Understanding the components of engineered wood is essential. The top layer, the wear layer, is crucial for refinishing. It’s the real wood that you see and walk on. Its thickness determines how many times you can refinish the floor. The core layers beneath the wear layer add stability and support. They are less likely to expand or contract with changes in temperature or moisture. This layered structure makes engineered wood a more versatile choice for different climates compared to solid hardwood.
- Wear Layer: This top layer, often made from a hardwood species, determines the floor’s durability. The thickness of this layer is measured in millimeters, and it determines how many times you can sand and refinish the floor. A thicker wear layer allows for more refinishing.
- Core Layers: These layers provide structural stability. They are usually made from plywood or HDF. These layers help to prevent warping and movement in the flooring, making it suitable for a variety of environments.
- Backing Layer: This bottom layer provides stability and moisture resistance from below. It helps the overall flooring resist warping.
Knowing these parts is key. For instance, if your wear layer is too thin, sanding might expose the core layers. In those cases, refinishing isn’t possible, or the results won’t be as good. The core provides stability, while the backing resists moisture.
Solid Wood Versus Engineered Wood
Let’s compare solid wood and engineered wood. Solid hardwood is a single piece of wood from top to bottom. It’s beautiful and classic, but it can be more susceptible to changes in humidity. Engineered wood, on the other hand, is designed to be more stable. It’s also often less expensive. Solid wood can typically be refinished multiple times. The number of times engineered wood can be refinished depends on the thickness of the wear layer. You’ll need to know which type of flooring you have before deciding to refinish.
Here’s a quick table to help understand the main differences:
| Feature | Solid Wood | Engineered Wood |
|---|---|---|
| Construction | Single piece of solid wood | Multiple layers with a hardwood top |
| Stability | More prone to expansion/contraction | More stable, less affected by humidity |
| Refinishing | Can be refinished multiple times | Refinishing limited by wear layer thickness |
| Cost | Generally more expensive | Generally less expensive |
Choosing between solid and engineered wood depends on your needs and budget. The right choice gives you the best results.
Can You Refinish Engineered Wood Floors?
So, Can You Refinish Engineered Wood Floors? The short answer is: it depends. The key factor is the thickness of the wear layer. If the wear layer is thick enough, you can refinish your floors. It’s important to explore the wear layer before you start. You don’t want to sand through it. Thin wear layers cannot withstand multiple refinishes. Understanding this aspect is important before moving ahead with the project. Let’s delve deeper into this.
Checking the Wear Layer
Checking the wear layer is your first step. Check the floor’s specifications or look for the wear layer thickness. Many engineered wood floors are sold with this information. If you do not have the specifics, measure it with a ruler. If you can’t find this information, measure the wear layer. You might need to do some digging. Sometimes, you can find it by looking at the edge of a floorboard or from the manufacturer.
- Manufacturer’s Information: The best place to find the wear layer thickness is from the manufacturer. You should have this information on hand. This will give you the exact measurement.
- Visual Inspection: Examine the edges of your floorboards. You might be able to see the wear layer directly. This method is not foolproof, but it can give you a rough idea.
- Professional Consultation: If you’re unsure, consulting a flooring professional is a good idea. They can assess your floors and provide advice.
The wear layer thickness determines if your floor can be refinished. A good wear layer should be at least 2mm thick for refinishing. The thicker the wear layer, the more times you can refinish your floor. Checking this specification before you begin saves you time.
Refinishing Potential and Factors to Consider
If the wear layer is thick enough, you’re good to go. But, there are other factors that influence if you can refinish the floor. The overall condition of the floor is vital. Are there deep scratches or significant damage? Refinishing can address surface scratches. However, it may not fix all types of damage. If your floor has severe damage, you might need to replace boards. Also, explore the type of finish that’s on the floor. Some finishes are easier to remove than others. These factors help determine if the floor is ready for the refinishing process.
Here’s a look at factors that might affect your decision:
- Wear Layer Thickness: The most important factor. If the wear layer is less than 2mm, refinishing might not be possible.
- Floor Condition: Significant damage, like deep gouges or water damage, might require board replacement.
- Type of Finish: Some finishes, such as those with aluminum oxide, are more challenging to remove.
- Professional Advice: Getting an expert’s opinion can help you make an informed decision about the floor.
Taking these factors into account helps you to decide if your floor is ready for refinishing. Weighing these points prepares you for the project. Be certain you have the right equipment.
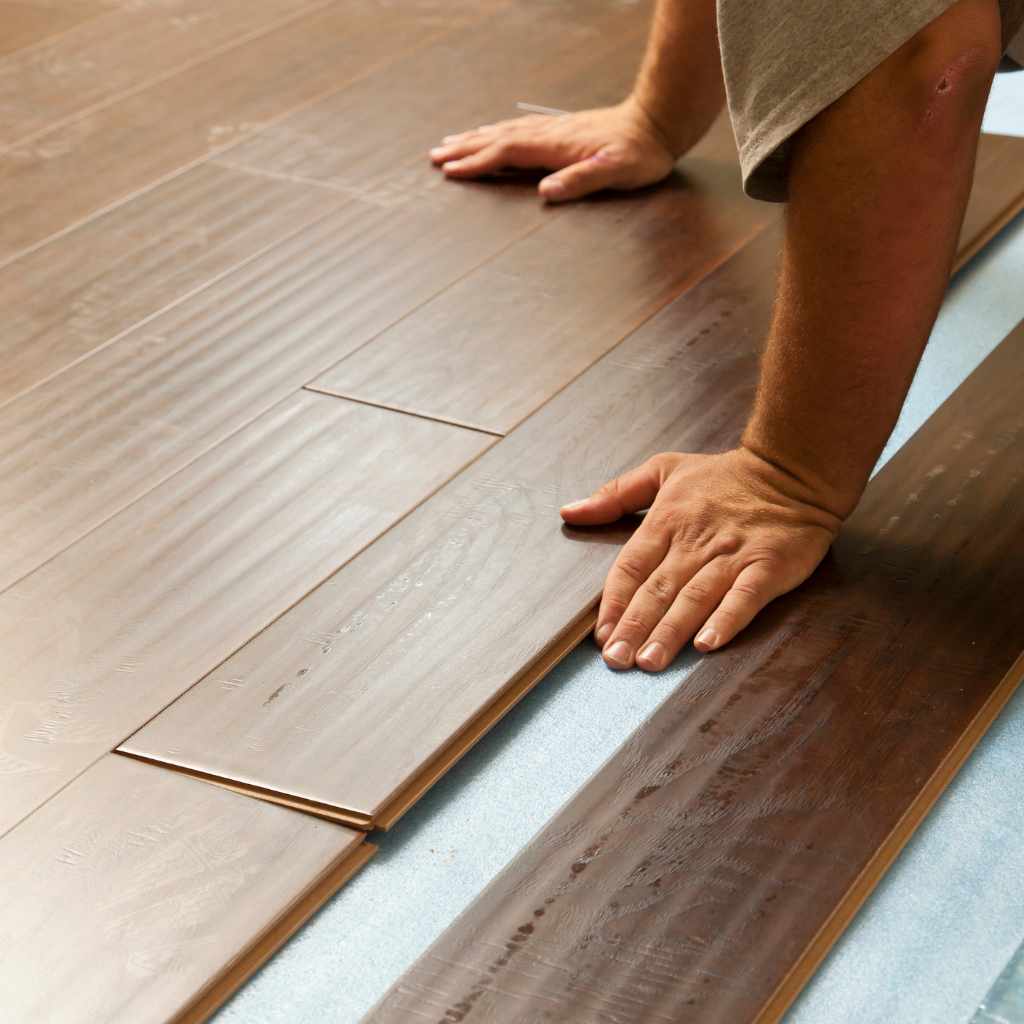
The Refinishing Process: A Step-by-Step Guide
Ready to refinish your floors? The process involves sanding, staining (optional), and applying a new finish. The steps are straightforward. You’ll need the right tools and materials. Proper preparation is vital. We will go through each step in detail.
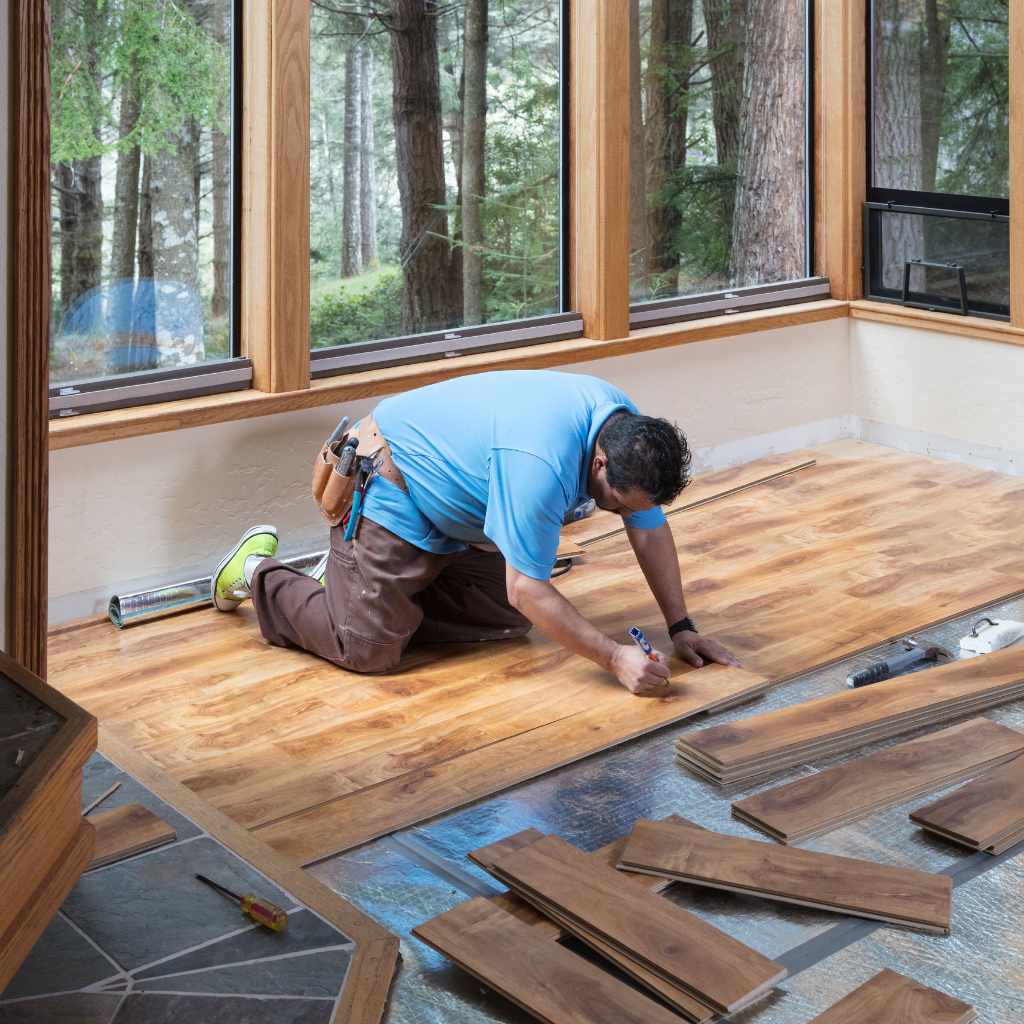
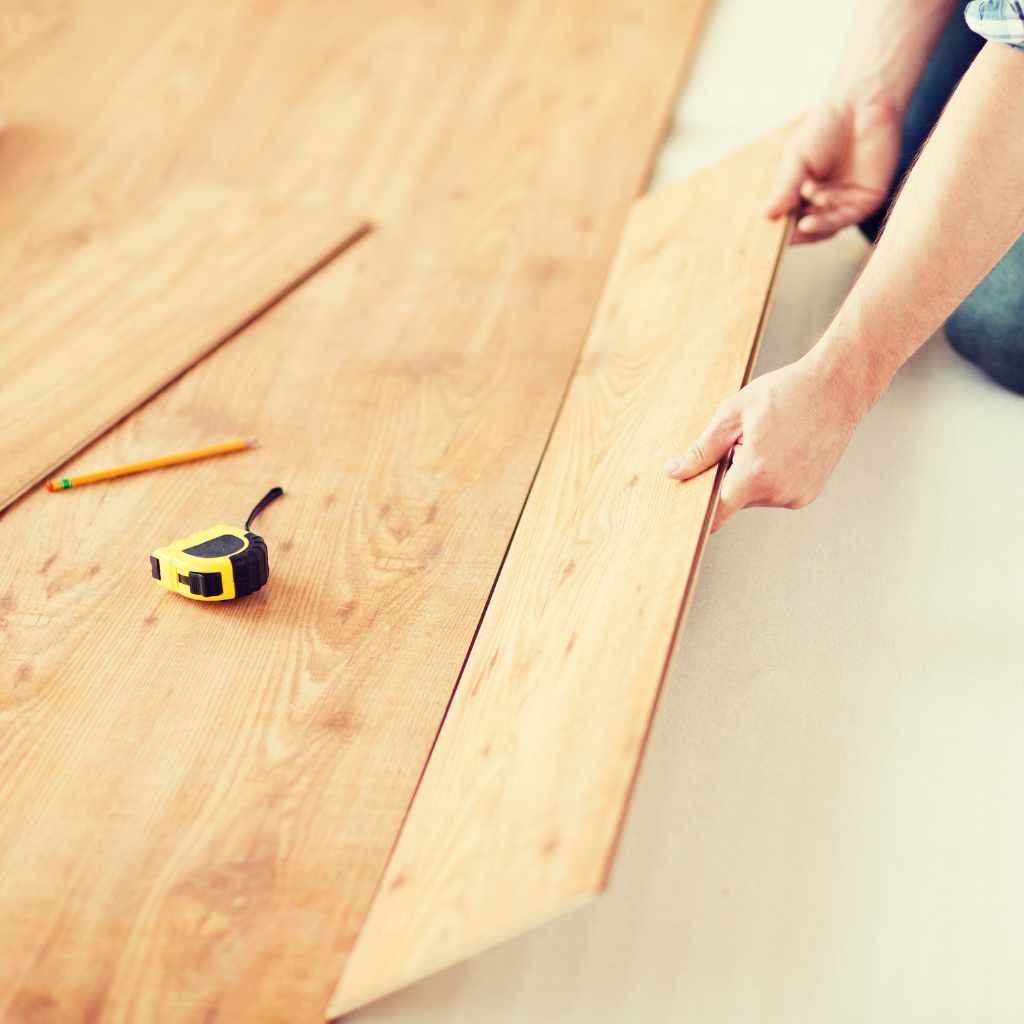
Preparing Your Floors
Preparation is key. First, clear the room of furniture and remove any existing floor coverings. Next, assess the floor for any loose boards. Replace or secure them. Clean the floor thoroughly to remove dirt and debris. Use a vacuum cleaner and a damp mop. Ensure the floor is completely dry before you start sanding. Good preparation leads to a better finish. Don’t skip these steps.
- Clear the Room: Remove all furniture, rugs, and anything else from the room. Cover doorways with plastic sheeting to contain dust.
- Inspect and Repair: Check for loose boards, and secure them with nails or wood glue. Fill any gaps or holes with wood filler.
- Clean the Floor: Vacuum and mop the floor. Make sure to remove all dirt, dust, and grime. Let the floor dry completely.
Preparing the floor creates a clean surface for sanding. Taking your time here makes the rest of the process easier. The goal is a clean surface.
Sanding and Sandpaper Selection
Sanding removes the old finish and any imperfections. Start with coarse-grit sandpaper to remove the old finish. Then, move to medium-grit sandpaper to smooth out the surface. Finally, use fine-grit sandpaper for a smooth finish. Sand in the direction of the wood grain. This ensures an even finish. Use a drum sander or an orbital sander. Work in small sections to keep the floor even.
- Start with Coarse Grit (36-60): This removes the old finish and any surface imperfections.
- Use Medium Grit (80-100): This smooths the surface and prepares it for the final sanding.
- Finish with Fine Grit (120-150): This creates a smooth surface for applying the new finish.
- Sand in the Direction of the Grain: This ensures an even finish and prevents scratches.
Use the correct sandpaper grades. Moving through the grits helps you remove imperfections. Proper sanding creates a perfect surface for your finish.
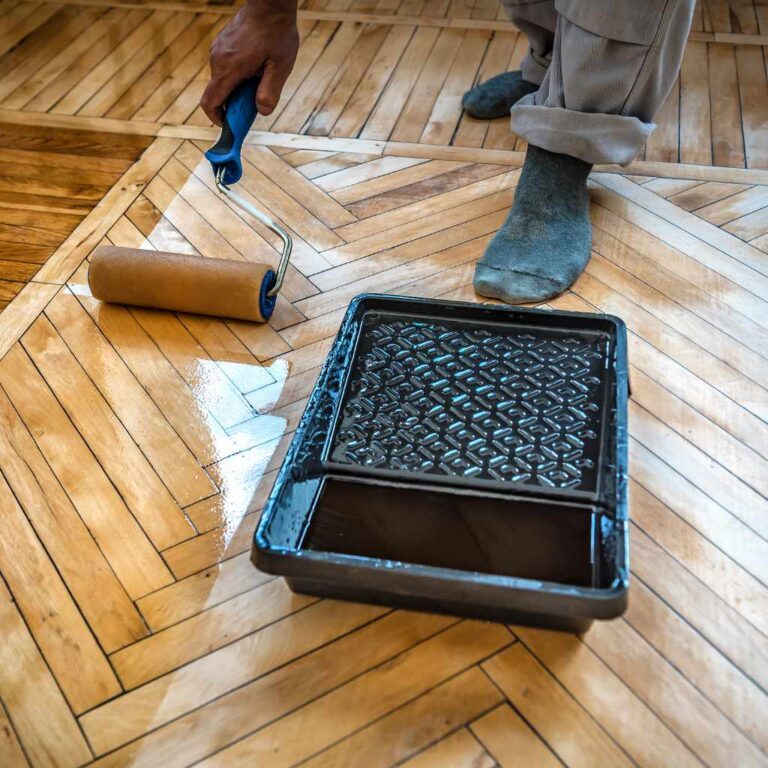
Staining (Optional) and Finish Application
If you want to change the color of your floors, this is where you stain them. Apply the stain evenly, following the manufacturer’s instructions. After staining, let the stain dry completely. Then, apply a finish, such as polyurethane, in thin, even coats. Allow each coat to dry completely before applying the next coat. You will typically need to apply 2-3 coats of finish for protection and durability. The final finish gives you a beautiful and durable floor.
- Apply Stain Evenly: Use a brush or applicator and apply the stain following the wood grain. Make sure the stain is even.
- Let Stain Dry: Allow the stain to dry completely. Follow the manufacturer’s recommendations. This can be up to 24 hours.
- Apply the Finish: Apply a finish such as polyurethane with a brush or applicator. Apply thin, even coats.
- Let Each Coat Dry: Give each coat enough time to dry. Don’t rush the process.
- Apply Multiple Coats: For the best results, use multiple coats of finish. This increases durability and protection.
The final finish protects your floors. Following these steps helps you get a beautiful finish. Careful stain and finish application provides durable protection. The final result is a beautiful floor that you can enjoy for years.
Maintaining Your Refinished Floors
Maintaining your refinished floors helps preserve their beauty and extends their life. Routine cleaning is essential. Protect your floors from scratches. Know how to handle spills immediately. Proper care ensures they remain beautiful for a long time. These practices help extend the life of your floors.
Cleaning and Protecting Your Floors
Regular cleaning is key. Sweep or vacuum your floors frequently. This removes dirt and debris that can scratch the surface. Use a damp mop with a pH-neutral cleaner. Avoid harsh chemicals. Place mats at entrances to trap dirt and moisture. Use furniture pads under furniture legs to prevent scratches. Following these steps helps protect your floors.
- Sweep or Vacuum Regularly: Remove dirt and debris that can scratch the finish.
- Use a Damp Mop: Use a pH-neutral cleaner to clean the floors. Avoid harsh chemicals.
- Use Entrance Mats: Place mats at entrances to trap dirt and moisture.
- Use Furniture Pads: Place pads under furniture legs to prevent scratches.
Proper cleaning prevents scratches. These steps help maintain the beauty of your refinished floors. These steps keep your floors looking good.
Addressing Scratches and Damage
Scratches happen. Small scratches can often be repaired with a touch-up pen or wood filler. For deeper scratches, you might need to lightly sand the area and reapply the finish. If a board is severely damaged, you might need to replace it. Taking action quickly can prevent minor damage from becoming major problems. Prompt action is the key to preventing larger issues.
- Minor Scratches: Use a touch-up pen or wood filler to conceal small scratches.
- Deeper Scratches: Lightly sand the area and reapply the finish.
- Severe Damage: Consider replacing damaged boards.
Addressing damage as soon as possible prevents it from getting worse. These simple steps help extend the life of your floors. Dealing with damage promptly preserves the beauty of your floors.
Common Problems and Troubleshooting
Refinishing floors can present some challenges. You might encounter issues like uneven sanding or a sticky finish. Knowing these issues can help you avoid them. Problems happen. Addressing these issues can save you time and effort.
Dealing With Uneven Sanding and Staining
Uneven sanding can lead to an uneven finish. Ensure your sanding is even. Avoid pressing too hard on the sander. Check your work frequently. If the stain is uneven, wipe off the excess stain with a clean cloth. Apply stain evenly and check for even coverage. Always start by sanding with coarser sandpaper. The even sanding helps you avoid problems.
- Uneven Sanding: Check for any low spots or high spots in the floor and resand. Ensure your sanding is even.
- Uneven Staining: Wipe off any excess stain and apply evenly.
Proper technique will avoid these issues. Be careful to ensure the stain goes on smoothly. Avoiding these issues gives you better results.
Addressing a Sticky or Cloudy Finish
A sticky finish can be caused by applying too much finish or not allowing enough time to dry. Apply thin coats of finish and allow them to dry completely between coats. A cloudy finish can result from humidity. Apply the finish in a well-ventilated area. Addressing these problems immediately can avoid headaches.
- Sticky Finish: Apply thin coats and allow them to dry fully.
- Cloudy Finish: Make sure you’re in a well-ventilated space. Keep the humidity low.
Following these steps helps solve these issues. Preventing these issues gives you better results.
Frequently Asked Questions
Question: Can I refinish my engineered wood floors myself?
Answer: Yes, you can. It’s a project that a DIY enthusiast can tackle. It requires some time and effort, but it’s totally achievable with the right preparation and tools.
Question: How do I know if my floors can be refinished?
Answer: Check the wear layer thickness. You need a wear layer of at least 2mm for the best results. Check the manufacturer’s information or measure the wear layer if possible.
Question: What tools will I need to refinish engineered wood floors?
Answer: You’ll need a sander (drum or orbital), sandpaper of various grits, wood filler, a vacuum, a mop, stain (optional), finish (such as polyurethane), brushes or applicators, and safety gear like a mask and gloves.
Question: How long does it take to refinish a room?
Answer: It depends on the size of the room. Refinishing can take a few days, including preparation, sanding, staining (if you choose to), drying time, and finish application. Plan for a few days to get the job done right.
Question: What kind of finish should I use?
Answer: Polyurethane is a popular choice because it’s durable and provides good protection. Water-based polyurethane is an option. Oil-based polyurethane is another. Explore different finishes, and pick one that meets your needs.
Final Thoughts
Refinishing engineered wood floors is a worthwhile project. This guide shows how to refresh your floors and restore their beauty. Knowing the steps, from assessing the wear layer to the final finish, gives you a clear path to success. Remember, preparation is key. Proper sanding and finish application are also important. Consistent maintenance ensures that your floors look beautiful for many years. With a little effort, you can enjoy stunning, refreshed floors. Taking the time to do it well makes all the difference.