How to Carve Chess Pieces by Hand: Knife, Gouge & Knight Technique
Most chess sets you see for sale were turned on a lathe, but a lathe alone can’t build a complete set — the knight has no rotationally symmetric profile for a spinning blank to produce, so every set, hand-turned or store-bought, has at least one piece that was carved by hand with a knife and small gouges. Learning to hand-carve chess pieces means learning both skills: rounding a blank into a pawn or rook using only a knife, and sculpting a knight’s head and mane the way carvers have done it since before lathes existed. Here’s the real technique for both, the tools that actually make a difference, and the wood choices that matter specifically for hand-cutting rather than turning.
Why the Knight Is the Only Piece a Lathe Can’t Make
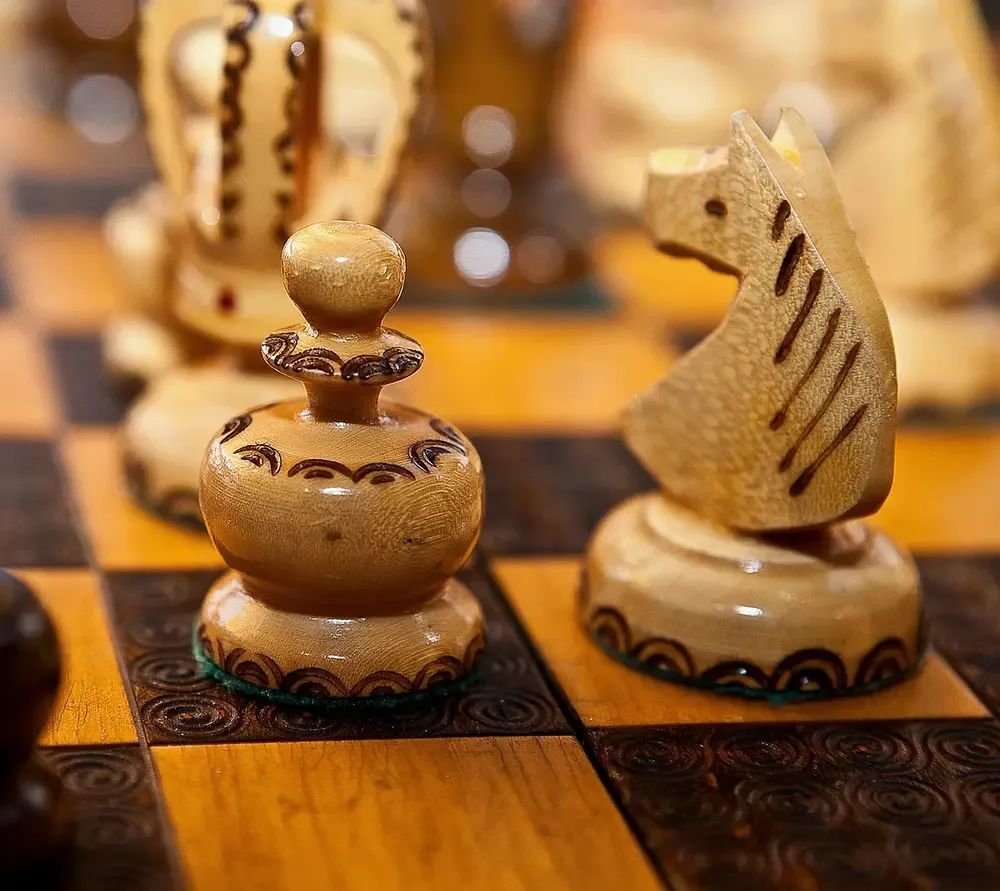
A lathe works by spinning a wood blank against a fixed cutting edge, which only works for shapes that look the same all the way around their center axis — cylinders, cones, and spheres. A pawn’s ball top, a rook’s crenellated cylinder, a bishop’s mitre cone, and a king’s crowned column are all built from exactly those shapes, which is why a lathe can produce a full set of them in a single afternoon. A horse’s head is not rotationally symmetric from any angle, so a knight can’t be turned at all. Most carvers rough out the knight’s silhouette on a bandsaw or coping saw first, then hand-carve the head, ears, mane, and jawline entirely with a knife and small gouges — the same way it’s been done since long before powered lathes existed. That’s the real starting point for this guide: even a set built mostly on a lathe still needs a hand-carved knight, and everything below applies whether you’re carving one knight for a turned set or every piece in the set by hand. If you’d rather turn the rest of a full 32-piece set on a lathe and only hand-carve the knights, our guide to lathe-turning a Staunton chess set covers the proportions, wood pairing, and board dimensions for that approach.
Best Starter Hand-Carving Kit
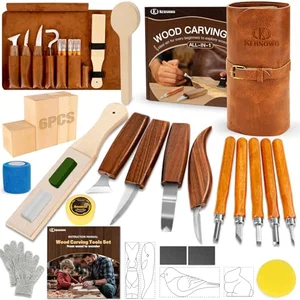 |
32-Piece Wood Carving Knife Kit – $29.99 A complete beginner set with whittling and detail knives plus basswood practice blocks, so you can start on a knight the same day it arrives.
|
Wood That Actually Carves Well by Hand
The wood that turns best on a lathe isn’t automatically the wood that carves best by hand, because the two operations stress the wood differently. A lathe cuts with the grain running around the axis of rotation, while hand-carving cuts across the grain constantly as you work a knight’s ears or a bishop’s mitre from multiple directions, which is where tearout actually happens.
Basswood and butternut are the two woods most hand-carvers reach for first. Both are soft enough that a sharp knife slices cleanly through end grain and cross grain alike without the fibers tearing loose, which matters enormously on a knight’s thin ears or a pawn’s narrow collar. Basswood in particular has almost no visible grain pattern, so small carving errors don’t stand out the way they would on an open-grained wood like oak. Butternut carves almost as easily and has a light brown tone that takes stain more evenly than basswood’s pale, sometimes blotchy surface.
Boxwood and ebony are the traditional choice for finished tournament-style sets, and for good reason — they’re dense enough to hold crisp detail on a knight’s mane or a bishop’s slit for decades of handling. That same density is a real cost while you’re carving: a boxwood blank fights back against a dull edge far more than basswood does, so plan on stropping your knife every few minutes instead of every session, and expect each cut to take noticeably more hand pressure. Most carvers practice a knight or two in basswood before ever picking up a boxwood blank, and that’s a reasonable way to learn the cuts without wasting an expensive piece of wood on a mistake.
The Hand-Carving Tool Kit You Actually Need
Chess pieces are small enough that you don’t need a full bench chisel roll to carve them — four tools cover nearly everything.
- A sloyd or whittling knife with a 2 to 2.5-inch fixed blade does the bulk of the rough shaping — knocking corners off a square blank and cutting the facets that become a round piece’s profile.
- A short detail knife with a narrower, more pointed blade handles tight work a whittling knife can’t reach cleanly, like a knight’s nostril, a bishop’s mitre slit, or the underside of a crown’s points.
- A set of small palm or thumb gouges, typically a shallow #3 sweep, a medium #5, and a deep #9, scoop out the concave curves a knife alone can’t cut — the hollow above a pawn’s collar, the eye sockets on a knight, or the inside curve of a queen’s crown.
- A small V-tool cuts clean, consistent grooves in one pass, which is exactly what a knight’s mane texture and the ring lines separating a piece’s base, stem, and head are made of.
Sharpness matters more than tool count. A dull knife needs more pressure to cut, and more pressure is exactly what causes slips on a piece this small. Strop your knife on leather loaded with honing compound before every carving session, and touch up your gouges the same way — our guide to sharpening gouges covers the actual angles and stropping technique for both carving and turning gouges.
How to Hand-Carve a Knight, Step by Step
Start with a blank roughly 1 by 1 by 2 inches — big enough to carve a proportional head and mane, small enough to control in one hand. Sketch the knight’s profile on the side of the blank from a reference photo, keeping the base wide enough for stability once the piece is finished.
Cut the rough silhouette first, either with a coping saw or with your whittling knife making a series of stop cuts along the pencil line before shaving away the waste on either side. Work both sides of the blank to the same outline so the knight looks correct from the front and from the side, not just from one angle.
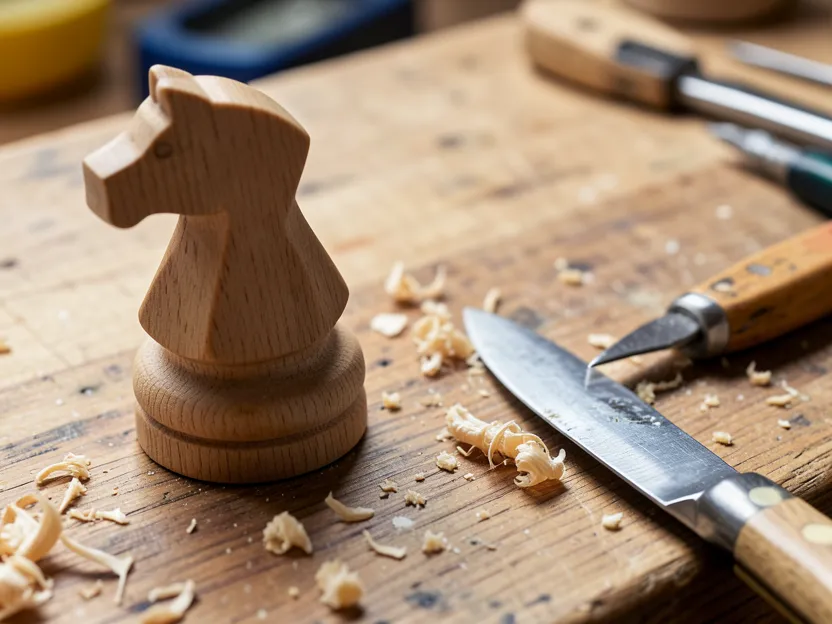
Once the silhouette is roughed out, round the base and neck the same way you would a turned piece — small flats cut with the whittling knife, then rounded over. Switch to the detail knife for the jawline and the base of the ears, and use your gouges to hollow the eye sockets and the curve where the mane meets the neck. Cut the mane last with the V-tool, running the grooves from the top of the neck down toward the shoulders in slightly uneven lines — real hair isn’t perfectly parallel, and neither should the mane be. Always cut away from your supporting hand, and take thin passes rather than trying to remove the ear or nostril detail in one deep cut; a knight this size has very little wood to spare for a correction.
Carving Round Pieces Without a Lathe
If you don’t own a lathe, every round piece — pawn, rook, bishop, queen, and king — can still be carved entirely by hand, using the same principle a lathe uses, just done manually. Start square and cut a ring of flat facets around the blank with your whittling knife, working from one end to the other in a consistent number of cuts, commonly 8 or 12 facets depending on how large the piece is. Rotate the blank in your hand between cuts rather than trying to carve the whole circumference from one grip.
Once the facets run the full length of the piece, round each edge over with light shaving cuts, checking the profile by eye and by feel as you rotate the blank. Use stop cuts — a straight knife cut made first, then approached from the side to pop out a clean chip — to define the ring lines that separate a pawn’s collar from its ball top, or a rook’s crenellations from its body. A bishop’s mitre slit and a king’s cross are both easiest to add with a fine saw cut or your detail knife after the rest of the shape is rounded, not before, since carving around an already-cut slit is much harder than adding it last.
Hand-carved round pieces take noticeably longer than turned ones, but they also let you carve a set in woods and blank sizes a lathe setup can’t easily chuck, which is genuinely useful if you’re working with reclaimed or oddly-shaped offcuts instead of dedicated turning blanks.
Sanding, Sealing, and Finishing Hand-Carved Pieces
Knife-carved surfaces are often clean enough to skip heavy sanding entirely — a sharp blade leaves facets that read as intentional texture rather than tool marks. If you do want a fully smooth piece, work through 220, then 400, then 600 grit, sanding in the direction of the grain and paying extra attention to concave areas like the mane grooves or eye sockets, where a folded piece of sandpaper reaches better than a sanding block.
For a finish, a food-safe wipe-on Danish oil or a carnauba paste wax both work well on game pieces that will be handled constantly. Oil soaks in and darkens the wood slightly, which helps basswood’s pale, sometimes blotchy surface look more even. Wax builds a light, low-sheen protective layer without changing the wood’s color, and it’s easy to renew with a quick rub every year or two as handling wears it down. Avoid a thick brushed-on polyurethane on pieces this small — it tends to pool in the carved detail lines and dull the crispness of a knight’s mane or a queen’s crown.
Common Mistakes When Hand-Carving Chess Pieces
The most common mistake isn’t a bad cut, it’s cutting against the grain direction without noticing until wood starts tearing out instead of slicing clean — this shows up most often on a knight’s ears, where the grain runs at an angle to the cut you need to make. Turn the piece and approach from the opposite direction the moment you see fibers lifting rather than shaving away, instead of forcing the same cut through resistance.
A second misconception is that piece balance and heft only come from a lathe’s ability to hollow out a base on a chuck. Hand-carved pieces can be base-weighted the same way turned ones are: drill a shallow hole in the underside of the base after carving and glue in a coin, a steel washer, or a section of lead-free fishing weight before gluing on a felt pad. A weighted base keeps a hand-carved knight from tipping over as easily as an unweighted one, and it’s a five-minute step most first-time carvers skip entirely.
Frequently Asked Questions
Do I need a lathe to carve chess pieces?
No. A lathe speeds up the round pieces (pawns, rooks, bishops, queens, and kings) because it spins the blank while a chisel cuts a perfectly symmetrical profile, but every one of those shapes can also be hand-carved with a knife by rotating the blank yourself and cutting a ring of small flats before rounding them over. The knight is the exception either way, since its head has no rotational symmetry for a lathe to produce, so it gets bandsawn to a rough profile and then fully hand-carved regardless of whether the rest of the set is turned.
What is the best wood for beginners hand-carving chess pieces?
Basswood or butternut. Both are soft, straight-grained, and cut cleanly across the grain without the tearout that denser woods like boxwood or ebony can cause around fine details such as a knight’s ears or a bishop’s mitre slit. Traditional tournament sets use boxwood and ebony for their density and detail-holding, but that density also means slower cuts and a knife edge that needs stropping far more often.
How long does it take to hand-carve one chess piece?
A round piece like a pawn typically takes a beginner 30 to 60 minutes once the flats are cut and rounded over. A knight is the outlier: it commonly takes an experienced carver 2 to 4 hours because of the head, mane, and ear detail, and considerably longer the first time through.
What is the hardest chess piece to carve by hand?
The knight, by a wide margin. Every other piece is built from rotationally symmetric shapes that come from spinning-and-cutting a blank into rings, cones, and spheres. The knight’s horse-head profile breaks that symmetry entirely, so it has to be carved as a small sculpture rather than a turned form, which is why most carvers tackle it last after practicing on the round pieces.
Sponsored / affiliate links. As an Amazon Associate I earn from qualifying purchases. I may earn additional commission from eligible campaigns.