Can You Stain Sanded Plywood? Yes, With a Pre-Stain Conditioner
Plywood is a popular material in many woodworking projects. It is strong and versatile. Many people ask, “Can you stain sanded plywood?” The answer is yes! However, there are some important steps to follow. This article will guide you through the process. You will learn tips for staining sanded plywood effectively.
What is Sanded Plywood?
Sanded plywood is plywood that has been smoothed out. It has a fine finish. This makes it perfect for projects where you want a nice look. Sanded plywood comes in various grades. Higher grades have fewer knots and imperfections. This means they stain better.
Why Stain Sanded Plywood?
Staining plywood has many benefits:
- Enhances Appearance: Staining gives plywood a rich color.
- Protects the Surface: Stain can protect wood from moisture.
- Shows Grain: Stain highlights the natural wood grain.
Choosing the Right Stain
There are two main types of stains:
- Oil-based Stains: These provide a deep color. They take longer to dry.
- Water-based Stains: These dry faster. They are easier to clean up.
Oil-Based vs. Water-Based vs. Gel Stain on Plywood Veneer
Plywood’s face veneer is usually rotary-peeled, which means the grain runs in tight, swirling patterns rather than the straight grain you see on solid lumber. That grain pattern absorbs stain unevenly, and different stain types react to it differently. Here’s how the three most common options compare:
| Stain Type | How It Behaves on Plywood Veneer | Best For |
|---|---|---|
| Oil-Based Stain | Penetrates deep into open grain pores, which can cause noticeable blotching on rotary-cut veneer. Produces rich, warm color but needs a longer dry time (8-24 hours between coats) and mineral spirits for cleanup. | Projects where color depth matters more than an even, uniform tone, and where a pre-stain conditioner is used first. |
| Water-Based Stain | Sits closer to the surface and dries fast (1-2 hours), which limits how deep it can travel into inconsistent veneer grain. This generally means less blotching, but colors can look slightly flatter or cooler. | Lighter woods, projects needing fast turnaround, and anyone wanting easy soap-and-water cleanup. |
| Gel Stain | Thick, pudding-like consistency sits on top of the wood instead of soaking in unevenly. This makes it the most forgiving option for plywood’s blotchy veneer because it doesn’t rely on absorption for color. | Plywood with visible grain irregularities, vertical surfaces (won’t drip), and beginners worried about blotching. |
If you’re staining a large flat panel like a tabletop or cabinet door made from sanded plywood, gel stain is usually the safest choice specifically because it minimizes the blotchy look that oil-based penetrating stains can create on veneer.
Preparing the Plywood for Staining
Preparation is key to a successful stain job. Here are the steps to follow:
1. Sand The Surface
Even if your plywood is already sanded, check the surface. Use fine-grit sandpaper (220 grit or higher). Sand in the direction of the grain. This helps avoid scratches.
2. Clean The Surface
After sanding, clean the plywood. Use a damp cloth to remove dust. Let it dry completely. A clean surface absorbs stain better.
3. Apply Wood Conditioner (optional)
If you are using softwood plywood, apply a wood conditioner. This helps the stain go on evenly. Follow the instructions on the conditioner.
Sanding Sequence Guide: Getting Grit Progression Right
Even though the plywood you buy is already labeled “sanded,” most sheet goods only arrive sanded to around 100-120 grit at the mill. Working through a proper grit progression before staining makes a real difference in how evenly the stain absorbs:
- 120 grit: Removes mill marks and minor surface roughness. Skip this step only if the sheet already feels smooth to the touch.
- 150 grit: Knocks down the scratch pattern left by 120 grit and starts to even out the surface.
- 180 grit: This is the sweet spot for most plywood projects. It leaves the wood smooth while keeping the grain open enough to accept stain.
- 220 grit (final pass): A light final pass to remove any remaining scratches. Use light pressure here.
Do not sand past 220 grit before staining. This is one of the most common mistakes on plywood: sanding to 320 or 400 grit burnishes and compresses the wood fibers, effectively closing the pores that stain needs to soak into. The result is a blotchy, patchy finish with noticeably less color depth, even if you use a pre-stain conditioner afterward. Save the ultra-fine grits (320 and up) for between coats of clear finish, not for raw wood before staining.
How to Apply Pre-Stain Conditioner Correctly
A pre-stain conditioner is essentially a thin, fast-penetrating varnish that partially seals the wood so it absorbs stain more uniformly – this matters more on plywood than on solid lumber because veneer grain direction changes so much across a single sheet. Here is the correct process:
- Stir, don’t shake: Stir the conditioner thoroughly so any settled solids mix back in.
- Apply liberally with a brush or rag: Flood the surface evenly, working with the grain.
- Wait the correct window: Most conditioners need 5-15 minutes of penetration time – check the can, since this varies by brand.
- Wipe off the excess: Use a clean, dry rag to remove any conditioner sitting on the surface before it turns tacky.
- Apply stain within the recommended window: Most conditioners only stay effective for about two hours after application. Waiting longer means the conditioner fully cures and seals the wood too well, and the stain won’t take at all.
Conditioner isn’t only for softwood plywood – it’s genuinely useful on any plywood with inconsistent veneer grain, hardwood face veneers included, whenever you’re using a penetrating oil-based stain.
How to Stain Sanded Plywood
Now it’s time to stain your plywood! Follow these steps:
1. Gather Your Materials
You will need:
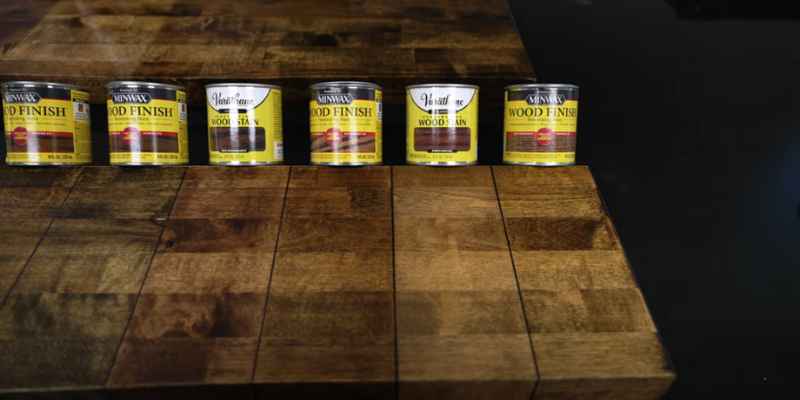
- Stain of your choice
- Brush or cloth
- Paint tray
- Rags for cleanup
- Protective gloves
- Drop cloth for the workspace
2. Test The Stain
Always test your stain on a small piece first. This helps you see the final color. Wait for the stain to dry before making a decision.
3. Apply The Stain
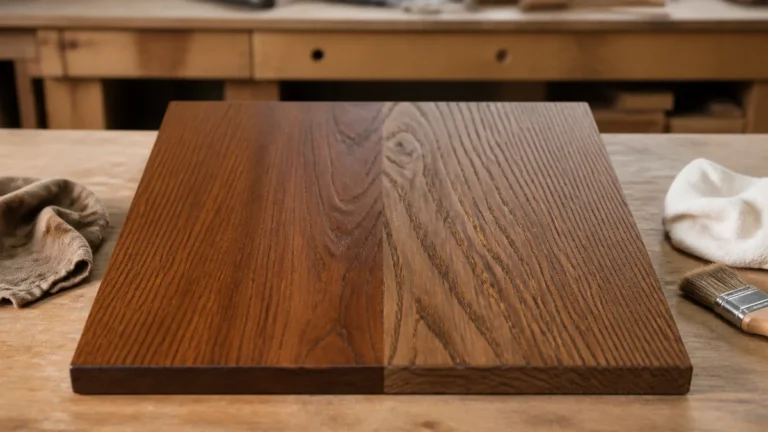
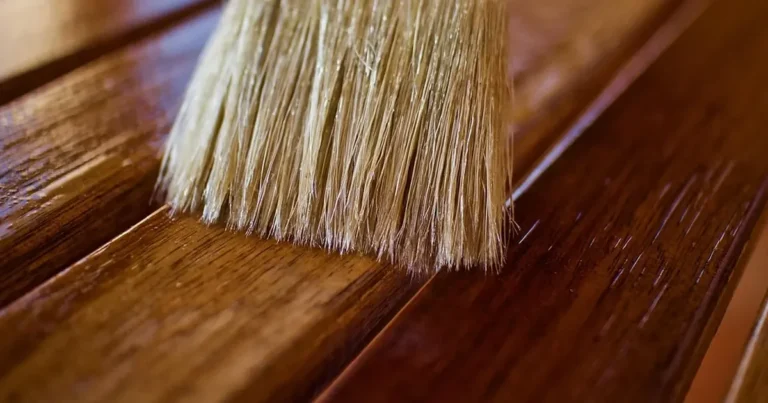
Use a brush or cloth to apply the stain. Start at one edge and work your way across. Apply evenly and in the direction of the grain.
4. Wipe Off Excess Stain
After a few minutes, wipe off any extra stain. Use a clean rag. This prevents the stain from becoming too dark.
5. Allow To Dry
Let the stain dry completely. Follow the drying time on the can. This can take several hours.
6. Apply A Second Coat (optional)
If you want a darker color, apply a second coat. Repeat the same steps. Make sure the first coat is dry before applying the second coat.
7. Finish With Sealant
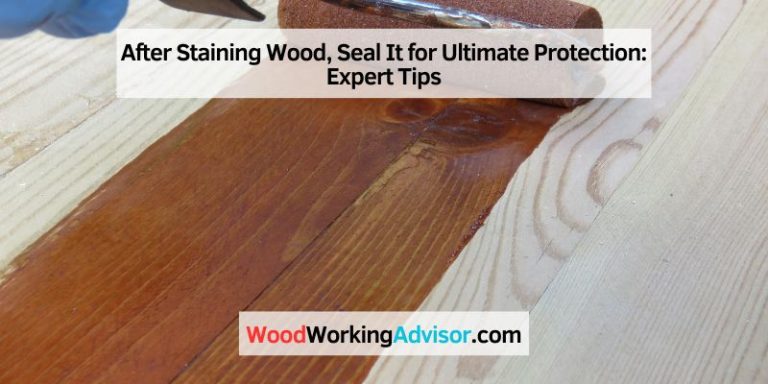
After staining, add a protective sealant. This helps keep the stain looking good. Use a clear finish to protect the wood.
Common Mistakes to Avoid
Here are some common mistakes people make:
- Not Testing the Stain: Always test before applying to the whole surface.
- Skipping the Cleaning Step: Dust can ruin the stain job.
- Over-applying Stain: Too much stain can lead to a blotchy finish.
- Skipping the Pre-Stain Conditioner: On plywood with blotchy veneer grain, skipping conditioner is one of the most common causes of an uneven, splotchy finish, especially with oil-based stains.
- Sanding Past 220 Grit: Over-sanding closes the wood’s pores, so even a well-applied stain will look pale and patchy no matter how many coats you add.
- Using the Wrong Stain for the Veneer: A deep-penetrating oil-based stain on a rotary-cut veneer core often blotches badly; gel stain or a water-based stain with conditioner is usually more forgiving.
Tips for Best Results
Here are some tips to help you get the best results:
- Choose the Right Time: Stain on a dry day.
- Work in Good Light: Good lighting helps you see what you are doing.
- Use Quality Materials: Good brushes and stains make a difference.
Frequently Asked Questions
Can You Stain Sanded Plywood Effectively?
Yes, stained sanded plywood can achieve a rich finish with proper preparation and application techniques.
What Type Of Stain Is Best For Plywood?
Oil-based stains often work best, providing deep penetration and a more vibrant color.
Should I Seal Plywood After Staining?
Sealing plywood after staining is recommended to protect the finish and enhance durability.
How Do You Prepare Plywood For Staining?
Sanding, cleaning, and possibly applying a pre-stain conditioner are essential steps for proper preparation.
Why Does Sanded Plywood Look Blotchy After Staining?
Blotching happens because plywood’s face veneer is rotary-peeled, creating grain that changes direction and density across the sheet. Some areas absorb stain quickly and turn dark, while others resist it and stay light. A pre-stain conditioner or a gel stain largely solves this because both control how much stain the wood can soak in at once.
Does Hardwood Plywood Need Pre-Stain Conditioner Too?
Yes. Pre-stain conditioner isn’t only for softwood plywood – any plywood, hardwood veneer included, can blotch under an oil-based stain if the veneer grain is inconsistent. If you’re using a gel stain or a water-based stain, conditioner is less critical since those products don’t rely as heavily on deep absorption.
Conclusion
Staining sanded plywood is a great way to enhance its appearance. With proper preparation and technique, you can achieve beautiful results. Remember to choose the right stain and test it first. Follow the steps we discussed, and you will enjoy the process. Happy staining!
FAQs
1. Can I Stain Plywood Without Sanding?
It is not recommended. Sanding helps the stain absorb better.
2. How Long Does Stain Take To Dry?
Drying times vary. Check the stain can for specific times.
3. Can I Use Stain On Painted Plywood?
Stain is not effective on painted surfaces. It is best on bare wood.
4. Should I Use A Brush Or Cloth To Apply Stain?
Both work well. Choose what you are comfortable with.
5. How Do I Clean Up After Staining?
Use rags to wipe excess stain. Clean brushes with the appropriate solvent.
Sponsored / affiliate links. As an Amazon Associate I earn from qualifying purchases. I may earn additional commission from eligible campaigns.