How to Remove a Sticker From Plywood Without Damaging the Veneer
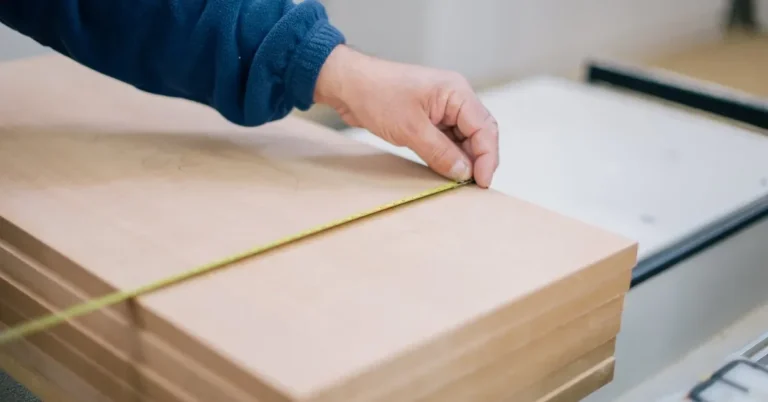
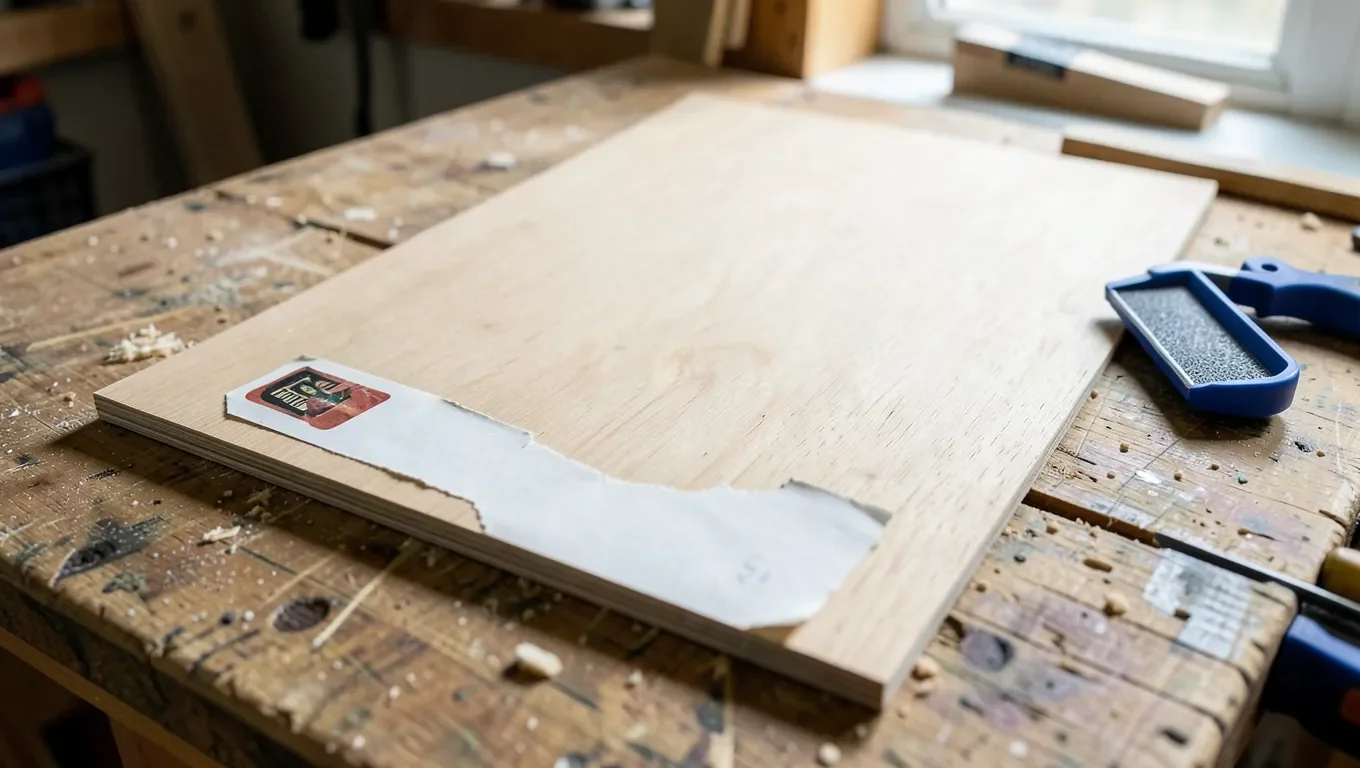
Plywood’s top face is a veneer that can be as thin as 1/42 inch on standard sanded (B/BB-grade) sheets – thinner than a credit card, and far less forgiving than solid lumber. Scrape or sand too aggressively while chasing a sticker off and you’re not sanding wood, you’re sanding straight through the face veneer into the glue line and the ply underneath, leaving a lighter patch that no touch-up stain fully hides. The heat-first, chemical-second approach that works on solid wood still applies here – you just need to know exactly where the extra caution matters, and where it doesn’t.
Why Plywood’s Thin Face Veneer Changes the Rules
Solid lumber gives you a lot of depth to work with – if a scraper digs in slightly or you sand a bit too long, there’s plenty of wood left underneath. Plywood doesn’t offer that margin. The decorative face layer on a standard sheet is glued on as a thin veneer, and on sanded grades that veneer gets shaved down further during manufacturing to create a smooth, ready-to-finish surface. That’s why the same amount of scraping pressure or the same 30 extra seconds of sanding that would be harmless on a solid oak board can burn through a plywood face and expose the cross-grain core ply beneath it – a mistake you can’t sand or stain your way out of. Knowing this changes the order of operations: reach for the gentlest method first, and treat scraping and sanding as a last resort rather than a starting point.
SAFEST TOOL FOR VENEER-THIN SURFACES
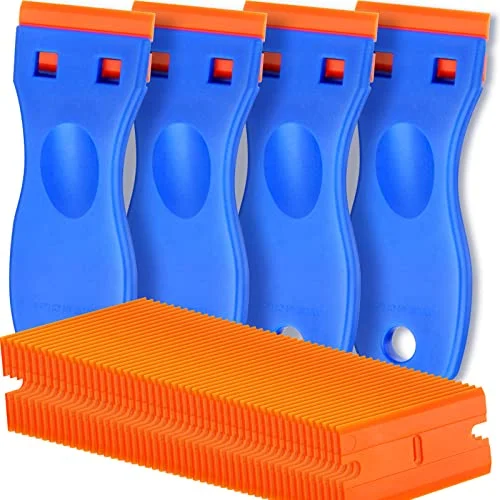 |
Plastic Razor Blade Scraper Set – $5.38 A plastic blade lifts stickers and dried residue without digging into a sanded veneer face the way a metal putty knife can – the same reason it’s sold for glass and car paint, surfaces that scratch just as easily as thin plywood.
|
Identify the Adhesive Before You Start
Most stickers on plywood use a pressure-sensitive adhesive – it bonds on contact with light pressure and stays slightly tacky rather than curing rock-hard, which is why heat and mild solvents work so well on it. Packing tape and shipping labels use a similar pressure-sensitive backing but a stronger acrylic adhesive that holds tighter and leaves more residue behind. Vinyl decals are different again – the adhesive is thinner but often UV-cured after months in sunlight, which is why an old decal can be harder to remove than a sticker slapped on last week. If what’s actually stuck to your plywood turned out to be real glue – construction adhesive, wood glue squeeze-out, or super glue overspray – rather than a sticker backing, the removal chemistry is different; see our full breakdown of removing glue by type for that case.
Step 1: Try Heat First
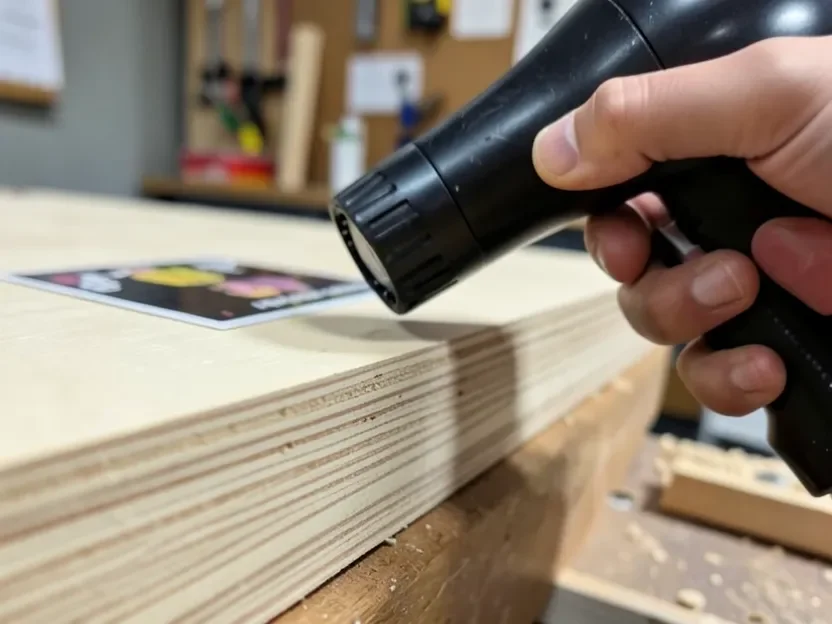
Heat is the gentlest method and it’s effective on nearly every pressure-sensitive adhesive, so it should always be the first thing you try. Set a hairdryer to low or medium heat, hold it about 6 inches from the sticker, and warm it in 20 to 30 second bursts rather than blasting one spot continuously – plywood’s thin veneer layer transfers heat unevenly, and concentrating it too long in one place can loosen the veneer’s own glue bond along with the sticker’s. Once a corner starts to lift, peel it back slowly at a low, shallow angle rather than pulling straight up; a shallow angle puts less shearing stress on the veneer surface. If the sticker resists, reheat for another 20 seconds and try again rather than forcing it. Use the plastic scraper above, not a metal putty knife, to help lift stubborn corners – metal edges are stiff enough to catch and peel up a sliver of veneer if they slip.
Step 2: Oil or Vinegar for Leftover Residue
If the sticker itself peeled off clean but left a sticky, dust-catching film behind, reach for a household remedy before any solvent. Cooking oil – vegetable, olive, or canola all work – breaks down pressure-sensitive adhesive on contact. Apply a small amount directly on the residue, let it sit for 10 to 15 minutes so it has time to soak in, then wipe it away with a soft cloth. White vinegar works through a similar mechanism: soak a cotton ball, press it onto the residue for 5 to 10 minutes, then lift the softened adhesive with the plastic scraper. Both are mild enough to use on finished plywood without stripping the topcoat, which makes them the right second step before you move on to an actual solvent.
Step 3: When You Need a Solvent
For residue that shrugs off heat, oil, and vinegar, move to rubbing alcohol before anything stronger – it dissolves most pressure-sensitive adhesives without touching most finishes. Dampen a cloth, rub gently, and let it sit for a minute on tougher spots. Acetone is the last resort, not the first move: it will strip stain, paint, and clear topcoats on contact, so it’s only appropriate on raw, unfinished plywood, and even then only after testing a hidden edge or the underside of the sheet first. Apply it sparingly with a cloth, work in a ventilated space away from any heat source, and stop the moment the residue lifts – prolonged contact with acetone can also cloud or soften the surface of the wood itself, not just the glue.
| Adhesive Condition | Try First | Safe on Finished Plywood? |
|---|---|---|
| Fresh sticker, still flexible | Heat (hairdryer) | Yes |
| Light residue film | Cooking oil or vinegar | Yes |
| Tacky, won’t lift with oil | Rubbing alcohol | Yes, test first |
| Fully cured, stubborn residue | Acetone | No – raw/unfinished only |
Cleaning Up Residue Without Sanding Through the Veneer
If a little residue survives every liquid method, light scraping or sanding is the last step – not the first. Keep the plastic scraper nearly flat against the surface and work in the direction of the grain, using short, controlled strokes rather than digging in at one spot. If you do need to sand, use 220-grit or finer and the lightest pressure that still removes material, and stop the instant the residue is gone. The instinct is to keep going until the spot feels perfectly smooth, but that’s exactly how a sand-through happens on plywood – by the time you can feel the residue is gone, you’re already close to the veneer’s limit. Feather your sanding out a little wider than the actual residue spot so you don’t leave a sharp-edged shiny ring where new wood meets the surrounding finish.
Restoring the Finish After Removal
On raw plywood, a spot that got sanded or solvent-cleaned often looks slightly lighter than the surrounding wood once it dries. A light wipe of mineral spirits over the whole panel (not just the spot) usually evens out the color temporarily so you can judge how noticeable it really is before reaching for stain – many spots blend in on their own once the piece is finished normally. On finished or painted plywood, clean the area with a mild soap solution to remove any leftover oil or vinegar film, let it dry fully, and check the sheen against the surrounding surface. If the spot looks duller or shinier than the rest of the panel, a thin coat of matching wipe-on poly or wax over just that area – blended out at the edges – usually resolves it without needing to refinish the whole piece.
How to Prevent This Next Time
- Use painter’s tape or a removable label for anything temporary – part markings, cut-list notes, shop inventory tags – instead of a permanent shipping or retail sticker.
- If a sticker needs to stay for a while, apply a strip of clear packing tape over it first; adhesive bonds to the tape’s plastic backing rather than directly to the veneer, and both lift off together later.
- Remove any sticker within a few days rather than months – fresh pressure-sensitive adhesive comes off with heat alone, while adhesive left for a year or more oxidizes and bonds harder, pushing you toward solvents you’d otherwise skip.
- On plywood you plan to finish, seal the face with a coat of sanding sealer or shellac before applying any long-term labels – it gives the adhesive something other than raw wood fiber to grip, and stickers peel off a sealed surface far more cleanly.
Frequently Asked Questions
What’s the safest way to remove a sticker from plywood?
Heat is safest. Warm the sticker with a hairdryer on low or medium in 20 to 30 second bursts, then peel it back slowly at a shallow angle using a plastic scraper if needed. It works on most pressure-sensitive adhesives without any risk to the thin face veneer, which makes it the right first try before any liquid or solvent.
Will rubbing alcohol damage plywood?
Generally no – rubbing alcohol dissolves pressure-sensitive adhesive residue without stripping most finishes, which makes it a reasonable middle step between household remedies and acetone. Test a hidden spot first if the plywood has a stain or clear coat you’re unsure about, since some older or lower-quality finishes can soften slightly with repeated contact.
Can I sand off sticker residue from plywood?
Only as a last resort, and only lightly. Plywood’s face veneer can be as thin as 1/42 inch, so sanding past it exposes the core ply underneath – a mistake that can’t be stained or sanded away. Use 220-grit or finer, sand with minimal pressure, and stop the moment the residue lifts rather than sanding for a perfectly smooth feel.
Is acetone safe on plywood?
Only on raw, unfinished plywood, and only as a last resort. Acetone strips stain, paint, and clear topcoats on contact, and prolonged exposure can soften the wood surface itself. Test an inconspicuous or hidden edge first, apply sparingly, work in a ventilated space, and reach for rubbing alcohol or oil before acetone whenever they’ll do the job instead.
Sponsored / affiliate links. As an Amazon Associate I earn from qualifying purchases. I may earn additional commission from eligible campaigns.