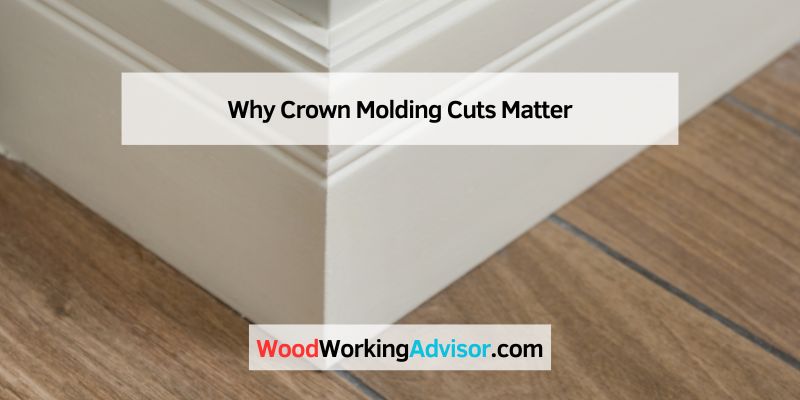
Why Crown Molding Cuts Matter
Crown molding adds a fancy touch to walls and ceilings. It sits at an angle, so cutting it isn’t like cutting flat boards. You need precise miter and bevel angles to fit corners tightly. I once messed up a corner cut and had to recut three pieces—wasting time and wood! Let’s get it right the first time.
Tools and Materials You Need
You’ll need these to start:
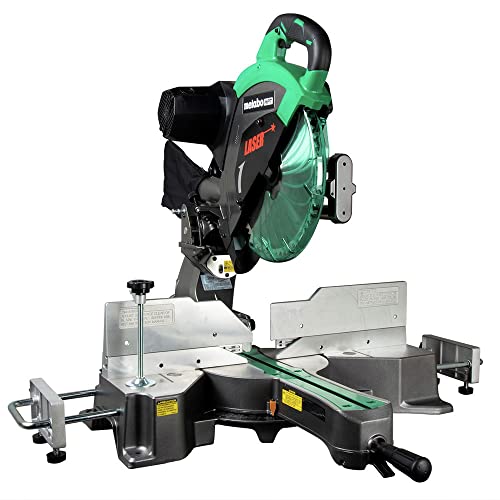
- Miter saw: A basic one works fine.
- Crown molding: Measure your room to know how much.
- Tape measure: For exact lengths.
- Pencil: To mark cuts.
- Safety glasses: Keep your eyes safe.
Pro tip: A saw with a laser guide helps, but it’s not a must. I used one on my first project, and it saved me from crooked cuts.
Understanding Corners and Cuts
Crown molding fits two types of corners:
- Inside corners: Where walls meet inward, like a room’s corner (90°).
- Outside corners: Where walls stick out, like around a chimney (also usually 90°).
Each corner needs two pieces of molding cut at opposite angles to join neatly. Most cuts are made at 45° for a 90° corner, but walls aren’t always perfect, so you might tweak the angle slightly.
How to Cut Crown Molding with a Miter Saw
Here’s a simple step-by-step guide. I’ll explain the “upside-down” method, which is easiest for beginners because it mimics how the molding sits on the wall.
- Set Up Your Saw:
- Place your miter saw on a flat surface.
- Check that it’s secure and the blade is sharp.
- Position the Molding:
- Hold the molding upside down against the saw’s fence and table. The bottom of the molding (that touches the wall) goes against the fence. The top (ceiling part) rests on the table.
- Use a scrap piece to practice holding it at the right angle (usually 38° or 52°, depending on your molding).
- Set Miter and Bevel Angles:
- For a standard 90° inside corner:
- Left piece: Set the miter angle to 45° right. Keep the bevel at 0°.
- Right piece: Set the miter angle to 45° left. Bevel at 0°.
- For a 90° outside corner:
- Left piece: Set the miter to 45° left.
- Right piece: Set the miter to 45° right.
- Tip: I always mark “L” or “R” on the back of each piece to avoid mix-ups.
- For a standard 90° inside corner:
- Measure and Mark:
- Measure the wall length where the molding will go.
- Mark the molding with a pencil. For inside corners, measure to the long point of the cut (bottom edge). For outside corners, measure to the short point (top edge).
- Make the Cut:
- Hold the molding firmly against the fence and table.
- Double-check your angle settings.
- Cut slowly and steadily. I once rushed and got a jagged edge—take your time!
- Test the Fit:
- Hold the cut pieces in the corner. They should fit snugly.
- If there’s a gap, adjust the miter angle by 0.5° and recut a scrap piece to test.
Quick Reference for Cuts
Here’s a table to make it clear:
| Corner Type | Piece | Miter Angle | Position | Tip |
|---|---|---|---|---|
| Inside Corner | Left | 45° Right | Upside down, bottom against fence | Mark long point |
| Inside Corner | Right | 45° Left | Upside down, bottom against fence | Check fit before gluing |
| Outside Corner | Left | 45° Left | Upside down, bottom against fence | Measure to short point |
| Outside Corner | Right | 45° Right | Upside down, bottom against fence | Sand edges for tight fit |
Table: Miter Saw Settings for Crown Molding Cuts
My Top Tips for Perfect Cuts
- Practice First: Cut scrap pieces to test angles. I wasted less wood this way.
- Use a Stop Block: Clamp a piece of wood to the saw table to keep cuts consistent.
- Sand Edges: Smooth any rough cuts with sandpaper for a tight fit.
- Check Wall Angles: Walls aren’t always 90°. Use an angle finder for odd corners. I got one from Home Depot for $10.
Common Mistakes to Avoid
- Wrong Position: Cutting molding flat instead of angled makes bad joints. Always cut upside down.
- Mixing Left and Right: Label pieces clearly. I once swapped them and had to start over.
- Skipping Safety: Wear glasses. Sawdust can fly, and I learned that the hard way!
Visual Ideas (Not Included)
- Diagram of Molding Position: Show how to hold molding upside down on the saw.
- Corner Fit Sketch: Illustrate how inside and outside corner pieces join at 45°.
FAQs
How Do I Know My Miter Saw Angles Are Right?
Test cuts on scrap wood. Hold them in the corner to check fit. Adjust by 0.5° if needed. I always cut a test pair first—it saves time.
What’s the Best Miter Saw for Crown Molding?
A basic 10-inch miter saw works for most molding. I used a DeWalt from Lowe’s for $200. A compound saw is better for big projects.
Why Don’t My Corners Fit Perfectly?
Walls might not be 90°. Use an angle finder to measure the exact corner angle, then divide by 2 for miter settings. I fixed a bad corner this way.
Can I Cut Crown Molding Without a Miter Saw?
Yes, but it’s harder. A miter box and handsaw work, but they’re slower. I tried it once—stick with a miter saw for speed.
How Do I Fix Gaps in Corners?
Use wood filler or caulk for small gaps. Sand smooth before painting. I filled a gap in my dining room, and it looked perfect.