
“How to Cut a 65 Degree Angle With a Miter Saw: A Step-by-Step Guide”
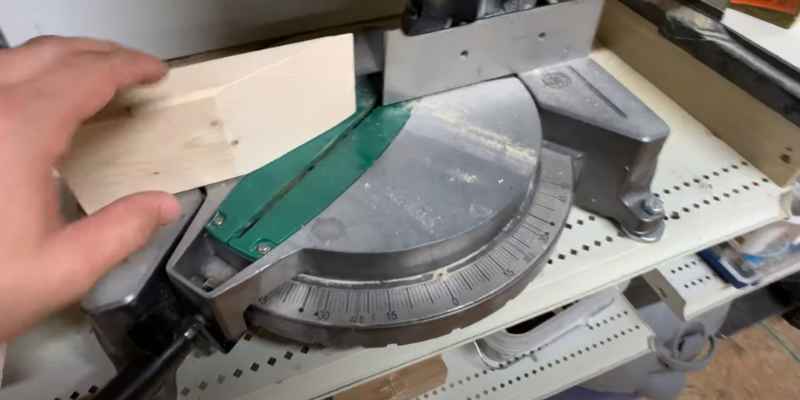
To cut a 65-degree angle with a miter saw, you must set the blade to 65 degrees. You can do this by loosening the blade clamp and rotating it until it is at the desired angle. Once the edge is set, you can make your cut by aligning the workpiece with the fence and ensuring that the blade is lined up with your mark.
- Set the miter saw to 65 degrees
- Place the board you’re cutting against the saw’s fence, ensuring it’s flush with the blade.
- Cut along the length of the board.
How Do You Cut a 60 Degree Angle With a Miter Saw?
When it comes to cutting angles with a miter or saw, there are two types of cuts that you can make: 45-degree and 90-degree. For a 60-degree amount, you will need to use two kinds of cuts. To make a 60-degree cut, start by making a 45-degree cut.
Then, rotate the piece of wood that you are cutting so that it is at a 90-degree angle to the blade. Finally, make another 45-degree cut. When you are finished, you should have a perfect 60-degree angle.
How Do You Cut a 70 Degree Angle With a Miter Saw?
If you’re looking to cut a 70-degree angle with a miter or saw, there are a few things you’ll need to keep in mind. First, most miter saws can only cut up to 45 degrees in one direction. You’ll need to make two cuts at 30 and 40 degrees to get your desired 70-degree angle.
Secondly, the blade must be horizontal when making these cuts so the two pieces fit perfectly. Finally, once your cuts are made, you can use a clamp or other similar device to hold the pieces together while you screw or nail them into place.
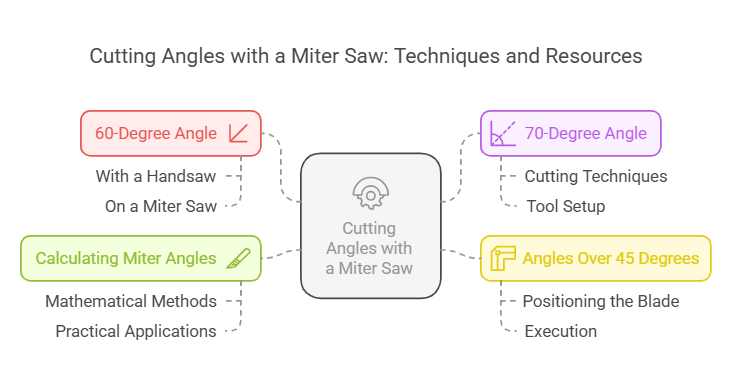
How Do You Cut More Than 45 Degrees on a Miter Saw?
If you’re looking to make cuts at more than a 45-degree angle on a miter or saw, there are a few things you’ll need to do. First, you’ll need to adjust the blade of your saw accordingly. Most miter saws have blades that can be adjusted to different angles, so consult your owner’s manual or the manufacturer’s website to see how yours can be changed.
Once the blade is set at the desired angle, you’ll need to ensure your saw’s fence is also set at that same angle. This will ensure that your cuts are precise and accurate. Finally, when making your cut, be sure to go slowly and carefully – especially if you’re cutting something like wood or metal, which can be dangerous if not done correctly.
With these tips in mind, cutting at angles greater than 45 degrees on a miter saw should be no problem!
How Do You Calculate Mitre Angle?
In carpentry and woodworking, the miter angle is the angle between the faces of two pieces of wood joined together at an angled corner. To calculate the miter angle, you will need to know the degree of the angle formed by the intersection of the two pieces of wood. The miter angle can be either inside or outside of the corner joint.
To find the miter angle, you will first need to measure the degree of the corner joint with a protractor. Once you have this measurement, you can use a miter saw to cut your lumber at this same angle. When cutting lumber with a miter saw, it is essential to ensure that your blade is set at precisely 90 degrees before making your cut.
This will ensure that your two pieces of lumber fit together perfectly at their corner joints.
How to Cut a 60-Degree Angle With a Handsaw
If you’re looking to cut a 60-degree angle with a handsaw, there are a few things you’ll need to keep in mind. First, you’ll need to ensure that the saw is sharpened correctly. A dull saw will make it more challenging to get a clean, accurate cut.
Second, you’ll need to use a miter box or some other type of guide to help ensure that your cut is straight. Finally, take your time and be careful not to force the saw through the material – let the blade do the work. With these tips in mind, cutting a 60-degree angle with a handsaw should be straightforward.
How to Cut a 60-degree Angle on a Miter Saw
If you’re looking to cut a 60-degree angle on a miter or saw, there are a few things you need to keep in mind. First, you’ll need to adjust the blade of your saw accordingly. Second, you’ll need to ensure the workpiece is secured adequately before cutting.
And finally, you’ll need to take extra care when cutting at such an extreme angle. With that said, let’s get started. First, you’ll need to adjust the blade of your miter saw, so it’s angled at 60 degrees.
To do this, loosen the blade adjustment knob and rotate it until it’s at the desired angle. Once the edge is in place, tighten the knob back down and double-check that everything is secure. Next, it’s time to secure your workpiece.
In most cases, clamps are best to keep the piece steady while cutting. If possible, try to clamp down on both sides of the workpiece so that it doesn’t move around while you’re working. This will help ensure a clean and precise cut.
Finally, it’s time to cut! When cutting at such an extreme angle, take your time and go slowly. It might also be helpful to use a guide or fence if your saw has one—this will help keep the blade on track and prevent unwanted movement.
Once you’ve made your cut, unclamp your workpiece and admire your handiwork! With these tips in mind, cutting a 60-degree angle on a miter saw is easy peasy!

How to Cut 75-Degree Angle on Miter Saw
If you’re looking to cut a 75-degree angle on your miter or saw, there are a few things you’ll need to keep in mind. First, you’ll need to ensure that the blade is positioned correctly. Second, you’ll need to be extra careful when cutting, as it can be easy to slip and damage the knife or yourself.
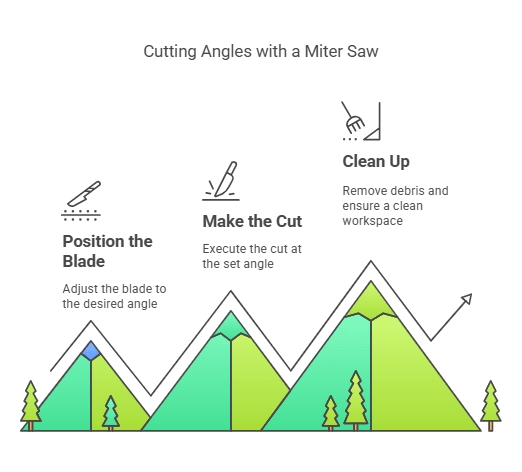
Here’s a step-by-step guide on how to cut a 75-degree angle on your miter saw:
1. Position the blade:
You’ll need to position the blade at a 45-degree angle. You can do this by loosening the bevel adjustment knob and tilting the blade until it’s at the desired angle.
2. Cut:
Once the blade is positioned correctly, you can make your cut. Start slowly and be extra careful not to slip, as this can cause severe damage.
3. Clean up:
After making your cut, cleaning up any debris that may have accumulated on the saw or around the area where you were working is essential.
This will help prevent any accidents from happening in the future.
Conclusion
You will need to use a jig to cut a 65-degree angle with a miter saw. First, set the blade of the saw to 65 degrees. Next, attach the jig to the saw’s fence so that the edge is lined up with the mark on the jig.
Finally, ensure the workpiece is securely clamped down before making your cut.