How to Cut Wood With a Miter Saw (Fix the Kerf Mistake)
A miter saw removes a 1/8-inch-wide strip of wood as sawdust on every pass — the blade kerf — which is why two “5-inch” pieces cut from a 10-inch board always come up short unless you add that kerf back into your math. Skip it and picture frames won’t close and trim joints gap. This guide covers the kerf math, matching blade tooth count to the wood, and the exact technique that stops splintering on oak, cedar, and plywood.
Types of Miter Saw
Best Miter Saw Blade Pick
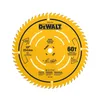
DEWALT 10" 60-Tooth Fine Finish Blade (DWA11060) – $40.69
A 60-tooth carbide blade is exactly the tooth count this guide’s blade table recommends for smooth crosscuts, and it’s rated 4.8 stars across 1,400+ reviews.
- Best for: Smooth crosscuts and trim work on hardwoods and softwoods
- Why we picked it: Matches the 60-tooth crosscut spec this guide recommends, with an Amazon’s Choice track record
- Main drawback: Standard 1/8″ kerf, not thin-kerf, so it removes slightly more material per cut than the options below
Compare more miter saw blade options
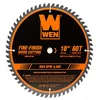 Option 1 WEN BL1060 10" 60-Tooth Blade – $18.54
|
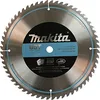 Option 2 Makita A-93675 Micro-Polished Blade – $48.13
|
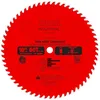 Option 3 Freud LU88R010 Thin Kerf Crosscut – $78.97
|
As an Amazon Associate we earn from qualifying purchases.
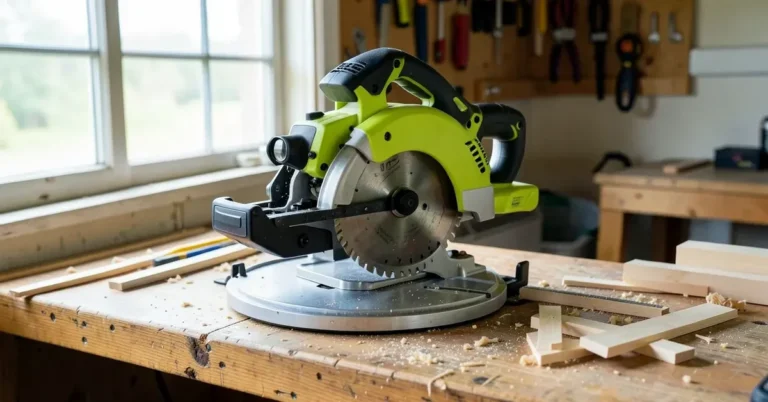
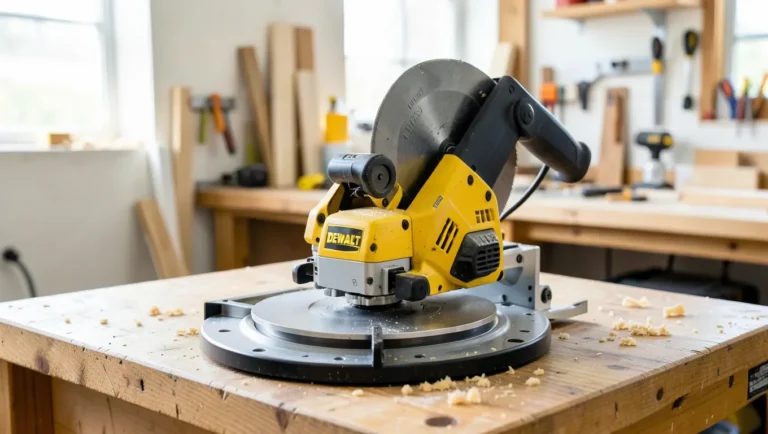
Still deciding whether a miter saw is even the right tool for the job? Our guide on how a miter saw machine actually cuts breaks down the mechanism and how it compares to a chop saw or table saw. Once you have one, here’s how the main types differ:
| Type of Miter Saw | Features |
|---|---|
| Standard Miter Saw | Ideal for basic cuts and angles. |
| Compound Miter Saw | Can tilt for more complex angles. |
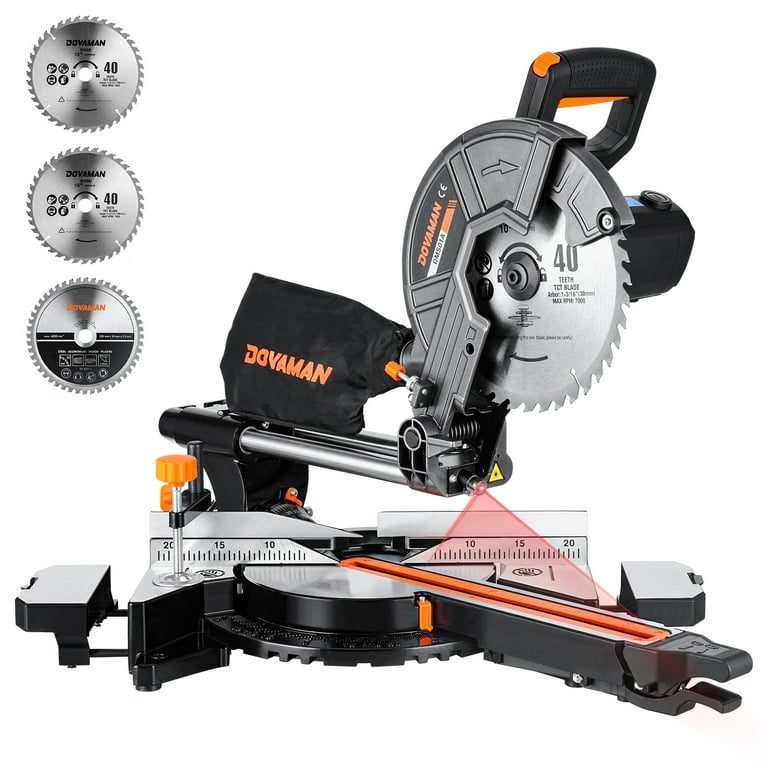
| Sliding Compound Miter Saw | Allows wider cuts and larger materials. |
Choosing the right miter saw makes all the difference. It enhances the quality of your work. Mastering its use leads to better projects and greater satisfaction.
Understanding Blades and Cuts
Choosing the right blade is key for your miter saw. Different blades cut different materials. Carbide-tipped blades are great for hard woods. High-speed steel blades work well on soft woods.
Using the right teeth count is important. Fewer teeth give a rough cut. More teeth result in a smooth cut. For crosscuts, use blades with more teeth. For ripping, choose blades with fewer teeth.
| Blade Type | Best For |
|---|---|
| Carbide-tipped | Hard woods |
| High-speed steel | Soft woods |
| Fewer teeth | Ripping |
| More teeth | Crosscuts |
Adjusting the angle of the cut matters too. Common angles include 0°, 45°, and 90°. Each angle serves a different purpose. Experimenting helps find the best fit for your project.
Miter Cut vs. Bevel Cut vs. Compound Cut: What’s the Difference?
A miter cut angles the workpiece across its face by rotating the saw’s turntable — used for picture-frame corners and crown molding returns. A bevel cut tilts the blade itself sideways, angling the cut through the board’s thickness — used for chamfered edges and angled trim. A compound cut sets both the miter angle and the bevel angle at once, which is what crown molding actually needs when it sits against the wall at an angle instead of lying flat on the saw table.
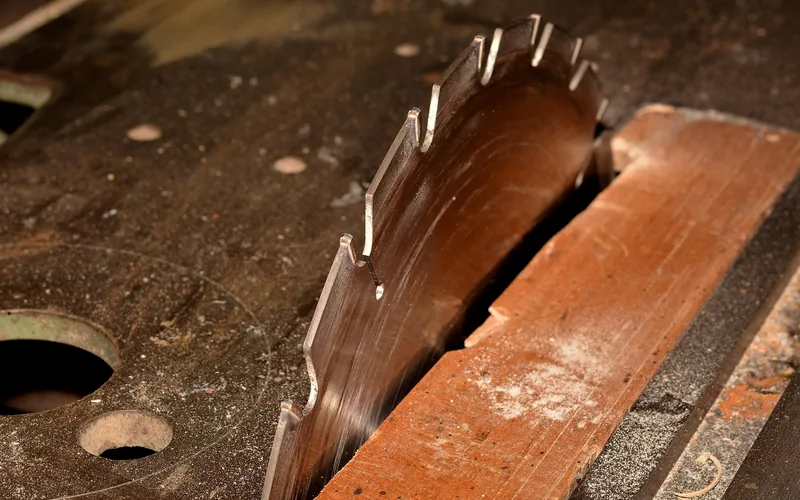
Understanding Kerf: Why Miter Saw Cuts Come Out Short
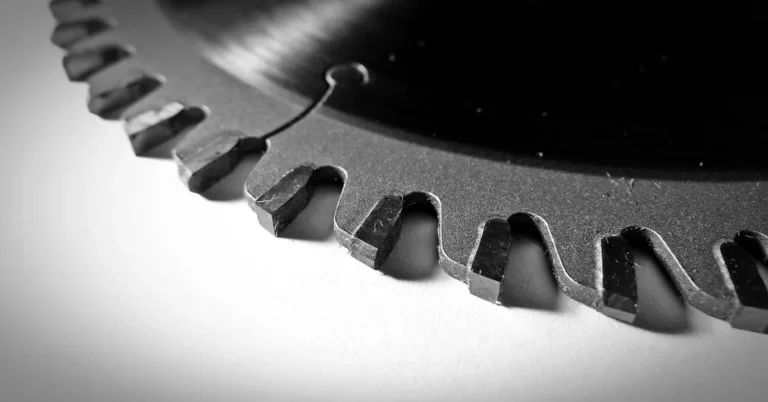
The kerf is the width of material the blade turns into sawdust on every pass. Most 10-inch miter saw blades cut a kerf between about 1/10 inch (2.4mm) and 1/8 inch (3.2mm) wide — and that width disappears from your board, not from your tape measure.
If you cut a 10-inch board exactly at the 5-inch mark, you won’t get two true 5-inch pieces — one piece will be short by the width of the kerf, because that strip of wood became sawdust. To get two actual 5-inch pieces, start with stock at least 10 1/8 inches long, or set your stop block to account for the kerf on every repeat cut.
Thin-kerf blades — often 1/10 inch instead of 1/8 inch — waste less material and let underpowered saws cut with less resistance, which is why sheet-good and trim work often calls for one specifically.
📊 A standard 10-inch miter saw blade has a kerf of about 1/8 inch (3.2mm); thin-kerf blades cut closer to 1/10 inch (2.4mm) — a difference that adds up across a project’s worth of cuts. Source: manufacturer spec sheets (WEN, Makita, Freud 10-inch blade listings)
Setting Up Your Miter Saw
Choose a location that is flat and stable. Make sure there is enough space around the miter saw. A well-lit area helps you see your work better.
Calibrate your miter saw for accurate cuts. Check the angle settings before starting. Use a square to ensure everything is aligned properly.
Regularly check the blade and make sure it’s sharp. A sharp blade cuts cleaner and safer. Always follow safety guidelines while working.
Safety First: Miter Saw Best Practices
Wearing the right protective gear is essential for safety. Always use safety glasses to protect your eyes from dust and debris. Hearing protection is also important, as miter saws can be loud.
Dust masks help to keep your lungs safe from harmful particles. Wearing gloves can provide a better grip, but choose ones that allow for good control. Steel-toed boots protect your feet from heavy materials.
Always keep your hands away from the blade. Use a push stick for small pieces. Make sure the area around the saw is clean and free of clutter.
Mastering Miter Cuts
Mastering miter cuts requires practice and attention. Accurate measurements are essential for perfect angles. Use a square to check your work. Keep your saw blade sharp for clean cuts.
Cut the very end of the board square before you measure — a factory or stored-lumber end is rarely a true 90°, and measuring from an untrue end throws off every cut that follows it. Hook your tape on that fresh-cut end, then mark your length from there.
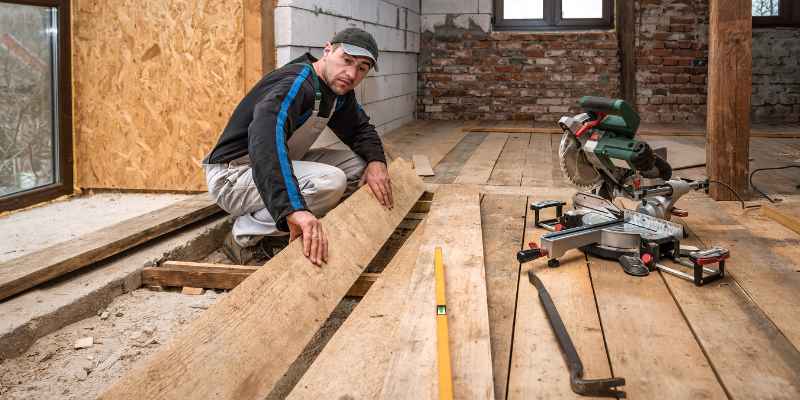
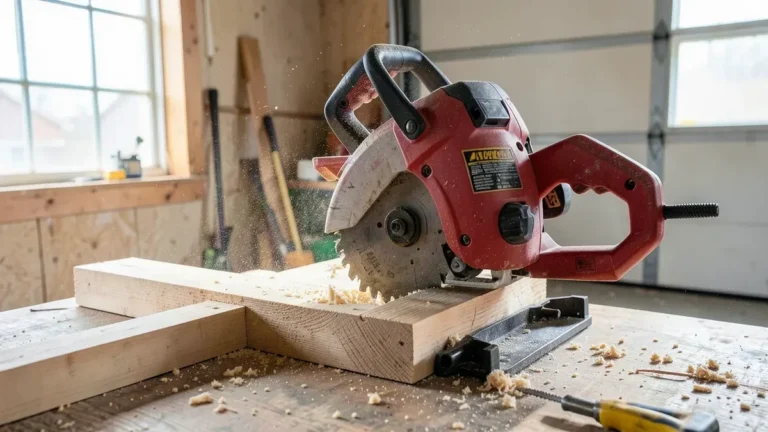
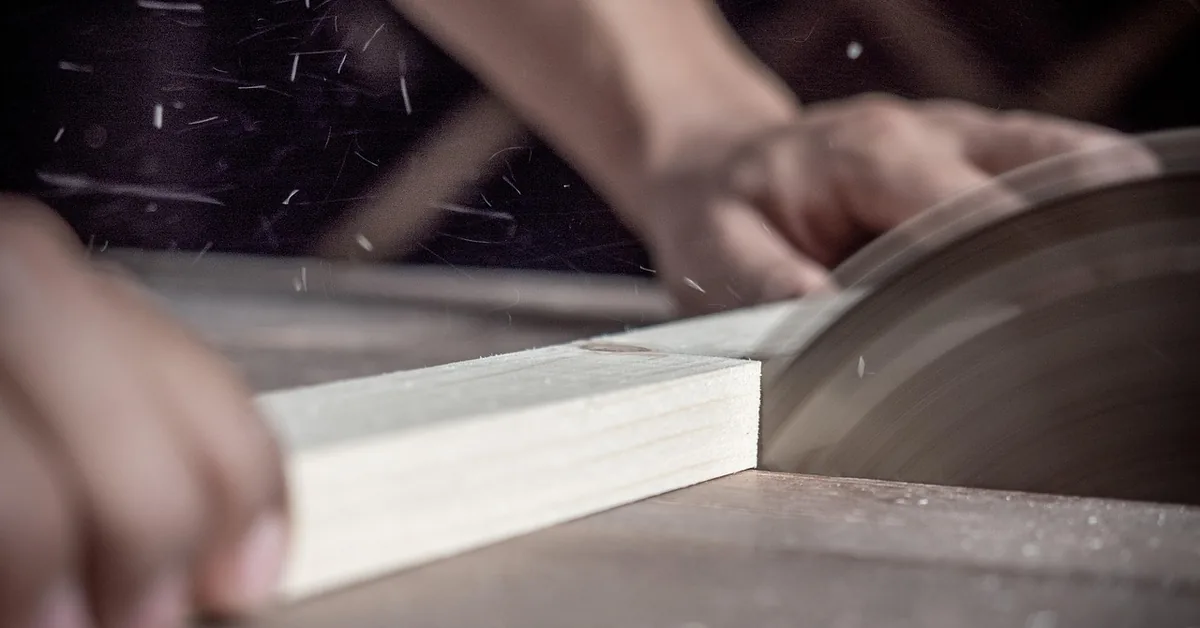
Let the blade reach full speed before it touches the wood, then lower it slowly and steadily. Dropping the blade into the board while the motor is still spinning up is what causes rough, splintered cuts — the wood needs a fully-spun blade, not a fast drop.
For a cut that lands exactly on your line, lower the spinning blade to the wood with the saw switched off, “sneak up” on the pencil line so the teeth just kiss the waste side of the mark, then raise the blade, start the saw, and make the cut.
Common mistakes can lead to poor results. Misalignment of the wood is a frequent error. Always ensure the wood is secured firmly in place. Cutting too fast can also cause issues.
Double-check angles before cutting. Mark your cuts clearly on the wood. Use a stop block to repeat cuts accurately. A little care goes a long way in achieving perfect miter cuts.
Bevel Cuts Made Simple
Setting your miter saw for bevel cuts is easy. First, adjust the angle using the bevel adjustment lever. This allows for precise cuts at different angles. Lock the saw in place to avoid movement during cutting.
Use a stop block to ensure repeated cuts are consistent. Always measure twice to avoid mistakes. Keep your hands clear of the blade while cutting.
Here are some tips for smooth bevel cutting:
- Always use sharp blades for clean cuts.
- Support long pieces of wood to prevent bending.
- Make sure the wood is securely clamped.
- Wear safety gear like goggles and gloves.
Advanced Techniques
Using stop blocks can greatly improve your cutting accuracy. They help create consistent lengths for repeated cuts. Set up your stop block at the desired distance from the blade. This method reduces measuring errors and saves time.
To use stop blocks effectively, place them securely. Use clamps or screws to prevent movement. Mark clear cutting lines on your material for easy alignment. Remember that a stop block sets the distance to the waste side of the blade, so it should already account for the kerf if you need exact repeat lengths.
For best results, practice on scrap wood first. This helps you get familiar with the setup. Adjust your technique as needed to achieve perfect cuts every time.
Maintenance For Longevity
Regular cleaning and maintenance of your miter saw can extend its life. Always unplug the saw before cleaning. Use a soft cloth to wipe down surfaces. Remove dust and debris from the blade and base.
Inspect the blade for any signs of wear. If it feels dull, it may need a replacement. A good rule is to replace blades after every 10 hours of use. Always choose the right blade for your specific needs.
| Signs It’s Time to Replace Blades | Action |
|---|---|
| Dull Cutting Edge | Replace Blade |
| Chipping or Splintering | Replace Blade |
| Excessive Heat | Replace Blade |
Project Ideas To Practice
Start with simple projects to build skills. A basic wooden box is easy and fun. Use your miter saw to cut the pieces. Assemble the box with glue or nails.
Try making a picture frame next. Cut four pieces of wood to size — and remember to add the kerf allowance to each length if you’re cutting all four sides from one board. Join them together using your saw. Sand the edges for a smooth finish.
For advanced users, consider building a small bookshelf. Measure and cut your wood carefully. Ensure all pieces fit snugly. This project enhances your cutting precision.
Create a garden bench as another challenge. This requires larger pieces of wood. Follow a plan for the correct dimensions. Use strong joints for durability.
Lastly, a birdhouse can be a fun project. It helps you practice different cuts and angles. Choose colorful paint to make it appealing.
Troubleshooting Common Issues
To solve accuracy problems with your miter saw, check the blade alignment. Misaligned blades can cause uneven cuts. Adjust the blade by loosening the screws and repositioning it carefully.
Wood splintering can ruin your projects. Use a backer board to prevent this issue. Place a piece of scrap wood behind your cut. This will help support the wood and reduce splinters.
A gap between the wood and the throat plate is another common cause of bottom-edge splintering — as the blade exits the cut, unsupported fibers underneath tear instead of shearing cleanly. A zero-clearance throat plate, or a sacrificial board laid flat under the workpiece, closes that gap.
On splinter-prone woods like cedar, red oak, and other open-grained species, score the cut line with a sharp utility knife before you saw. Severing the surface fibers first stops the blade from tearing them loose as it exits.
“Scoring the line with a utility knife before crosscutting cedar trim takes maybe ten extra seconds a cut, but it’s the difference between a clean edge and a torn one on open-grained wood.”
Another tip is to use masking tape on the cut line. This simple trick helps keep the wood fibers together. It provides a clean edge and improves overall cut quality.
Enhancing Your Miter Saw Station
Enhancing your miter saw station can boost your woodworking projects. Custom add-ons improve efficiency and comfort. Consider adding a sliding extension table for larger pieces. This helps in cutting long boards easily.
Utilizing cabinets and shelves keeps tools organized. A dedicated spot for each tool saves time. Use magnetic strips to hold small tools and blades. This keeps them visible and accessible.
Labeling storage areas makes finding items quick. A well-organized workspace can increase productivity. Plan your layout for easy movement around the station.
| Custom Add-Ons | Benefits |
|---|---|
| Sliding Extension Table | Handles longer materials easily |
| Magnetic Strips | Keeps tools handy and visible |
| Cabinets and Shelves | Organizes tools and reduces clutter |
Frequently Asked Questions
What Is A Miter Saw Used For?
A miter saw is primarily used for making precise crosscuts and angled cuts in wood. It’s ideal for trim work, framing, and any project that requires accurate cuts. Its ability to pivot makes it versatile for different angles, enhancing your woodworking efficiency.
How To Choose The Right Miter Saw?
Choosing the right miter saw depends on several factors. Consider the blade size, power, and features like laser guides or dust collection. Also, assess your project needs and workspace. A 10-inch or 12-inch blade is typically suitable for most woodworking tasks.
Can I Cut Metal With A Miter Saw?
While miter saws are designed for wood, some can cut metal with the right blade. Use a carbide-tipped or metal-cutting blade for best results. Always check the manufacturer’s guidelines to avoid damaging the saw or compromising safety.
How To Maintain A Miter Saw?
Regular maintenance is key to a miter saw’s longevity. Keep the blade clean and sharp for precise cuts. Check the alignment and adjust as needed. Also, ensure the saw’s components are free from dust and debris to maintain optimal performance.
What’s the Difference Between a Miter Cut and a Bevel Cut?
A miter cut angles the workpiece across the saw’s table, changing the corner angle. A bevel cut tilts the blade itself, angling the cut through the board’s thickness. Crown molding and many picture-frame corners need both at once, called a compound cut.
Why Do My Miter Saw Cuts Come Out Shorter Than I Measured?
The blade’s kerf — the strip of wood it turns into sawdust — removes roughly 1/8 inch, or about 1/10 inch on a thin-kerf blade, from your board on every pass. Measure from a freshly squared end and add the kerf width to your stop-block setting for exact repeat lengths.
How Do I Stop Wood From Splintering When I Cut It With a Miter Saw?
Use a fine-tooth blade — 60 teeth or more — for crosscuts, support the underside of the cut with a backer board or zero-clearance throat plate, and let the blade reach full speed before lowering it into the wood. On splinter-prone woods like cedar or red oak, score the cut line with a utility knife first.
Conclusion
Accurate miter saw cuts come down to arithmetic as much as technique: know your blade’s kerf, measure from a squared end, and match tooth count to the wood you’re cutting. Keep the blade sharp, let the motor reach full speed before every cut, and score splinter-prone species first. Get those basics right and your joints will close the first time, not the third.
Sponsored / affiliate links. As an Amazon Associate I earn from qualifying purchases. I may earn additional commission from eligible campaigns.