DIY Bathtub Tray: Transform Your Bathing Experience
A DIY bathtub tray can enhance your bath experience. It adds convenience and style to your bathroom.
Imagine soaking in a warm bath with a book, a glass of wine, or your favorite snack within easy reach. A bathtub tray can make this dream a reality. Crafting your own tray allows you to personalize it to fit your needs and tastes.
It’s a simple project that doesn’t require advanced carpentry skills. With some basic materials and a bit of creativity, you can create a beautiful and functional piece for your bathroom. Plus, it’s a great way to add a touch of luxury without spending a lot of money. Ready to dive into the world of DIY and make your bath time more enjoyable? Let’s get started!
Introduction To DIY Bathtub Tray
Imagine soaking in a warm bath with your favorite book or a glass of wine. Sounds relaxing, right? A bathtub tray can make this dream a reality. But instead of buying one, why not make it yourself? A DIY bathtub tray is simple to create and adds a personal touch to your bathroom. Let’s dive into the world of DIY bathtub trays and discover how you can make one that’s both functional and stylish.
Benefits Of A Bathtub Tray
Why would you want a bathtub tray? Here are a few reasons:
- Convenience: It holds your book, tablet, or glass of wine, so you don’t have to reach out of the tub.
- Organization: Keeps your bath essentials like soap, candles, and sponges in one place.
- Relaxation: Enhances your bath experience by allowing you to enjoy your favorite activities while soaking.
- Personalization: A DIY tray can be customized to match your bathroom decor.
Materials Needed
Ready to get started? Here’s what you’ll need:
| Material | Purpose |
|---|---|
| Wood plank | Main body of the tray |
| Sandpaper | Smoothing the wood |
| Wood stain or paint | Finishing the tray |
| Brush | Applying stain or paint |
| Ruler and pencil | Measuring and marking |
| Screws and brackets | Securing the tray |
| Drill | Making holes for screws |
With these materials, you’re all set to create a beautiful and practical bathtub tray. Don’t worry if you’re not a DIY expert; this project is simple enough for beginners. Plus, it’s a fun way to spend a weekend afternoon. Ready to get started? Let’s go!
Choosing The Right Design
Choosing the right design for your DIY bathtub tray can be fun. The right tray adds function and style to your bathroom. You want it to fit perfectly and look great. Here are some tips to help you choose the best design.
Measuring Your Bathtub
First, measure your bathtub’s width. Use a tape measure for accuracy. Measure from one edge to the other. This will ensure the tray fits well. Also, measure the depth of your bathtub. This helps in choosing the right height for your tray’s legs, if it has any.
Make sure the tray is not too wide. It should sit securely on the edges. You do not want it to wobble. A secure fit is key for safety and convenience. Write down your measurements and keep them handy.
Selecting The Style
Next, think about the style you want. Do you prefer a rustic look? Or maybe a sleek, modern design? Choose a style that matches your bathroom decor. Wooden trays give a warm, natural feel. Metal trays can look chic and modern.
Consider the tray’s features. Some have book holders, wine glass slots, or even phone stands. Think about what you will use it for. A simple tray might be enough. Or you might want extra features for more convenience.
Finally, choose a finish that resists water. This will help your tray last longer. A good finish also makes it easier to clean. Look for materials that can handle steam and moisture.
Gathering Materials And Tools
Before you start crafting your DIY bathtub tray, you need to gather all the materials and tools. This step ensures you have everything handy. It saves time and keeps you organized. Let’s dive into the essentials.
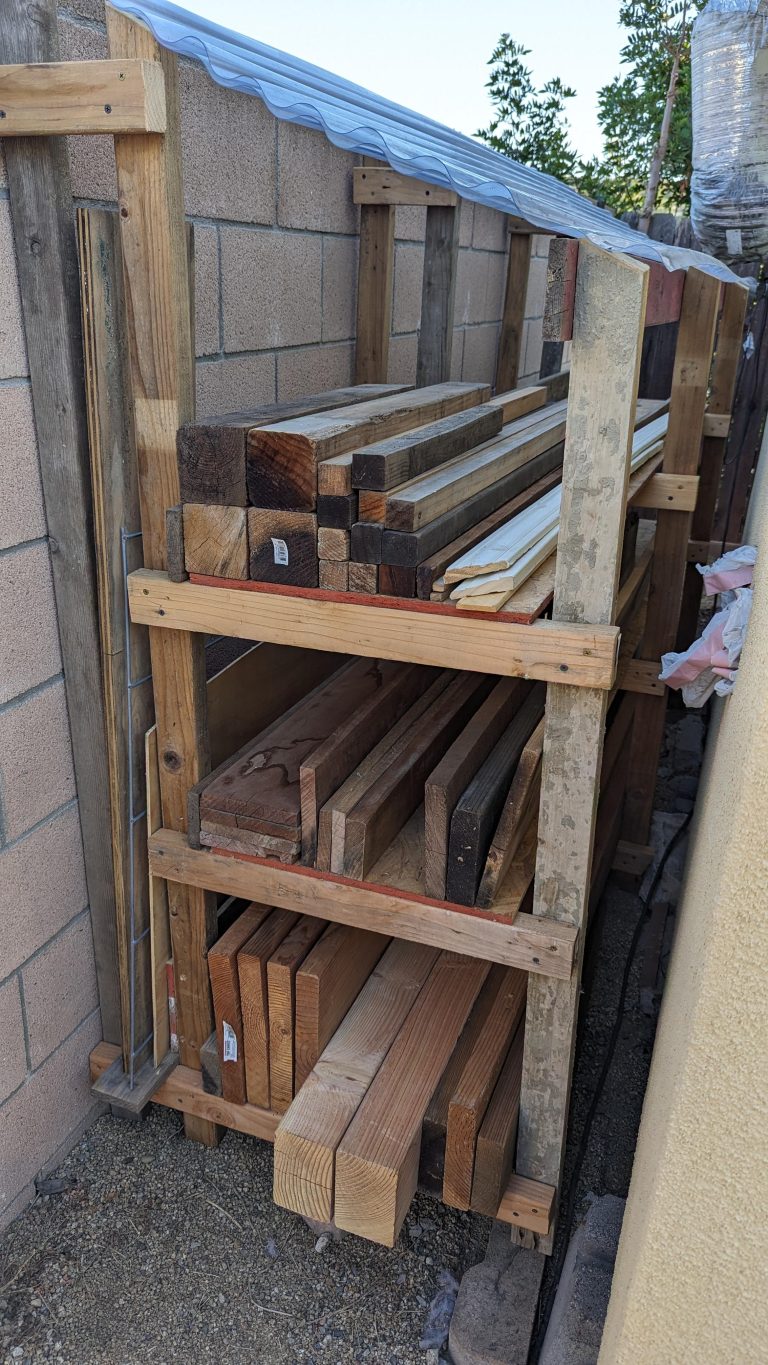
Wood And Hardware
Select the right wood for your tray. Cedar and teak are good choices. They resist water well. You need a wooden board that fits across your bathtub. Make sure it is sturdy and smooth. You will also need some screws and brackets. These hold the tray together. Choose hardware that matches the wood.
Tools Required
Gather your tools before starting. A saw is necessary to cut the wood to size. Use a measuring tape for accuracy. Sandpaper smooths the edges and surface. A drill makes holes for screws. You will need a screwdriver to secure the hardware. A level ensures your tray sits flat. Safety gear like goggles and gloves protect you.
Cutting And Preparing Wood
Creating a DIY bathtub tray is a fun and rewarding project that will enhance your bathing experience. One of the most important steps in making your tray is cutting and preparing the wood. In this section, we will walk you through the process of making the cuts and sanding the edges to ensure your tray is both functional and beautiful.
Making The Cuts
First things first, you need to gather your materials. For a standard bathtub tray, you will need a piece of wood that is long enough to span the width of your tub. Measure the width of your tub and add a few extra inches on each side for stability. Once you have your measurements, mark the wood where you will make your cuts.
Using a saw, carefully cut the wood along the lines you marked. If you’re not comfortable using a saw, you can ask a friend for help or take the wood to a local hardware store where they can make the cuts for you. Safety first!
- Measure the width of your tub
- Mark the wood for cuts
- Use a saw to make the cuts
Sanding The Edges
Once you have your pieces of wood cut to size, it’s time to sand the edges. Sanding is crucial to ensure your tray is smooth and splinter-free. Start with a coarse-grit sandpaper to remove any rough edges, then switch to a finer grit for a smooth finish.
Don’t rush this part. Take your time to sand all the edges and surfaces of the wood. This will not only make your tray look polished, but it will also make it safe to use. Nobody wants splinters while trying to relax in the bath!
- Start with coarse-grit sandpaper
- Switch to finer-grit sandpaper
- Sand all edges and surfaces thoroughly
And there you have it! With your wood cut and sanded, you’re well on your way to creating a beautiful DIY bathtub tray. Stay tuned for the next steps in our guide, where we will cover assembling and finishing your tray. Happy crafting!
Assembling The Tray
Congratulations on gathering all your materials! Now, it’s time to roll up your sleeves and put together your fabulous DIY bathtub tray. This part is all about bringing your vision to life. Trust me, with a little patience and some careful steps, you’ll have a tray that not only looks great but also adds a touch of luxury to your bath time. Let’s dive in!
Joining The Pieces
First things first, we need to join the pieces of wood. Make sure you have your main board and the side supports ready. You’ll want to align the supports on either side of the main board. Here’s a simple step-by-step guide:
- Measure and Mark: Use a ruler to measure where the side supports should go. Mark these spots with a pencil.
- Apply Wood Glue: Apply a thin line of wood glue along the edges of the supports. This helps to keep everything secure.
- Clamp and Dry: Once the supports are in place, use clamps to hold them tight. Let the glue dry as per the instructions on the bottle.
- Secure with Screws: For extra sturdiness, drill small pilot holes and insert screws into the supports. This makes sure your tray can handle the weight of your book or tablet!
Adding Support
To ensure your bathtub tray is stable and doesn’t wobble, adding extra support is key. Here’s how you can do it:
- Crossbar Support: Cut a smaller piece of wood to fit across the bottom of the main board. This will act as a crossbar, giving your tray extra strength.
- Glue and Screw: Similar to the side supports, apply wood glue to the edges of the crossbar and secure it with screws. Make sure it’s centered properly.
- Test for Stability: Place the tray on your bathtub and test for stability. If it wobbles, adjust the crossbar or add additional supports as needed.
And there you have it! With these steps, your DIY bathtub tray is not only stylish but also sturdy and ready for use. Imagine soaking in the tub with your favorite book or a glass of wine, all conveniently within reach. Doesn’t that sound like heaven?
Finishing Touches
Adding the finishing touches to your DIY bathtub tray is important. This final step enhances its beauty and durability. These details make your tray unique and functional.
Staining Or Painting
Staining your bathtub tray gives it a natural look. Choose a stain that matches your bathroom decor. Apply the stain evenly with a brush or cloth. Let it dry completely before adding another coat.
Painting your tray offers endless color choices. Pick a paint suitable for wood. Apply a primer first, then paint in thin layers. Allow each layer to dry before adding the next one.
Waterproofing The Tray
Waterproofing protects your tray from moisture. Use a clear sealant for this purpose. Apply the sealant with a brush in thin, even layers. Let each layer dry completely before adding the next one.
You can also use a waterproof varnish. This adds a shiny finish to the tray. Follow the same application steps as the clear sealant. Make sure the tray is fully dry before using it.

Adding Custom Features
Creating a DIY bathtub tray is not just about making a functional piece; it’s about making it your own. Adding custom features can turn your bathtub tray from simple to spectacular. Let’s look at some amazing options to consider.
Wine Glass Holder
Picture this: a relaxing soak in the tub with your favorite wine. Sounds perfect, right? A wine glass holder can make this dream a reality. This feature is easy to add and makes a huge difference. Simply carve out a circular slot to snugly fit the base of your wine glass.
Some choose to add a small notch to hold the glass securely in place. Here’s a tip: use a glass you already own to ensure a perfect fit. No more worries about spills or searching for a flat surface. Cheers to that!
Book Stand
For those who love reading, a book stand is a game-changer. Imagine diving into a novel while enjoying a warm bath. Creating a book stand is straightforward. You can use a thin piece of wood or a metal clip to hold your book upright.
Here’s how you can do it:
- Measure the width of your tray.
- Cut a piece of wood slightly shorter than the width.
- Attach it at an angle using screws or strong adhesive.
This will create a sturdy stand that can hold your book open without the risk of it falling into the water. It’s like having a mini library right in your bathroom.
Adding these custom features not only enhances your bathing experience but also shows off your creativity. With a wine glass holder and book stand, your DIY bathtub tray will become the envy of everyone who sees it. So why wait? Grab your tools and start customizing today!
Tips For Usage And Maintenance
Using a DIY bathtub tray can elevate your bath time experience. It’s essential to know how to use and maintain it properly. This ensures your tray stays in good condition for years. Let’s dive into some useful tips for usage and maintenance.
Cleaning The Tray
Regular cleaning keeps your bathtub tray looking new. Use a mild soap and warm water. Gently scrub the tray with a soft cloth. Avoid using harsh chemicals or abrasive sponges. These can damage the surface. Rinse thoroughly and let it air dry. For stubborn stains, a mixture of baking soda and water works well. Apply the paste, let it sit, then wipe clean.
Ensuring Longevity
Proper maintenance extends the life of your bathtub tray. Avoid overloading it with heavy items. This prevents unnecessary strain on the tray. Keep it in a dry place when not in use. Moisture can lead to warping or mold growth. Apply a wood sealant if your tray is wooden. This provides extra protection against water damage. Inspect the tray regularly for any signs of wear. Address any issues promptly to avoid further damage.
Frequently Asked Questions
What Materials Are Needed For A DIY Bathtub Tray?
You need a wooden board, sandpaper, wood stain, waterproof sealant, screws, and handles. You might also need a saw and measuring tape.
How Do I Measure My Bathtub For A Tray?
Measure the width of your bathtub from edge to edge. Add a few inches to ensure stability.
Can I Customize My DIY Bathtub Tray?
Yes, you can add features like book holders, wine glass slots, or candle holders to personalize your tray.
How Do I Make My Bathtub Tray Waterproof?
Apply a waterproof sealant or varnish to the wood. Let it dry completely before use.
Conclusion
Creating your own bathtub tray is simple and fun. It adds a personal touch to your bathroom. You can customize it to fit your needs. Enjoy a relaxing bath with all your essentials close by. The project is easy and doesn’t require many tools.
Try making a bathtub tray today. You’ll enjoy a more luxurious and organized bath experience. Happy crafting!