How to Store Lumber Outdoors (Sticker Spacing That Works)
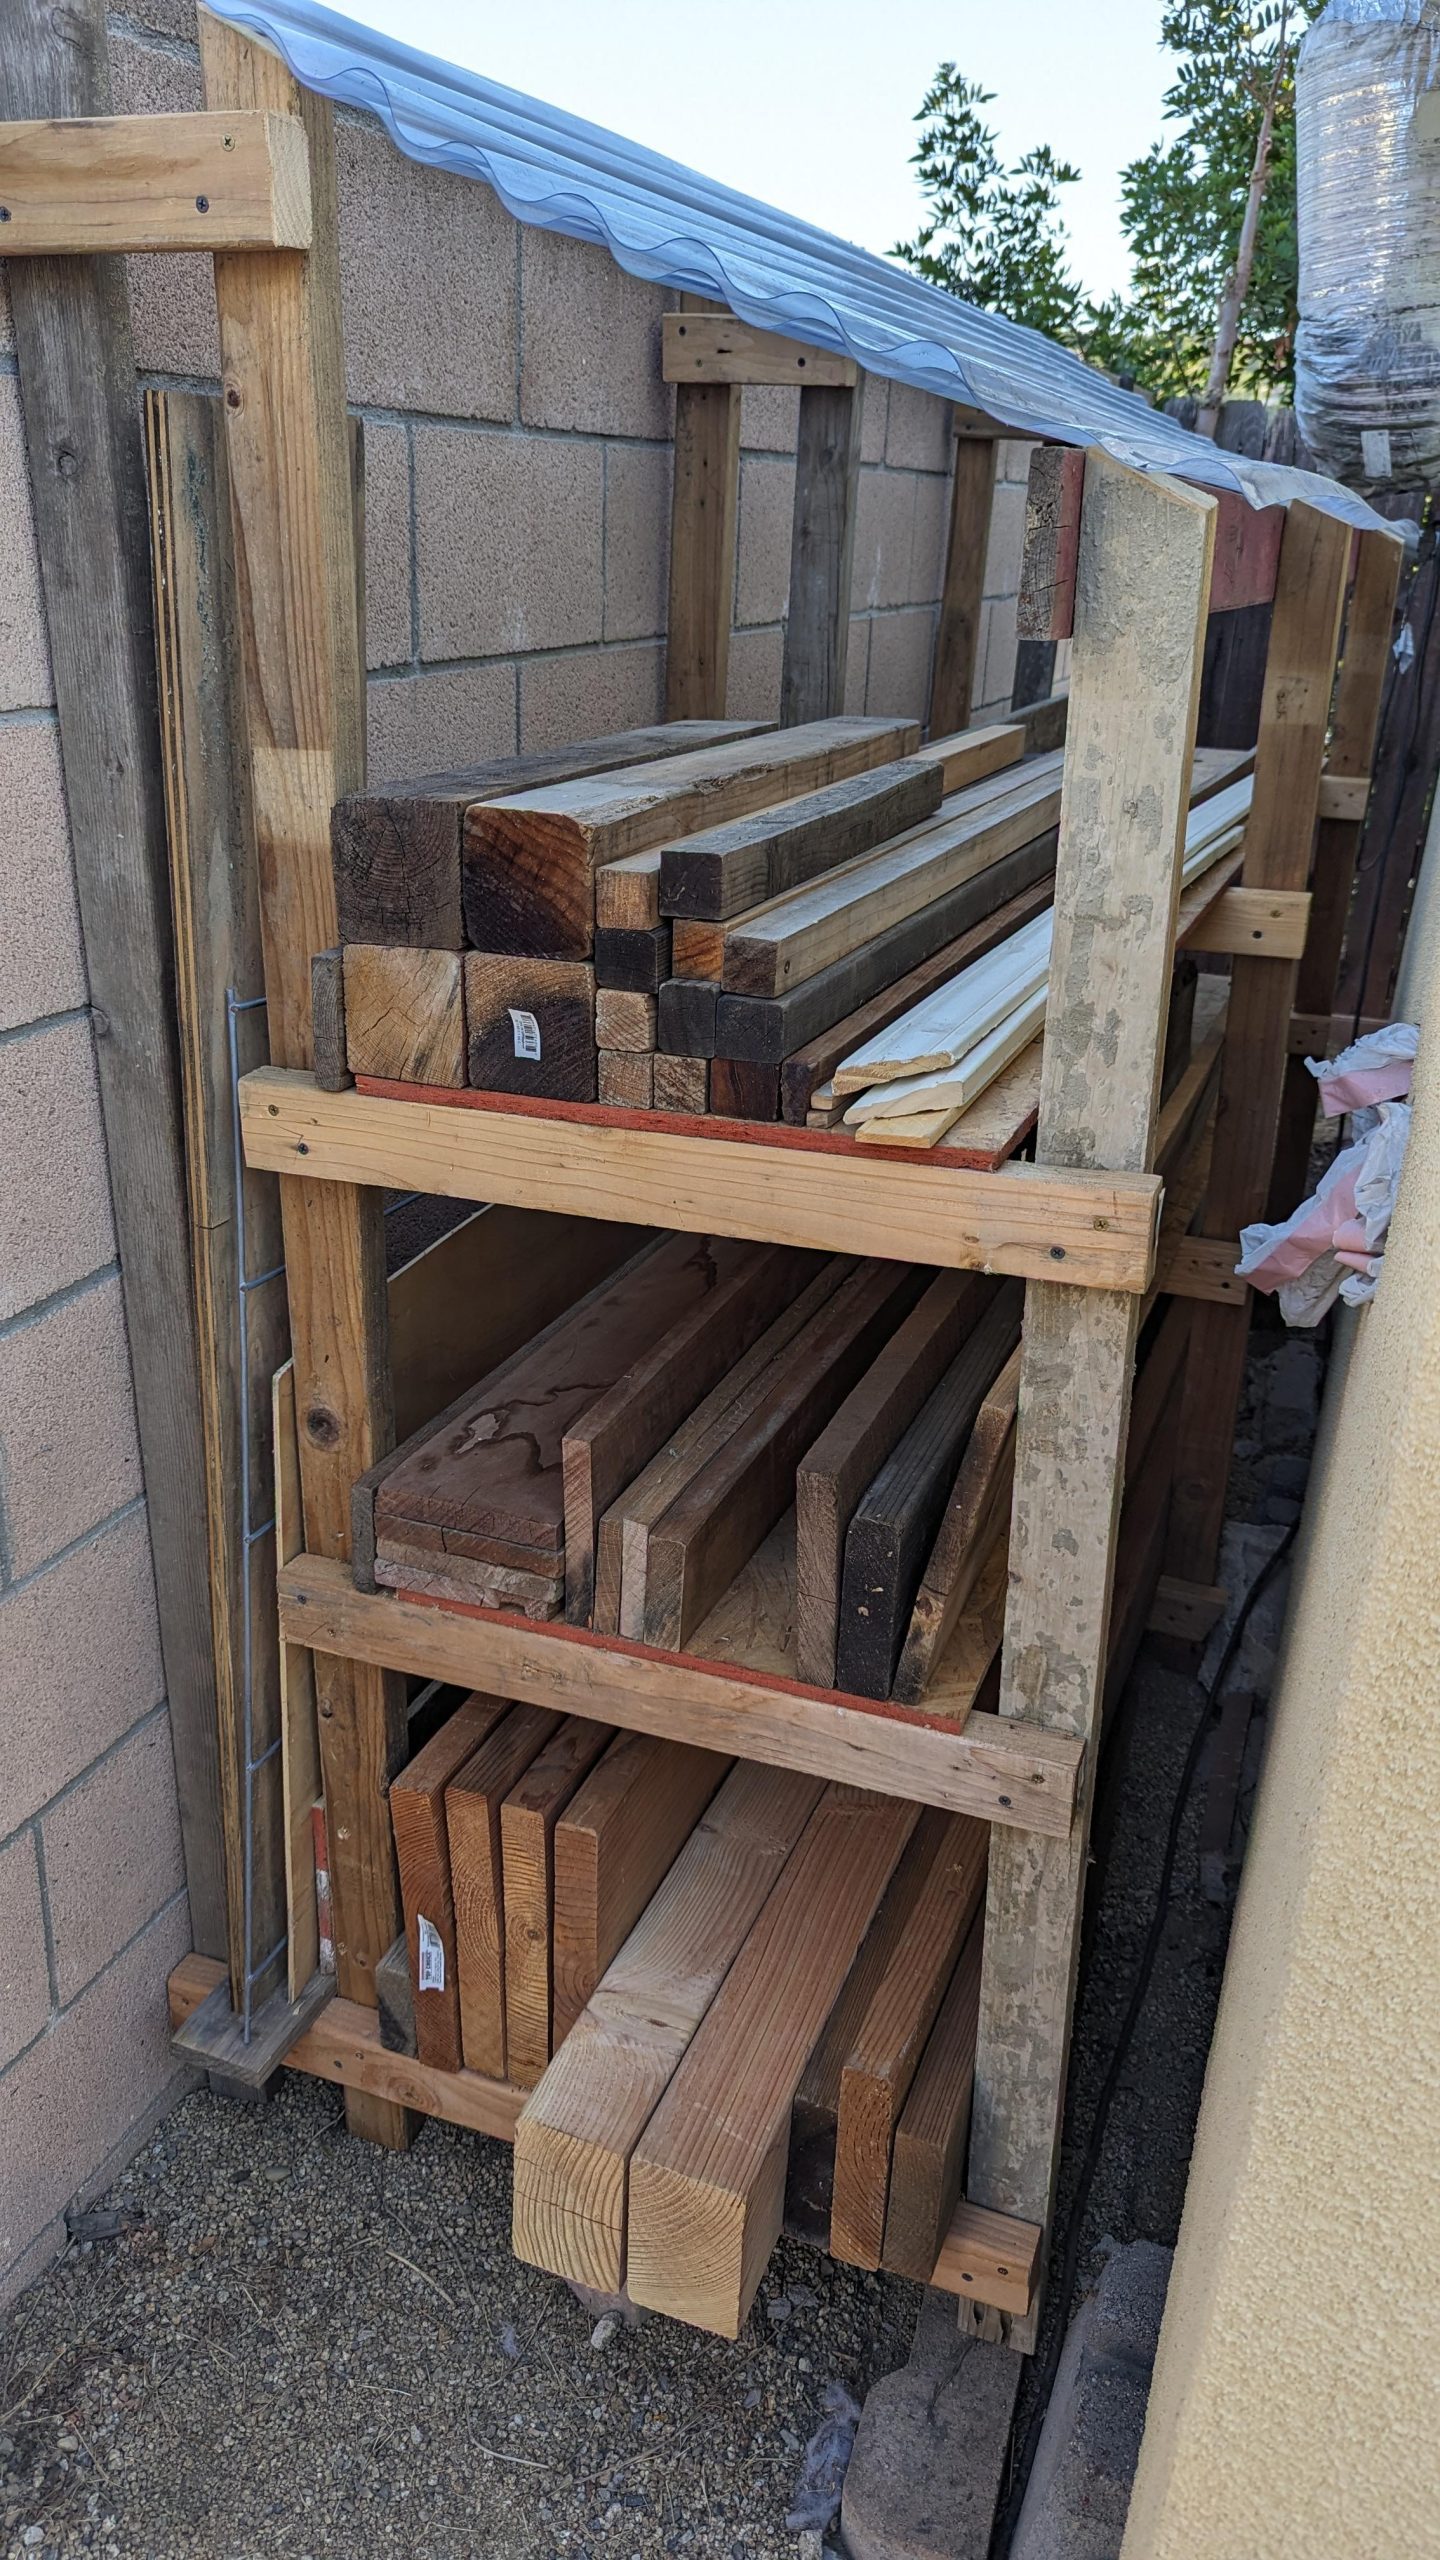
To store lumber outdoors, elevate it on pallets or blocks at least a few inches off the ground, stack it with 3/4-inch stickers every 12 to 24 inches so air can move between boards, and cover only the top with a tarp left open on the sides. Sealing the sides traps humidity and causes the same rot and mold you’re trying to prevent. This guide covers site selection, stacking with stickers, tarp coverage, and seasonal maintenance.
Choosing The Right Lumber
Best Tarp Cover Pick
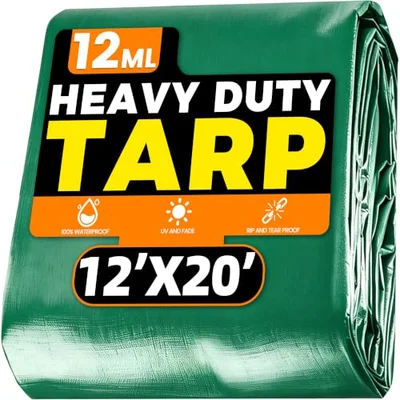
12 Mil Heavy Duty Waterproof Tarp (12x20ft)
Thick enough to shed rain and resist tearing in wind, sized to cover a full lumber stack top-only, leaving the sides open.
- Best for: topping a stack without sealing the sides shut
- Why we picked it: 12 mil thickness holds up to seasons of sun and wind better than thin poly tarps
- Main drawback: heavier and stiffer to handle than a lightweight tarp
Round out your storage setup
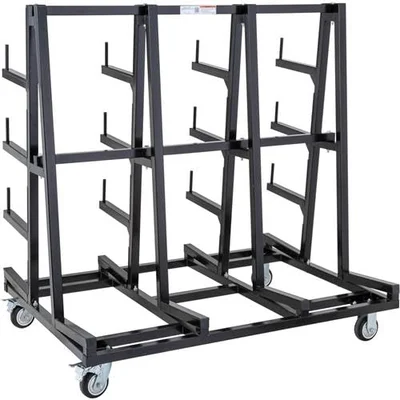 Option 1 4-Tier Horizontal Lumber Rack
|
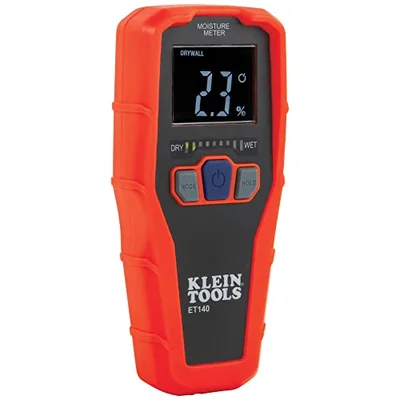 Option 2 Klein ET140 Pinless Moisture Meter
|
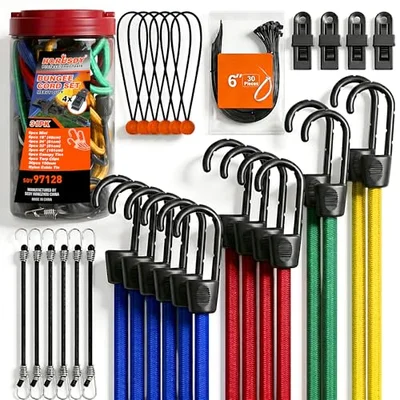 Option 3 HORUSDY Bungee Cord Assortment
|
As an Amazon Associate we earn from qualifying purchases.
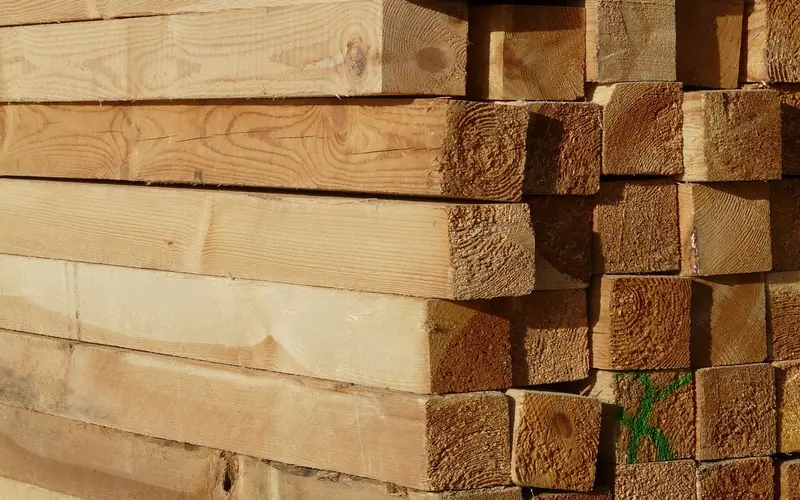
Pressure-treated lumber holds up far better outdoors than untreated stock — it resists rot and insect damage and is the right choice for anything staying outside long-term, like decks and fences. Untreated lumber is cheaper but needs closer attention and more protective storage; left exposed to rain, it can start showing surface rot within a season. If space is tight, storing lumber in a garage instead gives more control over humidity than any outdoor setup can.
Preparing The Storage Area
Pick a dry, elevated spot with good airflow, away from low areas where water collects. Clear the ground of debris and plants, which block airflow and trap moisture, and level the surface. Laying down a plastic sheet as a ground barrier before placing pallets or blocks on top adds an extra layer of protection against moisture wicking up from the soil.
Stacking With Stickers: Spacing That Actually Works
Elevate the stack on pallets or concrete blocks, then place stickers (thin spacer strips) between every layer of boards so air can move through the pile instead of just around it. Getting the spacing right matters more than most guides mention.
- Standard stickers: about 3/4″ x 3/4″, which is enough to let air circulate without wasting stack height.
- For 1-inch (4/4) boards: space stickers 12 to 16 inches apart along the length of the board.
- For 2-inch (8/4) or thicker stock: spacing can extend to nearly 24 inches, since thicker boards resist sagging between supports.
- For warp-prone species (like sycamore or elm), tighten spacing to around 12-18 inches even at 1-inch thickness.
- Alignment: keep every sticker directly above the one below it in the stack. Offset stickers create uneven pressure points that can bow the boards.
📊 For 1-inch hardwood boards, stickers spaced 12 to 24 inches apart are standard, while lumber 2 inches thick or more can go nearly 48 inches between stickers — thicker stock needs less support to stay straight. — Source: WOODWEB

Covering The Lumber
Cover only the top of the stack with a waterproof tarp, pitched at a slight angle so water drains off instead of pooling. Leave the sides completely open. A tarp wrapped tightly around the whole stack traps humidity inside, which is exactly the mold and rot risk you’re trying to avoid — it just moves the problem from rain exposure to trapped condensation. Secure the tarp with bungee cords or rope so wind doesn’t work it loose, and check it after storms for tears.
Regular Maintenance
Check the stack periodically for cracks, splits, and pest activity — ants and termites are drawn to damp wood in ground contact. Confirm the tarp is still secure and undamaged after any significant wind or storm. If you’re storing lumber for an eventual project, a moisture meter reading before you build is worth more than a visual check; wood that looks dry on the surface can still be wet in the core.
Seasonal Considerations
In winter, brush snow and ice off the tarp regularly so accumulated weight doesn’t stress the covering or the stack underneath. In summer, direct sun can dry and crack exposed end grain faster than the rest of the board, so a shaded storage spot extends the wood’s usable life more than a sunny one. Either season, the same rule holds: keep the pile elevated, stickered, and covered on top only.
Frequently Asked Questions
How Do You Protect Lumber From Rain?
Elevate the lumber off the ground on pallets or blocks and cover only the top with a waterproof tarp pitched to drain. Leave the sides open so air can still circulate; sealing the sides traps moisture instead of shedding it.
What Is The Best Way To Store Lumber Outdoors?
Elevate the stack on pallets, place 3/4-inch stickers between every layer spaced 12 to 24 inches apart depending on board thickness, and cover the top only with a tarp. This combination keeps the wood dry while still letting it breathe.
How Far Apart Should Stickers Be When Stacking Lumber?
For 1-inch boards, space stickers 12 to 16 inches apart; for 2-inch or thicker lumber, spacing can extend closer to 24 inches or slightly more. Warp-prone species need tighter spacing regardless of thickness, and stickers should always align vertically through the stack.
Can You Store Lumber Directly On The Ground?
No. Ground contact lets lumber absorb moisture directly from the soil, leading to rot, staining, and pest attraction. Always elevate lumber on pallets, blocks, or a raised rack, even for short-term storage.
Conclusion
Storing lumber outdoors comes down to three things done consistently: keep it off the ground, keep air moving through the stack with properly spaced stickers, and cover only the top. Skipping any one of those — especially sealing the sides under a tarp — is what turns a storage plan into a rot problem.
Sponsored / affiliate links. As an Amazon Associate I earn from qualifying purchases. I may earn additional commission from eligible campaigns.