How to Attach Hardware Cloth to Wood (Staple vs Sandwich-Trim)
Staple hardware cloth to wood with 1/2-inch 19-gauge galvanized mesh and rust-resistant fencing staples spaced every 3 to 4 inches — but for anything a raccoon or rat might try to pry, sandwich the mesh between the frame and a trim strip with 1-inch screws and fender washers instead. A stapled-only edge is the #1 reason predators get into “predator-proof” coops. This guide covers gauge and mesh-size selection, the stapling method, and the stronger sandwich-trim method builders actually use.
What Gauge and Mesh Size Hardware Cloth Should You Use?
Best Staple Gun Pick
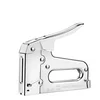
Arrow T50 Heavy-Duty Staple Gun, Manual Stapler
A manual squeeze-trigger stapler that drives heavy-duty staples through hardware cloth and wood in one motion — the tool most of the methods in this guide assume you already have.
- Best for: Stapling 1/2-inch hardware cloth to coop frames, hutch panels, and cabinet inserts
- Why we picked it: Squeeze-handle design gives more control over staple depth than a hammer stapler, so you’re less likely to shear the wire
- Main drawback: Manual squeeze force needed — slower than a pneumatic stapler on large runs
Compare more hardware cloth attachment options
 Option 1 SANZEUS 1/2in 19-Gauge Hardware Cloth, 48in x 100ft
|
 Option 2 Bates Stainless Steel Fender Washers, 1/4in x 1in (100pc)
|
 Option 3 Arrow Electric Staple Gun Kit, T50ACD (w/ 3750 Staples)
|
As an Amazon Associate we earn from qualifying purchases.
Hardware cloth is a welded-wire mesh that is graded by two numbers most people never check before buying: wire gauge (thickness) and mesh size (opening width). Get either one wrong and the mesh either tears loose from your staples or lets small predators through anyway.
The lower the gauge number, the thicker the wire. For anything attached to wood outdoors, that difference matters more than the price tag suggests:
| Use Case | Recommended Gauge | Mesh Opening | Why |
|---|---|---|---|
| Chicken coop walls & run | 19-gauge | 1/2 inch | Stops raccoon hands; standard predator-proofing spec |
| Coop floor / dig-proofing skirt | 16-gauge | 1/2 inch | Buried edges take soil pressure and rodent gnawing |
| Rabbit hutch & small-pet runs | 19–23-gauge | 1/2 inch | Lighter wire is easier to bend around hutch frames |
| Garden bed pest barrier | 23-gauge | 1/4–1/2 inch | Lower load-bearing need; keeps cost down |
| Cabinet door mesh insert | 23-gauge | 1/4 inch | Decorative use, no predator load |
Any opening wider than 1/4 inch in a coop wall lets mice and snakes through, and anything over 1 inch does nothing to stop a raccoon reaching in. 1/2-inch, 19-gauge galvanized hardware cloth is the size builders default to because it covers both problems without the stiffness of heavier 16-gauge wire fighting you during installation.
How to Attach Hardware Cloth to Wood (Step-by-Step)
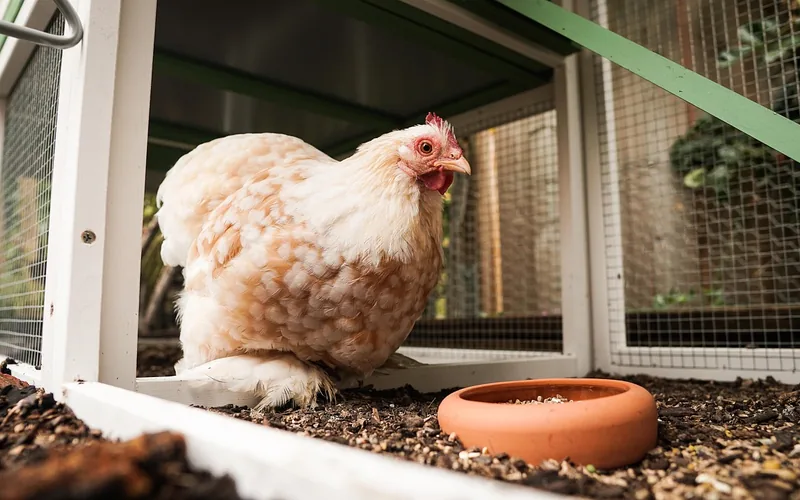
Hardware cloth is a versatile material used in rabbit hutches, chicken coops, garden beds, and fencing. Three attachment methods cover almost every wood project; which one you pick depends on whether the mesh needs to resist a determined predator or is just keeping a cabinet insert in place.
| Method | Best For | Predator Resistance |
|---|---|---|
| Staple gun (manual or pneumatic) | Flat frames, cabinet inserts, quick jobs | Low – staples alone can be pried out |
| Sandwich-trim (screws + washers + wood strip) | Coop walls, runs, anywhere predators are a real risk | High – mesh can’t be pulled from under the trim |
| Eye bolts + tensioning wire | Fence posts and other vertical, non-flat surfaces | Medium – good for tension, not for edges |
The Sandwich-Trim Method (Most Durable)
This is the method to use anywhere raccoons, rats, or weasels are a real threat, because the mesh is trapped between two pieces of wood instead of relying on staples alone to hold it.
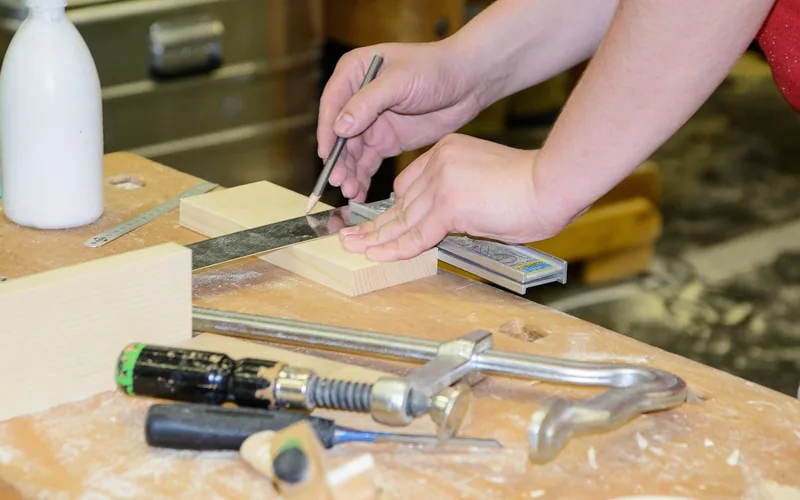
- Measure and cut the mesh oversized: Cut hardware cloth about 1 inch larger than the frame opening on every side.
- Start at one fixed corner: Drive the first staple or screw at a corner so you have a reference point for tensioning.
- Pull the mesh taut as you go: Work toward the opposite side, stretching the wire slightly with pliers or a temporary wood cleat — don’t overstretch it.
- Staple every 3 to 4 inches: Use galvanized fencing staples along the frame edge so the wire can’t be peeled back between fasteners.
- Cut trim strips to match the frame: Rip thin wood strips to the same width as the frame edge.
- Sandwich the mesh under the trim: Lay the trim directly over the stapled margin and drive 1-inch exterior screws with fender washers every 8 to 10 inches, through the trim, mesh, and into the frame below.
The trim hides the raw staples and sharp wire ends, and because the mesh is now clamped rather than just pierced, a predator has to break the wire itself instead of simply prying it loose.
Staple Gun Method (Flat Surfaces)
For cabinet inserts, garden bed sides, or any low-risk flat surface, align the mesh with the wood, pull it taut, and staple every 3 to 4 inches around the perimeter, with a staple in each corner. A pneumatic stapler speeds this up on longer runs; a manual squeeze-trigger stapler gives more control on small pieces.
Eye Bolts and Tensioning Wire (Fence Posts)
For a fence post or other vertical surface where the mesh needs consistent tension over a long run, attach eye bolts to the posts, run tensioning wire through them, then secure the hardware cloth to the tensioning wire with cable ties. This holds tension better than staples alone over an 8-foot or longer span.
Common Hardware Cloth Projects Around the Home
The same three methods above cover most home projects — here’s how they apply to the jobs people search for most.
Wire Mesh Inserts in Cabinet Doors
To dress up kitchen cabinets or a wood cabinet with a rustic or industrial look: remove the doors, measure each opening, cut 23-gauge hardware cloth to fit, staple it to the back of the door frame, and trim the excess with wire cutters before reattaching the doors.
Garden Bed Pest Barriers
Cut hardware cloth to fit each raised bed side, staple or wire-tie it to the wood, and bury the bottom edge about 6 inches into the soil so burrowing pests can’t dig underneath it.
Rabbit Hutches and Chicken Coops
This is where the sandwich-trim method earns its keep. Measure each panel, cut mesh to fit, and use the sandwich-trim install above on every wall panel a predator could reach — leave a small gap at the bottom only if it’s covered by a buried skirt, never as an open edge.
Common Mistakes That Let Predators In
- Stapling only: a stapled-only edge on a coop is the single most common way “predator-proof” builds fail — use the sandwich-trim method on anything a raccoon could reach.
- Mesh openings larger than 1/2 inch: lets mice, snakes, and weasels through even when the frame itself is solid.
- Overstretching the mesh: pulling too tight can bow the frame or tear the wire loose at the staples over time; taut is the goal, not tension-rack tight.
- Skipping the buried skirt: predators that can’t get through the walls will dig under them — bury the bottom edge 6 inches into the ground.
- Using chicken wire instead of hardware cloth: chicken wire is twisted, not welded, and stretches or tears under the same pressure hardware cloth would stop.
Frequently Asked Questions About Attaching Hardware Cloth to Wood
Can You Staple Hardware Cloth?
Yes, you can staple hardware cloth to wood using a staple gun for posts, frames, or any wooden surface. Pull the mesh taut but don’t overstretch it, and space staples every 3 to 4 inches. For anywhere predators are a concern, back the stapled edge up with the sandwich-trim method rather than relying on staples alone.
How Do You Attach Hardware Cloth to a Fence Post?
Use eye bolts and tensioning wire to attach the mesh to the posts, then secure the hardware cloth to the tensioning wire with cable ties. Alternatively, staple the mesh directly to wooden posts or frames. Pull the mesh taut but not overstretched in either case.
What Can I Use to Attach Wire to Wood?
Use a staple gun for chicken wire or welded mesh on wooden posts, frames, and doors, or use eye bolts and tensioning wire for fence posts with cable ties to secure the mesh. Alternatively, use screws, washers, and even double-sided mounting tape on drywall, or nail hardware cloth to the middle of the wood.
What Is the Best Way to Attach Chicken Wire to Wood?
Staple it to wooden posts, frames, or any wooden material, pulling the wire taut but not overstretched. Other options include eye bolts and tensioning wire, or cable ties to secure welded mesh to the tensioning wire.
What Gauge Hardware Cloth Should I Use for a Chicken Coop?
Use 19-gauge, 1/2-inch hardware cloth for coop walls and runs — it’s the standard spec for stopping raccoons, weasels, and rats without the extra stiffness of heavier 16-gauge wire. Reserve 16-gauge for buried dig-proofing skirts, where the mesh takes more direct soil pressure and gnawing.
How Far Apart Should Staples Be When Attaching Hardware Cloth?
Space staples every 3 to 4 inches along the frame edge, with a staple in each corner at minimum. Staples placed farther apart leave gaps where the wire can be peeled back, which is exactly where predators apply pressure first.
Conclusion
For low-risk jobs like cabinet inserts or garden bed sides, a staple gun with 1/2-inch hardware cloth and staples every 3 to 4 inches is enough. Anywhere a predator could reach — coop walls, hutch panels, runs — use the sandwich-trim method with 19-gauge mesh, screws, and fender washers instead. The extra half hour of trim work is what actually keeps a stapled edge from becoming the weak point in an otherwise solid build.
Sponsored / affiliate links. As an Amazon Associate I earn from qualifying purchases. I may earn additional commission from eligible campaigns.