DIY Dog Bowl Stand: How to Build One
Before building anything, know this: elevated bowls aren’t a universal upgrade. They can genuinely help older or arthritic dogs that struggle to bend down, but a widely-cited Purdue University study found raised feeders were linked to a higher rate of bloat (gastric dilatation-volvulus, a life-threatening emergency) in large and giant breeds with deep chests, like Great Danes and standard poodles. If you have a large, deep-chested dog, talk to your vet before switching to an elevated stand – this isn’t a settled question, and the research points the opposite direction from the popular assumption. For small and medium breeds without a deep chest, the bloat concern is much less established, and comfort for an arthritic or senior dog is a reasonable reason to elevate. If you’re at all unsure which category your dog falls into, a quick question to your regular vet at the next visit costs nothing and settles it definitively.
Choosing the Right Height and Design
Keep It From Sliding
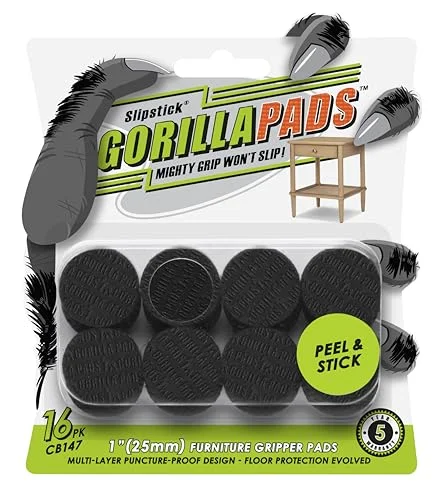 |
Slipstick GorillaPads Non-Slip Furniture Pads Self-adhesive rubber pads on the stand’s feet stop it sliding across tile or hardwood every time your dog nudges a bowl.
|
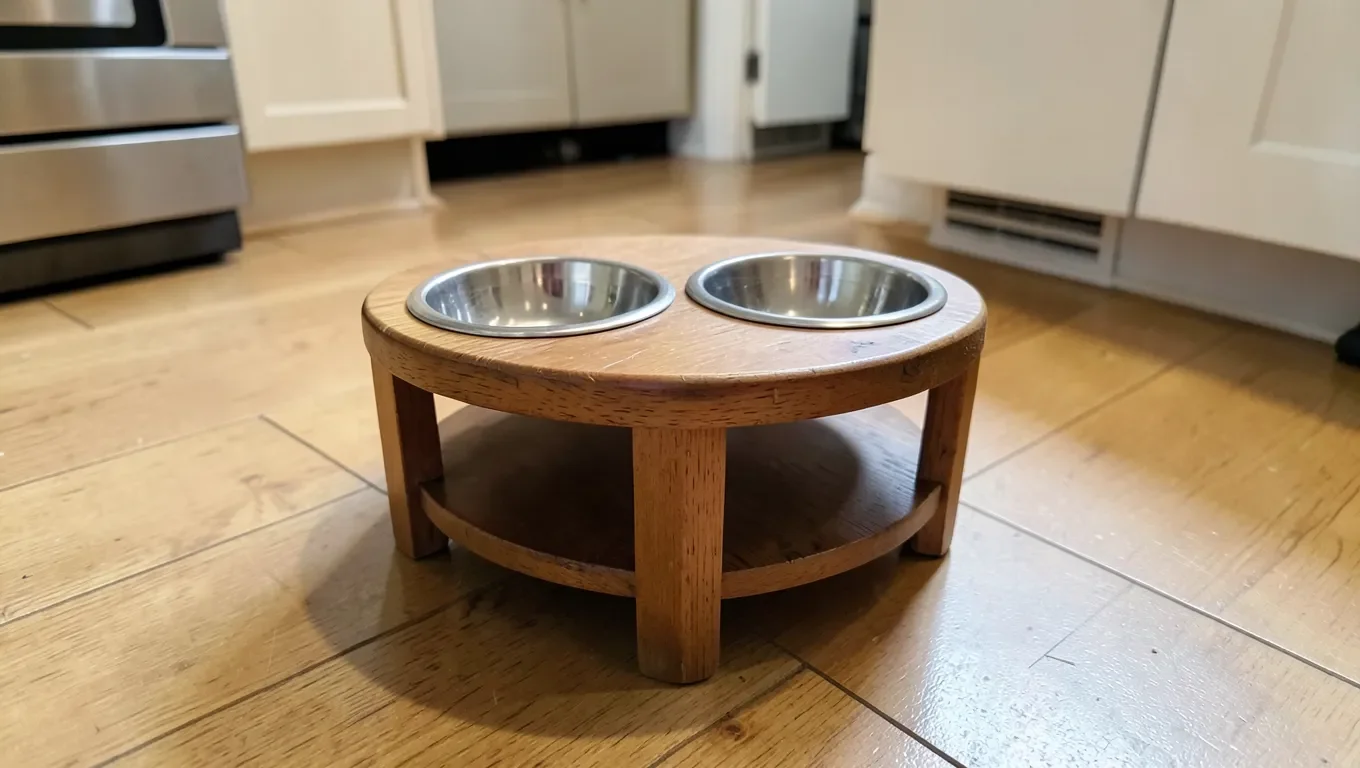
Once you’ve confirmed elevation makes sense for your dog, the design itself is simple: a flat top with two cutouts sized to your bowls, supported by a base wide enough that the whole thing can’t tip. A shelf between the legs, a few inches off the ground, adds storage for extra bowls or a bag of food and gives the stand more visual weight, which also helps with stability. Keep the shelf’s load light, though – it’s a convenience feature, not meant to carry a full bag of dry food resting directly on unsupported wood.
If elevation is right for your dog, the correct height is measured to your dog specifically, not a generic size chart: the bowl rim should sit roughly level with the base of your dog’s chest, letting them eat without bending their neck down or reaching up. Measure your dog standing normally from floor to chest and build the stand to that height, checking the fit with the actual bowls in place before finalizing any cuts. Standard stainless steel bowls run a fairly consistent range of diameters, but ceramic and ceramic-look bowls vary more, so measure the exact bowls you own rather than assuming a standard size. A jigsaw handles a curved cutout more easily than a circular saw, and a hole saw attachment on a drill is another option if the bowl diameter matches an available bit size. Either tool gives a cleaner circle than trying to freehand a curve with a jigsaw alone.
| Material | Purpose |
|---|---|
| Wood planks (1×6 or 1×8) | Top, sides, and shelf |
| Wood screws | Joining pieces |
| Wood glue | Reinforcing joints |
| Sandpaper (120/220 grit) | Smoothing edges |
| Paint or stain + sealant | Finish and moisture protection |
Step-by-Step Construction Guide
This build uses basic butt joints reinforced with glue and screws, which is plenty strong for the light, repeated load of a dog leaning on it to eat – no fancy joinery required. Reinforcing corner blocks add extra insurance if you want the stand to handle a larger, more forceful dog without any long-term flex.
- Measure both bowls’ diameter and the target stand height from your dog measurement above.
- Mark and cut the top piece with two holes matching the bowl diameter, leaving enough of a lip that the bowls sit securely without falling through.
- Cut four legs to the target height and two side rails to connect them at the base for stability.
- Sand all edges smooth, especially the cut-out holes where bowls will sit – a rough edge here is where a dog’s tongue or nose will actually make contact. A round-over router bit on the cutout edge gives the cleanest, safest result if you have one; if not, hand-sanding with progressively finer grit gets there too, it just takes longer.
- Assemble with wood glue and screws, checking the frame is square before the glue sets. Measuring the diagonals corner-to-corner is the simplest way to confirm square – equal diagonal measurements mean a true square frame, and a difference of more than about 1/8 inch means it’s worth adjusting before the glue cures.
- Let the glue cure fully per the product’s instructions before moving to finishing.
Finishing Touches
This step matters more than it looks like it should: a stand that gets splashed daily and isn’t properly sealed will start showing water damage within weeks, not months.
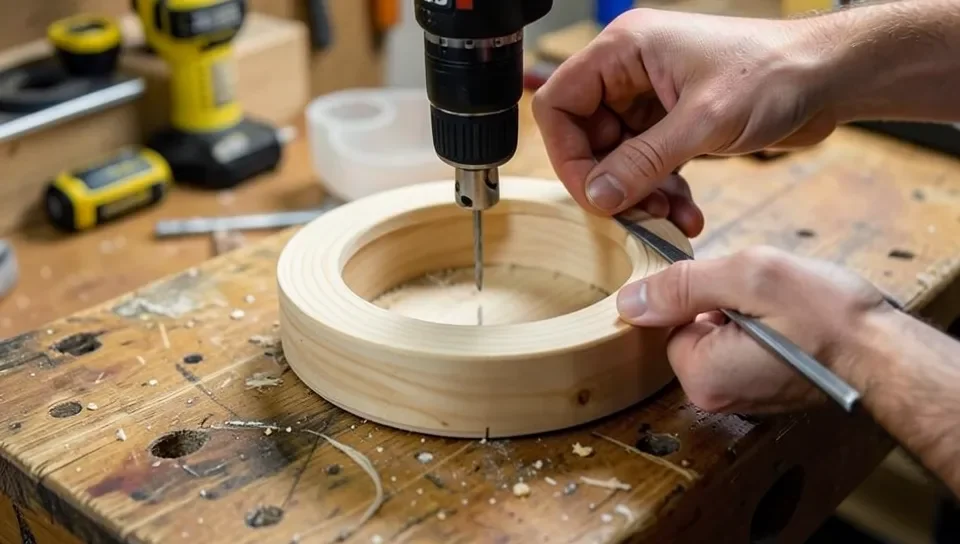
Sand the whole stand with 120-grit first, then 220-grit for a smooth final surface, paying extra attention to the bowl cutout edges. Paint gives a solid, easy-to-clean color; a wood conditioner followed by stain shows the grain while still protecting the surface. Whichever you choose, finish with a food-safe or water-based sealant – this area gets splashed with water and food regularly, and an unsealed finish will absorb moisture and warp or stain within a few months. Two thin coats of a water-based polyurethane, sanded lightly with fine-grit paper between coats, gives a durable, easy-to-wipe surface without the strong odor of an oil-based finish. Let each coat cure the full time listed on the can before putting bowls back on the stand.
Keeping the Stand Stable and the Bowls in Place
An enthusiastic eater can push a bowl around inside its cutout more than you’d expect, and a stand that rocks even slightly trains a nervous dog to eat more cautiously rather than comfortably.
A wide, low base is the biggest factor in stability – a stand that’s taller than it is wide is much easier for an excited dog to tip. Add rubber or silicone rings inside each bowl cutout so the bowls themselves don’t rattle or slide as your dog eats, and apply non-slip pads to the bottom of each leg so the whole stand doesn’t skate across hardwood or tile with normal use. If you have multiple dogs sharing a feeding area, give each stand enough clearance that a larger or more food-motivated dog can’t easily push a smaller dog’s stand out of position mid-meal.
Maintenance and Care
A well-built stand with a decent sealant needs surprisingly little upkeep, but the few things worth checking take only a couple of minutes.
Wipe the stand down weekly with a damp cloth and mild soap, then dry it fully – standing water is what actually damages a wood finish over time, not the occasional splash. Check screws and joints every few months and tighten anything that’s worked loose; a wobbly joint here isn’t just annoying, it accelerates wear at the exact spot most likely to eventually crack. Replace a cracked or badly worn non-slip pad rather than leaving it – a pad that’s lost its grip no longer does the job it’s there for. If the finish starts looking dull or the wood feels rough to the touch after a year or two of regular use, a light sanding and a fresh coat of sealant will restore it rather than requiring a full rebuild.
Frequently Asked Questions
Is it better for dog bowls to be elevated?
It depends on the dog. Elevated bowls can ease neck and joint strain for older or arthritic dogs. However, research has linked elevated feeding to a higher risk of bloat in large, deep-chested breeds, so check with your vet first if that describes your dog. Small tweaks like these are worth doing before committing to any specific height or design.
What do vets say about elevated dog bowls?
Opinions are genuinely mixed. A Purdue University study found raised feeders associated with increased bloat risk in large and giant breeds, while some vets still recommend elevation for dogs with arthritis, neck injuries, or mobility issues. It’s a case-by-case decision, not a universal upgrade.
How high should a dog’s bowl be off the ground?
Roughly level with your dog’s lower chest when standing normally, so they can eat without bending their neck down or reaching up. Measure your specific dog rather than relying on a generic breed chart.
What do you put under a dog’s water bowl?
A waterproof silicone or plastic mat under the bowl catches spills and protects the floor or stand finish underneath.
Conclusion
A DIY dog bowl stand is a straightforward weekend build, but the real decision happens before you cut any wood: whether elevation is actually right for your specific dog. For an older or arthritic dog, it’s often a genuine comfort upgrade. For a large, deep-chested breed, check with your vet first given the bloat research – then build to your dog’s measured height, not a generic chart. That combination of an informed decision and a simple, sturdy build is what actually makes this project worth doing.
Sponsored / affiliate links. As an Amazon Associate I earn from qualifying purchases. I may earn additional commission from eligible campaigns.