How to Make Pull-Out Shelves for Kitchen Cabinets
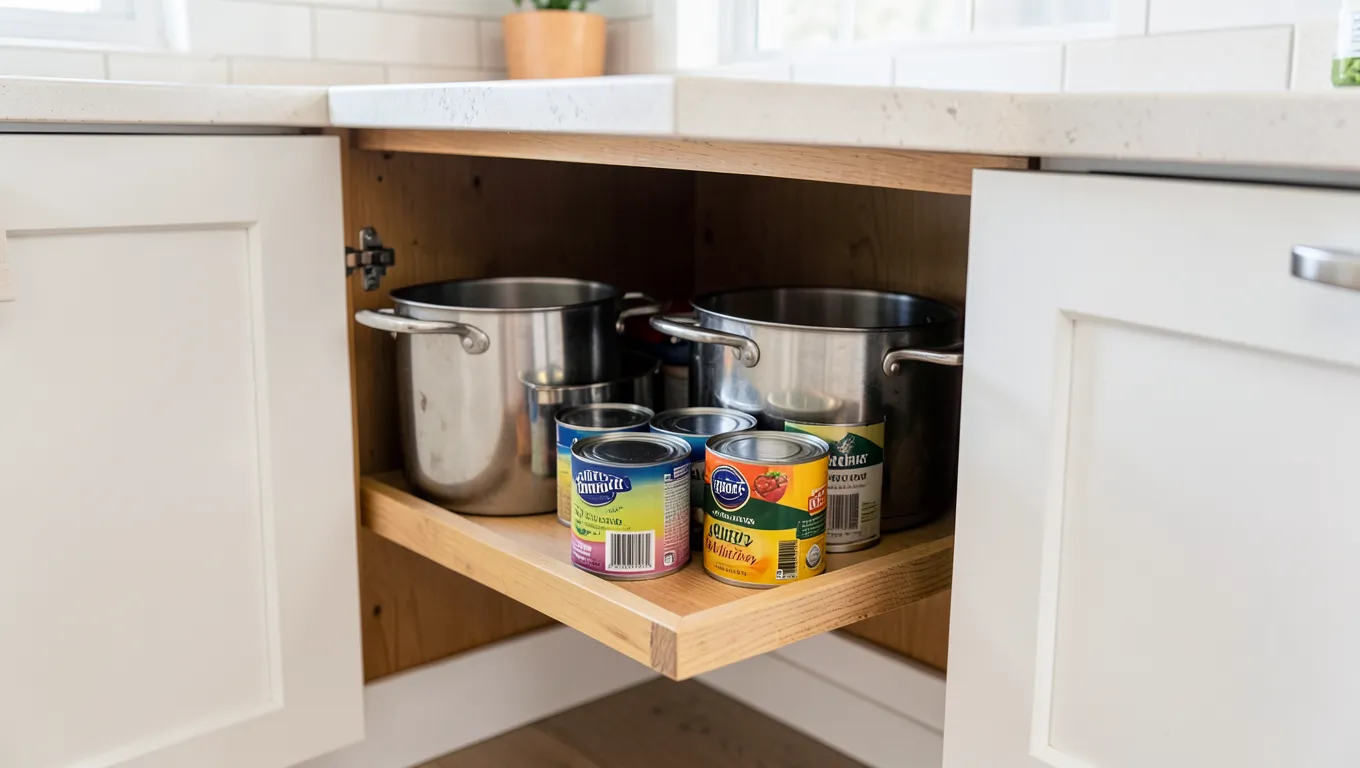
A pull-out shelf turns a cabinet you have to kneel down and dig through into one you can slide open and see everything at once. The build is straightforward: a plywood shelf sized to the cabinet interior, mounted on a pair of full-extension drawer slides. Most cabinets can be converted in under an hour once the shelf itself is cut, with no cabinet demolition required.
Materials and Tools
Best For DIY Pull-Out Shelves
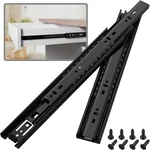 |
BAIDICE Full-Extension Ball Bearing Drawer Slides (Pair) – $14.90 These are the actual mechanism that makes a pull-out shelf worth building — full extension means the shelf clears the cabinet completely instead of leaving the back few inches out of reach.
|
- 3/4″ plywood for the shelf itself — thick enough not to sag under the weight of pots or canned goods
- A pair of full-extension ball-bearing drawer slides, sized to your cabinet’s depth
- Wood screws for mounting the slides and any face trim
- Sandpaper (120 then 220 grit) for smoothing cut edges
- Measuring tape, pencil, square, and a level
- A circular saw or table saw to cut the plywood to size, plus a drill/driver
Step 1: Measure the Cabinet
Measure the cabinet’s interior width, depth, and the height between the shelf level you’re replacing and the shelf above it. Check for obstructions — hinges, pipes, or a center stile between double doors — that could interfere with the slide or the shelf’s swing path. Subtract roughly 1 inch total from the interior width to leave clearance for the drawer slide hardware on each side (check your specific slide’s mounting width, since this varies by brand).
Step 2: Cut the Shelf
Cut the plywood shelf to your measured width and depth. A shallow lip (a strip of 1/4″ plywood or trim glued and pinned around the front and sides) keeps items from sliding off when the shelf is pulled out, though it’s optional for a first build. Sand every cut edge smooth, since a rough plywood edge will splinter with repeated handling.
Step 3: Mount the Drawer Slides
- Separate each slide into its two halves — a cabinet-mounted rail and a shelf-mounted rail.
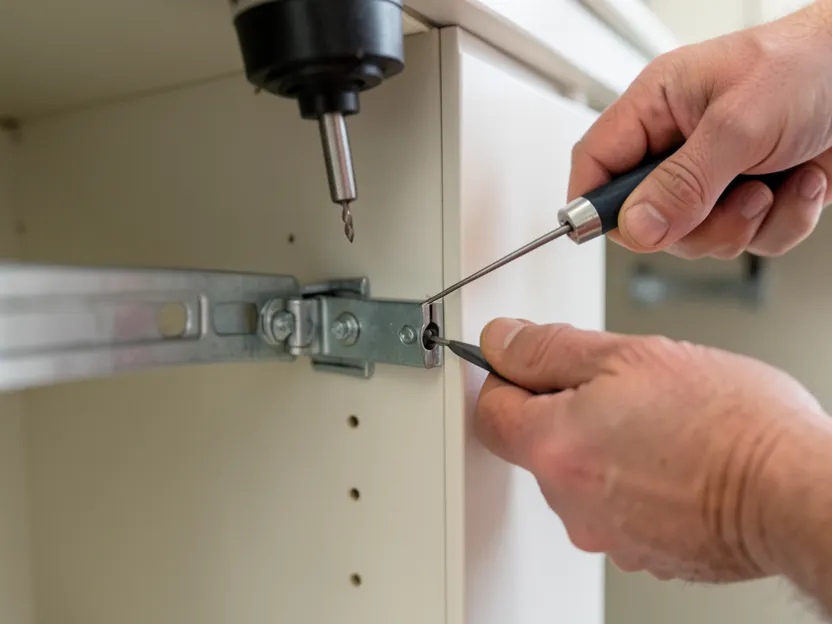
- Screw the cabinet-side rails to the interior side walls, level and at the same height on both sides — use a level and check both sides against each other before driving all the screws.
- Attach the shelf-side rails to the underside of the plywood shelf, following the slide manufacturer’s screw spacing.
- Engage the shelf’s rails into the cabinet-mounted rails and slide the shelf in to confirm smooth movement before final tightening.
If the shelf binds or feels uneven, the most common cause is the two side rails not being mounted at exactly the same height — recheck with a level before assuming the slides themselves are defective.
Step 4: Test and Adjust
Slide the shelf in and out several times before loading it. It should move smoothly with no grinding or binding. If it sticks partway, check that both rails are parallel and that no screw is protruding into the slide’s travel path. Once it moves freely, load it gradually and test with a realistic weight (cast iron pans, canned goods) rather than assuming the rated capacity without checking.
Finishing
Sand any remaining rough spots to 220 grit. A shelf that stays inside a cabinet doesn’t strictly need a finish, but a coat of polyurethane or a food-safe finish makes cleanup easier if it holds anything that might drip, and it protects the plywood edges from moisture over time.
Maintenance
- Keep the rails clean: Crumbs and dust in the base cabinet can work into the slide mechanism. Wipe the rails periodically.
- Re-tighten mounting screws if the shelf develops play after months of use — screws in particleboard or MDF cabinet walls can loosen with repeated motion.
- Avoid overloading: Staying within the slide’s rated capacity (commonly 100 lb per pair for the hardware above) keeps the ball bearings from wearing prematurely.
Frequently Asked Questions
Can you add pull-out shelves to existing cabinets?
Yes. Most standard base cabinets can be retrofitted with a plywood shelf and a pair of drawer slides without any cabinet demolition, as long as there’s enough interior clearance for the slide hardware on each side.
How much weight can pull-out shelves hold?
It depends on the slides, not just the shelf material. Standard full-extension ball-bearing slides are commonly rated around 100 pounds per pair; check the specific slide’s rating rather than assuming.
What material is best for the shelf itself?
3/4-inch plywood is the standard choice — strong enough to resist sagging under everyday kitchen loads and stable enough not to warp. MDF is cheaper but sags more under sustained weight, so it’s a lower-durability option for the same job.
Side-mount or under-mount slides?
Side-mount slides are visible along the shelf’s sides and are easier for a DIY install. Under-mount slides hide underneath the shelf for a cleaner look but are pricier and less forgiving of small measurement errors.
A pull-out shelf is one of the highest-value small upgrades you can make to a kitchen cabinet, and the actual build is just a sized plywood panel and a pair of drawer slides mounted level. Get the measurements right, keep both slide rails at the same height, and test the movement before loading it, and the whole project fits into an afternoon.
If the cabinet boxes themselves are looking dated while you’re in there, you can refresh the doors and face frames too without stripping the old finish down first — see our guide on how to refinish kitchen cabinets without sanding.
Sponsored / affiliate links. As an Amazon Associate I earn from qualifying purchases. I may earn additional commission from eligible campaigns.