DIY Plywood Countertops: How to Build, Edge-Band and Seal Them Right
A plywood countertop only looks as good as its edges and holds up only as long as its finish is actually right for how you use it — and those are the two details most DIY guides skip.
Plywood is a legitimate, budget-friendly countertop material: a full sheet of cabinet-grade birch plywood runs a fraction of the cost of stone, and it is well within reach of anyone comfortable with a circular saw and a random-orbit sander. But two shortcuts cause almost every failed plywood countertop — using construction-grade plywood instead of cabinet-grade, and leaving the exposed edges bare or under-sealed. This guide covers the build the way it actually needs to be done, plus the food-safety nuance that matters if any part of the counter doubles as a cutting or prep surface.
Cabinet-Grade Plywood vs. Construction-Grade CDX
Best Food-Safe Countertop Finish
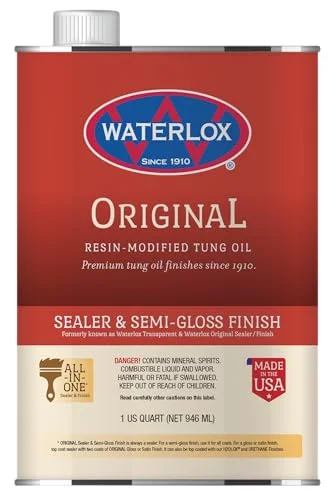 |
Waterlox Original Sealer/Finish, 1 Quart – $40.19 A resin-modified tung oil that penetrates plywood face veneer instead of sitting on top, so it will not chip or crack into food the way a film finish can — the right call for any section of your countertop used as a direct food-prep surface.
|
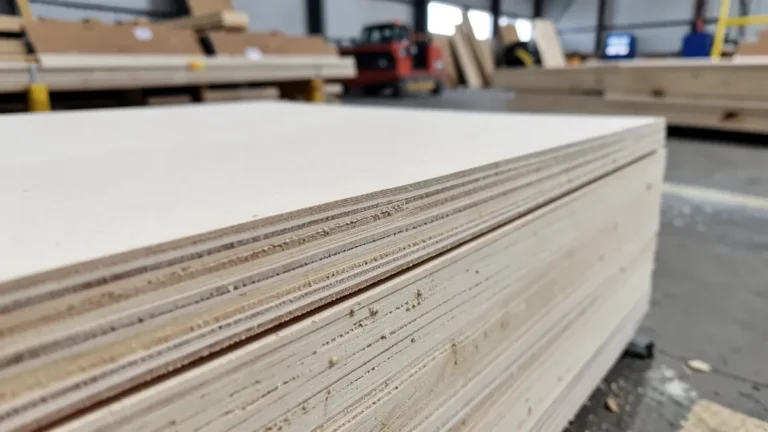
The single biggest mistake in a DIY plywood countertop is grabbing CDX plywood because it is the cheapest sheet at the lumberyard. CDX is a structural product rated for roof decking, subfloors, and wall sheathing — not a finished surface. Its C and D face grades allow knots, patched voids, and rough sanding, and because the core is not built for appearance, cut edges frequently reveal internal gaps between plies. Those gaps trap moisture and are nearly impossible to seal cleanly in a kitchen.
Cabinet-grade plywood, and Baltic birch specifically, is built differently. A 3/4-inch Baltic birch panel is typically made from as many as 13 thin birch plies with a void-free core, so the edge is solid wood grain all the way through rather than a hollow gap. One distinction worth knowing: the letter grade (A, B, or C) on a sheet of plywood describes the cosmetic quality of the face veneer, not whether the core itself is void-free. A sheet can carry a good face grade and still have core voids, which is exactly why Baltic birch or another explicitly void-free cabinet-grade product is worth asking for by name rather than just requesting “a good grade” of plywood. For a kitchen countertop, stick with 3/4-inch thickness; anything thinner flexes and telegraphs seams over a span of cabinets.
Tools and Materials You Will Need
For the build itself: a circular saw or track saw fitted with a fine-tooth plywood blade (40 to 60+ teeth reduces splintering compared to a standard framing blade), a jigsaw for cutouts and curves, a measuring tape, a straightedge guide, clamps, a random-orbit sander with 120- and 220-grit discs, a drill/driver, and safety glasses. For materials: your cabinet-grade plywood sheet, wood glue if you are laminating two layers for a thicker edge, wood screws, wood filler for any seams, edge-banding material, and your chosen finish.
Measuring and Prepping Your Kitchen
Measure the full run of cabinets, length and width, and add a small overhang allowance (typically 1 to 1.5 inches past the cabinet face) on any exposed edge. Measure twice before you order or cut a sheet — a plywood sheet is not cheap enough to treat as disposable if a measurement is off. Turn off water and power to the area, remove the old countertop and any attached hardware, and clean and inspect the cabinet tops for damage before setting new material down.
Cutting the Plywood Without Tearing Out the Face Veneer
Plywood face veneer is thin, and a standard saw pass can splinter it right along the cut line. Score the cut line first with a sharp utility knife guided by a straightedge, cutting just through the top veneer, before making the saw pass — this single step prevents most tear-out. If you are using a circular saw, cut with the good face down, since the blade exits upward and tears the face it exits through; a track saw with a splinter guard largely avoids the issue either way. Sand cut edges with 120-grit first, then 220-grit, working in the direction of the grain rather than a circular motion, which can leave visible swirl marks under a clear finish.
Edge Treatment: Why You Cannot Leave Plywood Edges Bare
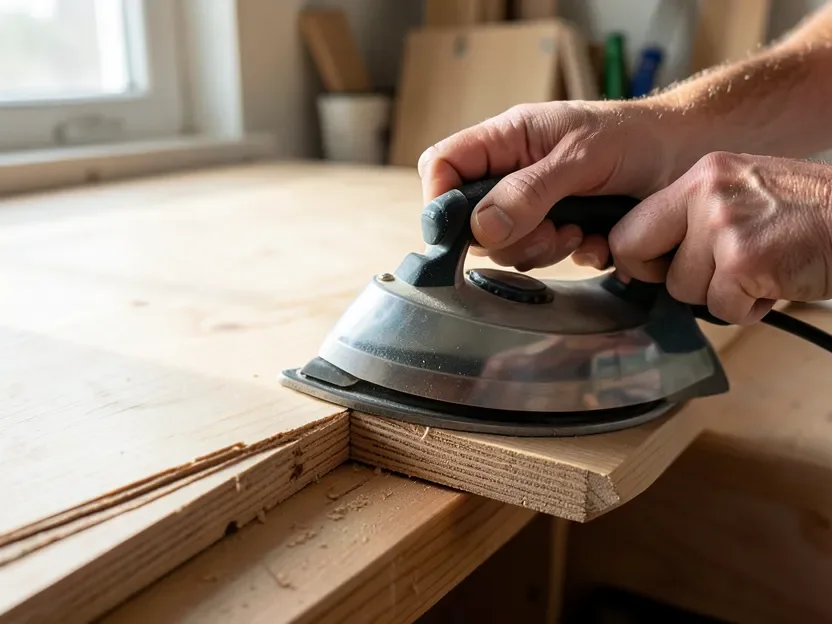
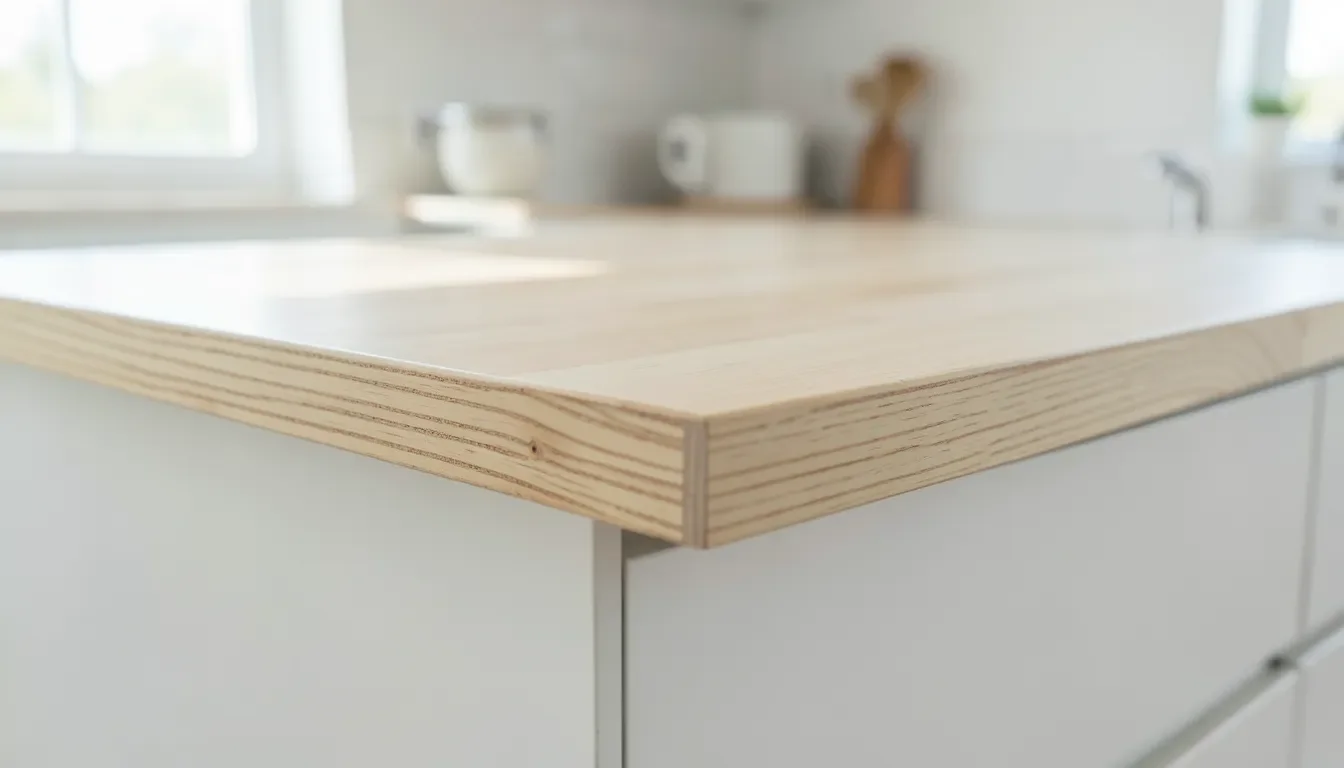
A cut plywood edge shows every individual ply as a striped cross-section, and that exposed cross-section is also the fastest place for moisture to wick into the panel. Skipping edge treatment is the second most common reason a plywood countertop looks amateur or fails early. You have three practical options: iron-on hardwood veneer edge banding, which is inexpensive, fast to apply with a household iron and a flush-trim router bit or edge trimmer, and can be color-matched to the face veneer; solid hardwood edge banding or a thicker hardwood nosing strip glued and clamped to the front edge, which is more durable on the edge that takes the most wear and can be sanded flush like solid wood; or a mitered self-edge, gluing a strip ripped from the same plywood or a contrasting hardwood along the exposed side. Whichever option you use, edge treatment is not optional trim — it is the difference between a countertop that seals properly and one that starts swelling at the seams within a year.
Sealing and Finishing: The Food-Safety Detail Most Guides Skip
This is where most plywood countertop tutorials give incomplete advice. A kitchen countertop is a food-contact surface, but that does not automatically mean the whole thing needs a food-safe oil finish. The real rule follows the same logic as a cutting board: if food is never placed directly on the raw wood (you use cutting boards, trivets, and placemats, and prep happens elsewhere), a standard polyurethane or lacquer finish is fine once it is fully cured, the same way it is fine on a dining table. If any section of the counter is actually used as a direct cutting or food-prep surface, with food or a knife blade touching the wood itself, that section needs a food-safe oil finish instead — a film finish like polyurethane can crack or chip into food over years of knife contact, which an oil finish that penetrates the wood does not do.
For a food-safe finish, look for 100% pure tung oil (not a “tung oil finish” product, which is usually a blend cut with solvents and metallic dryers and is not the same thing), food-grade mineral oil with a beeswax conditioner, or a resin-modified tung oil product such as Waterlox Original Sealer/Finish, which is food-safe and waterproof once fully cured. On the film-finish side, a fully cured waterproof polyurethane works well for non-cutting areas, and if you want a glass-like poured look instead of a wipe-on finish, see our epoxy plywood countertop guide. Cure time matters more than the product label suggests: plan on at least 72 hours, and ideally a full week, before the finished surface sees food or water contact. A common approach is to run a durable film finish across most of the counter and reserve a designated cutting zone finished only with food-safe oil, rather than committing the entire surface to one finish type.
Installing the Countertop
Set the finished plywood on the cabinets and confirm it sits flat and fits properly before fastening anything. Clamp it in place, then drill pilot holes through the plywood into the cabinet top rails so the screws go in cleanly without splitting the veneer. Drive wood screws roughly every 12 inches, sinking heads slightly below the surface so they can be filled and touched up if needed. On any overhang or unsupported span, add L-brackets under the countertop roughly every 24 inches for stability — an unsupported overhang is what causes flexing and eventual seam cracking at the finish line.
Maintenance Tips
Wipe the countertop daily with a damp cloth and mild soap, and dry it rather than letting water sit, especially near the sink and edge-banded seams. On film-finished areas, avoid abrasive pads that dull the finish, and lightly sand and recoat any scratched spot rather than waiting for it to spread. On oil-finished cutting zones, plan on reapplying food-safe oil on a regular cadence — weekly at first, tapering to monthly as the wood stops absorbing as much — the same maintenance rhythm a butcher block needs. A countertop that gets this ongoing care will outlast one that was simply built well and then ignored.
Frequently Asked Questions
Can I Use Plywood for a Kitchen Countertop?
Yes, but the plywood grade matters more than most guides admit. Use cabinet-grade plywood with a void-free core (Baltic birch is the benchmark) rather than construction-grade CDX, edge-band the exposed sides, and finish it with a film finish for non-cutting areas or a food-safe oil for any direct food-prep zone.
What Kind of Plywood Is Best for Countertops?
Cabinet-grade birch plywood with a void-free core, such as Baltic birch, is best. A 3/4-inch panel typically builds up from as many as 13 thin plies with no internal gaps, so screws bite fully and cut edges do not show voids. Construction-grade CDX plywood is rated for framing and subfloors, not finished surfaces, and its C/D faces often have knots, patches, and visible core voids at any cut edge.
Do Plywood Countertop Edges Need Edge Banding?
Yes. A raw plywood edge shows the individual ply layers, which looks unfinished and gives water a seam to wick into. Iron-on hardwood veneer edge banding is the fast, inexpensive fix for a clean matching edge; solid hardwood edge banding or nosing holds up better on a high-wear front edge and can be sanded and re-finished like solid wood.
Is Polyurethane Safe on a Kitchen Countertop?
A fully cured polyurethane or lacquer finish is fine for a plywood countertop that is not used as a direct cutting or food-prep surface, the same logic that applies to a dining table. Any section where food actually sits on or is cut directly on the raw wood needs a food-safe oil finish instead, since a hard film finish can crack or chip into food over time.
How Long Does a Food-Safe Finish Need to Cure Before Use?
For a resin-modified tung oil finish like Waterlox Original, plan on at least 72 hours before any food or water contact, and ideally a full 7 days before regular use. Using the surface too early is the most common reason a food-safe finish fails early.
Conclusion
A DIY plywood countertop is one of the most budget-friendly upgrades you can make, and it holds up fine as a real kitchen surface — as long as you start with cabinet-grade, void-free plywood instead of CDX, treat every exposed edge instead of leaving it bare, and match your finish to how the surface actually gets used. Get those three details right and a plywood countertop is not just a cheap stand-in for stone, it is a genuinely durable surface on its own terms.
Sponsored / affiliate links. As an Amazon Associate I earn from qualifying purchases. I may earn additional commission from eligible campaigns.
 Baltic Birch Plywood 1/8'' x 12'' x 18'', 6 Pack, B/BB Grade, Void-Free Core, Laser Cutting Ready, Flat Sheets for CNC, Engraving, DIY Crafts, Art Painting, Wood Burning, Staining
 Materialix Food Grade Mineral Oil – 8.45 fl oz | Cutting Board, Butcher Block Oil & Wood Conditioner for Bamboo, Knives, Stainless Steel & More