Wood Snowflakes on the Table Saw
Build rustic wood snowflakes on the table saw by cutting one hub and six identical arms at 60° spacing, using a sled or miter gauge for every repeat cut. Bad layout or loose setup can throw off symmetry, weaken joints, and make the saw more dangerous. This guide shows a safe cut plan and a repeatable layout system.
Cutting and spacing the arms for six-sided symmetry


Yes. Use the table saw for the repeatable ripping work, then use a miter gauge or sled for the angled crosscuts that define each arm. The shape stays balanced when every arm shares the same width, the same cut angle, and the same center spacing.
What the build makes
The reference design uses thinner pallet slats no more than 1/2 inch thick, ripped to 2 1/2 inches wide. Three main arms are cut to 33 inches long, then paired with shorter 45-degree parts and small accent pieces to create the snowflake profile.
What keeps it symmetrical
Use six-sided symmetry as the layout rule. Mark one center point, then repeat each arm at equal spacing around that point. Keep the arm width constant at 2 1/2 inches, and keep the accent spacing equal on every side so the eye reads one balanced shape instead of six mismatched branches.
What you’ll need
- At least six 3-foot pallet slats, flat, straight, and nail-free
- Table saw with a fence that locks solidly
- Blade suitable for thin wood and clean rip cuts
- Miter gauge or crosscut sled for repeat angled cuts
- Compound miter saw for the 45-degree end cuts on arms and accents
- Orbital sander and hand-sanding blocks
- Wood glue
- Push stick, push block, and a scrap carrier board for short pieces
- Measuring tape, pencil, and combination square
Pre-cut setup checks
Check blade height, fence position, and miter-slot alignment before any cut. The blade should be parallel to the miter gauge slots, because that alignment affects both ripping accuracy and crosscut quality. A fence that is not parallel can pinch thin stock and leave crooked edges.
Set the blade so it cuts cleanly without unnecessary exposure above the workpiece.
How to use a table saw on the ground safely
You should not use a table saw on the ground. A stable bench, stand, or outfeed-supported setup is the safer choice, because the saw needs a level base and firm support for both the board and the offcut. On the floor, the saw can shift, tip, or bind the workpiece.
Set the saw on a stable surface
Place the saw where the feet or stand sit flat and cannot rock. If the floor is uneven, shim the stand or move to a flatter surface. Keep the rip path and outfeed area clear so the slat does not drop, twist, or catch as it exits the blade.
Plan support for short offcuts
Short pieces need a plan before the first cut. Use a push block for final feed, a scrap carrier board for narrow rips, and a catch point or helper support for offcuts. A common first-timer mistake is letting an about 10-inch piece free-fall after the cut, which can pull back toward the blade.
How do you make wooden snowflakes on a table saw?
Rip the pallet slats to width first, then cut the main arms, then cut the shorter angled pieces, and only then assemble the snowflake. Keep the design centered on one hub, and verify that every repeated arm mirrors its opposite side before glue goes on. That order prevents waste and makes symmetry easier to control.
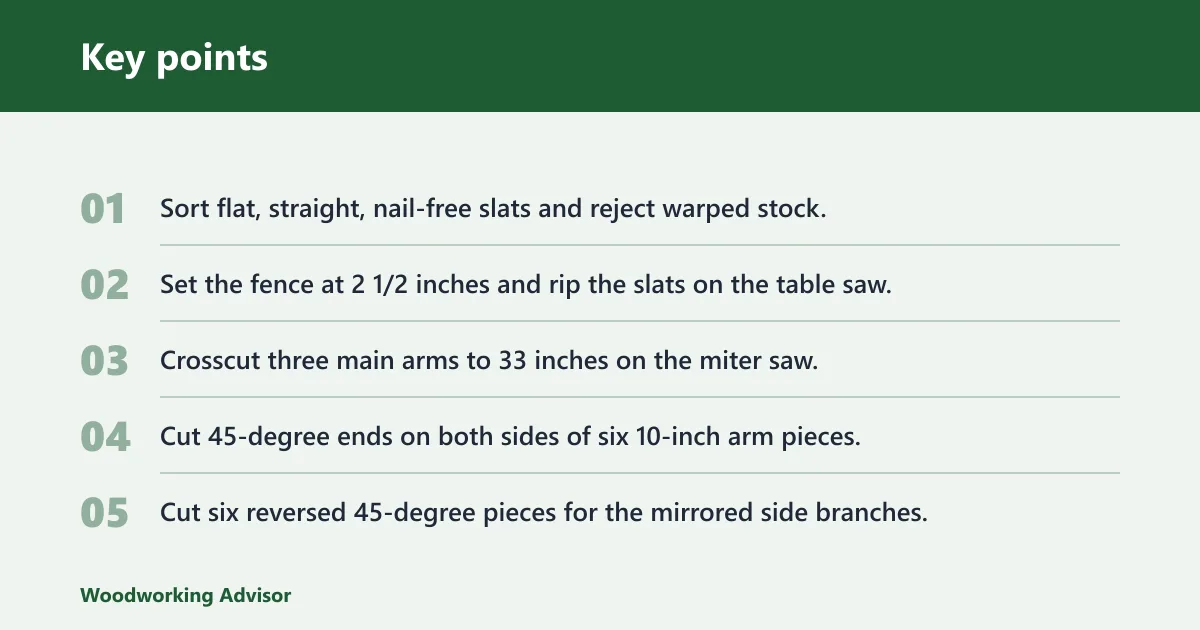
- Sort flat, straight, nail-free slats and reject warped stock.
- Set the fence at 2 1/2 inches and rip the slats on the table saw.
- Crosscut three main arms to 33 inches on the miter saw.
- Cut 45-degree ends on both sides of six 10-inch arm pieces.
- Cut six reversed 45-degree pieces for the mirrored side branches.
- Trim small triangles and short strips from offcuts for accents.
- Dry-fit the full snowflake on a flat surface and check six-sided spacing.
- Glue the joints.
- Sand the face, soften edges, and finish for indoor or covered-outdoor use.
Step 1: Prepare and rip the slats
Choose pallet wood slats around 1/2 inch thick, flat, straight, and free of nails or staples. Saw marks and bold grain are useful here; they add rustic character after the finish goes on. Warped stock should be rejected because it fights the fence, shifts during crosscutting, and throws off symmetry.
Rip each slat to 2 1/2 inches wide on the table saw. Keep steady fence pressure and use a push stick as soon as your hand approaches the blade area. If the rip starts burning or wandering, stop and confirm fence alignment before continuing.
Step 2: Cut the arms and accents
The reference build uses 45-degree cuts on both sides of the 10-inch arm pieces, and it also includes six reversed 45-degree angle pieces for the mirrored sections. Keep each cut face crisp so the joints meet tightly at the hub.
For accent pieces, cut small triangles and short strips from the offcuts. Keep the spacing even on every side of the design. If one side gets two accents and the opposite side gets three, the snowflake will read as lopsided even if the arms are the same length.
What wood and blade should you use?
Flat, straight pallet wood slats are the best choice for this project. Thin material cuts more cleanly, is easier to control, and fits the rustic look better than thick boards. Leave the warped, cracked, or nail-hidden pieces out of the stack, because they are harder to feed safely and harder to align.
Blade choice and fence setup
Use a sharp blade suited to clean ripping in thin wood, and check the fence so it runs parallel to the blade path. That setup matters more than a brand name or tooth count pitch. If the blade and fence are not aligned, the narrow slats can drift, pinch, or leave uneven edges that show in the finished snowflake.
When to reject a board
Reject any slat that rocks on a flat surface, has deep twist, or still contains buried fasteners. Say your 3-foot slat has a slight bow near the center; that may seem harmless, but it can kick the rip line out of square and make the 33-inch arm pair look uneven later.
Step 3: Assemble and balance the snowflake
Dry-fit the whole shape before glue touches wood. Leave enough open space at the center so the arms can overlap correctly. That opening gives the layered pieces room to meet without crowding the hub or forcing the outer arms out of line.
Use wood glue for the main assembly.
Dry-fit, then fasten
Lay the three 33-inch main arms at equal spacing first. Then add the 10-inch arm pieces and the reversed 45-degree pieces, checking that every leg mirrors its opposite partner. If one arm tips inward, shift the joint before the glue sets; an about 1/8-inch error repeats around the full shape.
Finish for the display location
Use an orbital sander to soften rough paint, saw marks, and sharp corners. Hand sanding is the fallback when a corner or joint is too tight for the machine pad. For indoor decor, a light clear coat or painted finish works well. For covered-outdoor display, choose a finish that can tolerate moisture and temperature swings better than raw wood.
Snowflake cut-plan table
| Part | Exact dimensions | Cut sequence | Tool used | Symmetry check |
|---|---|---|---|---|
| Main arm stock | 3-foot slats ripped to 2 1/2 inches wide | 1 | Table saw | Width stays identical on every slat |
| Main arms | 3 pieces at 33 inches long | 2 | Compound miter saw | All three ends align around the same center point |
| Short arm pieces | 6 pieces at 10 inches long with 45-degree cuts on both sides | 3 | Compound miter saw | Each pair mirrors the opposite side |
| Reversed arm pieces | 6 pieces with reversed 45-degree angles | 4 | Compound miter saw | Angle direction alternates evenly |
| Accent triangles | 6 small triangles cut from offcuts | 5 | Miter saw or handsaw | One triangle per arm zone |
| Accent strips | 6 short strips from offcuts | 6 | Miter saw | Spacing matches on all six sides |
Common mistakes
Crooked arms usually come from a fence that is off or a cut that was made without a stop for repeat length. Tear-out often shows up on thin pallet slats when the blade is dull, the feed is rushed, or the stock is unsupported at the exit side. Loose joints usually mean not enough glue contact.
Crooked arms
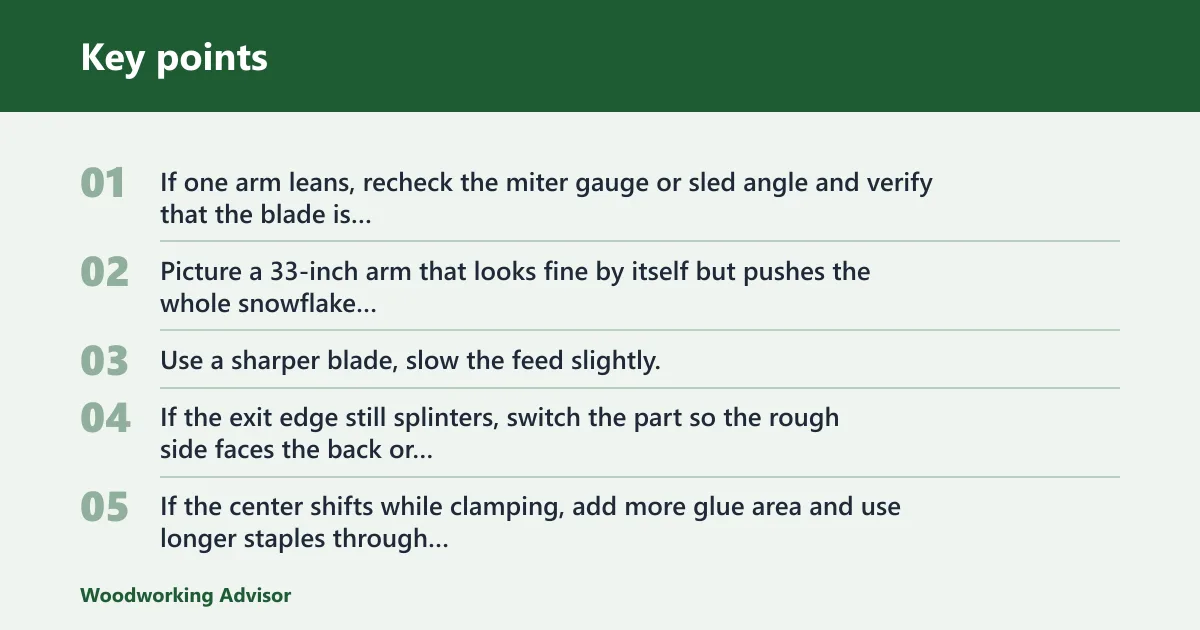
If one arm leans, recheck the miter gauge or sled angle and verify that the blade is still parallel to the miter slots. Picture a 33-inch arm that looks fine by itself but pushes the whole snowflake off-center once the opposite arm is added. Fix the setup before making the next cut.
Tear-out on thin slats
Use a sharper blade, slow the feed slightly, and keep the show face oriented so the cleanest side stays visible. A sacrificial backer helps on crosscuts. If the exit edge still splinters, switch the part so the rough side faces the back or underside.
Unstable assembly
If the center shifts while clamping, add more glue area and use longer staples through thicker overlap points. A practical adjustment is to add one staple per joint side, then recheck the alignment before adding another. Do not load every joint at once if the layout is still moving.
Frequently asked questions
Can you use a table saw on the ground?
No. Set the saw on a stable stand or bench so the fence, blade, and workpiece all stay supported. Floor setups are more likely to shift, tip, or bind narrow offcuts, especially when you are ripping thin slats.
What wood is best for table saw snowflakes?
Flat, straight, nail-free pallet wood slats around 1/2 inch thick are the best fit for a rustic result. Saw marks and bold grain work in your favor. Avoid warped stock, because it makes repeat cuts harder and symmetry less reliable.
What blade and fence setup do you need for snowflake cuts?
Use a blade suited to thin ripping and set the fence parallel to the blade path. Also verify that the blade is parallel to the miter gauge slots. That alignment matters for both ripping accuracy and the repeatable crosscuts that keep the design square.
How wide should the snowflake arms be cut?
For this build, the slats are ripped to 2 1/2 inches wide. Keep every arm at that width so the snowflake reads as one shape instead of mixed parts. If you change the width, change every matching arm and accent proportion at the same time.
How do you keep a table saw snowflake balanced?
Build around six-sided symmetry, keep the center opening open enough for the overlap, and use the same width and angle on every repeated piece. Dry-fit on a flat surface before fastening. If one side looks heavier, move the accents before the glue sets.
How do you finish a rustic pallet wood snowflake?
Start with an orbital sander to soften edges and flatten rough faces, then hand sand tight corners as needed. For indoor decor, a clear coat or paint is fine. For covered-outdoor display, choose a finish meant to handle moisture better than bare wood.
Can you make wooden snowflakes without a scroll saw?
Yes. A table saw and compound miter saw can handle the cuts for a rustic snowflake, and that is enough for this design. The table saw does the ripping; the miter saw handles the angled crosscuts; glue finishes the assembly.
Sponsored / affiliate links. As an Amazon Associate I earn from qualifying purchases. I may earn additional commission from eligible campaigns.