DIY Kitchen Drawer Dividers: Slotted Plywood Build That Fits
The best DIY kitchen drawer divider is a slotted set cut from 1/4 inch plywood, sized to the inside of your drawer box. It costs a few dollars in scrap, fits a drawer that no store-bought tray will, and lifts out for cleaning. This guide walks through measuring, choosing wood, cutting the slots, finishing and the mistakes that make dividers rattle or jam.
Most drawer organizers fail for the same reason: the drawer is not the size the tray was made for. Kitchen drawers vary by an inch or two between brands, and a tray that leaves a half-inch gap lets everything slide around. A measured wooden set fills the space edge to edge, so each tool has a slot that stays put.
Why a Measured Divider Beats a Store-Bought Tray
Best Thickness-Check Tool
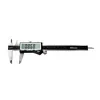 |
iGaging IP54 Electronic Digital Caliper, 0-6 Inch, Stainless Steel, $37.99 A caliper tells you what your plywood really measures, which is the one number that decides whether your divider slots fit snugly or rattle.
|
Store trays come in a handful of fixed sizes, and drawers do not. A custom set does three things a tray cannot: it fits the exact inside width, it puts the walls where your own tools need them, and it can be rebuilt in ten minutes when you change what lives in the drawer.
The trade-off is a little shop time. You need a saw that cuts square, a way to cut narrow slots, and a tape measure. A hand saw and a sharp chisel can do the job, and a table saw or a router just speeds up the slots.
Choose the Layout and the Material
Pick the layout first, because it decides how many parts you cut. There are two builds worth doing.
- Fixed dividers: long strips run the full drawer width and short strips sit between them. You glue or friction-fit each strip. This is the fastest build, and it suits a drawer for flatware where sections rarely change.
- Slotted (egg-crate) dividers: long and cross strips each get half-height slots and lock together like a grid. This is the better build for a utensil or junk drawer, because there is no glue and you can lift the whole grid out.
For material, thin and flat beats thick and pretty. Every 1/4 inch you spend on wall thickness is a 1/4 inch you lose from each compartment, and in a narrow drawer that adds up fast.
| Material | Typical thickness | Good for | Watch out for |
|---|---|---|---|
| Birch plywood | 1/4 in (about 6 mm) | Slotted grids, all-round use | Cut edges need sanding and sealing |
| Poplar (Janka about 540) | 1/4 to 3/8 in | Hand-cut fixed dividers | Dents easily under heavy tools |
| Basswood (Janka about 410) | 1/4 in | Very easy hand cutting | Softest option, best for light items |
| Hard maple (Janka about 1,450) | 1/4 to 3/8 in | Wear resistance, light color | Harder on hand saws and blades |
| MDF | 1/4 in | Painted dividers in dry rooms | Swells if unsealed, weak thin slots |
Skip red oak (Janka about 1,290) for anything that holds food tools. Its open pores collect crumbs and are hard to wipe clean. If you are also building the drawer box itself, see our guides to making MDF drawers and drawers from 1/2 inch plywood.
Measure the Drawer Box, Not the Opening
Measure inside the drawer box itself. The cabinet opening is wider, because side-mount ball bearing slides typically take about 1/2 inch of clearance on each side, so an opening measurement will give you dividers that are an inch too wide.
- Measure the inside width at the front, the middle and the back. Drawer boxes are rarely perfectly square, so use the smallest of the three.
- Measure the inside depth from the front panel to the back panel, again at two points.
- Measure the inside height, then subtract at least 1/4 inch so the dividers clear the cabinet above.
- Write the numbers down before you cut anything, and label them width, depth and height.
Next, sketch the compartments around the tools that actually live in the drawer. These are typical lengths, so lay your own out on a sheet of paper before you cut.
| Item | Typical length | Suggested compartment |
|---|---|---|
| Forks and spoons | About 7 to 8 in | 2 to 3 in wide, 8 in long |
| Table knives | About 9 in | 2 to 3 in wide, 9.5 in long |
| Spatulas, whisks, ladles | About 12 to 14 in | 3 to 4 in wide, full drawer depth |
| Measuring cups and spoons | Nested, 4 to 6 in | 4 by 6 in square section |
| Peelers, openers, small gadgets | 3 to 8 in | Two small 3 by 4 in pockets |
The Plywood Thickness Trap
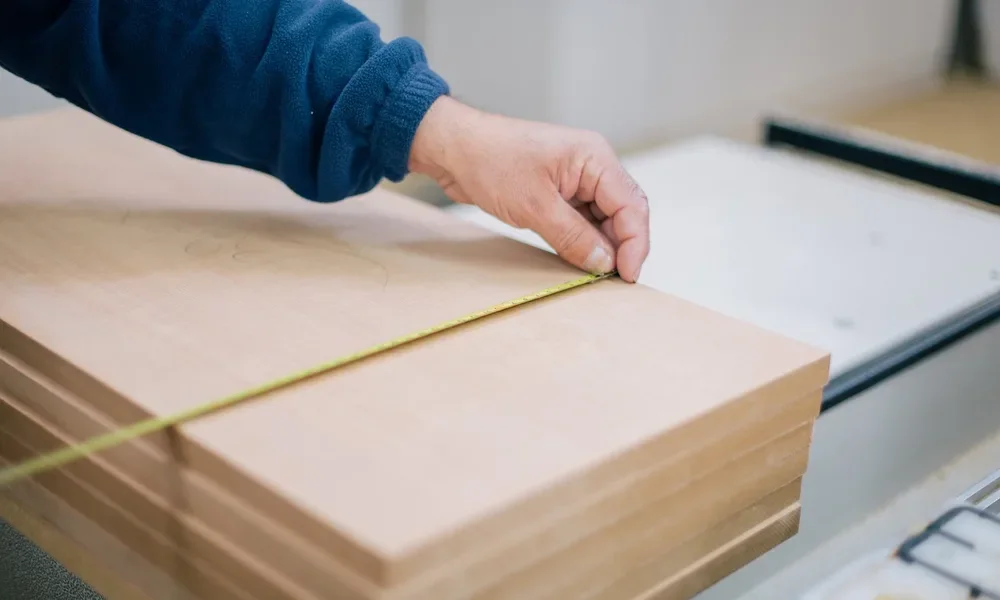
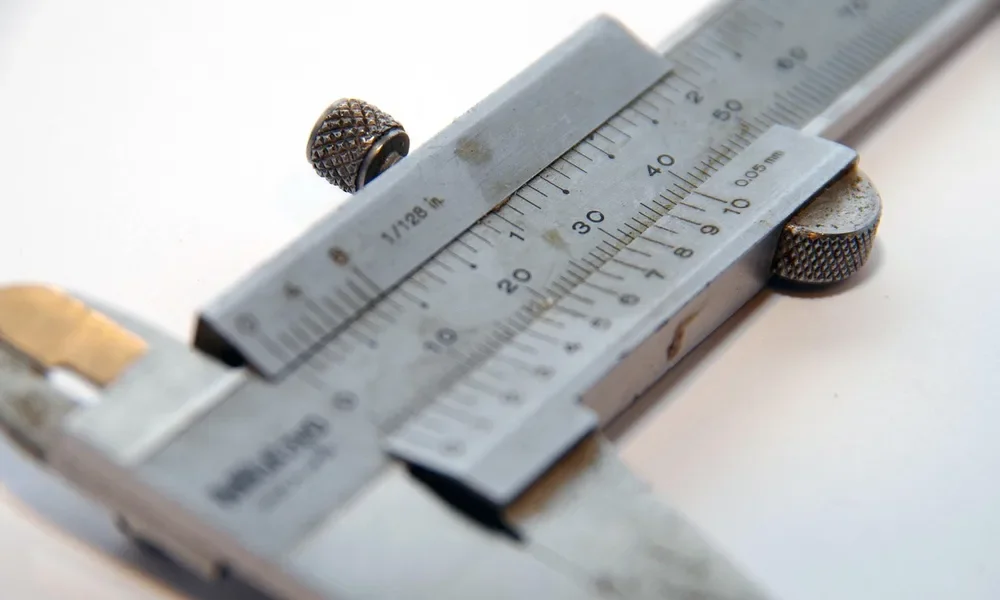
Here is the detail most tutorials skip: a sheet sold as 1/4 inch plywood is often not 1/4 inch. Many US sheets measure closer to 0.20 inch, while metric 6 mm birch is about 0.236 inch, so a slot cut to 0.250 inch leaves a visible gap and a grid that rattles. Calipers settle the question in seconds, and a scrap piece with a trial slot works when you do not own a pair.
- Measure the thickness of three pieces from the actual sheet, not the label, and use the thickest reading.
- Cut a test slot in scrap and slide a piece into it. It should go in with light hand pressure and stay put when you tilt the scrap.
- If the fit is loose, the slot is too wide. Recut it a hair narrower on a fresh piece of scrap rather than trying to shim it.
- If the fit is tight, sand the mating edge lightly with 220 grit until the piece slides in.
Cut the Dividers and the Slots
Cut every long strip and cross strip to the same height, then mark the slots on the strips before you cut them. Grain matters here: cut the strips so the grain runs along their length. That keeps the length stable through the seasons, and a short strip changes very little in height.
Cut the strips. Use a table saw with a fence and a push stick, or a circular saw against a straightedge for longer stock. Thin strips are the ones that kick back or slip, so keep hands well clear of the blade, use a push stick for every pass, and clamp the piece whenever you cut by hand. Wear eye and hearing protection, and a dust mask when you cut plywood or MDF, because the dust is not something to breathe. If you would rather not cut narrow strips on a table saw, see our guide to getting plywood cut to size and ask the store to rip strips for you.
Cut the half-height slots. For a slotted grid, each slot is exactly half the strip height, cut from the top on the long strips and from the bottom on the cross strips. Mark all the slots from one reference edge so they line up, then cut them one at a time.
- With a dado stack, a single pass gives the slot at its final width.
- With a standard blade, which cuts a kerf of roughly 1/8 inch, make several overlapping passes until the slot reaches your measured width.
- By hand, saw both slot walls down to the depth line and pare the waste out with a sharp chisel. Stay just inside the line and finish with a light paring cut.
- Test fit every slot on scrap before you commit to the good pieces.
Assemble and Fit
Dry fit the grid outside the drawer first. Slide the long strips into the cross strips, and check that every joint sits flush and that the whole grid drops into the drawer without forcing it. Leave about 1/32 inch of total play across the width, so a swollen drawer or a slightly bowed strip cannot wedge the grid in place.
A friction-fit slotted grid needs no glue at all, which is its biggest advantage. If you want the grid to hold its shape permanently, put a small bead of water-resistant wood glue only in the slot joints, wipe the squeeze-out with a damp rag, and let it cure fully before the grid goes near any tools. If you want a full-length divider fixed to the drawer, glue one long strip to the drawer side and leave the rest floating.
The same approach works for tool drawers in the workshop. For a wall-mounted or bench version, see our DIY drill bit holder and homemade tool storage ideas.
Finish the Dividers for Kitchen Use
Sand every strip to 180 grit, then 220, and ease the top edges so nothing snags a sleeve or a towel. Wooden dividers in a kitchen drawer will meet damp hands and the occasional spill, so seal them before they go in.
- Water-based polyurethane: two or three thin coats give a wipeable surface. Allow the full cure time printed on the can before the drawer is loaded, because a finish that feels dry can still be soft underneath.
- Mineral oil and wax: simple, easy to renew, and a fine choice for utensils that touch the dividers. It needs re-oiling every few months.
- Bare wood: acceptable for a dry, light-use drawer, but it stains and absorbs grease over time.
To clean, wipe with a damp cloth and mild soap, dry immediately and avoid soaking the strips. Lift out a friction-fit grid every few months to clean the drawer floor beneath it.
Common Mistakes That Make Dividers Rattle or Jam
- Measuring the opening instead of the box: the dividers come out about an inch too wide and will not go in.
- Trusting the label on the plywood: slots cut to a nominal 1/4 inch leave a gap and the grid rattles.
- Cutting dividers the full height of the drawer: they catch the cabinet above. Keep them at least 1/4 inch shorter.
- Gluing everything in: the myth is that dividers must be glued to stay put. A snug friction fit holds fine and you can still remove the grid to clean the drawer.
- Raw MDF near the sink: unsealed edges soak up moisture and swell, and the slots loosen.
- Skipping the test slot: one scrap piece saves a whole cut list.
Frequently Asked Questions
What is the best wood for kitchen drawer dividers?
Thin birch or maple plywood is the best all-round choice, because it stays flat, resists seasonal movement and is easy to slot. Poplar and basswood are easier to cut by hand, and hard maple is the most wear resistant. Avoid open-pored oak, which traps crumbs.
How tall should kitchen drawer dividers be?
Cut them at least 1/4 inch shorter than the inside height of the drawer box, so nothing catches on the cabinet above when the drawer opens and closes. Most utensil drawers work well with dividers between 2 and 3 inches tall.
Should drawer dividers be glued in?
Only fixed layouts need glue. A slotted, friction-fit set can stay unglued so you can lift it out to wipe the drawer and rearrange the layout later. If you glue, use a water-resistant wood glue and keep it off the slots.
Can you use MDF for kitchen drawer dividers?
Yes, if you seal every face and cut edge with a moisture-resistant finish first, because raw MDF swells when it gets damp. Plywood is the safer choice next to a sink, and it also gives thinner, stronger slots.
Conclusion
A slotted plywood divider set is a one-hour project that fixes a real problem. Measure the drawer box, check what your plywood really measures, cut the slots to that number, and seal the strips before they go in. The result fits your drawer and holds the tools you actually use, and you can rebuild it whenever your layout changes.
Sponsored / affiliate links. As an Amazon Associate I earn from qualifying purchases. I may earn additional commission from eligible campaigns.