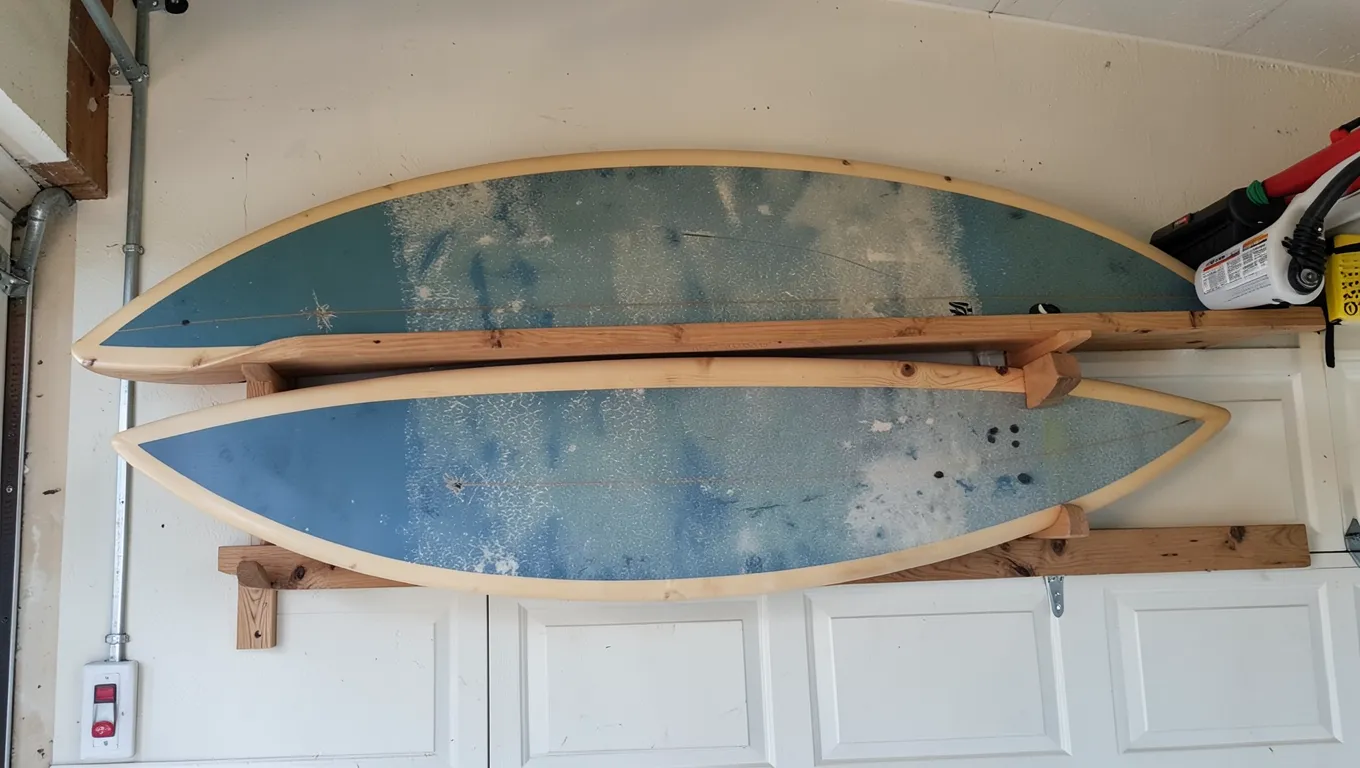
DIY Surfboard Rack: Build One This Weekend (Or Buy This Instead)
A DIY surfboard rack is just two padded wooden arms mounted to wall studs at the right spacing for your board width, most builders finish one in an afternoon with a saw, some 2x4s, and foam or cork padding.
Get the arm angle right and you will not think about it again: tilt each cradle about 10 to 15 degrees so the board rail rests against the padding instead of just its bottom edge. A flat cradle lets a heavier board rock and scuff the rail over time.
Materials Needed
Best Pre-Made Rack (Skip the Build)
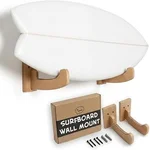 |
Ho Stevie! Surfboard Wall Mounts – $29.97 If you would rather not build one, this real-wood rack with cork padding sets up in minutes.
|
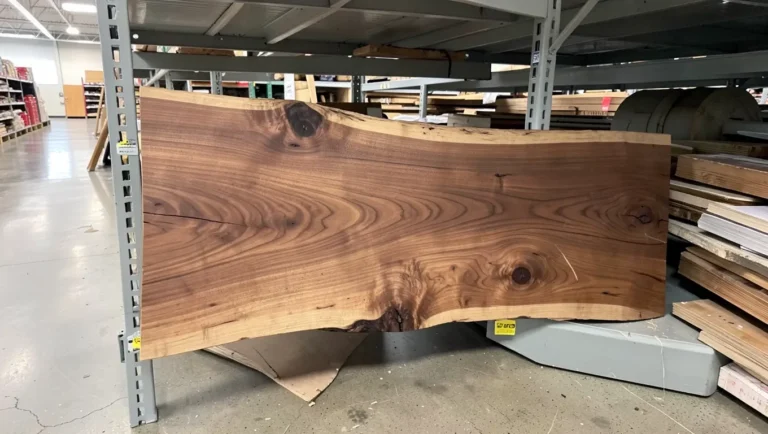
For lumber, pick either 2×4 pine (cheap, widely available, plenty strong for a single board’s weight) or a hardwood like oak if you want the arms to double as a visible shelf feature – oak costs roughly three to four times as much per board foot but resists denting from the board’s fin and rail better over years of use. You’ll also need a circular saw or miter saw for clean, square cuts, a stud finder (a $10-15 magnetic one works fine for this), a drill/driver, 3-inch deck screws rated for the load, and 100- then 220-grit sandpaper to knock down splinters on the padded contact surfaces.
For the finish, exterior polyurethane or spar varnish if the rack will see any sun or humidity, interior wood stain if it’s staying in a climate-controlled garage or bedroom. Round out the list with a torpedo level (checking level matters more here than on most shelf projects, since a tilted cradle is what causes boards to slide), a pencil, wood glue for reinforcing the arm-to-mounting-block joint, and closed-cell foam pipe insulation or cork sheeting to pad the cradle – skipping the padding is the single most common mistake, since bare wood against a fiberglass rail will scuff the gelcoat within weeks.
Choosing The Right Location
Garage and interior wall mounting is the default choice for most builders because it keeps the board out of UV exposure, which over time yellows fiberglass and breaks down resin. An outdoor rack under a covered porch works, but plan on exterior-rated fasteners (stainless or coated deck screws, never bare steel) and a weather-resistant finish, since untreated softwood left exposed to rain will start checking within a season.
Before you commit to a spot, hold your longest board up to the wall and mark where the nose and tail will land – a common mistake is placing the rack too high and then discovering the board’s nose clips the ceiling or a light fixture. Horizontal racks need roughly 6 inches of clearance in front of the wall for the board’s rail and fin setup; vertical storage needs a stud run tall enough to anchor both a bottom brace and a top strap. Either way, confirm you’re hitting actual wall studs before you commit to a location – drywall anchors alone will not hold a loaded board rack long-term.
Measuring And Cutting
For a standard shortboard-to-longboard cradle pair, cut two 12-inch arms and two 6-inch mounting blocks from your 2×4 stock – the arm length gives the board’s rail enough surface contact to distribute weight without the cradle looking oversized. Space the two cradles based on board length: roughly 24 inches apart for a 6-foot shortboard, up to 40 inches for a 9-foot longboard, positioned so the board’s balance point sits between them rather than cantilevered off one end.
Cutting the Arm Angle
This is the step most tutorials skip and the one that actually matters: cut the top edge of each arm at a 10 to 15 degree angle rather than square, so the finished cradle tilts the board’s rail into the padding instead of resting it flat on a corner. A miter saw set to that angle gives you a repeatable cut across all four arms; without one, mark the angle with a speed square and cut freehand with a circular saw, checking the two arms of each cradle against each other for a matching angle before moving on.
Cutting Safely
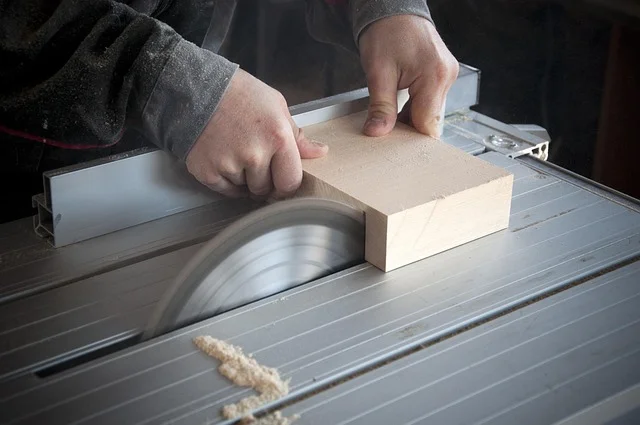
Clamp the board to your work surface before every cut – a 2×4 that shifts mid-cut is the most common source of a kicked-back blade. Wear safety glasses and, if you’re using a miter saw, hearing protection for repeated cuts. Let the blade reach full speed before it contacts the wood, and sand the cut edges with 100-grit before final assembly so you’re not sanding around installed screws later.
Assembling The Rack
Dry-fit the angled arm against its mounting block before driving any screws, confirming the angle faces the direction you want the board to lean. Apply wood glue to the joint face, then drive two 2.5-inch screws through the mounting block into the arm at an angle that avoids blowing through the visible face – pre-drilling pilot holes here prevents the 2×4 from splitting, which is a common failure point right at the load-bearing joint. Let the glue cure for at least 30 minutes before attaching padding, since clamping pressure during cure keeps the joint tight under the eventual weight of a loaded board.
Locate studs with a stud finder and mark both edges of each stud so you know its full width, not just its center. Pre-drill through the mounting block at stud spacing, then drive 3-inch deck screws or lag bolts into the studs – standard drywall screws are not rated for this kind of cantilevered load and can shear over time. Once both cradles are up, set a level across the top of each cradle and shim behind the mounting block if the wall isn’t perfectly flat before final tightening.
Mounting The Rack
For a wall-mounted rack, the studs you located during assembly are your only real anchor points – a single loaded shortboard weighs 6 to 10 lbs, but the leverage of that weight sitting several inches off the wall multiplies the actual pull on the fasteners well beyond the board’s static weight. Drive pilot holes at each marked stud location, mount the cradle with lag bolts rather than standard wood screws if you’re hanging more than one board per bracket, and give the mount a firm downward tug test before trusting it with an actual board.
A free-standing floor rack skips the stud-finding step entirely and trades wall anchoring for a wide, weighted base – typically a plywood or 2×4 base frame wide enough that the loaded rack’s center of gravity stays well inside its footprint even with multiple boards leaned in. These work well in a garage corner or a rental where drilling into studs isn’t an option, but check the base width against your tallest, heaviest board before finalizing the design; a narrow base with several longboards leaned in is a genuine tip-over risk.

Credit: alandimo.com.au
Finishing Touches
Work through 100-grit and then 220-grit sandpaper on every exposed edge, rounding over sharp corners specifically where the board’s rail will pass during loading and unloading – a sharp corner here is both a scuff risk to the board and a splinter risk to your hands. Wipe the sanded surface with a tack cloth or slightly damp rag before finishing, since sawdust trapped under a coat of stain or paint shows up as a rough, gritty texture once it dries.
Oil-based exterior polyurethane holds up better than latex paint if the rack lives anywhere with humidity swings, since it penetrates the wood fibers rather than just sitting on top as a film that can eventually chip. Two thin coats, sanded lightly with 320-grit between coats, give a noticeably more durable finish than one thick coat, which tends to run and stays tacky longer. Let the final coat cure a full 24 hours before mounting padding or hanging a board – cork and foam padding pressed against still-curing finish can bond to it and peel the finish off later.
Cost-saving Tips
Pallet wood is the most common free source builders use for this project – a single standard pallet usually yields enough reclaimed lumber for both cradles and mounting blocks, though you’ll want to sand it more aggressively than new stock to knock down rough-sawn texture and check carefully for embedded staples before cutting. Lumber yards and hardware stores also frequently sell “cull” boards – pieces with minor cosmetic defects marked down 30-50% – that are structurally identical to full-price stock for a project this small.
For padding, pipe insulation foam from the plumbing aisle costs a fraction of dedicated surf-rack padding and works just as well split open and glued around the cradle’s contact edge. Buying screws, sandpaper, and finish in shared multi-project quantities rather than single-use small packs also cuts the per-project cost noticeably if you know you’ll build more than one rack.
Maintenance And Care
Check the mounting screws every few months, especially in the first year – wood movement from seasonal humidity changes can gradually loosen fasteners even on a well-built rack. Give the cradle a firm push test in the direction the board’s weight loads it; any perceptible flex or movement at the wall means it’s time to re-tighten or add a lag bolt before it becomes a real failure. Wipe down padding periodically, since salt and sand from wet boards can work into foam or cork over time and start to degrade it faster than dry storage would.
A hairline crack in the wood itself usually just needs wood glue worked into the gap and clamped until cured; anything deeper that affects the joint’s strength is worth replacing that arm outright rather than patching it, since a repaired but weakened joint under a swinging board’s leverage is a real safety risk, not just a cosmetic one. If you used exterior finish, plan on a fresh coat every year or two if the rack sees direct sun or rain – a worn finish stops protecting the wood well before it looks obviously bad.

Credit: www.instructables.com
Frequently Asked Questions
Is It Better To Store Surfboards Vertical Or Horizontal?
Store surfboards horizontally to prevent warping. Use padded racks to protect them from damage. Keep them in a cool, dry place.
How To Attach A Surfboard To A Car Without A Roof Rack?
Use soft racks or foam pads. Place the surfboard upside down on the roof. Secure with strong straps. Ensure tight fit. Check stability before driving.
How To Carry A Surfboard On A Bike Without A Rack?
Hold the surfboard under your arm while you ride, keeping it parallel to the ground. Use a secure grip.
Do You Need A Roof Rack For A Surfboard?
Yes, a roof rack is recommended for transporting a surfboard. It ensures safety and prevents damage.
Conclusion
The two details that actually separate a rack that holds up for years from one that fails are the ones easiest to skip: a genuine 10-to-15-degree cradle angle instead of a flat notch, and screws driven into real wall studs instead of drywall alone. Get those two things right and the rest – wood choice, finish, padding material – comes down to preference and what’s on hand.
Sponsored / affiliate links. As an Amazon Associate I earn from qualifying purchases. I may earn additional commission from eligible campaigns.