DIY Shoe Closet: A Real Plan for Small Spaces
A shoe pile by the door is a space problem with a straightforward fix, and it doesn’t require a full closet remodel. Here’s a real plan for building shelving that actually holds more pairs than it looks like it should.
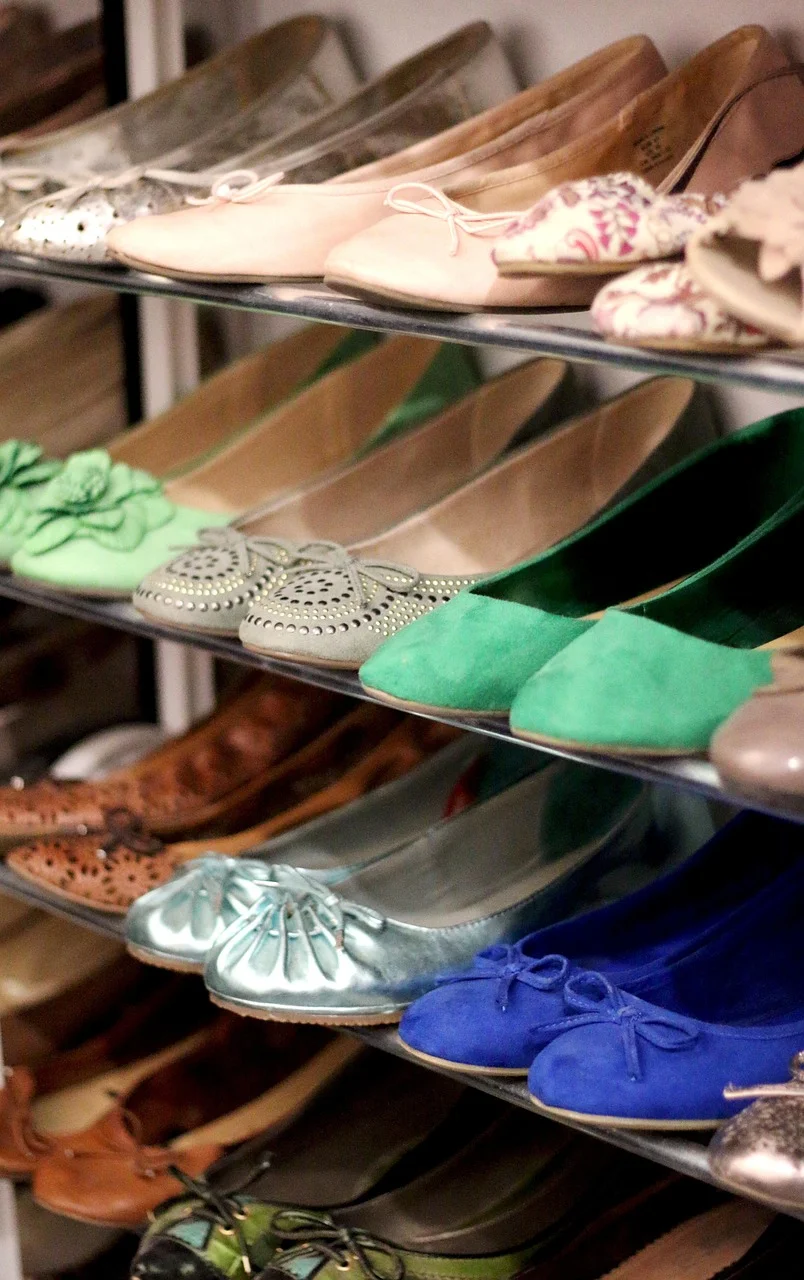
Angled Shelves Fit More Shoes Than Flat Ones
Skip the Build, Buy Instead
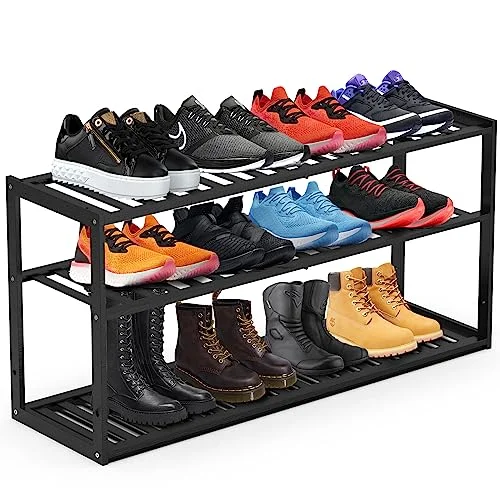 |
Jripae 3-Tier Bamboo Shoe Rack, 32.5″ – $28.88 If you don’t have a weekend to build shelving, this gives you the same angled, space-saving layout in real wood, ready in minutes.
|
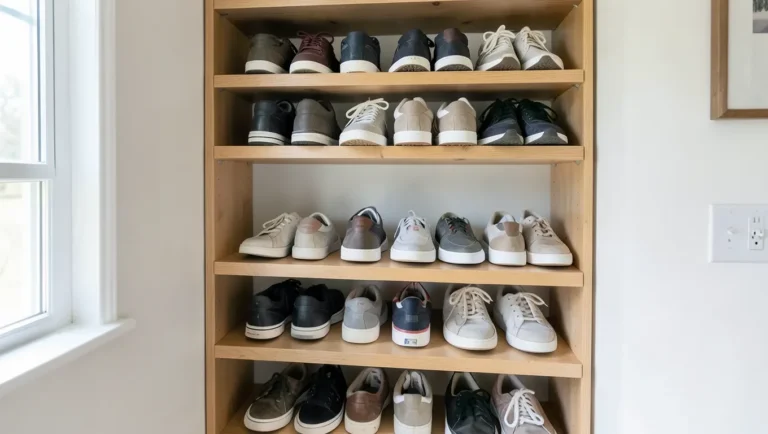
A shoe closet built with angled (slanted) shelves fits noticeably more pairs per square foot than flat shelving, because the angle lets you nest a shoe’s toe under the heel of the pair above it instead of needing full flat clearance for each pair. This is the actual reason most dedicated shoe storage products use a slant instead of a flat shelf — it’s not a style choice, it’s a space-efficiency one. Plan your build around this from the start rather than adding angle as an afterthought.
Entryway Closet vs. Bedroom Closet
Where you’re building changes the design more than most guides mention. An entryway shoe closet gets used constantly, often with dirty or wet shoes straight off the street, so it benefits from an open-front design (no doors to fumble with while holding groceries) and a bottom tray or removable mat to catch mud and moisture before it reaches the wood. A bedroom or hall closet shoe section can be more enclosed and doesn’t need the same moisture tolerance, but it’s also usually working with less floor footprint, which is exactly where the angled-shelf space savings matter most. Decide which situation you’re actually building for before finalizing dimensions — the two have real, different design priorities.
Planning the Space
Measure the actual space before buying anything — width, height, and depth, and note any doors or trim that limit how far shelving can extend. Count your shoes by type (flats, boots, sneakers) since boots need real vertical clearance that flat shoes don’t, and undersizing that clearance is the most common planning mistake. Sketch the layout before cutting: how many shelves, what spacing, and where boots or bulkier pairs go versus everyday shoes.
Real Dimensions to Start From
| Shoe Type | Shelf Depth Needed | Vertical Clearance |
|---|---|---|
| Flats / dress shoes | 10-11 inches | 4-5 inches |
| Sneakers | 11-12 inches | 5-6 inches |
| Ankle boots | 12-13 inches | 8-9 inches |
| Tall boots | 12-14 inches | 14-16 inches (or standing on the floor below the lowest shelf) |
These are starting points, not fixed rules — measure a few of your own actual pairs before committing to a spacing, since shoe sizing varies more than these averages suggest. For a rack angled at roughly 15-20 degrees (a common, easy-to-build slant), the effective shelf depth for the top of each pair works out shorter than the flat measurement, which is exactly the geometry that lets angled shelving pack in more pairs per shelf.
Choosing Materials
Plywood is the standard choice for shoe shelving — strong enough to hold real weight and easy to cut to size. Solid wood or reclaimed furniture works too and can be repainted for a fresh look. Bamboo is a genuinely good option if you want something pre-made rather than built (it’s fast-growing and holds up well under repeated weight). Skip cardboard for anything beyond a very short-term, temporary shelf — it sags and loses structural integrity with any real weight or humidity, which shoes and their moisture regularly bring.
Building the Shelves
You’ll need a measuring tape, saw, level, drill, and screws or nails. Measure and mark your cuts first, then cut the plywood or lumber to size. Assemble the frame, checking level as you go — an unlevel frame throws off every shelf built on top of it. Attach shelf supports (cleats or brackets) at your planned spacing, then set the shelves in at the angle you decided on during planning. Adjustable shelf supports are worth the extra step if your shoe collection includes a mix of heights; they let you reconfigure spacing later without rebuilding anything.
Cleat vs. Dado: Two Real Ways to Support a Shelf
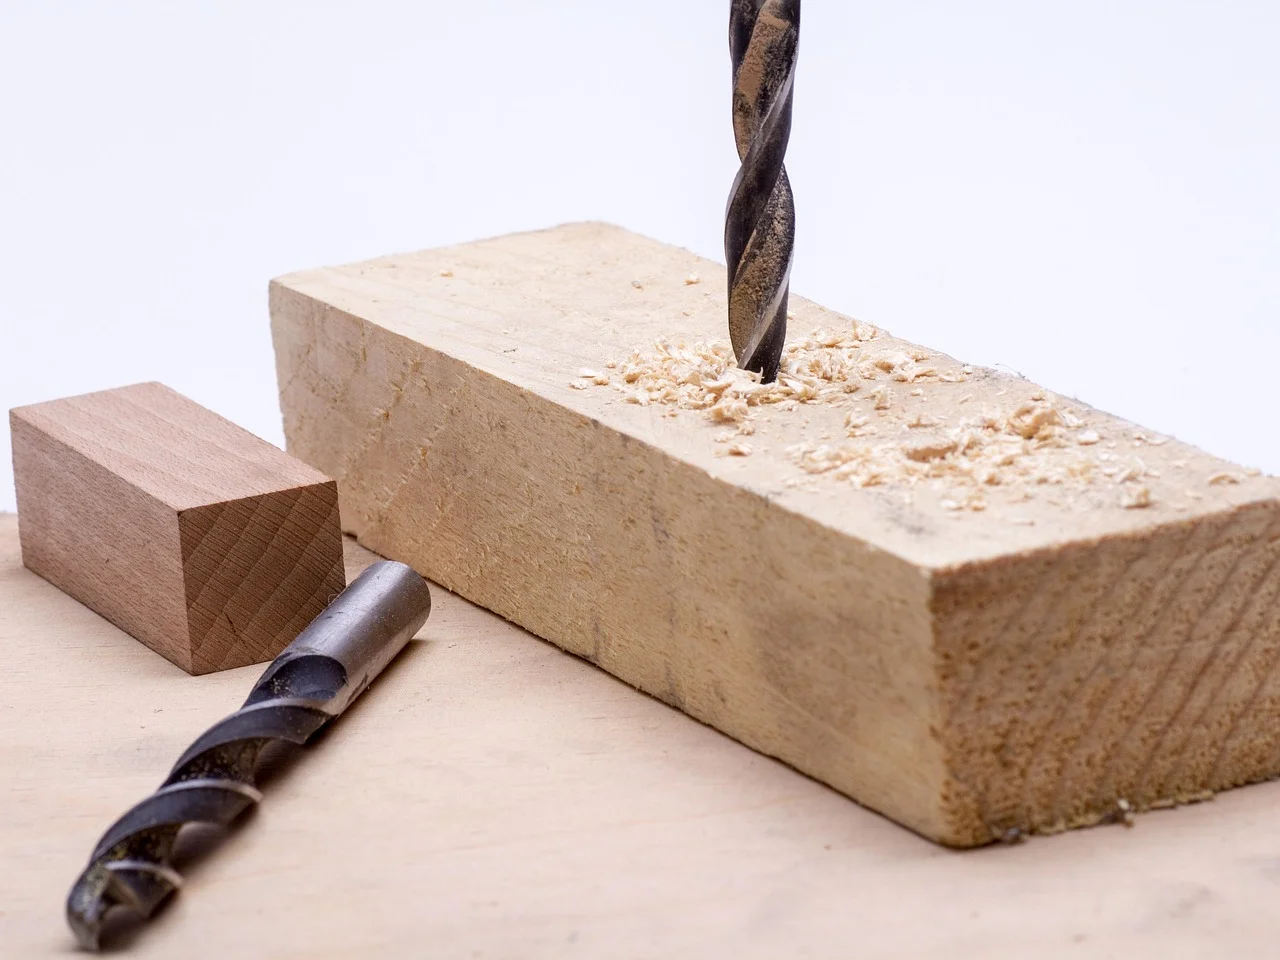
A cleat (a strip of wood screwed to the inside of the frame that the shelf rests on) is the faster, more forgiving method — no precision cutting required, and it’s easy to reposition if you change the spacing later. A dado (a groove cut into the frame sides that the shelf slides into) is stronger and looks cleaner since there’s no visible support strip, but it requires a router or table saw and has to be cut accurately before assembly, since it can’t be adjusted after the fact. For a first shoe-closet build, cleats are the more practical choice; dados are worth the extra step once you’re comfortable with the joinery and want a more finished look.
Layout Ideas Beyond a Basic Shelf
- Shoe cubbies: individual compartments per pair, easy to scan visually but uses more material per pair than open shelving
- Shoe bench: storage underneath doubles as a seat for putting shoes on, a real space-multiplier in a small entryway
- Wall-hung rack: keeps the floor completely clear, best for lighter shoes rather than heavy boots
- Rotating or pull-out racks: more building complexity, but genuinely useful for a deep closet where back rows are otherwise hard to reach
Ventilation and Odor Control
A fully enclosed shoe cabinet traps moisture and odor far more than open shelving does — if you’re building something with doors, leave gaps at the top and bottom, or drill a pattern of small ventilation holes in the door panels, so air can actually move through. Cedar-lined shelves or a few cedar blocks tucked among the shoes help control odor naturally and also discourage moths, without needing a chemical air freshener that just masks the smell instead of addressing airflow. If you’re storing shoes right after wearing them, a few minutes of air-drying on an open rack before they go into an enclosed cabinet does more for long-term odor control than any product you can add afterward.
DIY vs. Buying: The Real Cost Comparison
A basic plywood shoe shelf built from a single 4×8 sheet (roughly $40-60 depending on plywood grade) plus screws and cleats runs somewhere around $50-70 in materials for a shelf that can hold 15-20 pairs, not counting your own time. A comparable pre-made bamboo rack costs $25-40 but typically holds fewer pairs per unit and offers less flexibility on spacing. The DIY route wins on customization (exact spacing for your actual shoes, exact dimensions for your actual space) and can win on cost per pair stored if you’re outfitting a larger collection; buying wins on speed and zero tool requirement. Neither is the objectively better choice — it depends on whether your time or your money is the scarcer resource for this particular project.
A Small Detail Worth Adding: Shelf Liner
A thin non-slip shelf liner cut to size and laid on each shelf does two real things: it keeps angled shoes from sliding down the slope over time, and it protects the plywood finish from scuffs where heels and soles make repeated contact. It’s a five-minute addition once the shelves are built, and it’s the kind of detail that separates a shelf that still looks good in a year from one that’s already showing wear at the contact points.
Maintaining It
Wipe leather shoes with a proper leather cleaner and use a brush for suede — a plain damp cloth alone doesn’t actually clean either material well. Let shoes fully dry before putting them back on the shelf; storing damp shoes is a common cause of mold and odor in closed shoe storage. Rotating stock seasonally (boots to the front in winter, sandals in summer) keeps the shelf sized correctly for what you’re actually reaching for that season.
Frequently Asked Questions
How do you make easy DIY shoe storage?
Angled plywood shelves are the standard build — they fit more pairs than flat shelving in the same space. If you’d rather not build, a stackable bamboo shoe rack gets you the same angled layout pre-made.
Is it better to store shoes in boxes or on a shoe rack?
Boxes protect shoes from dust and light damage but make finding a specific pair slower. An open rack or angled shelf gives faster access and better visibility, at the cost of some dust exposure. Choose based on how often you rotate through your shoes.
What can I use instead of a shoe rack?
Baskets, bins, under-bed storage, or a repurposed bookshelf all work as substitutes. Whatever you use, avoid cardboard for anything long-term — it sags under real weight and moisture over time.
Conclusion
Angled shelving is the actual detail that makes a DIY shoe closet outperform a flat-shelf version in the same footprint — plan for it from the start, use real plywood or bamboo (not cardboard), and size the vertical clearance for your tallest boots, not just your average pair.
Sponsored / affiliate links. As an Amazon Associate I earn from qualifying purchases. I may earn additional commission from eligible campaigns.