DIY Wooden Arch Backdrop: Real Dimensions for a Sturdy Build
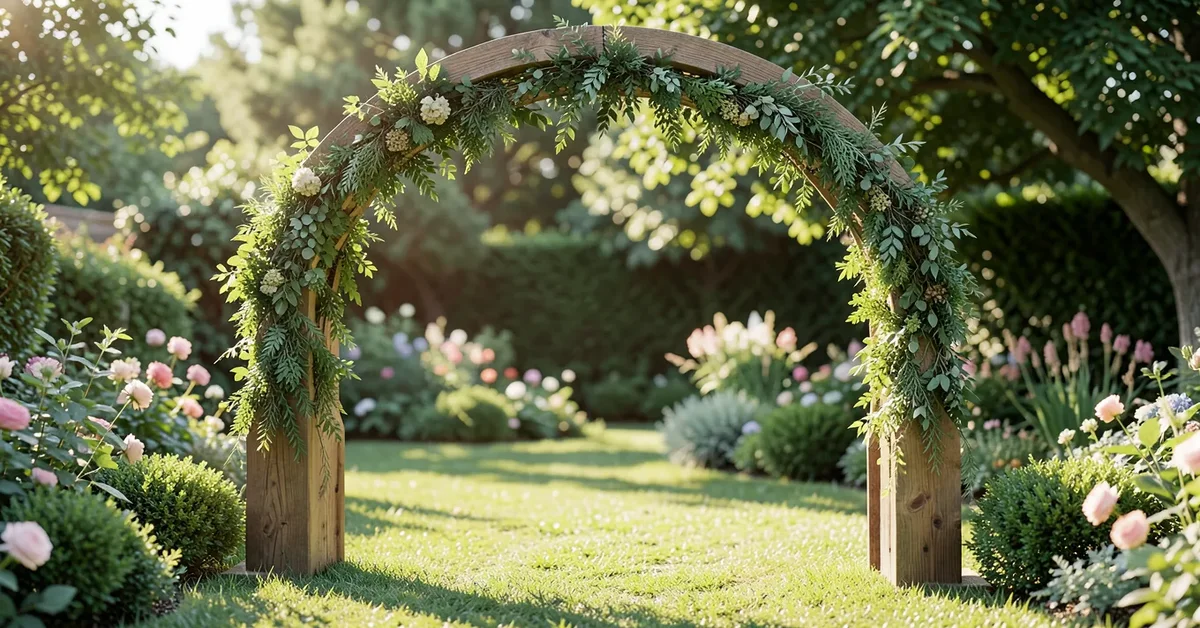
Most “wooden arch backdrops” people build are actually rectangular arbors, not true arches – and that’s the easier, cheaper, and more common route for a first build. A genuine curved-top arch needs either a bent lamination or a flexible material (PVC, thin bendable plywood strips) to form the curve; a square-top frame just needs straight lumber, screws, and basic joinery. Both work as a backdrop – know which one you’re actually building before you buy lumber.
Rectangular Arbor vs. True Curved Arch
Best Tool for Hidden Frame Joints
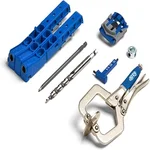 |
Kreg Pocket-Hole Jig 320 – $49 Joins the top rail to the uprights with no visible screw heads on the decorated face of the frame.
|
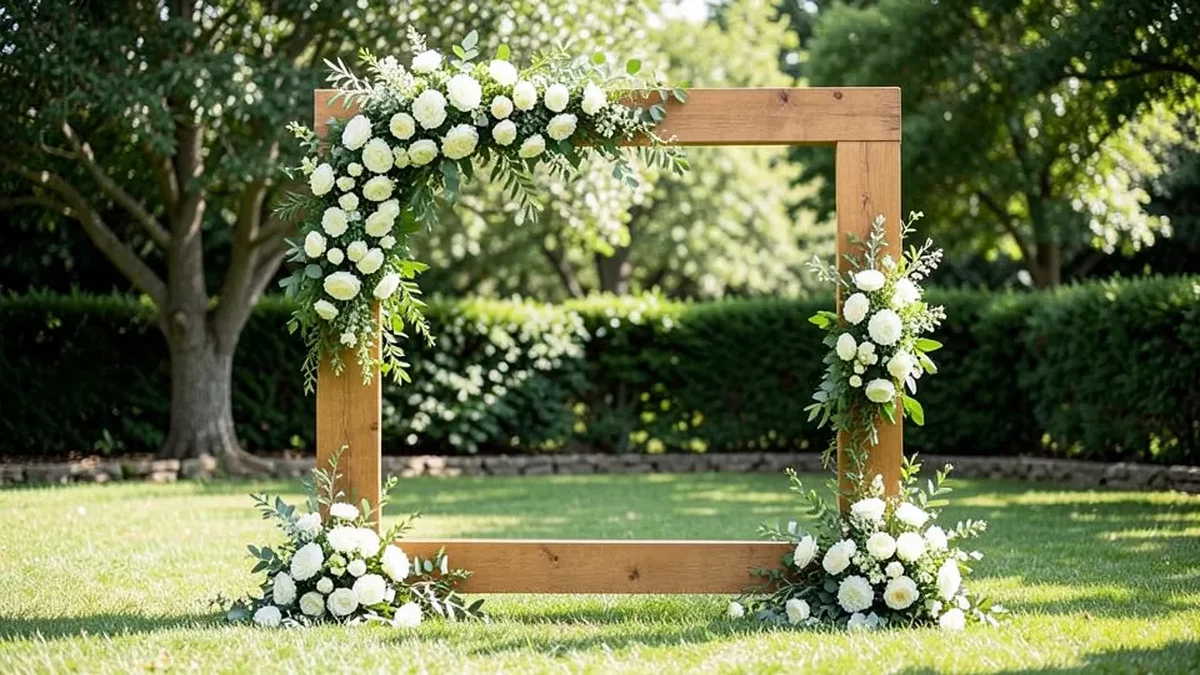
A square-top arbor frame is four straight boards: two uprights and a top rail spanning between them (plus often a second top rail a foot or two down for extra rigidity). It’s the design nearly every “DIY wooden arch” tutorial actually builds, because straight cuts and butt joints are far easier than bending wood into a curve. A true rounded arch top needs one of a few methods: bent lamination (gluing several thin strips of wood around a curved form and letting them dry into that shape), a flexible material like 1/4″ bendable plywood screwed to a curved template, or simply mounting wood cladding onto a pre-made metal or PVC arch frame, which is what most wedding rental companies actually do rather than bending solid wood on site. If you want the classic rounded silhouette without the extra build complexity, that last option – cladding a metal/PVC arch frame with thin wood strips or lattice – is the realistic shortcut.
Building a Square-Top Arbor: Real Dimensions
A standard backdrop size for a wedding ceremony or photo area is about 7 feet wide by 7-8 feet tall, which comfortably frames two people standing together. A simple, sturdy build:
- 2 uprights: 4×4 pressure-treated posts, 8 feet long (buried or staked 18-24″ into the ground if permanent, or set into weighted post bases if it needs to be freestanding and portable).
- 1-2 top rails: 2×6 or 2×4 boards, 7-8 feet long, spanning between the tops of the uprights.
- Diagonal braces (optional but recommended): 2×4 offcuts at 45 degrees between each upright and the top rail add significant rigidity against wind, which matters far more outdoors than most first-time builders expect.
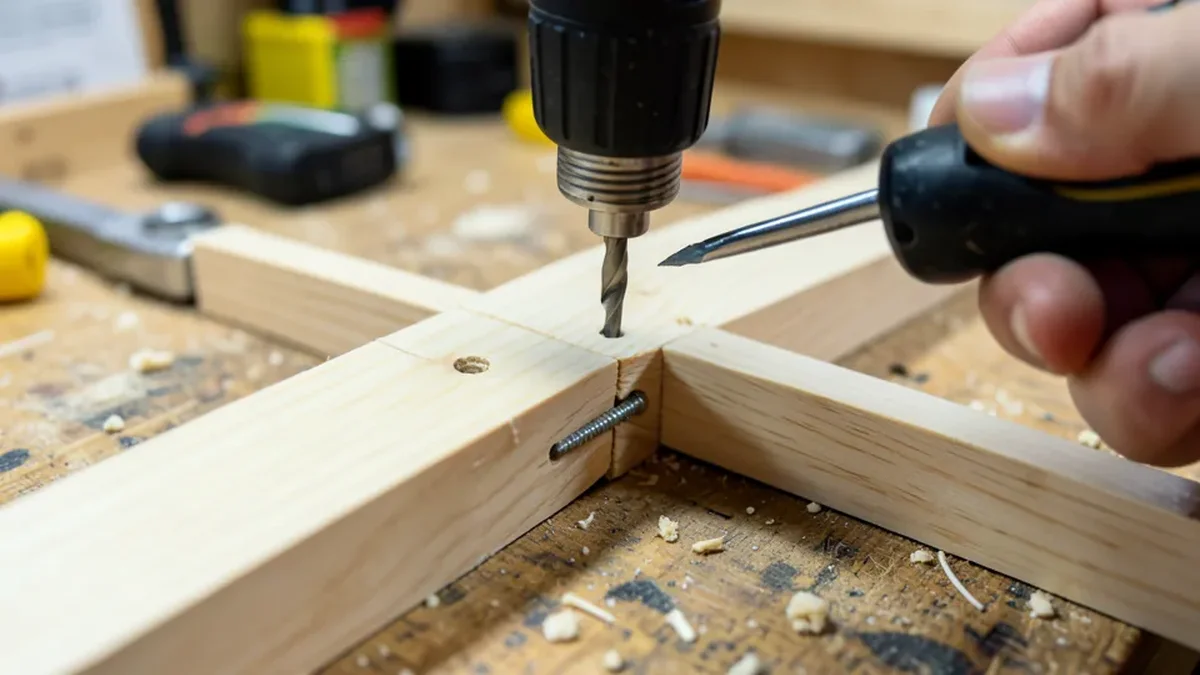
Join the top rail to the uprights with lag screws or, for a cleaner hidden joint, pocket-hole screws driven up through the inside face of the rail into the post. Pocket-hole joints are strong enough for this application and leave no visible screw heads on the front face where decorations will hang.
Stability: The Part Most Guides Skip
An 8-foot-tall wooden structure catches wind like a sail, and a backdrop that tips over during an outdoor event is a real safety hazard, not just an inconvenience. For a permanent install, set the posts in concrete footings at least 18″ deep. For a portable/rental setup, use weighted steel post bases (sold for exactly this use) rather than trying to stake a heavy frame into unknown ground – venues often won’t allow staking into their lawn anyway. Never rely on the decorations themselves (floral garlands, drape) for structural support; they add weight without adding stability.
Decorating Without Damaging the Frame
Zip ties and floral wire attach greenery and drape without putting screw holes in the frame, which matters if you want to reuse or resell the arbor afterward. Battery-powered string lights avoid running an extension cord across a venue floor. If you’re using real flowers, attach them the day of the event – most fresh floral garlands wilt within 6-8 hours outside refrigeration, so building the frame days ahead but decorating it same-day is the standard approach event planners use.
Frequently Asked Questions
What are the benefits of using a wooden arch backdrop?
It gives a natural, rustic focal point for ceremonies and photos, holds up to being reused across multiple events, and can be fully customized with paint, stain, or attached decor rather than being locked into one look the way a rented metal frame often is.
How can I build a DIY wooden arch backdrop?
Most DIY builds are actually a square-top arbor: two 4×4 uprights around 8 feet tall, one or two 2×6 top rails spanning about 7 feet between them, joined with lag screws or pocket-hole screws, and stabilized with diagonal braces and either concrete footings or weighted post bases.
What are some creative ways to decorate a wooden arch backdrop?
Zip-tie or wire on floral garlands and greenery, wrap battery-powered string lights around the frame, or hang lightweight fabric drape from the top rail. Attach real flowers the day of the event since they wilt within hours outside refrigeration.
Can a wooden arch backdrop be used for indoor and outdoor events?
Yes, but stability requirements differ. Indoors, weighted bases are usually enough since there’s no wind load. Outdoors, plan for wind: concrete footings for a permanent structure, or heavy weighted steel bases for a portable one.
Bottom Line
If you’re picturing a rounded arch, most “DIY wooden arch” projects are actually a straight-lumber rectangular arbor – and that’s the easier, sturdier build for a first attempt. Get the dimensions and joinery right, then spend your real effort on wind-proofing the base, since that’s the step generic guides skip and the one that actually prevents a ruined event.
Sponsored / affiliate links. As an Amazon Associate I earn from qualifying purchases. I may earn additional commission from eligible campaigns.