Wooden Log Reindeer for Outdoors
Build a wooden log reindeer for outdoors with a low, wide stance, legs at least 24 inches apart front-to-back, through-bolted joints, and exterior-rated finish on all cut ends. Poor proportions or weak fasteners let wind tip it, split the logs, and ruin the figure in one season. This guide gives exact sizes, wood choices, joint details, bracing methods, and finish steps for a stable outdoor display.
This guide is part of our Christmas Woodworking Projects: Ornaments, Gifts and Decor series.
What you’ll need
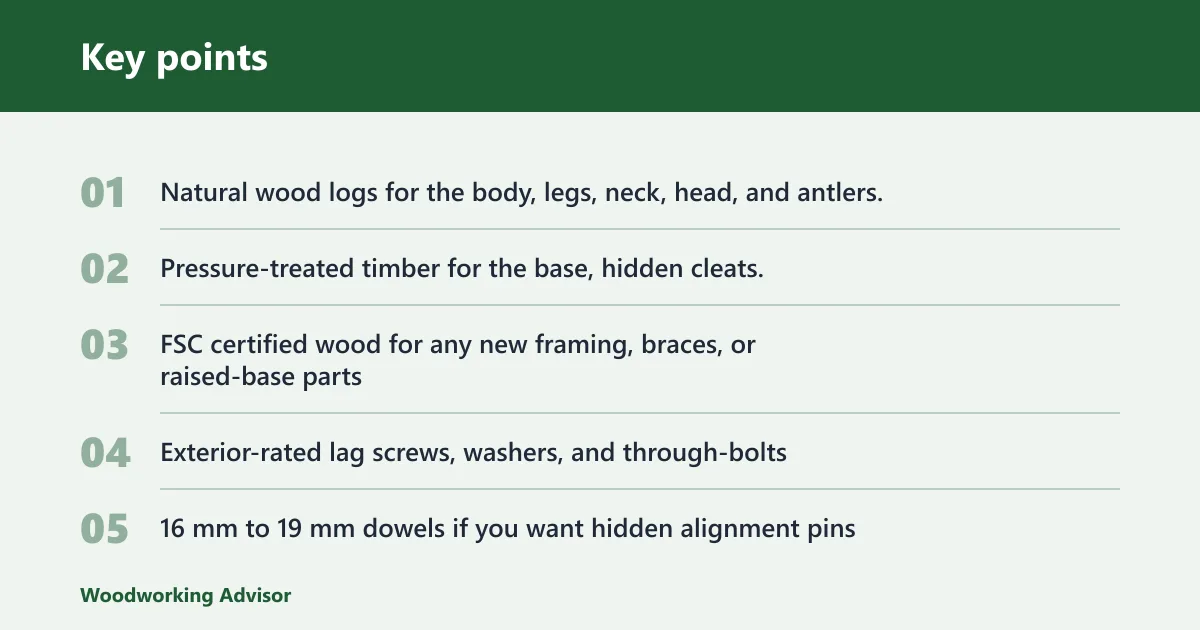


- Natural wood logs for the body, legs, neck, head, and antlers; choose sound pieces with no active rot or long splits
- Pressure-treated timber for the base, hidden cleats, or ground-contact framing where rot risk is highest
- FSC certified wood for any new framing, braces, or raised-base parts
- Exterior-rated lag screws, washers, and through-bolts
- 16 mm to 19 mm dowels if you want hidden alignment pins
- Metal angle brackets or strap brackets for concealed support
- One or two lengths of rebar or ground anchors for anchoring in soft soil
- Exterior wood preservative, stain, paint, or penetrating oil
- Exterior caulk for sealing cut ends and bolt holes
- Saw, drill, drill bits, driver, clamps, square, tape measure, and marker
- Safety glasses, hearing protection, gloves, dust mask, and steel-toe footwear
- Shovel or tamping tool for setting the footing
Safety gear and handling
Logs are heavy, awkward, and hard to control. Clamp each round piece before drilling, support long cuts at both ends, and get help for any piece that cannot be lifted safely without twisting your back. A flat, steady work surface matters as much as the saw.
Log reindeer materials table

Use this as a build checklist. The sizes below give you a workable outdoor figure with enough mass to resist wind, yet light enough to move for seasonal storage.
| Part | Recommended diameter | Cut length | Fastening choice | Footing or support | Finish choice | Common failure point |
|---|---|---|---|---|---|---|
| Body | 6 to 8 inches | 24 to 30 inches | Two through-bolts or heavy lag screws into a hidden spine | Raised base with pressure-treated timber | Exterior stain or paint on all cut ends | Checking at the ends, loose body-to-leg joints |
| Front legs | 3 to 4 inches | 28 to 34 inches | Through-bolts with washers; dowels only as alignment aids | Cross base or stake points | Wood preservative plus topcoat | Wobble from uneven leg length or soft ground |
| Rear legs | 3 to 4 inches | 28 to 34 inches | Lag screws or through-bolts | Wider rear stance for balance | Exterior stain or paint | Twist if grain runs strongly off-center |
| Neck | 3 to 4 inches | 10 to 14 inches | Hidden bracket or short rebar sleeve | Braced between body and head | Preservative on end grain | Splitting at the shoulder joint |
| Head | 4 to 5 inches | 12 to 16 inches | Through-bolt or concealed bracket | Supported by neck brace | Stain or paint over sealed end grain | Crack from over-tightened fasteners |
| Antlers | 1 to 2 inches | 12 to 24 inches total per side | Dowels, screws, or hidden pins | Light support from head piece | Preservative or paint | Breakage if branches are green or brittle |
| Base | 2 by 4 or 2 by 6 framing | 36 to 48 inches overall width | Exterior screws and brackets | Raised base with feet or blocks | Pressure-treated timber or FSC certified wood with sealer | Ground moisture, rot, seasonal movement |
How do you size the logs?
Start with the body and work outward. A practical outdoor reindeer uses a 24- to 30-inch body, legs around 28 to 34 inches, and a neck that keeps the head high enough to clear the body without making the figure top-heavy. Keep the body heavier than the top half.
Choose a body length
Pick a body log in the 24- to 30-inch range and keep the diameter at 6 to 8 inches. That size gives enough visual mass for an outdoor display without creating an unmanageable lift. If the log is much larger, the structure needs a wider base and stronger joints.
Match leg diameter to height
Use 3- to 4-inch diameter legs for most backyard builds. Smaller than that, and the legs flex under load or split near the bolts. Larger legs can work, but they add weight and can make the figure look clumsy unless the body is proportionally larger too.
Scale the head and antlers
A 4- to 5-inch head log keeps the proportions believable, and antlers made from 1- to 2-inch branches stay light enough to resist snapping. Reclaimed branches can work if they are dry, sound, and free of rot, insect tunnels, and active cracking. Avoid green wood for antlers.
How do you make a wooden reindeer from logs?

Cut the main parts to size, dry-fit the frame, drill aligned bolt holes, and build from the base up. The order matters: get the legs standing square before attaching the body, then add the neck, head, and antlers only after the lower frame no longer moves.
- Lay out the body, four legs, neck, head, and antlers on a flat floor and mark the grain direction.
- Cut the body to 24 to 30 inches, legs to 28 to 34 inches, neck to 10 to 14 inches, and head to 12 to 16 inches.
- Trim each cut end square so the joints seat flat and the figure does not lean.
- Drill 3/8-inch pilot holes for lag screws, or drill matching through-bolt holes for washers and nuts.
- Set the front legs and rear legs into a low, wide stance, with at least 24 inches front-to-back between the pairs.
- Fasten the legs to a hidden base using through-bolts or lag screws, then check that the frame does not rack.
- Add the body to the leg frame, using a hidden spine, angle brackets, or short dowels as alignment aids.
- Fix the neck to the body with a bracket or short rebar sleeve, then attach the head with one main fastener and one anti-rotation fastener.
- Attach the antlers with screws or dowels, keeping the left and right sides balanced in length and angle.
- Seal every cut end, bolt hole, and exposed end grain before the first outdoor placement.
Suppose one rear leg is 1/2 inch longer than the other. The reindeer may lean enough that wind loads collect on one side, which turns a small error into wobble. Trim the longer leg instead of forcing the base level with shims under only one corner.
Build the body and legs
Use a raised base under the legs so the wood stays off wet ground. Pressure-treated timber makes sense here because it resists rot over time and suits outdoor use better than untreated framing. For visible body logs, many builders still prefer natural wood logs for the rustic look.
How do you keep it stable outdoors?
Stability comes from a wider stance, a dry base, and joints that cannot twist. A low center of gravity matters more than heavy antlers or decorative extras. If the figure can rock by hand, it will move more in wind and loosen faster at the fasteners.
Use a wider stance
Space the front and rear leg pairs so the footprint is broader than the body is tall. A low, wide silhouette is harder to tip and gives the body more support. If the ground slopes, level the base first rather than compensating with one long leg.
Use rebar stakes or ground anchors where soil is soft or the display sits in an open yard. Drive anchors beside the base and tie them to hidden brackets so the fasteners are not visible. Ballast can help too, but it should not replace anchoring in exposed sites.
Prevent wobble at the joints
Through-bolts with washers resist loosening better than plain wood screws in round logs. Lag screws work for lighter loads, especially when paired with brackets, but they do not resist shear as well as bolts. Dowels are best used for alignment, not as the only structural fastener.
Picture a reindeer placed near a driveway where wind channels between buildings. A light body and tall antlers can start to sway even if the base looks square. In that case, a hidden anchor and a heavier base beam solve more than a fresh coat of finish ever will.
How should you finish outdoor logs?
Seal the end grain first, then choose a finish that fits how often the figure will sit outside. Exterior stain, paint, penetrating oil, and wood preservative all work in different ways. The goal is to slow moisture exchange, not to trap wet wood inside a brittle shell.
Seal end grain first
End grain absorbs water faster than the long face of a log. Brush or wipe preservative and sealer onto every cut end, bolt hole, and checked section before assembly if possible. This matters most at the bottom of the legs and any hidden contact point.
Choose stain, paint, or preservative
Exterior paint gives the strongest color block, but it can crack if the log checks deeply. Stain moves with the wood better and is usually simpler to refresh. A penetrating preservative suits hidden parts and base framing, especially where pressure-treated timber is used for rot resistance.
Plan for recoat and storage
Inspect the finish before the season begins and again after hard rain or frost. Recoat exposed cut ends and any worn high points each year, or sooner if water no longer beads on the surface. Store the reindeer under cover on blocks so the base does not sit on damp concrete.
Common mistakes
The biggest failures are moisture contact, weak joints, and untreated end grain. A log reindeer can look solid on day one and still fail after the first wet spell if the base traps water or the legs are fixed with fasteners that cannot resist side load.
- Skipping drainage and elevation: If the base sits flat on the ground, water pools and wicks into the wood. Use a raised base and add drainage holes in any enclosed support section.
- Using weak joints for round logs: Screws alone can strip in end grain. Use through-bolts, brackets, or hidden rebar where the load carries across grain.
- Ignoring checks and splits: Small end cracks grow in frost and rain. Cut back damaged ends or move the fastener line away from the split.
- Using green reclaimed wood: Reclaimed logs or branches must be dry and sound. If the wood is soft, punky, or insect-damaged, reject it.
- Leaving antlers oversized: Heavy antlers act like a sail. Keep them light and tied into the head with more than one contact point.
Common first-timer mistake: a 5-foot-wide stance feels oversized indoors, then shrinks once the figure sits on uneven turf. If one leg sinks 1 inch after a rain, the whole frame can twist. Set the base on compacted gravel or pavers if the yard stays soft.
Frequently asked questions
What size logs do I need for an outdoor log reindeer?
A practical build uses a 6- to 8-inch body log, 3- to 4-inch legs, a 3- to 4-inch neck, a 4- to 5-inch head, and antlers from 1- to 2-inch branches. Those sizes keep the figure stable without making it too heavy to move.
Do I need to pressure treat a wooden log reindeer for outdoors?
Not for every visible part. Pressure-treated wood is most useful for the raised base, hidden framing, and any piece that may see ground splash or damp storage. Visible natural wood logs can still be used for the body and legs if you seal the end grain well.
How do you keep a log reindeer stable in wind?
Use a broad stance, through-bolted joints, and a raised base with anchors. Rebar stakes or hidden ground anchors work well in open yards. If the figure still rocks by hand, increase the footprint or add ballast before the first storm.
What tools do I need to build a wooden reindeer from logs?
Use a saw, drill, bits, driver, clamps, square, tape measure, and a marker. Add safety glasses, hearing protection, gloves, and a dust mask. For heavy pieces, plan a second person or a lifting aid before you start drilling and assembly.
How should I seal or finish a wooden reindeer for outdoor use?
Seal every cut end and bolt hole first, then use exterior stain, paint, or a penetrating wood preservative. Recheck the finish each season. If water stops beading on the surface, apply another coat before the wettest part of the year.
Can I make a wooden reindeer from reclaimed logs or branches?
Yes, if the wood is dry, sound, and free of active rot, insect damage, and major splits. Reclaimed pieces work well for antlers and smaller members. Reject anything soft, crumbly, or cracked through the fastening area, because it will fail under load.
Sponsored / affiliate links. As an Amazon Associate I earn from qualifying purchases. I may earn additional commission from eligible campaigns.
 PATIKIL 5/8 x 8 Inch Wooden Dowel Rod, 30 Pcs Wood Dowels Unfinished Round Wood Sticks Precut Wooden Rods for Craft DIY Projects Home Decor, Natural Color
 PATIKIL 3/4 x 8 Inch Wooden Dowel Rod, 8 Pcs Wood Dowels Unfinished Round Wood Sticks Precut Wooden Rods for Craft DIY Projects Home Decor, Natural Color