Does Whitewood Stain Well? Uncover the Surprising Truth!
Yes, whitewood stains well. Its porous texture absorbs stain evenly, enhancing its natural beauty.
Whitewood is a popular choice for various woodworking projects due to its affordability and versatility. This softwood, often used in furniture and cabinetry, accepts stains effectively, making it a favorite among DIY enthusiasts and professionals alike. Staining whitewood can bring out its grain patterns, providing a rich appearance that rivals more expensive hardwoods.
Choosing the right stain can elevate your project, whether you’re aiming for a rustic charm or a modern finish. Understanding how to prepare and apply stain on whitewood is essential for achieving the best results. With the right techniques, you can transform simple pieces into stunning works of art.
Introduction To Whitewood
Whitewood is a popular choice for many carpenters. It is known for its light color and fine grain. This wood is often used in furniture making and cabinetry. Its soft texture makes it easy to work with. Many people love its natural look.
Common uses for whitewood include tables, chairs, and shelves. It is also great for decorative items. Whitewood takes stain well, allowing for beautiful finishes. Staining enhances its natural beauty, making it more appealing.
| Common Uses | Benefits |
|---|---|
| Furniture | Durable and versatile |
| Cabinetry | Easy to customize |
| Decorative Items | Aesthetic appeal |

The Nature Of Staining Wood
Staining wood enhances its beauty and protects it. Many choose to stain for color and texture. Stain helps to highlight the wood grain. It also prevents damage from water and UV rays.
Several factors affect how well wood takes stain. The type of wood plays a big role. Whitewood can accept stains well, but results vary. Its density and porosity impact the absorption of the stain.
Other factors include the preparation of the wood. Sanding and cleaning improve stain adhesion. The stain type and application method also matter. Oil-based stains often penetrate deeper than water-based ones.
| Factor | Effect on Staining |
|---|---|
| Type of Wood | Affects color and absorption |
| Preparation | Improves adhesion and finish |
| Stain Type | Determines depth and color |
Prepping Whitewood For Staining
To achieve the best results, sanding is crucial for whitewood. Start with a coarse grit sandpaper, like 80 grit. This helps remove rough areas and imperfections. Next, switch to a finer grit, such as 220 grit. This prepares the surface for staining.
After sanding, cleaning the surface is essential. Use a damp cloth to remove dust and debris. Ensure the wood is completely dry before applying any stain. A clean surface allows for even application and better absorption of the stain.
Consider using a vacuum or tack cloth for thorough cleaning. These tools help eliminate tiny particles. Following these sanding techniques and cleaning steps will enhance the final appearance of your stained whitewood.
Choosing The Right Stain For Whitewood
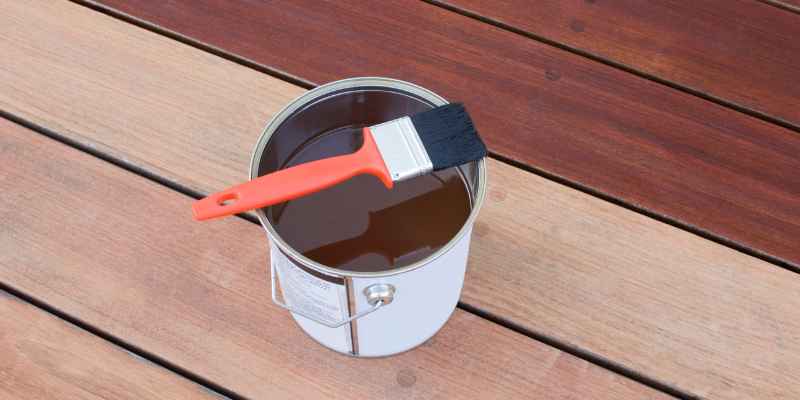
Choosing the right stain for whitewood is important. Both oil-based and water-based stains have unique benefits.
Oil-based stains penetrate deeply. They provide a rich, warm color. These stains take longer to dry.
Water-based stains dry faster and have less odor. They are easier to clean up. However, they may not penetrate as deeply.
| Type of Stain | Pros | Cons |
|---|---|---|
| Oil-Based | Deep penetration, rich color | Long drying time, strong odor |
| Water-Based | Quick drying, easy cleanup | Shallower penetration, may raise grain |
Color choices for whitewood vary widely. Popular options include walnut, cherry, and pine. Each color highlights the wood’s natural beauty.
Testing a small area first is wise. This ensures the final look meets expectations.
Application Techniques For Stunning Results
Choosing between brush and rag application affects the finish. A brush gives a more even coat. It reaches into grooves and details well. Rags offer a quick and easy method. They can create a soft and natural look.
Applying multiple coats enhances the depth of color. Start with a thin layer to avoid drips. After drying, lightly sand the surface. This helps the next coat adhere better. Repeat this process for up to three coats for a rich finish.
Common Challenges In Staining Whitewood
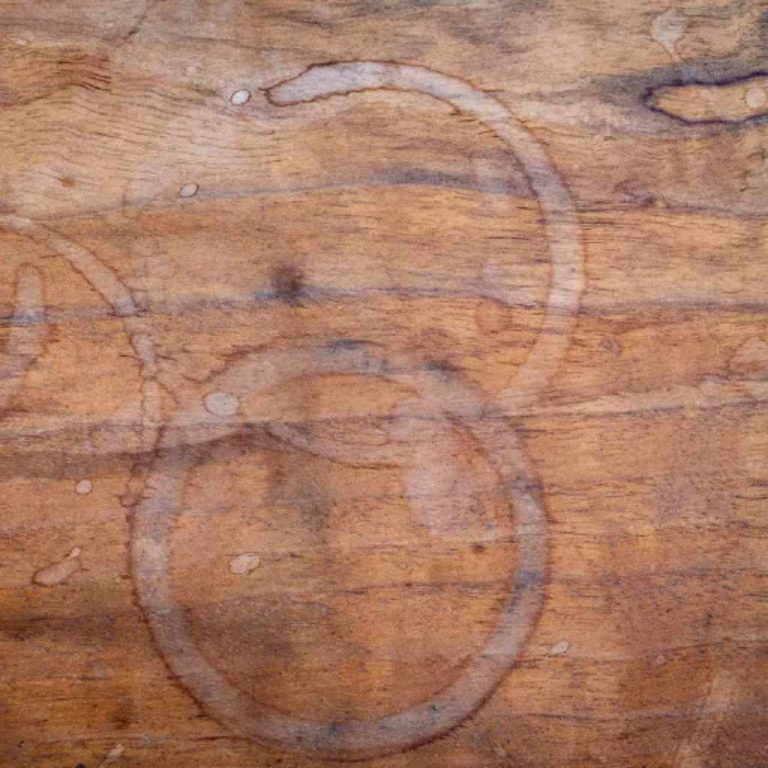
Staining whitewood can be tricky. Blotching is a common issue that arises. It happens when the stain absorbs unevenly. To prevent blotching, use a pre-stain conditioner. This helps the wood absorb the stain evenly.
Grain raising can also occur during the staining process. This happens when the wood fibers swell after applying moisture. To minimize grain raising, sand the wood before staining. Use fine-grit sandpaper for best results. After sanding, wipe the surface clean with a damp cloth.
Protecting Your Stained Whitewood
Whitewood can be beautifully stained for a great finish. Choosing the right top coat is key for durability. Products like polyurethane and varnish offer strong protection. Oil-based options provide a rich, deep finish.
Water-based finishes dry fast and are easy to clean. Each option has its own advantages. Test a small area before applying to see how it looks.
| Top Coat Type | Durability | Finish Type |
|---|---|---|
| Polyurethane | High | Glossy |
| Varnish | Medium | Satin |
| Water-based | Medium | Matte |
Regular maintenance keeps whitewood looking its best. Clean surfaces gently to avoid damage. Reapply top coats every few years for lasting beauty.
Real-life Examples Of Stained Whitewood Projects
Stained whitewood can create stunning transformations in any project. Many homeowners have shared their before and after photos. These examples show how whitewood can enhance the look of a space.
One project involved a simple whitewood table. Before, it looked plain and dull. After staining, it became a rich, warm brown. This change made the table a focal point.
Another example is a whitewood fence. Initially, it was bare and uninviting. A deep stain brought out the natural grain and added character.
For the best results, choose a high-quality stain. Test the stain on a small area first. This helps ensure the desired color. Always follow the manufacturer’s instructions for application.
Keep in mind that whitewood may absorb stain unevenly. Sanding the surface lightly can help. This creates a smoother finish and better color.
Frequently Asked Questions
Does Whitewood Take Stain Well?
Yes, whitewood can take stain well, but it depends on the type of stain used. Water-based stains often penetrate better than oil-based options. Proper surface preparation, such as sanding and cleaning, significantly enhances stain absorption. Test on a small area first to ensure desired results.
What Type Of Stain Is Best For Whitewood?
For whitewood, gel stains and water-based stains are recommended. Gel stains provide better control and even application. Water-based stains are less likely to raise the grain. Both types allow the natural beauty of the wood to shine through while offering a range of color options.
How Can I Prepare Whitewood For Staining?
To prepare whitewood for staining, start by sanding the surface. Use fine-grit sandpaper for a smooth finish. Remove dust with a damp cloth before applying stain. Additionally, consider using a wood conditioner to ensure even stain absorption. This preparation helps achieve a beautiful final look.
Can I Achieve A Dark Finish On Whitewood?
Yes, you can achieve a dark finish on whitewood. However, it may require multiple coats of stain. Darker stains can sometimes mask the wood grain, so choose wisely. Test the stain on a small piece to see how it reacts.
This ensures you get the desired dark tone.
Conclusion
Whitewood can take stain well, enhancing its natural beauty. The key is proper preparation, including sanding and applying a suitable primer. Experimenting with different stains can yield beautiful results. Ultimately, whitewood offers great potential for stunning finishes. With the right techniques, you can achieve a professional look for your projects.