Exterior Rough Sawn Plywood: Durability, Uses & Sealing Guide
“Exterior” on a sheet of rough sawn plywood describes the glue holding the veneers together, not a promise that the wood itself is weatherproof. That distinction trips up a lot of people mid-project: they buy exterior-rated (often WBP, or “weather and boil proof,” phenolic-bonded) rough sawn plywood, nail it up as siding or fencing, and assume the job is done. It isn’t. The glue line will survive rain and humidity for decades. The wood fibers themselves will still cup, check, and eventually rot if the face and edges aren’t sealed and kept sealed.
This guide covers what the exterior rating actually protects, where rough sawn plywood earns its keep outdoors (siding, fencing, sheds, garden structures), how long it realistically lasts under different finishes, and the installation and resealing habits that separate a panel that lasts 20+ years from one that delaminates in five.
What “Exterior” Rough Sawn Plywood Actually Means
Best Exterior Plywood Sealant Pick
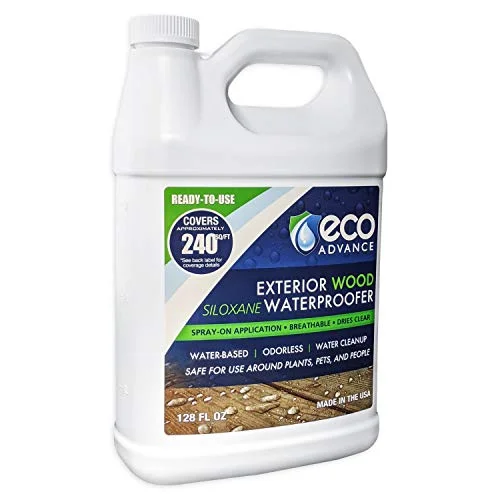 |
Eco Advance Exterior Wood Siloxane Waterproofer, 1 Gallon – $29.55 A penetrating, breathable sealer made specifically for plywood, siding, and fencing — exactly the “seal all six sides” step this article covers.
|
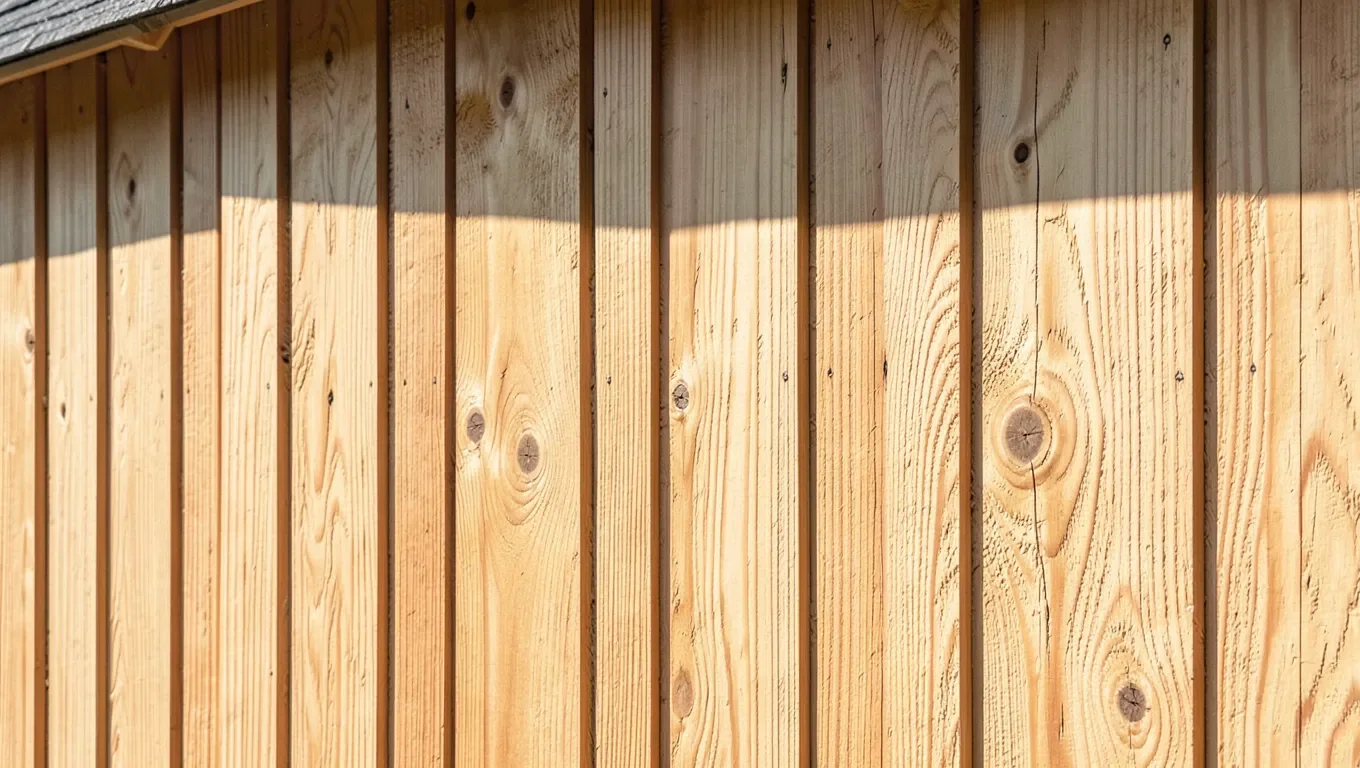
Rough sawn plywood gets its texture from how the face veneer is milled — instead of sanding it smooth, the outer ply is left with visible saw marks, giving it the rustic, board-and-batten look you see on cabins, sheds, and products like T1-11 siding panels. That texture is cosmetic. The part that actually determines outdoor performance is the adhesive bonding the veneer layers together, and that’s what the “exterior” or “exposure 1” rating on the panel refers to.
Exterior-bond plywood typically uses a phenolic resin adhesive — often called WBP glue, for “weather and boil proof” — that won’t delaminate under continuous moisture the way interior urea-formaldehyde glue will. That’s a real, meaningful upgrade over interior-grade plywood. But it only protects the glue line between plies. It does nothing to stop the wood fibers themselves from absorbing water, swelling, checking, or hosting mold and rot if the surface is left bare. A sheet of exterior plywood left unfinished outdoors will still gray, cup at the edges, and eventually fail — it just won’t delaminate into separate layers the way interior plywood does. Treat the exterior rating as “won’t come apart in the rain,” not “doesn’t need a finish.”
Why the Rough Texture Is an Advantage Outdoors
The saw-textured face isn’t just aesthetic — it changes how the panel behaves once you’re ready to finish it. A smooth-sanded face sheds paint and stain more easily because there’s less surface area and no mechanical grip for the coating to key into. The torn wood fibers on a rough sawn face give primer, paint, and penetrating stains something to physically grab onto, which is a big part of why rough sawn panels and products like T1-11 siding are a common choice for exterior cladding rather than sanded shop-grade plywood.
The same texture that helps a coating hold on also means the panel absorbs more of that coating on the first application — expect to use noticeably more paint or stain per sheet than you would on smooth plywood, and plan on a full two-coat system rather than trying to stretch a single coat over the whole surface. Skimping on coverage here is one of the most common reasons a rough sawn exterior panel weathers unevenly within the first year.
Where It’s Actually Used
The single biggest use case is exterior wall siding. Rough sawn plywood siding is usually sold under trade names like T1-11 (also written T-111), typically 5/8-inch thick with vertical grooves milled in at 4, 8, or 12-inch spacing to mimic individual boards. If you’re specifically shopping for that panel — sizing, cost per sheet, and grooved patterns — our T-111 cedar plywood siding guide goes deep on installation and pricing for that exact product.
Outside of siding, rough sawn exterior plywood shows up on garden structures — fences, trellises, raised beds, and potting benches — where the rustic texture is the point and the panel doesn’t need to carry structural load the way a wall does. Sheds and outbuildings use it for both walls and gable ends, often left with a single coat of solid-color stain rather than full paint to keep the rough character visible. It’s a weaker choice for anything that takes constant foot traffic or standing water, like a deck surface or a dock — the exposed face grain on a horizontal, walkable surface wears and traps moisture far faster than the same material used vertically on a wall.
How Long It Actually Lasts
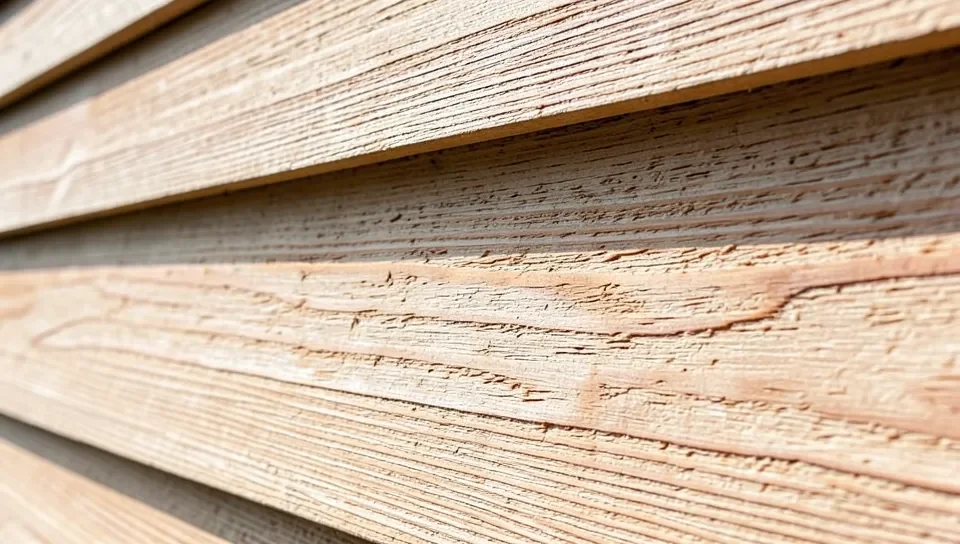
There’s no single number here because the finish, not the plywood grade, is what mostly determines lifespan. Properly primed and finished with a 100% acrylic latex paint system — and reapplied on the same schedule as any painted exterior wall — a well-installed exterior rough sawn plywood panel can realistically last 20-30 years before the substrate itself is the limiting factor. The same panel finished with a thin, semi-transparent penetrating stain instead of paint will need recoating far more often, often every 2-4 years, because a stain film offers far less UV and moisture blocking than a full paint film.
The failure points that actually end a panel’s life early are almost always the same three things: unsealed cut edges (the exposed end grain at a rip cut wicks water many times faster than the face), ground contact or splashback from a roofline with no gutter, and gaps at seams and fasteners where water can sit against the panel instead of running off. A panel with a perfect field coat but bare edges will rot from the edges in long before the face finish wears out.
Installation Techniques
Before a panel ever goes up, prime and seal all six sides — both faces, both edges, top and bottom — not just the face that will be visible. This is the single most skipped step and the one most responsible for early edge rot, because a cut sheet exposes raw end grain that the mill’s factory coating never touched.
Surface Preparation
Let the panel acclimate to outdoor humidity for a few days before installing it, especially in a dry climate, so it isn’t fighting moisture movement right after you finish it. Knock down any splinters or loose fibers along cut edges with a rasp or sandpaper, and blow or brush off saw dust before priming — dust trapped under a coat of primer creates a weak bond point that fails first.
Fastening Methods
Use hot-dip galvanized or stainless exterior-rated nails or screws; standard fasteners will rust, bleed streaks down the face, and eventually lose their grip. Leave a small gap (about 1/8 inch) between panel edges and at any butt joints to allow for seasonal expansion, and flash the top edge of any horizontal seam so water sheds over it rather than behind it. On siding installations, keep the bottom edge at least 6-8 inches above final grade or hardscape to keep splashback off the panel.
Maintenance and Resealing
Rinse the surface with a garden hose and a soft brush once or twice a year to clear pollen, dirt, and mildew spores before they get a foothold in the rough texture — a pressure washer set too aggressively can actually blast fibers loose from the textured face, so keep it on a low setting or skip it in favor of hand washing. Inspect the finish annually, paying particular attention to south- and west-facing walls, which take the most UV exposure and will visibly chalk or thin out first.
Don’t wait for bare wood to show before recoating. Once water starts beading less readily on the surface, the finish is on its way out, and recoating at that point is far less work than stripping and refinishing a panel that’s been left bare and gray for a season. Keep the same product family (stain over stain, or paint over paint) on recoats rather than switching finish types, since some combinations don’t bond well to each other.
Cost-Effectiveness
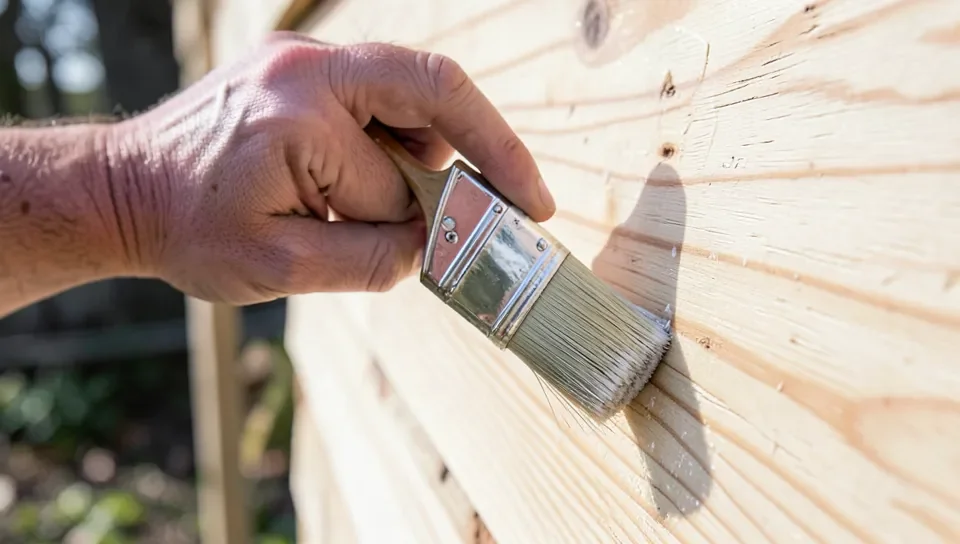
Rough sawn exterior plywood is one of the more budget-friendly options for cladding a shed, garage, or garden structure compared to individual dimensional siding boards, brick, or stone — you’re covering a large area per sheet instead of installing narrow boards one at a time, which cuts both material and labor cost. The tradeoff is that the ongoing cost isn’t zero: budget for a finish system up front (primer plus two coats, on every face and edge) and for periodic recoating on the schedule above. Skipping the finish to save money upfront is the most common way this material ends up costing more in the long run, since replacing rotted panels costs far more than a can of sealer ever would have.
Frequently Asked Questions
Does exterior rough sawn plywood need to be sealed if it’s already rated for outdoor use?
Yes. The exterior rating refers to the waterproof glue bond between the veneer layers, not a finish on the wood itself. Without a paint or penetrating stain applied to all faces and edges, the bare wood will still absorb moisture, gray, cup, and eventually rot, even though the panel won’t delaminate the way interior-grade plywood would.
How is rough sawn plywood made?
The face veneer is left with visible saw marks instead of being sanded smooth, giving the panel a textured, board-like look. The veneers are then bonded under heat and pressure with an adhesive — exterior-rated panels use a phenolic (WBP) resin that resists moisture, which is what makes the panel suitable for outdoor use in the first place.
Can rough sawn plywood be painted?
Yes, and the textured surface actually holds paint better than a smooth-sanded panel because the torn fibers give the coating a mechanical grip. Expect to use more paint per sheet than on smooth plywood, prime first, and plan on a full two-coat system with 100% acrylic latex for the best UV and moisture resistance.
What is rough sawn plywood used for outdoors?
Its biggest use is exterior wall siding, commonly sold as T1-11 panels with milled vertical grooves. It’s also used for fences, garden structures, and shed walls. It’s a weaker fit for decks, docks, or anything with constant foot traffic or standing water, since a horizontal walkable surface wears and traps moisture much faster than the same panel used vertically on a wall.
Conclusion
Exterior rough sawn plywood is a genuinely good, budget-friendly material for siding, fencing, and outbuildings — the textured face grips paint and stain well, and the exterior glue bond means it won’t delaminate the way interior plywood will. What it isn’t is maintenance-free. Seal all six sides before installation, keep cut edges and ground clearance covered, and stay ahead of recoating instead of waiting for bare wood to show, and a well-installed panel can realistically outlast most other budget siding options.
For a deeper look at how this material compares to pressure-treated lumber on a deck or fence project, see our pressure-treated wood vs. cedar deck guide.
Sponsored / affiliate links. As an Amazon Associate I earn from qualifying purchases. I may earn additional commission from eligible campaigns.