How Do You Join Thin Plywood Without Splitting It?
Thin plywood — sheets from 1/8″ to 1/4″ thick — bonds best with PVA wood glue and clamps for edge joints, or a scarf joint cut at an 8:1 bevel for an almost invisible splice. Router-cut dado and rabbet joints usually blow through panels this thin, and screws without pilot holes are the top cause of splitting. This guide covers scarf and backer-block sizing, safe fastener spacing, and when to laminate thin sheets instead.
What Counts as “Thin” Plywood?
Best Glue Pick for Thin Plywood
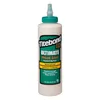
Titebond III Ultimate Wood Glue, 16 oz
A waterproof PVA glue with a long open time, which matters on thin plywood — you get more time to align the joint before it starts to grab.
- Best for: edge, scarf, and backer-block glue-ups on thin stock
- Why we picked it: long open time and strong initial tack suit thin, flexible panels that need careful alignment
- Main drawback: full cure still takes 24 hours — no shortcut on clamp time
Compare more thin plywood joinery tools
 Option 1 WORKPRO 6″ Mini Bar Clamps (2-Pack)
|
 Option 2 Low-Angle Block Plane
|
 Option 3 Self-Centering Dowel Jig
|
As an Amazon Associate we earn from qualifying purchases.
“Thin” plywood generally means 1/8-inch (3mm) to 1/4-inch (6mm) sheets — anything thicker starts to behave more like standard 1/2-inch or 3/4-inch stock. Thin panels typically have only 3 to 5 veneer plies instead of 7 or more, so they flex more, hold fasteners less securely, and split along the grain of the outer ply far more easily than thicker sheets.
That’s why the joining methods on this page differ from the router-cut dado, rabbet, and dovetail joints used on cabinet-grade 3/4-inch plywood — those cuts remove too much material for a panel this thin to survive. If you’re working with standard 3/4-inch plywood instead, see our full guide to joining plywood together for those techniques, and for sizing and pricing basics see our plywood guide hub.
Tools and Materials You’ll Need
- Cutting tool: a sharp utility knife, precision hand saw, or fine-tooth blade for straight cuts — see our guide to cutting thin strips on a table saw if you’re ripping backer or spline stock; a rotary cutter for curved edges.
- Clamps: small bar clamps or C-clamps, plus two scrap-wood cauls to spread pressure across the panel.
- Adhesive: PVA wood glue for most joints; cyanoacrylate (CA) glue for quick tack-ups; wood filler for gaps.
- Masking tape to lay over the cut line before sawing — it holds the surface veneer down and cuts down on splintering.
- Fine-grit sandpaper for leveling the finished seam.

How to Join Thin Plywood, Step by Step
This is the base process for a straight edge-to-edge or butt joint on thin stock. The joint-specific sizing (scarf angle, backer width) is covered in the comparison table below.
- Cut the mating edges square: Use a fine-tooth blade and run a strip of masking tape over the cut line before sawing — it holds the surface veneer down and stops splintering.
- Dry-fit before gluing: Hold the pieces together without glue and check for gaps; thin plywood won’t flex enough to hide a poor-fitting joint.
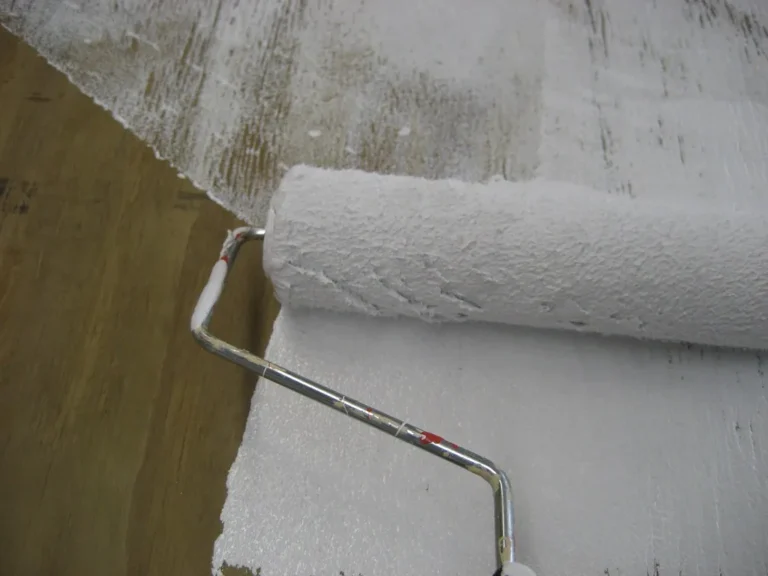
- Spread PVA wood glue evenly: Apply a thin, even coat to both mating surfaces with a brush or roller — too much glue squeezes out and starves the joint of pressure.
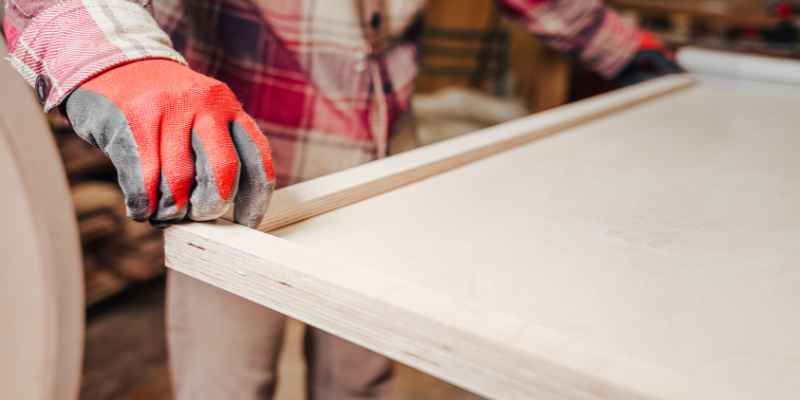
- Clamp with a caul on each side: Sandwich the joint between two scrap-wood cauls before clamping so pressure spreads evenly across the thin, flexible panel instead of denting it.
- Cure for 12 to 24 hours: Leave the clamps on the full time — see how long to clamp wood glue for specifics by glue type. Pulling clamps early, before the glue has fully set, is the most common cause of a thin plywood joint warping as it finishes drying.
- Sand the seam flush: Once cured, sand across the joint with fine-grit paper to level any glue ridge before finishing.
Watch: Working With Thin Baltic Birch Plywood
Choosing the Right Joint: Scarf, Backer Block, or Lamination
Each method below trades off invisibility, strength, and skill required — the specs are sized for 1/8-inch to 1/4-inch stock specifically.
| Joint Type | Key Spec | Best For | Difficulty |
|---|---|---|---|
| Scarf joint | 8:1 bevel ratio — on 1/4″ plywood that’s roughly a 2″ taper | Splicing two sheets into one long, nearly seamless panel | Advanced |
| Butt joint + backer block | Backer at least 16× the panel’s thickness wide (4″ on 1/4″ ply) | Fast structural splice where one face is hidden | Beginner |
| Staggered lamination | Offset each layer’s seam by 6″ or more so no two joints line up | Building up thickness from several thin sheets | Intermediate |
| Tongue and groove | Router-cut groove — needs at least 1/4″ stock to hold a usable tongue | Edge-to-edge panel glue-ups | Intermediate |
📊 An 8:1 bevel ratio is the standard scarf-joint convention for plywood — it comes from boat-building practice, where thin marine plywood scarfs have to hold up under flex and load. — Source: Epoxyworks (Gougeon Brothers plywood scarfing technical notes)
Reinforced and Advanced Joints
Splines Instead of Biscuits
A standard biscuit joiner needs at least 1/2-inch of material to center its slot without breaking through the face — most thin plywood (1/8″ to 1/4″) is too thin for it. Use a spline instead: cut a shallow groove into both mating edges with a table saw or router, then glue in a thin strip of the same plywood as the spline. It does the same job as a biscuit — aligning and reinforcing the joint — but works down to 1/8-inch stock.
Dowels and Pocket Screws
Dowel joints use small wooden dowels glued into matching drilled holes to align and strengthen the joint — a self-centering dowel jig keeps the holes from drifting off-center, which matters more on thin stock where an off-center hole can blow through the face. Pocket screws pull two pieces together quickly with an angled screw, but most pocket-hole jigs are rated for 1/2-inch material and up — on anything thinner, the screw itself can split the panel unless you pre-drill a pilot hole first.
Fiberglass or Epoxy Reinforcement
For joints that need to flex or take repeated load — a boat hull panel or a curved cabinet piece — a strip of fiberglass tape set in epoxy over the glue line adds tensile strength that PVA glue alone doesn’t provide.
Veneer Inlays and Digital Fabrication
A wood veneer inlay cut into a corresponding slot can dress up a visible joint while adding a small amount of reinforcement. If you have access to a laser cutter or CNC router, interlocking finger or box joints can be cut into thin plywood with more precision than a hand saw allows — useful for a project like a plywood box build where the joints show.
Fixing Splitting, Warping, and Gaps
Preventing Splits
- Score the cut line with masking tape before sawing to keep the surface veneer from tearing out.
- Pre-drill pilot holes before driving any nail or screw — this is the single most effective fix for splitting.
- Space brad nails or screws 6 to 8 inches apart, and never drive one within 1/2 inch of an edge.
“The biggest cause of a cracked thin plywood joint in our shop isn’t the glue — it’s clamping too hard against an unsupported edge. A scrap caul under the clamp jaws spreads that pressure out and stops the crushing that splits the outer veneer.”
Preventing Warping
- Store sheets flat, not leaning on edge, until you’re ready to join them.
- Keep the joint clamped for the full 12-24 hour cure — removing clamps early is the most common cause of a joint warping as it finishes drying.
- Use a moisture barrier or sealant on any project that will see humidity or outdoor exposure.
Fixing Gaps and Excess Glue
Fill small gaps with wood filler and level it with a putty knife once dry. Trim any overlap with a sharp blade before it fully cures. For squeeze- out, scrape off excess glue with a putty knife while it’s still rubbery, then sand lightly and wipe the area with a damp cloth — sanding dried glue while it’s still wet just smears it into the grain.
Finishing the Joint
Sand the seam with fine-grit paper, working evenly across the joint rather than just the high spot, to avoid creating a dip. Fill any remaining gaps or pinholes with wood filler and sand it flush once dry. Finish with a suitable topcoat for the project — the finish is also what protects the joint from the moisture that causes warping later.
Frequently Asked Questions
What thickness plywood is considered “thin”?
Plywood from 1/8-inch (3mm) to 1/4-inch (6mm) is generally considered thin. It typically has only 3 to 5 veneer plies instead of the 7 or more found in 3/4-inch sheets, which is why it flexes more and splits more easily.
How do you join thin plywood without splitting it?
Use a sharp fine-toothed saw and apply masking tape to the cut line before sawing to reduce splintering. Pre-drill pilot holes before any nail or screw, space fasteners 6 to 8 inches apart, and apply wood glue to the joint to strengthen the bond.
What are the best fasteners for joining thin plywood?
Small-gauge brad nails, narrow crown staples, or trim-head screws work best for thin plywood. Pre-drilling pilot holes helps prevent splitting, especially with screws, which are more likely to crack the panel than nails or staples.
Is it necessary to use clamps when joining thin plywood?
Yes. Clamping keeps the pieces aligned and applies even pressure while the adhesive cures. Use scrap wood cauls under the clamp jaws so the pressure spreads across the panel instead of denting or cracking it at a single point.
Can you use a router dado or a biscuit joiner on thin plywood?
Not reliably. A router dado or rabbet removes too much material from a panel under 1/4-inch thick, and a standard biscuit joiner needs at least 1/2-inch of material to center its slot without breaking through the face. A glued spline in a shallow saw-cut groove does the same job on thinner stock.
Conclusion
Thin plywood joins strongest when the method matches the material: PVA glue and a caul-backed clamp-up for most edge joints, an 8:1 scarf bevel when you want the seam to disappear, and a backer block at least 16 times the panel’s thickness when you need a fast, hidden splice. Skip the router-cut joints made for thicker cabinet stock, pre-drill before you fasten, and give the glue its full 12 to 24 hours before you pull the clamps.
Sponsored / affiliate links. As an Amazon Associate I earn from qualifying purchases. I may earn additional commission from eligible campaigns.
 Basswood Sheets 12"x12"x1/8", 3mm Basswood for Laser Cutting, Thin Plywood Board Unfinished Wood for Crafts, DIY Architectural Models Making, Wooden Engraving, Burning Product. (12)
 Baltic Birch Plywood Sheets Box of 45 - Laser Engraving Cutting, Scroll Saw Nature Veneer Color, Stronger Than Basswood, A/A Grade,12 x 12 x 1/8”, 3mm Thickness Perfect for Wood Burning