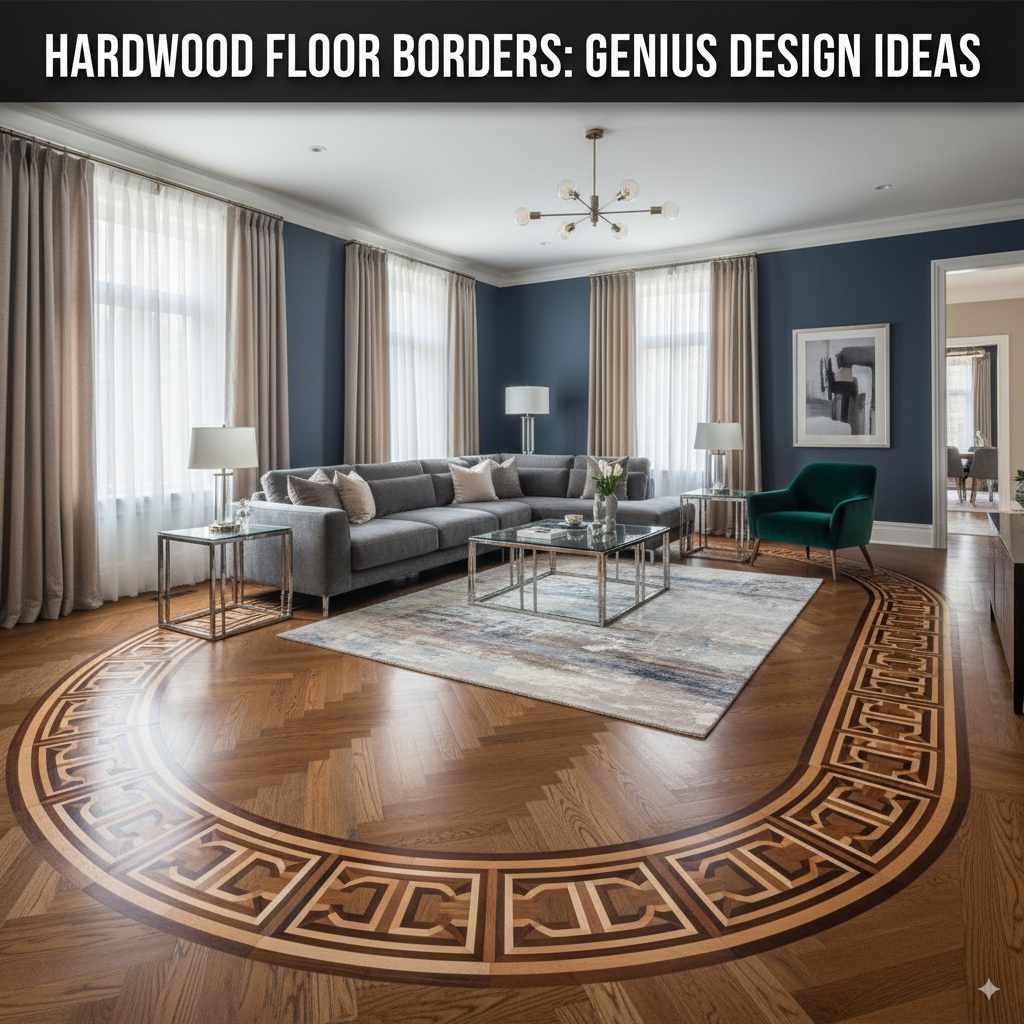
Hardwood Floor Borders: Genius Design Ideas
Hardwood floor borders can elevate any room, adding custom style and defining spaces beautifully. With straightforward techniques and creative design choices, beginners can easily achieve stunning results that look professionally installed.
Ever looked at a beautiful hardwood floor and noticed that little something extra? It’s often a border! A well-chosen hardwood floor border can make your floors look magnificent, like a picture frame for your room. If you’ve thought about adding this touch of elegance but felt intimidated, don’t worry! It’s more achievable than you might think, even for those new to woodworking. We’ll break down simple design ideas and how to approach them, making it easy for you to create a floor that wows.
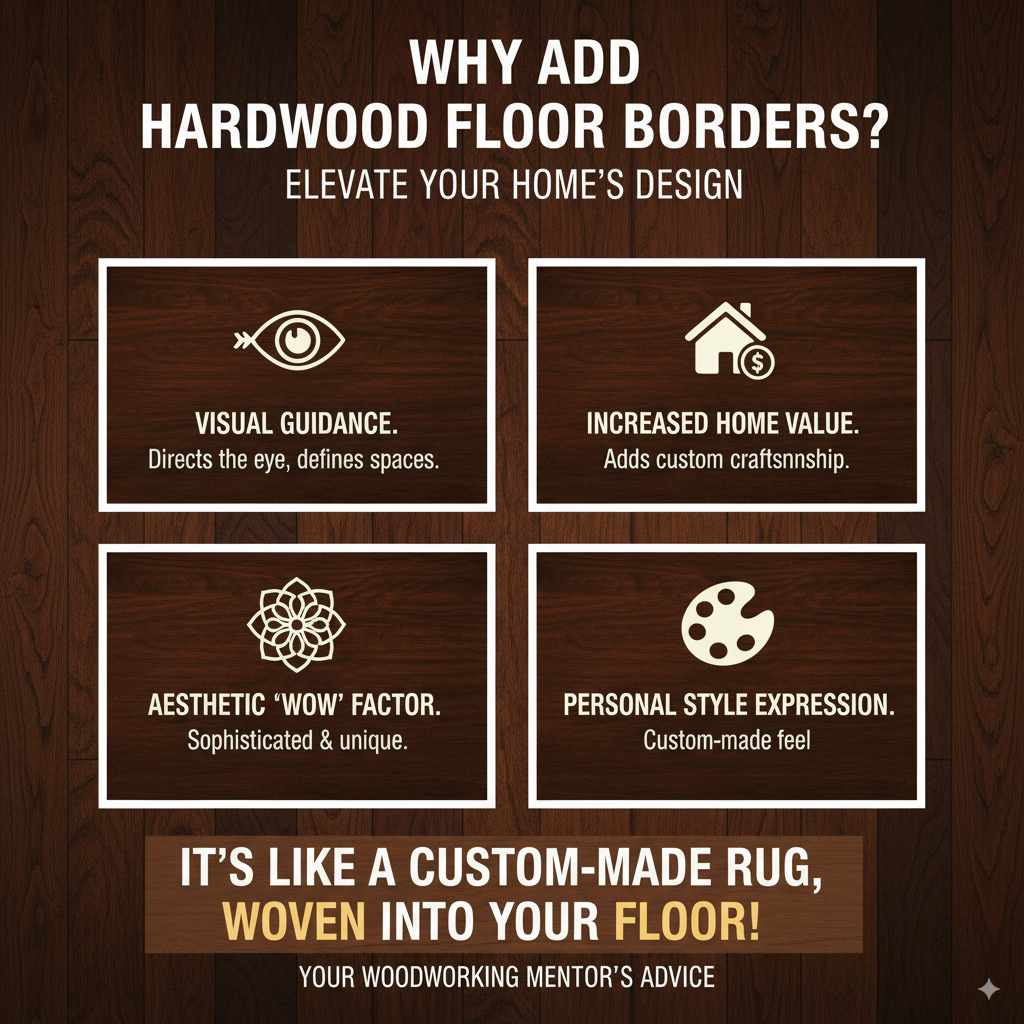
Why Add Hardwood Floor Borders?
Adding a border to your hardwood floors is like giving your home a custom made-over. It’s not just about looks, though they certainly add a sophisticated flair. Borders can visually guide the eye, making a room feel larger or defining specific areas within an open-concept space. Imagine a rug woven right into the floor, or a subtle line that separates your dining area from your living room. Borders add that “wow” factor, showcasing craftsmanship and adding resale value to your home. They are a fantastic way to express your personal style and make your flooring truly unique.
Genius Design Ideas for Hardwood Floor Borders
The beauty of hardwood floor borders lies in their versatility. They can be as simple or as intricate as you like. Here are some fantastic ideas to get your creativity flowing:
1. The Classic Rectangle Border
This is the most common and perhaps the simplest type of border. It features a single strip of hardwood running along the perimeter of the room, parallel to the walls. This creates a clean, defined edge that frames the main field of your flooring.
- Material: Often, the border is made from the same wood species as the main floor but in a contrasting color (like walnut against oak) or a complementary tone. A single plank width is typical, usually 2.25 to 3.25 inches.
- Effect: It provides a finished look, effectively containing the main flooring pattern and giving the room a polished appearance. It’s a timeless choice that works in almost any decor style.
2. The Double or Triple Plank Border
Want a bit more presence? Try using two or three planks of wood side-by-side for your border. This adds a touch more visual weight and can create a more substantial frame.
- Material: You can use the same wood species for all planks or mix and match for a subtle contrast. For instance, three planks of oak with a slightly darker stain.
- Effect: This creates a bolder statement than a single plank and can be particularly effective in larger rooms where a single strip might feel too thin.
3. Contrasting Wood Species Border
This is where things get interesting! Using a different wood species for your border can create a beautiful visual contrast.
- Material: Think dark walnut with a light maple floor, or a rich cherry with a golden oak. The key is to choose species that complement each other in color and grain.
- Effect: This boldly defines the space and adds a layer of visual interest. It’s like drawing with different pen colors – the contrast makes the design pop.
4. Inlay Borders with Geometric Patterns
For a truly custom and luxurious feel, consider inlay borders. These involve cutting intricate patterns or geometric shapes into the border area. This can range from simple squares or diamonds to more complex mosaics.
- Material: This is where you can really play with different wood types, colors, and even grain directions. Small accents of dark wood or lighter wood can create graphic patterns.
- Effect: Inlay borders are high-impact and can become a stunning focal point of your room. They are a testament to craftsmanship and are often found in historic homes or upscale renovations. While more complex, simpler geometric patterns can be surprisingly achievable for a dedicated DIYer.
5. Parquet-Style Borders
Take inspiration from parquet flooring itself! You can create borders that mimic parquet patterns, using small pieces of wood laid in repeating geometric designs.
- Material: This often involves cutting smaller pieces of wood, like finger-sized strips or squares, and arranging them in patterns such as a chevron, herringbone, or basketweave within the border area.
- Effect: This adds an incredible amount of texture and pattern. It’s a sophisticated choice that can add a traditional or even art deco vibe, depending on the pattern you choose.
6. Cable or Rope Inlay Borders
Mimicking the look of a cable or rope, these borders use thin strips of wood carefully arranged to create the illusion of twisted strands. This is a classic, elegant choice.
- Material: Typically done with thin strips of contrasting wood that are mitered at the corners to create the “twist” effect.
- Effect: This design offers a unique, almost nautical feel and adds a subtle yet intricate detail that is sure to be noticed.
7. Curved or Bowtie Borders
Moving beyond straight lines, you can incorporate gentle curves or “bowtie” shapes into your border design. These often involve cutting pieces with curved edges that fit together.
- Material: This requires more precise cutting and fitting, often with specialty tools.
- Effect: Curved borders can soften the lines of a room and add an organic, flowing feel. Bowtie inlays are small, decorative elements that can be interspersed within a more standard border for added visual interest.
Choosing the Right Wood for Your Border
Selecting the right wood is crucial for both the look and longevity of your border. Consider these factors:
- Hardness: For durability, especially in high-traffic areas, choose hardwoods that are on the Janka hardness scale. While most common hardwoods are suitable, species like hickory or maple are exceptionally durable. You can find detailed hardness ratings on resources like The Wood Database.
- Color and Grain: Think about how the border wood will interact with your main flooring. A dark border on light wood creates strong contrast, while a similar shade offers a more subtle, unified look.
- Availability and Cost: Some wood species are rarer and more expensive than others. Oak and maple are widely available and generally more budget-friendly, while exotic hardwoods can add significant cost.
- Matching Existing Floors: If you’re adding a border to an existing floor, try to match the species and finish as closely as possible for a seamless look, or choose a deliberate contrast.
Designing with Borders: Practical Tips
Beyond the style, some practical considerations will make your border project a success:
- Room Size and Shape: In smaller rooms, a simple, single-plank border in a similar color can make the space feel more expansive. Larger rooms can handle bolder patterns and contrasting colors.
- Focus of the Room: Do you want the border to be a subtle frame or a bold statement? A simple plank is understated, while an inlay pattern draws attention.
- Furniture Placement: Think about where your furniture will sit. A border can highlight the main living area or be partially covered by a rug.
- Overall Style: The border should complement your home’s architectural style and interior design. Traditional homes might suit classic inlay patterns, while modern spaces could embrace clean, geometric designs.
Tools You Might Need for a Border Project
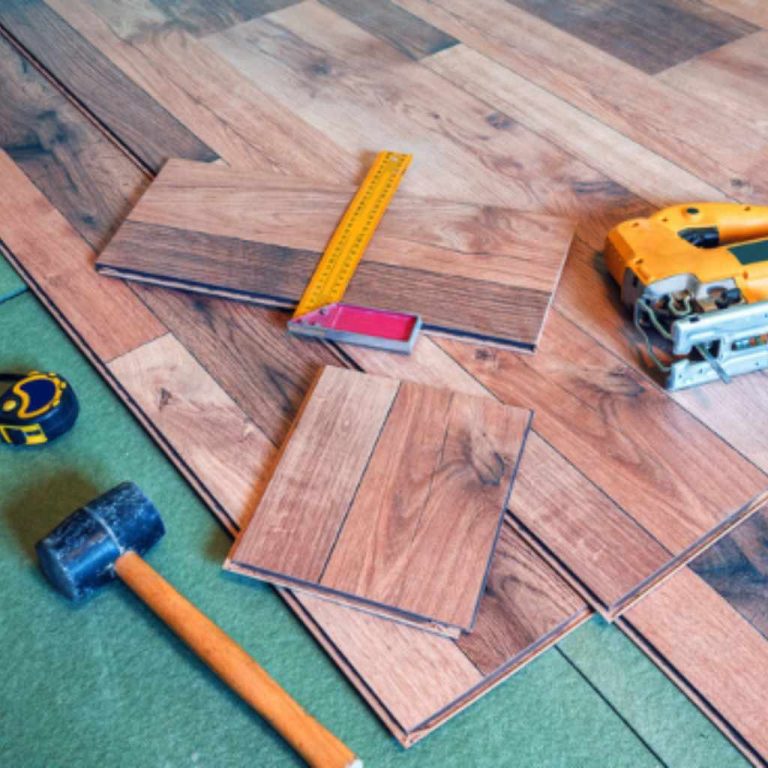
While some border designs are simpler than others, having the right tools makes the job easier and safer. For a beginner-friendly plank border, you might need:
- Measuring Tape: For accurate measurements.
- Pencil: To mark cuts and layout lines.
- Chalk Line: For long, straight layout lines.
- Circular Saw or Miter Saw: Essential for making straight, precise cuts. A miter saw is especially useful for compound cuts needed at corners for a tight fit.
- Table Saw: Invaluable for ripping planks to width and for more intricate cuts if you’re venturing into inlay work.
- Jigsaw: Useful for cutting curves if your design calls for it.
- Flooring Nailer or Brad Nailer: To secure the border planks. Ensure it’s suitable for the thickness of your border material.
- Wood Glue: For added strength at joints.
- Sandpaper and Sander: For smoothing edges and preparing for finish.
- Safety Glasses and Hearing Protection: Always prioritize safety! Familiarize yourself with safe tool operation from resources like the Occupational Safety and Health Administration (OSHA) guidelines on power tool safety.
Basic Steps for Installing a Simple Plank Border
Let’s walk through the process of adding a simple, single-plank contrasting border. This is a great starting point for beginners!
Step 1: Planning and Measuring
Decide on your border wood and its width. Measure the dimensions of your room. Calculate how much border material you’ll need, adding about 10-15% for cuts and mistakes.
Step 2: Preparing the Floor
Ensure your main flooring is installed and finished (or will be finished later). If you’re adding a border to new flooring, install the main field first. If you’re working with existing floors, you might need to carefully remove the baseboards to create a clean edge to work with.
Step 3: Laying Out the Border
Use a chalk line to mark the inside edge of your border. This line will guide where your border planks will sit. For a simple rectangular border, this might be a single line running parallel to the walls, a plank’s width away from the wall.
Step 4: Cutting the Border Planks
Cut your border planks to length. For a standard rectangular room, you’ll need four pieces. For the corners, you have two main options:
- Butt Joints: Two pieces meet at a 90-degree angle, with one piece butting into the edge of the other. This is simpler but less visually appealing.
- Miter Joints: Each piece is cut at a 45-degree angle, so they meet at the corner to form a perfect 90-degree angle. This looks much cleaner and more professional. Use a miter saw for accuracy.
Step 5: Installing the First Plank
Apply a bead of wood glue to the back of your first border plank. Position it along your marked line. Secure it using your flooring nailer or brad nailer into the subfloor.
Step 6: Continuing Around the Room
Work your way around the room, cutting and installing each subsequent plank. Ensure your miter joints are tight and there are no gaps. Use your chalk lines to keep your installation straight.
Step 7: Finishing Touches
Once all planks are secured, sand any rough edges or high spots. You can then apply finish to the border, either matching your main floor or using a different stain. If you removed baseboards, reinstall them carefully to cover the edge of the border.
Design Ideas in Summary: A Quick Comparison
Here’s a look at how different border designs stack up:
| Design Idea | Complexity | Visual Impact | Best For |
|---|---|---|---|
| Simple Plank Border | Beginner | Subtle | All room sizes/styles |
| Multi-Plank Border | Beginner | Moderate | Medium to large rooms |
| Contrasting Wood Species | Beginner to Intermediate | High | Defining spaces, adding warmth |
| Geometric Inlay | Intermediate to Advanced | Very High | Showcasing craftsmanship, luxury feel |
| Parquet-Style | Intermediate to Advanced | Very High | Adding pattern and texture |
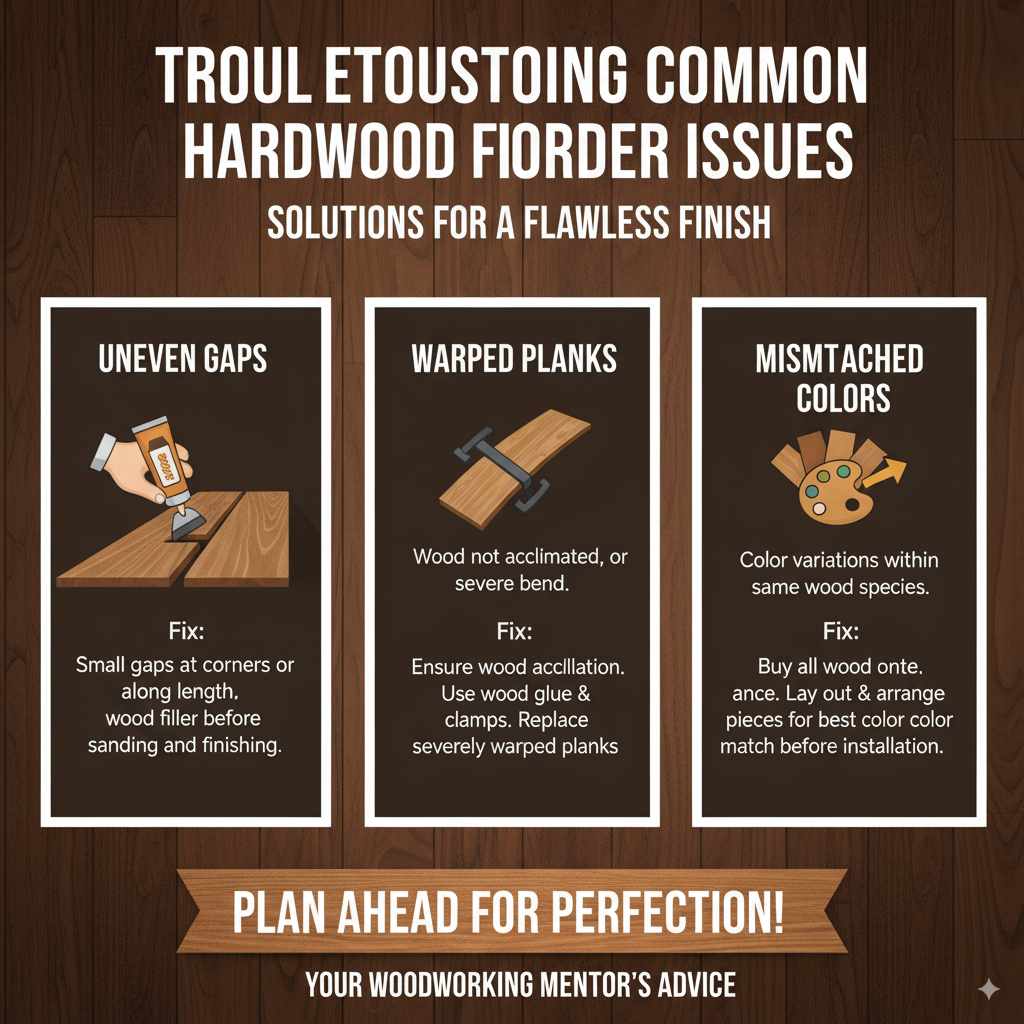
Troubleshooting Common Border Issues
Even with careful planning, you might run into a few hiccups. Here’s how to handle them:
- Uneven Gaps: If you have small gaps at the corners or along the length, a small amount of wood filler can often fix this before sanding and finishing.
- Warped Planks: Ensure your wood is properly acclimated to the room’s humidity before installation. If a plank is slightly warped, wood glue and careful clamping during installation can help. For severe warping, it’s best to replace the plank.
- Mismatched Colors: Even wood from the same species can vary in color. If you’re aiming for a consistent look, buy all your border wood at once and lay it out to arrange pieces for the best color match.
Frequently Asked Questions About Hardwood Floor Borders
Can I install a hardwood floor border myself?
Absolutely! Simple plank borders are very manageable for DIYers. More intricate inlay designs require advanced skills, but basic borders are a great way to start.
What kind of wood is best for a border?
Hardwoods like oak, maple, walnut, or cherry are excellent choices. Consider hardness, color, grain, and how it complements your main flooring and room style.
How do I make the corners look neat?
Miter joints (45-degree cuts on each piece) create the cleanest, most professional-looking corners. Use a miter saw for precise cuts. For a simpler approach, you can use butt joints, but they are less attractive.
Should the border color match my main floor?
Not necessarily! Contrasting colors offer visual interest and clearly define the border. Complementary colors provide a more subtle, unified look. It depends on the design statement you want to make.
How wide should a hardwood floor border be?
A common width is one plank (about 2.25 to 3.25 inches). For a bolder look, you can use two or three planks side-by-side. The ideal width depends on the room’s size and the desired impact.
Can I add a border to existing hardwood floors?
Yes, but it’s more complex. You’ll need to carefully remove baseboards, install the border, and then re-install the baseboards to hide the seam. Ensure the existing floor is level and in good condition.
What is the difference between an inlay and a border?
A border typically runs along the perimeter. An inlay is a decorative element that can be a pattern or design within the border or elsewhere in the floor, often using multiple wood pieces cut to form shapes.
Conclusion
Adding a hardwood floor border is a fantastic project that can truly transform your home’s aesthetic. From simple, elegant single-plank designs to more elaborate inlay patterns, there’s an idea to suit every style and skill level. By carefully choosing your materials, planning your layout, and taking your time with the installation, you can achieve beautiful, custom results that you’ll be proud of for years to come. So, don’t be afraid to get creative and make your floors a true masterpiece!