How to Get Dog Scratches Out of Hardwood Floors (Without Refinishing)
Most dog scratches on hardwood floors only cut into the polyurethane finish, not the wood itself – which means most of the time you don’t need to sand or refinish anything. The fix depends on how deep the scratch actually goes: a quick fingernail test tells you which of three repairs you need, and this guide walks through all three, plus the one prevention step that matters more than nail trims.
Run a fingernail across the mark. If your nail glides over it, you’re dealing with a finish-only scuff. If it catches or snags, the scratch has gone through the poly and into the wood grain underneath. That distinction changes everything about how you fix it, so start there before reaching for any product.
Test the Scratch Before You Treat It
Best for Color-Matching a Scratch
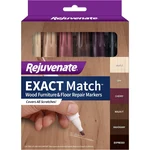 |
Rejuvenate Exact Match Repair Markers (6-Pack) – $9.58 Six wood-tone markers (maple, oak, cherry, walnut, mahogany, espresso) for filling in scratches that reach bare wood, exactly the Fix 2 repair described above.
|
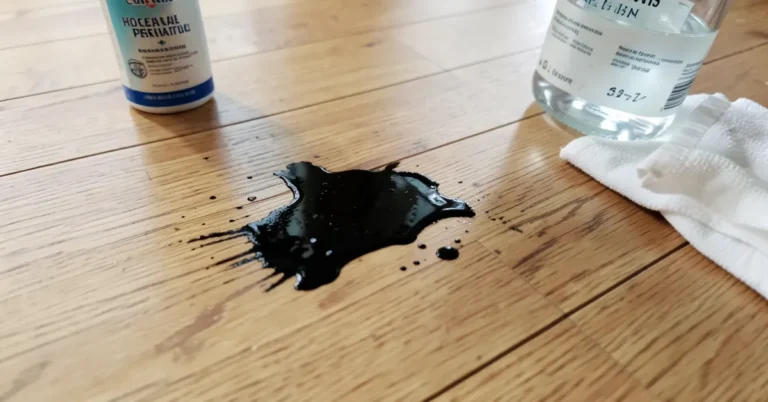
Hardwood floor finish is a plastic-like coating – usually oil-based or water-based polyurethane – sitting about 3 to 5 mils thick on top of the wood. Dog nails, especially on a dog that hasn’t had a pedicure in a while, are sharp enough to scuff that coating without ever reaching the wood grain below it. That’s actually good news, because finish-only marks disappear with buffing alone; nothing needs to be filled or stained.
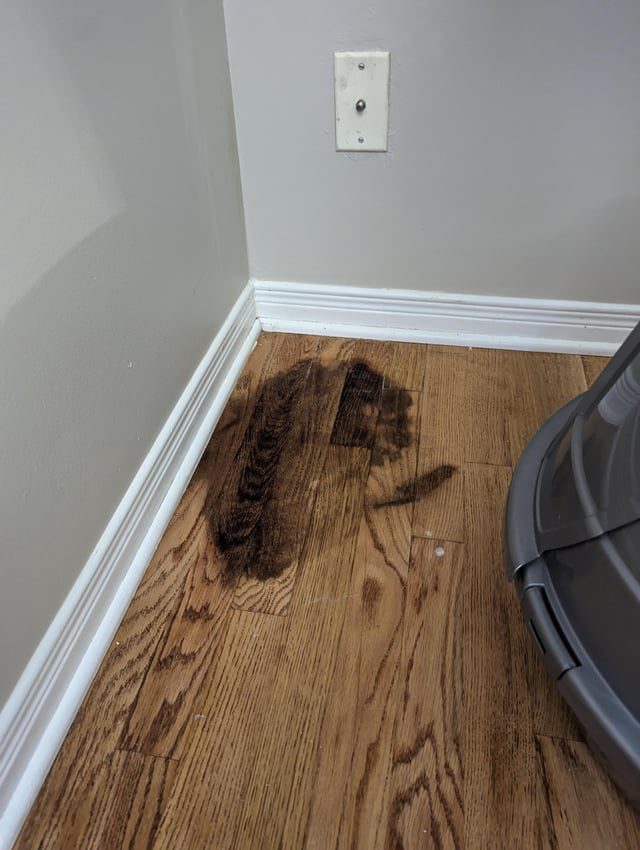
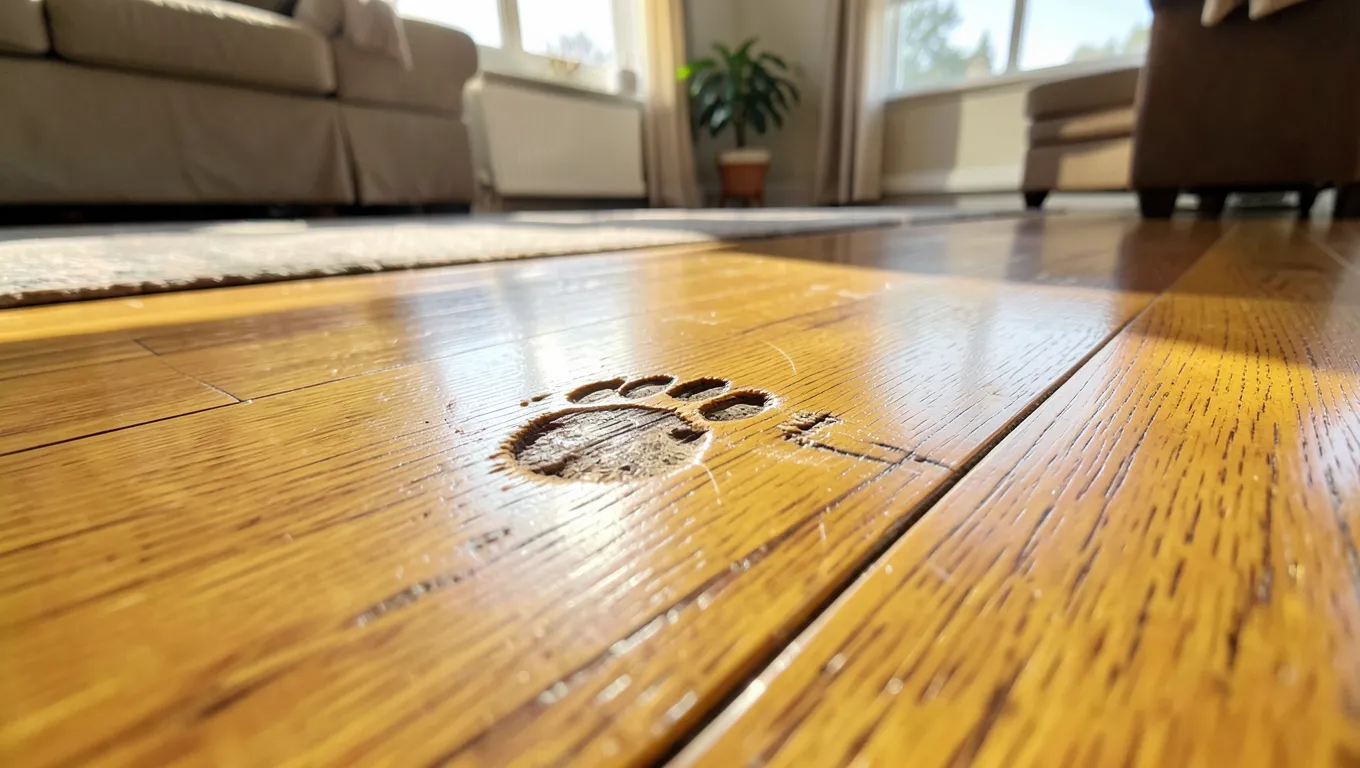
Deeper gouges are a different animal. These show pale or white lines because you’re looking at exposed, unfinished wood fiber instead of the amber tone the finish gives it. A single determined puppy sprinting across a floor at a dead stop – claws dug in for traction – can do this in one pass, even on a floor that’s otherwise in good shape.
Fix 1: Finish-Only Scuffs (the Fingernail Glides Over It)
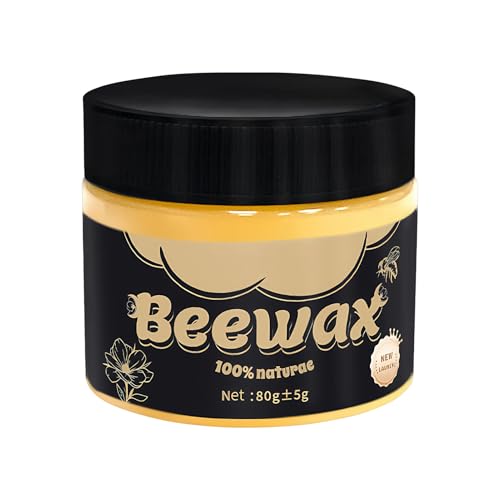
For scuffs that stay in the finish layer, you’re buffing, not filling. Working in the direction of the wood grain (never across it), rub the area with 0000-grade steel wool, then apply a small amount of floor wax or a floor-finish restorer formulated for your floor’s sheen. Buff with a soft cloth until the sheen matches the surrounding floor. This works because you’re not repairing damage – you’re re-leveling a coating that’s still fully intact underneath the scuff marks.
Skip the olive-oil-and-a-rag trick you’ll see recommended elsewhere. Oil sits on top of the finish and temporarily makes light scratches less visible by filling the light-scattering gap, but it doesn’t bond to anything – it wears off within days, attracts dust, and does nothing for the floor long-term. It’s a five-minute illusion, not a repair.
Fix 2: Scratches That Reach the Wood (but Aren’t Deep Gouges)
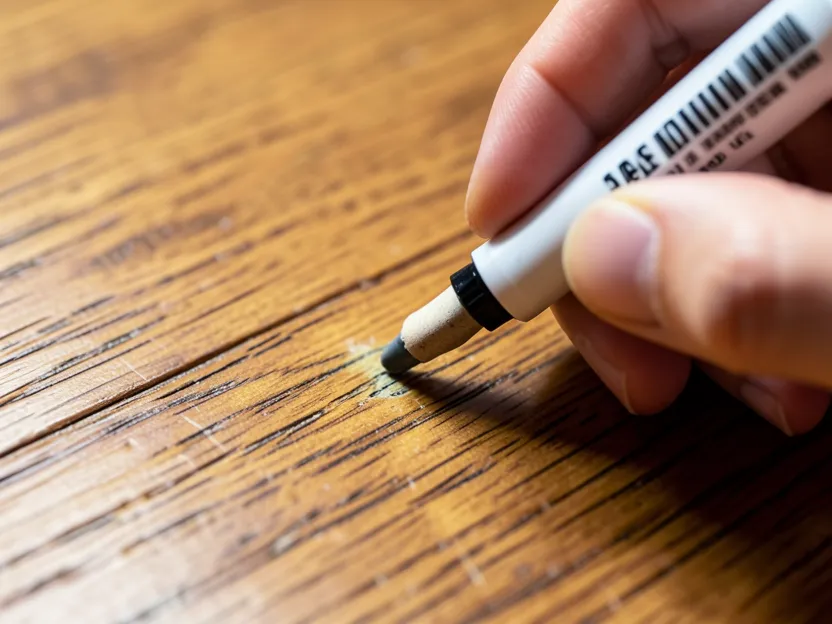
Once a scratch has broken through to bare wood, buffing won’t hide it – you need to put color back into that channel. A color-matched wood touch-up marker or wax fill stick, pressed into the scratch and wiped level with the grain, handles the vast majority of dog-claw marks. Choose a shade close to your floor’s finish tone rather than the raw wood species; polyurethane ambers most wood over time, so “natural oak” markers often read too light against an older floor.
Apply light pressure and work in short strokes along the scratch rather than one heavy pass – marker pigment builds up unevenly if you flood it. Let it set for the time listed on the product (usually a few minutes), then wipe any excess off the surrounding finish before it dries there instead of in the scratch. On floors with a satin or matte sheen, a final light buff with a dry microfiber cloth blends the repaired spot into the surrounding finish.
Fix 3: Deep Gouges Down to Raw Wood Fiber
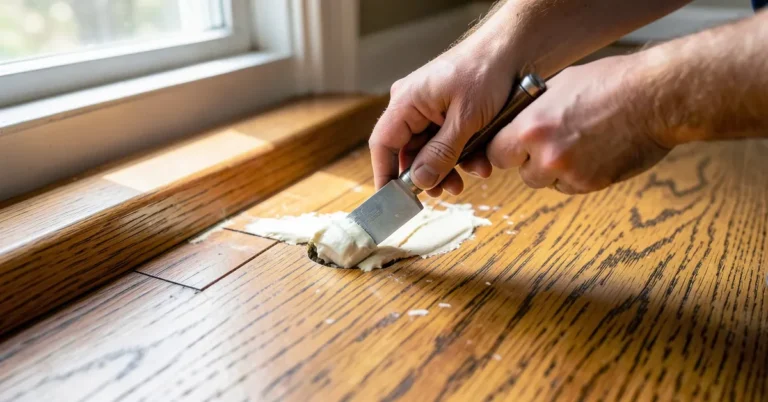
A true gouge – where you can feel a groove with your fingertip, not just a discolored line – needs filler, not just color. Use a tinted wood filler matched to your floor, press it into the gouge slightly proud of the surface, and let it cure fully (check the label; many need 24 hours, not the “dries in minutes” claim on the tube). Sand it flush with 220-grit sandpaper, sanding with the grain only, then feather a thin coat of matching polyurethane over the repaired spot so the sheen doesn’t sit duller than the rest of the board.
If a gouge sits in a very visible spot – a hallway pivot point, right inside a doorway – and the color match still looks off after filling, a common trick is to rotate an area rug over it rather than keep re-touching the same spot every few weeks. Some damage isn’t worth chasing repeatedly; managing where the dog runs matters more at that point.
When the Whole Floor Looks Scratched, Not Just One Spot
If scratches are scattered across a whole room rather than isolated, spot-fixing every mark stops being worth the time. Two options exist, and they’re not the same job:
- Screen-and-recoat: a light mechanical abrasion (screening) of just the finish layer, followed by a fresh coat of polyurethane. This doesn’t touch the wood itself, runs roughly $1 to $2 per square foot, and is realistic as a weekend DIY project with a rented buffer. It only works if the finish hasn’t worn through to bare wood in multiple spots.
- Full sand-and-refinish: removes the entire finish layer and a thin layer of wood, down past every gouge. This is the $3 to $8 per square foot job, usually needs a pro-grade drum sander, and is the right call once bare wood is showing across a large area rather than in isolated scratches.
Prevention That Actually Reduces Scratching
Nail length matters, but how you trim matters almost as much. Clippers leave a flat-cut edge with sharp corners; a rotary nail grinder rounds the tip as it shortens it, which is the actual reason grinder-trimmed nails scratch less than clipper-trimmed nails of the same length. If your dog tolerates the sound, a grinder is the better tool for floor protection specifically, not just nail health.
Look at where the damage actually clusters before blanket-covering the whole room in rugs. Most dog-scratch damage isn’t evenly spread – it concentrates at pivot points: the spot where a dog plants its feet to turn a corner at speed, stops short at a door, or launches off the floor toward a couch. A rug at the front door does less good than a rug (with a non-slip pad underneath, since a sliding rug just moves the pivot point past its edge) at the specific corner or doorway your dog uses to change direction.
Finish choice matters for new or refinished floors. Standard oil-based polyurethane is more prone to visible dog-nail scuffing than a finish with aluminum oxide mixed in, which is harder and more scratch-resistant – it’s the same reason most prefinished engineered flooring from the box store holds up better to pets than a site-finished floor with a basic oil poly topcoat.
Frequently Asked Questions
Can you remove dog scratches from hardwood floors without sanding?
Yes, for the majority of scratches. Finish-only scuffs buff out with 0000 steel wool and matching wax, and scratches that reach bare wood but aren’t deep gouges respond to a color-matched touch-up marker or wax fill stick. Sanding only becomes necessary for deep gouges or when scratching is widespread enough to need a full refinish.
Will dog nails scratch through polyurethane finish?
Yes, especially untrimmed nails on an active dog. The finish layer is only a few mils thick, and a sharp nail under a dog’s full weight during a quick turn or stop can cut through it into the wood in a single pass. Regular nail maintenance and floor rugs at pivot points reduce this significantly, but they don’t eliminate the risk entirely on a standard oil-based poly finish.
Does olive oil actually fix hardwood floor scratches?
No, not as a real repair. Olive oil temporarily fills the light-scattering gap in a shallow scratch, making it less visible for a few days, but it doesn’t bond to the finish or the wood. It wears off, attracts dust, and the scratch reappears. Use a proper floor wax/restorer for finish-only marks instead.
How often should I screen-and-recoat a floor with a dog in the house?
There’s no fixed schedule – it depends on visible wear, not a calendar. Once you notice dulling or light scuffing across a whole room (not just isolated scratches), that’s the signal to screen-and-recoat rather than wait until bare wood shows through in multiple spots, which pushes the job from a $1-2/sq ft recoat into a $3-8/sq ft full refinish.
Sponsored / affiliate links. As an Amazon Associate I earn from qualifying purchases. I may earn additional commission from eligible campaigns.