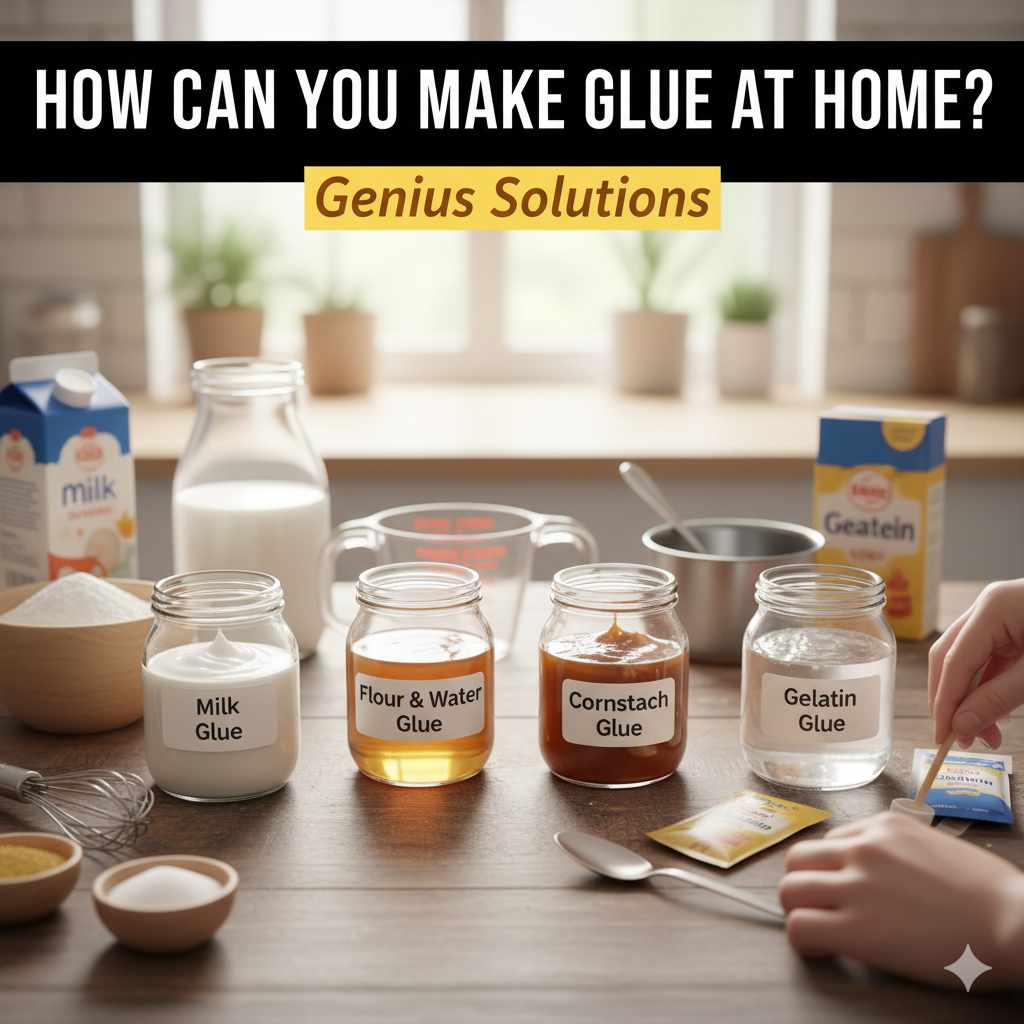
How Can You Make Glue At Home: Genius Solutions
You can make effective glue at home using common kitchen ingredients like milk, flour, and even animal proteins. These homemade glues are surprisingly strong for many craft and repair projects, offering an eco-friendly and cost-saving alternative to store-bought options.
Ever found yourself in the middle of a project, only to realize you’re out of glue? It’s a frustrating moment, especially when you just need a little bit to finish that important detail or fix a broken piece. But before you abandon your task or make a special trip to the store, what if I told you that you might already have the ingredients for a perfectly good glue right in your pantry? That’s right, making your own glue at home is not only possible but often surprisingly effective. It’s a fantastic skill to have in your DIY toolbox, saving you money and giving you a sense of accomplishment. We’ll explore some simple, genius methods that will have you sticking things together in no time!
Understanding the Basics: What Actually Makes Glue Stick?
Before we dive into making our own, it helps to understand why glue sticks in the first place. Most adhesives work by having components that can flow into the tiny, irregular surfaces of the materials you’re joining. When the glue dries, these components form strong bonds, essentially locking the two surfaces together. For our homemade versions, we’ll be looking at ingredients that have natural binding properties, often involving proteins or starches that create these adhesive bonds, especially when heated and then cooled.
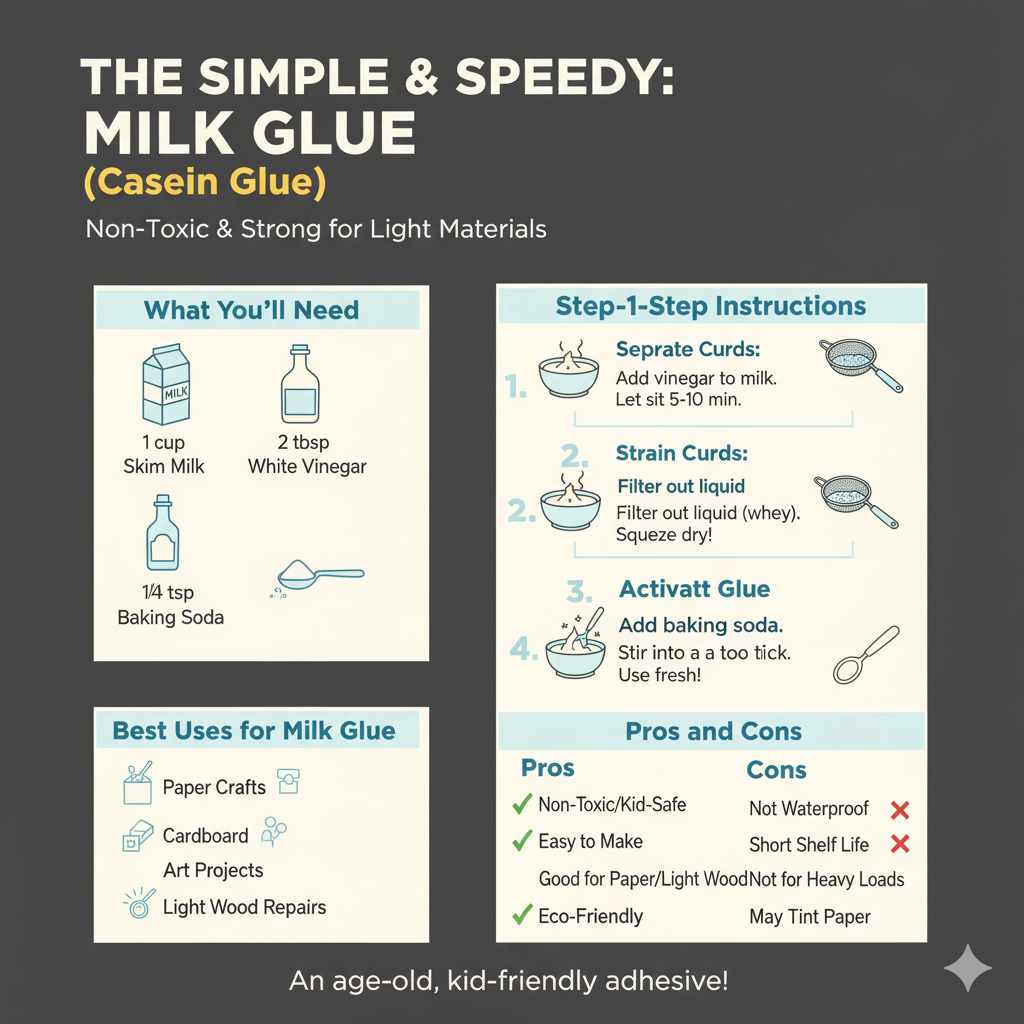
The Simple & Speedy: Milk Glue (Casein Glue)
This is one of the oldest known glues, dating back centuries! It’s made from milk, specifically the protein found in milk called casein. It’s surprisingly strong for lightweight applications and is a great choice for paper, cardboard, and even some light woodworking projects. It’s also non-toxic, making it perfect for projects involving children.
What You’ll Need for Milk Glue:
- 1 cup of skim milk (fat can interfere with the bond)
- 1-2 tablespoons of white vinegar
- 1/4 teaspoon of baking soda
How to Make Milk Glue: Step-by-Step
- Separate the Curds: In a bowl, pour your skim milk. Gently stir in the white vinegar. You’ll notice the milk will begin to curdle, separating into solid white parts (curds) and watery liquid (whey). Let it sit for about 5-10 minutes to fully separate.
- Strain the Curds: Line a sieve or colander with a fine cloth or cheesecloth. Carefully pour the curdled milk into the cloth-lined sieve to catch the solid curds and let the whey drain away. Squeeze out as much liquid as you can. The drier the curds, the stronger your glue will be.
- Activate the Glue: Transfer the drained curds into a clean bowl. Add the baking soda and stir well. The baking soda will react with any remaining acidity from the vinegar, creating a smoother, more paste-like consistency. You might see a slight fizzing – that’s normal!
- Adjust Consistency: Your mixture should now resemble a thick, sticky paste. If it’s too thick, you can add a tiny bit of water (literally a teaspoon at a time) until it reaches your desired consistency. If it’s too thin, you might need to let it sit for a bit longer to thicken up, or try adding a pinch more baking soda.
- Use Immediately: Milk glue is best used fresh. It will typically last for a day or two if stored in an airtight container in the refrigerator, but its strength diminishes over time. Apply it with a brush or a small spatula.
Best Uses for Milk Glue:
- Paper crafts
- Cardboard construction
- Laminating paper
- Minor repairs on wood (for non-structural elements)
- Art projects
Pros and Cons of Milk Glue:
| Pros | Cons |
|---|---|
| Non-toxic and safe for kids | Not waterproof |
| Easy to make with common ingredients | Short shelf life, best used fresh |
| Good adhesion for paper and light materials | Not suitable for heavy loads or structural repairs |
| Eco-friendly | Can leave a slight yellowish tint on light paper over time |
The Sturdy Standard: Flour Paste Glue
This is your classic, go-to glue for school projects and everyday paper crafts. Made from simple flour and water, it creates a robust paste that dries clear and holds well for most paper-based tasks. It’s incredibly versatile and unbelievably easy to whip up.
What You’ll Need for Flour Paste Glue:
- 1 cup of all-purpose flour
- 1 cup of cold water
- 1 cup of hot water (optional, for a smoother consistency)
- A pinch of salt (optional, to help prevent mold)
How to Make Flour Paste Glue: Step-by-Step
- Mix Flour and Water: In a saucepan, whisk together the flour and the 1 cup of cold water until there are no lumps. This step is important to avoid a lumpy glue.
- Heat Gently: Place the saucepan over medium heat. Stir constantly as the mixture begins to thicken. You want it to reach a consistency similar to warm oatmeal or a thick gravy. This usually takes about 5-7 minutes. Don’t boil it vigorously; a gentle simmer is enough. If you prefer a smoother, thinner paste, you can whisk in the hot water at this stage until you achieve your desired consistency.
- Add Salt (Optional): If you plan to store this glue for a few days, stir in a pinch of salt. This acts as a natural preservative and can help deter mold growth.
- Cool Down: Remove the saucepan from the heat and let the paste cool completely before use. It will thicken further as it cools.
- Storage: Transfer the cooled paste to an airtight container. It will keep in the refrigerator for about 1-2 weeks. Discard if you notice any mold or an off smell.
Tips for Flour Paste:
- For stronger bonds with thicker paper or cardstock, try using less water in the initial mix.
- If the paste becomes too thick after cooling, stir in a tablespoon of water at a time until it’s spreadable.
- When applying, use a brush or a popsicle stick for even coverage.
When to Choose Flour Paste Glue:
- Crafting with paper, cardstock, and cardboard
- Decoupage projects
- Creating paper mache
- Temporary fabric stiffening
- Making paper models
For more detailed information on food-grade adhesives and their historical use, you can explore resources like the Project Gutenberg’s “Household Arts: The Art of Kitchengardening and the Art of Cookery”, which touches upon various homemade solutions including some that could be adapted for adhesives.
The Advanced Option: Gelatin Glue
Gelatin, a protein derived from collagen, is another excellent natural adhesive. It’s commonly used in cooking but makes a surprisingly strong and clear glue once prepared. This is a step up from flour paste and can be suitable for more delicate craft work where a stronger, less visible bond is needed.
What You’ll Need for Gelatin Glue:
- 1-2 tablespoons of unflavored gelatin powder
- 1/4 cup of cold water
- 1/4 cup of hot water
- 1 teaspoon of white vinegar (optional, for flexibility)
- A pinch of salt (optional, for preservation)
How to Make Gelatin Glue: Step-by-Step
- Bloom the Gelatin: In a small, heatproof bowl or a double boiler, sprinkle the gelatin powder over the 1/4 cup of cold water. Stir gently and let it sit for about 5-10 minutes. This process is called “blooming” and allows the gelatin to absorb the water and swell.
- Dissolve the Gelatin: Place the bowl over a pot of simmering water (a double boiler method) or gently heat the mixture in the microwave in short bursts, stirring in between. You want to dissolve the gelatin completely without boiling it. Stir until the mixture is clear and smooth.
- Add Hot Water and Extras: Once the gelatin is dissolved, stir in the 1/4 cup of hot water. If using, add the white vinegar and salt now. The vinegar can help make the dried glue a bit more flexible, which is useful for preventing cracking on rigid materials. The salt helps preserve it.
- Achieve Consistency: Stir everything together until well combined. The mixture should be a clear, viscous liquid. If it’s too thick, add a tiny bit more hot water.
- Use and Store: Gelatin glue is best used when warm, as it will start to set as it cools. If it cools and thickens too much, you can gently rewarm it. Store any leftover glue in an airtight container in the refrigerator for up to a week. Reheat gently before use.
Applications for Gelatin Glue:
- Book repair (binding and covering)
- Paper crafts
- Mounting photographs
- Creating translucent effects in art projects
- Sealing porous surfaces
The Toughest DIY Option: Starch-Based Wood Glue (A More Advanced but Potent Choice)
While most DIY glues are best suited for paper or light materials, you can create a surprisingly strong, water-resistant glue using starch that can tackle some woodworking needs. This method is a bit more involved but offers a more robust adhesive for wood. It relies on modifying common starches to create a stronger bond.
What You’ll Need for Starch-Based Wood Glue:
- 1/2 cup of cornstarch or potato starch
- 1/4 cup of cold water
- 2 cups of boiling water
- 1 tablespoon of granulated sugar
- 1 teaspoon of white vinegar
How to Make Starch-Based Wood Glue: Step-by-Step
- Create a Slurry: In a saucepan, whisk together the cornstarch (or potato starch) and the 1/4 cup of cold water. Make sure there are no lumps. This is your starch slurry.
- Add Boiling Water: Slowly pour the 2 cups of boiling water into the starch slurry while whisking continuously. This step gelatinizes the starch, which is key to its adhesive properties.
- Cook the Mixture: Place the saucepan over medium-low heat. Stir constantly, cooking the mixture until it thickens into a glue-like consistency, similar to thick gravy or wallpaper paste. This typically takes about 5-10 minutes. Be patient; consistent stirring is crucial.
- Add Sugar and Vinegar: Remove the saucepan from the heat. Stir in the granulated sugar and white vinegar. The sugar acts as a plasticizer, making the dried glue more flexible and less brittle. The vinegar helps to break down the starch chains further, increasing adhesion and water resistance.
- Cool and Store: Let the glue cool completely. It will thicken significantly as it cools. Store in an airtight container in the refrigerator. This glue should last about 1-2 weeks.
When This Starch-Based Glue Shines:
- Joining small wooden pieces
- Repairing wooden picture frames
- Crafting with wood veneer
- Laminating thin wood strips
- Not recommended for structural joints or high-stress applications.
For those interested in the science behind adhesion and the properties of polymer-based glues (like those you buy at the store), resources from university chemistry departments or materials science organizations can offer deeper insights. For instance, the American Chemical Society often has articles explaining chemical bonding and adhesion principles.
Other Ingenious Homemade Glue Ideas
Beyond the classics, there are a few other interesting DIY glue options:
- Rice Flour Glue: Similar to regular flour paste but can sometimes yield a smoother finish. Use a 1:1 ratio of rice flour and water, cook until thick, and cool.
- Egg White Glue: For very delicate paper or gold leaf application, a light coating of egg white can work. Let it dry completely. It offers a brittle, non-permanent bond.
- Dextrin Glue: This is a more industrial-style glue made by heating starch until it partially breaks down. It’s stronger than simple flour paste and more water-resistant, but requires careful heating to avoid burning the starch.
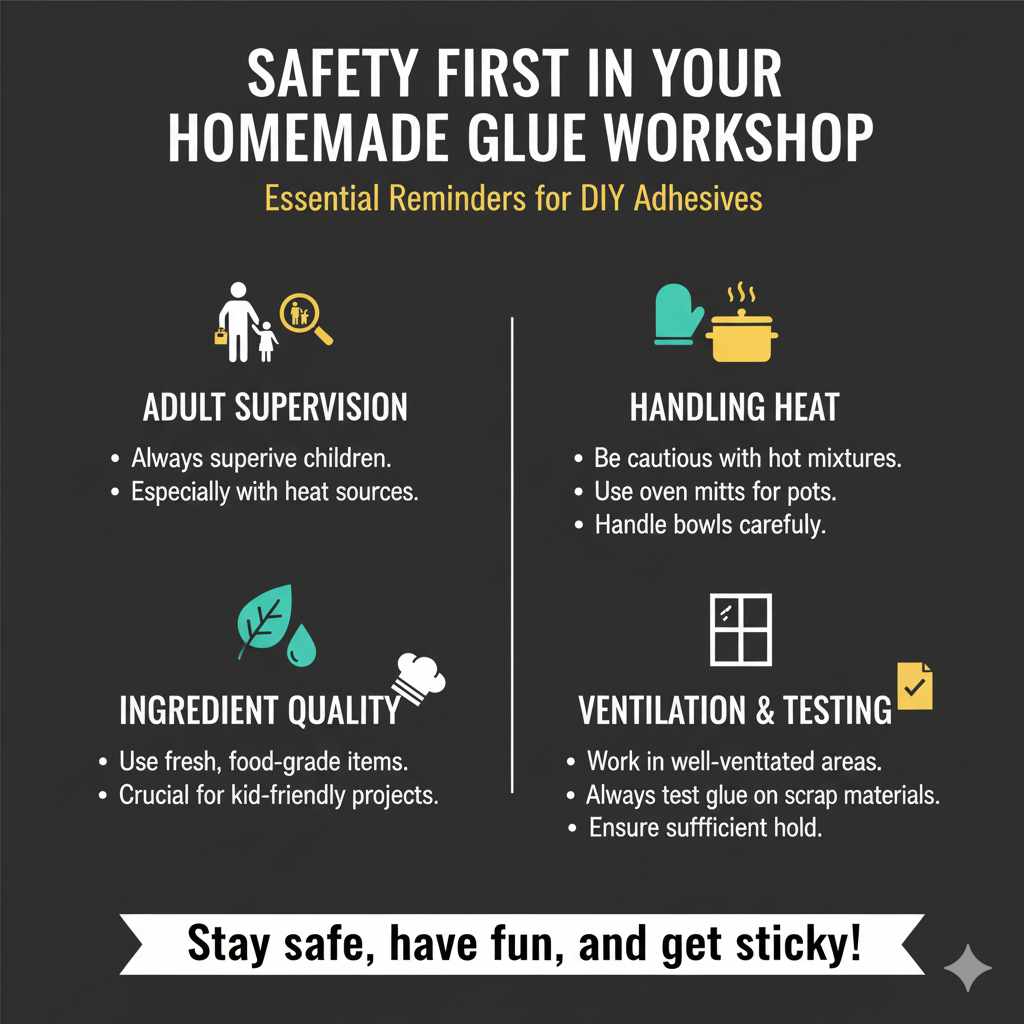
Safety First in Your Homemade Glue Workshop
When working with any DIY project, especially those involving heat or kitchen ingredients, safety is paramount. Here are a few reminders:
- Supervision: If children are involved, always ensure adult supervision, especially when using heat sources like stovetops or microwaves.
- Handling Heat: Be cautious when working with boiling water or hot mixtures. Use oven mitts and handle pots and bowls carefully.
- Ingredient Quality: Ensure all ingredients are fresh and food-grade if you’re using them for projects where that might be a consideration.
- Ventilation: While most homemade glues are non-toxic, it’s always good practice to work in a well-ventilated area.
- Testing: Always test your homemade glue on a scrap piece of the material you plan to use it on to ensure it holds sufficiently for your needs.
When to Stick with Store-Bought Glue
While making glue at home is a fun and often effective DIY solution, it’s important to know its limitations. For applications that require:
- Significant structural integrity (e.g., load-bearing furniture joints).
- Waterproof or weather-resistant bonds (outdoor projects, boat building).
- Extreme temperature resistance.
- Long-term, guaranteed durability without the need for frequent reapplication.
…it’s generally best to opt for commercially manufactured glues specifically designed for those purposes. Brands like Titebond (for woodworking) or Gorilla Glue (for various strong bonds) offer formulations that are rigorously tested for performance and longevity. Understanding these differences ensures your projects are not only creative but also reliable and safe.
Frequently Asked Questions About Homemade Glue
What is the strongest homemade glue?
The “strongest” homemade glue depends on the material you’re bonding. For paper and light crafts, milk glue or flour paste work well. For slightly more robust applications with wood, a well-made starch-based glue can offer better adhesion than simple flour paste, though it will not match commercial wood glues in strength or water resistance. Gelatin glue offers good adhesion for paper and bookbinding.
How long does homemade glue last?
Homemade glues generally have a short shelf life. Milk glue and flour paste are best used fresh, usually within a day or two. Gelatin and starch-based glues can last up to a week or two if stored properly in an airtight container in the refrigerator. Always discard if you notice mold, a bad smell, or a significant change in consistency.
Can I make waterproof glue at home?
It’s very difficult to create a truly waterproof glue at home using common kitchen ingredients. Most natural glues are water-soluble and will break down when exposed to moisture. For waterproof applications, you will need specialized commercial waterproof adhesives.
Are homemade glues safe for children?
Yes, glues made from milk, flour, or gelatin are generally considered non-toxic and safe for children, especially when adult supervision is present. These are excellent options for school projects or crafts involving younger children. Always ensure they don’t ingest the glue.
How do I make my homemade glue stronger?
For flour or starch glues, ensure you cook them thoroughly to gelatinize the starches properly. Using less water can also result in a thicker, potentially stronger paste. For milk glue, ensuring the curds are well-drained helps concentrate the protein. Adding a small amount of sugar (as in the starch-based recipe) can improve flexibility and adhesion.
What materials can I glue with homemade solutions?
Homemade glues are best suited for porous materials like paper, cardboard, fabric, and some light woodworking or craft wood applications. They are generally not suitable for plastics, metals, or glass, and will not provide structural strength for heavy-duty projects.
Conclusion
So there you have it! Making glue at home is a practical, cost-effective, and surprisingly rewarding DIY skill. Whether you need a quick fix for a paper craft with milk glue, a robust paste for paper mache with flour, or are experimenting with more advanced starch-based adhesives for light woodworking.