How to Glue a Mirror to Wood: Mastic vs Silicone Guide
To glue a mirror to wood, use a mastic or neutral-cure silicone that is labeled safe for mirrors, bond it to sealed and dry wood in vertical strips kept back from the edges, and support the mirror until the adhesive sets. Skip vinegar-smelling silicone and general construction adhesive unless the label says it is mirror-safe.
Most guides only say “use a strong adhesive.” That advice is how mirrors end up with black creeping spots a few months later. A mirror is a sheet of glass with a thin metal coating on the back, covered by a paint layer. The wrong glue does not just fail to hold. It can eat through that protective layer and ruin the mirror from behind, even when the bond feels rock solid.
This guide covers gluing a mirror flat onto a wooden surface: a panel, door, cabinet back, or plywood backer. If you are building a frame around the mirror instead, see our guide to mounting a mirror in a wood frame. For a full comparison of adhesive families, see mirror adhesive glue types.
Which Adhesive to Use for Mirror to Wood
Best Mirror Mastic for Wood Backing
 |
Loctite PL 530 Mirror, Marble & Granite Adhesive, $13.94 A cartridge made for mirrors, so it will not eat the silvering the way a general construction adhesive can.
|
The short list is mirror mastic or a neutral-cure silicone. Mastic is a thick, rubbery adhesive made to bond glass to wall and wood surfaces without attacking the mirror backing. Neutral-cure silicone is more flexible and cleaner to apply, but it cures slowly and does not grab instantly, so it suits smaller, lighter mirrors that you can hold in place.
| Adhesive | Safe for mirror backing? | Verdict |
|---|---|---|
| Mirror mastic (labeled for mirrors) | Yes, formulated for it | Best choice for most jobs |
| Neutral-cure silicone (label says mirror-safe) | Generally yes | Good for small or light mirrors; needs support while curing |
| Acetic-cure silicone (strong vinegar smell) | No, the acetic acid can attack the backing | Avoid |
| General construction adhesive (not mirror-rated) | Often no, some solvents attack the backing paint | Avoid unless the cartridge says mirror-safe |
| PVA wood glue or white glue | Harmless, but weak on glass | Do not use |
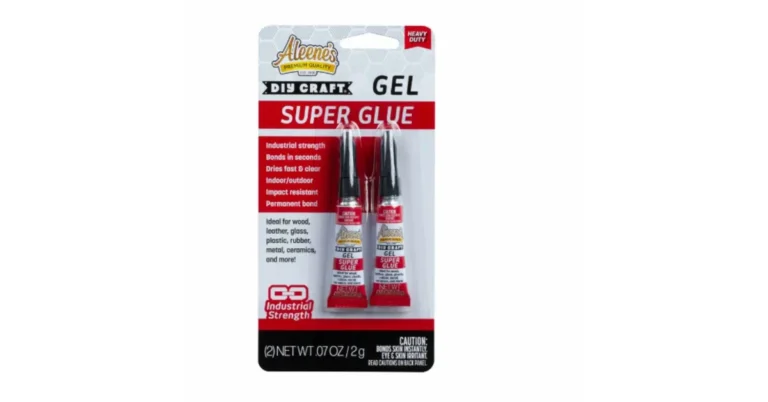
| Hot glue, super glue | Poor, brittle or thin bond | Do not use |
| Double-sided mounting tape | Safe | Only for tiny mirrors within the tape rated weight |
One correction to a common tip: some guides say to use “liquid nails or mirror mastic” as if they are interchangeable. They are not. Standard construction adhesives were never designed with mirror silvering in mind, which is why the mirror-rated versions exist. Our comparison of Liquid Nails vs wood glue covers what those products are actually good at.
Mastic vs Silicone: Which Should You Pick?
Pick mastic when the mirror is large, heavy, or going on a vertical surface where the adhesive has to hold quickly. It grabs fast, stays slightly flexible, and is the product most installers reach for. Pick neutral-cure silicone when the mirror is small, when you want a cleaner bead with less odor, or when you are bonding the mirror to something slick, like a sealed or laminated panel. Silicone needs more time and more temporary support, because it does not have the same instant grab.
Whichever you choose, read the cartridge. The words to look for are “mirror” or “safe for mirror backing” on mastic, and “neutral cure” on silicone. If the label does not mention mirrors or glass, treat that as a no. A cartridge costs little compared with replacing a mirror.
Why the Wrong Glue Ruins a Mirror Slowly
The bond is not what fails first. Silvering damage usually shows up weeks or months after installation as dark spots or a black edge that creeps inward. The cause is chemical: solvents or acid released while the adhesive cures soften the backing paint, and moisture then reaches the metal layer. Mirrors in bathrooms are hit hardest because steam gets behind the edges.
- Seal bare wood first. Unfinished plywood, MDF and particleboard soak up solvent and hold moisture. A coat of sealer or paint, fully dry, keeps both away from the mirror.
- Keep adhesive off the edges. Edges are where the backing is most exposed. Stay an inch or more back unless the manufacturer says otherwise.
- Leave air gaps. Strips, not a solid bed of adhesive, let solvent vapor escape as the mastic cures.
- Ventilate. Solvent-based mastics give off vapor, so open a window and keep them away from open flame and pilot lights.
How Heavy Is the Mirror?
Weight decides whether adhesive alone is enough. Glass weighs about 1.6 lb per square foot at 1/8 inch thick and about 3.3 lb per square foot at 1/4 inch. These are approximate figures for the glass alone, but they show why a vanity-size mirror needs more than a few dabs of glue.
| Mirror size | Area | 1/8 in glass (approx.) | 1/4 in glass (approx.) |
|---|---|---|---|
| 12 x 12 in | 1 sq ft | 1.6 lb | 3.3 lb |
| 24 x 36 in | 6 sq ft | 10 lb | 20 lb |
| 30 x 40 in | 8.3 sq ft | 14 lb | 27 lb |
| 36 x 48 in | 12 sq ft | 20 lb | 39 lb |
As a working rule, anything over roughly 10 pounds should also sit on a physical support such as a wood ledge, J-channel or bottom rail, with the adhesive keeping it against the wall rather than carrying the full load. Adhesive holds best when it is not asked to fight gravity on its own, and a support ledge also keeps the mirror from creeping while the bond sets.
Step-by-Step: How to Glue a Mirror to Wood
- Prep the wood. Sand rough or glossy surfaces lightly, wipe off dust, and seal bare wood or MDF. Let sealer or paint dry completely before gluing.
- Clean the mirror back. Wipe the back with a lint-free cloth. Do not use solvent cleaners on the backing, and keep your fingers off the paint layer.
- Dry-fit and mark. Set the mirror in place with a level and mark the outline with painter tape or a light pencil line on the wood. If the mirror weighs over 10 pounds, screw or clamp a support ledge along the bottom mark now.
- Apply the adhesive. Put the mastic on the back of the mirror in vertical strips, about a bead wide, spaced several inches apart and kept at least an inch from the edges. Vertical strips let air move up the back.
- Set the mirror. Rest it on the ledge or bottom tape mark, tilt it against the wood, and press firmly across each strip. Slide it a fraction of an inch to spread the bead, then stop.
- Hold it while it sets. Use painter tape across the face, or wedge spacers, to keep it from sliding. Do not lean on it.
- Cure fully. Many mastics skin over in 10 to 20 minutes and need about 24 to 48 hours before they carry weight or before you remove the support. Check the cartridge for the exact time.
Safety notes: wear cut-resistant gloves and eye protection when moving glass, get a second person for anything above about 10 pounds, and use suction cups rather than gripping the edges.
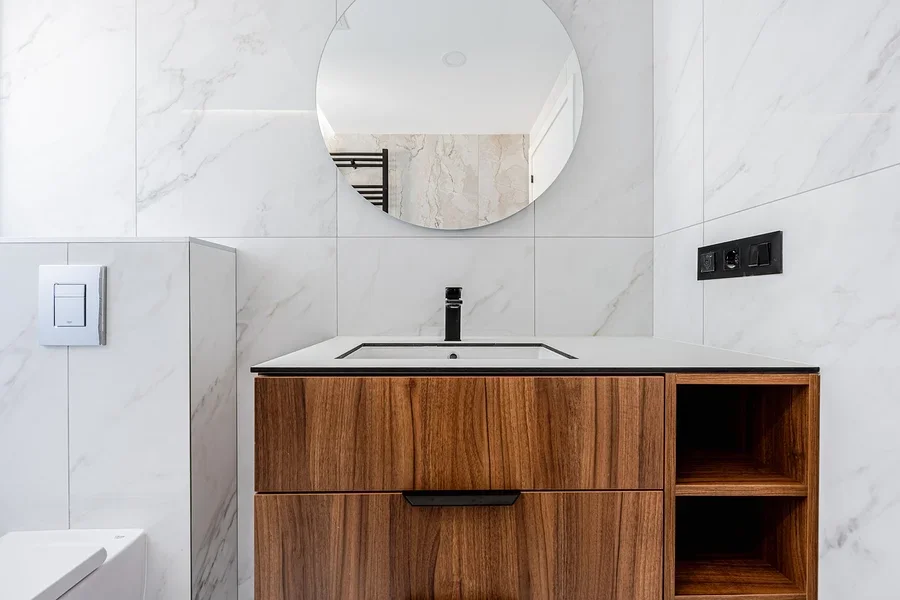
Gluing a Mirror to a Door, Cabinet, or Painted Surface
Doors and painted wood need extra care because the adhesive bonds to the paint, not the wood. If the paint peels, the mirror goes with it. Scuff glossy paint lightly and check that it is fully cured and not flaking. On a bare wood door, seal the area first.
Doors also move. A slamming door sends repeated shock through the bond, and hollow-core doors flex. For a door, use mastic plus a bottom ledge or mirror clips, keep the mirror small, and avoid the edge nearest the latch. In a bathroom or kitchen, use an adhesive rated for wet or humid areas, and seal the mirror edges from moisture if the manufacturer recommends it.
Gluing Wood Onto a Mirror Face
If you want to add wood trim or a frame on the front of a mirror, the silvering is on the back, so the front glass is safe to glue to. Use a neutral-cure silicone or adhesive labeled for glass, tape the trim while it cures, and keep adhesive away from the mirror edge so it does not creep behind the glass. Expect it to be permanent. Getting it off later usually means scraping and solvent work.
For a wider look at bonding glass to timber, including cure-time and cost comparisons, see our roundup of the best glue for glass to wood.
Troubleshooting
| Problem | Likely cause | Fix |
|---|---|---|
| Mirror slides down while curing | No support, or bead too thin to grab | Add a bottom ledge and tape; use mastic, not silicone, for heavier mirrors |
| Black spots or dark edges appear later | Wrong adhesive or moisture behind the edge | Replace the mirror; use mirror-rated adhesive on sealed wood next time |
| Adhesive never firms up | Sealed off with no air gaps, or too cold | Use strips with gaps, work in a warm room, allow the full cure time |
| Hollow rattling sound | Too few strips, or wood warped | Add strips, or shim with a flat plywood backer |
| Mirror pulls off with paint | Bonded to peeling paint | Strip to sound surface, seal, reglue |
Frequently Asked Questions
What is the best glue to attach a mirror to wood?
Use a mirror mastic or a neutral-cure silicone that is labeled safe for mirrors. Apply it in vertical strips kept back from the mirror edges, on sealed and dry wood, and support the mirror until the adhesive sets.
Can I use wood glue or super glue on a mirror?
No. Wood glue is water-based and bonds glass poorly, and super glue forms a thin, brittle bond. Neither is designed for mirrors, so use mirror mastic or mirror-safe silicone.
How long should mirror adhesive cure before I hang or move the mirror?
Many mirror adhesives set in about 15 minutes and need roughly 24 to 48 hours before they carry weight. Check the cartridge for the exact time and keep the support in place until then.
Conclusion
A mirror on wood is only as good as the adhesive behind it. Use a mirror-rated mastic or neutral-cure silicone, seal the wood, keep adhesive back from the edges, and add a physical support for anything heavy. Do those four things and the mirror should stay put and keep its silvering.
Sponsored / affiliate links. As an Amazon Associate I earn from qualifying purchases. I may earn additional commission from eligible campaigns.