How to Waterproof a Wood Vanity Top (So It Survives a Bathroom)
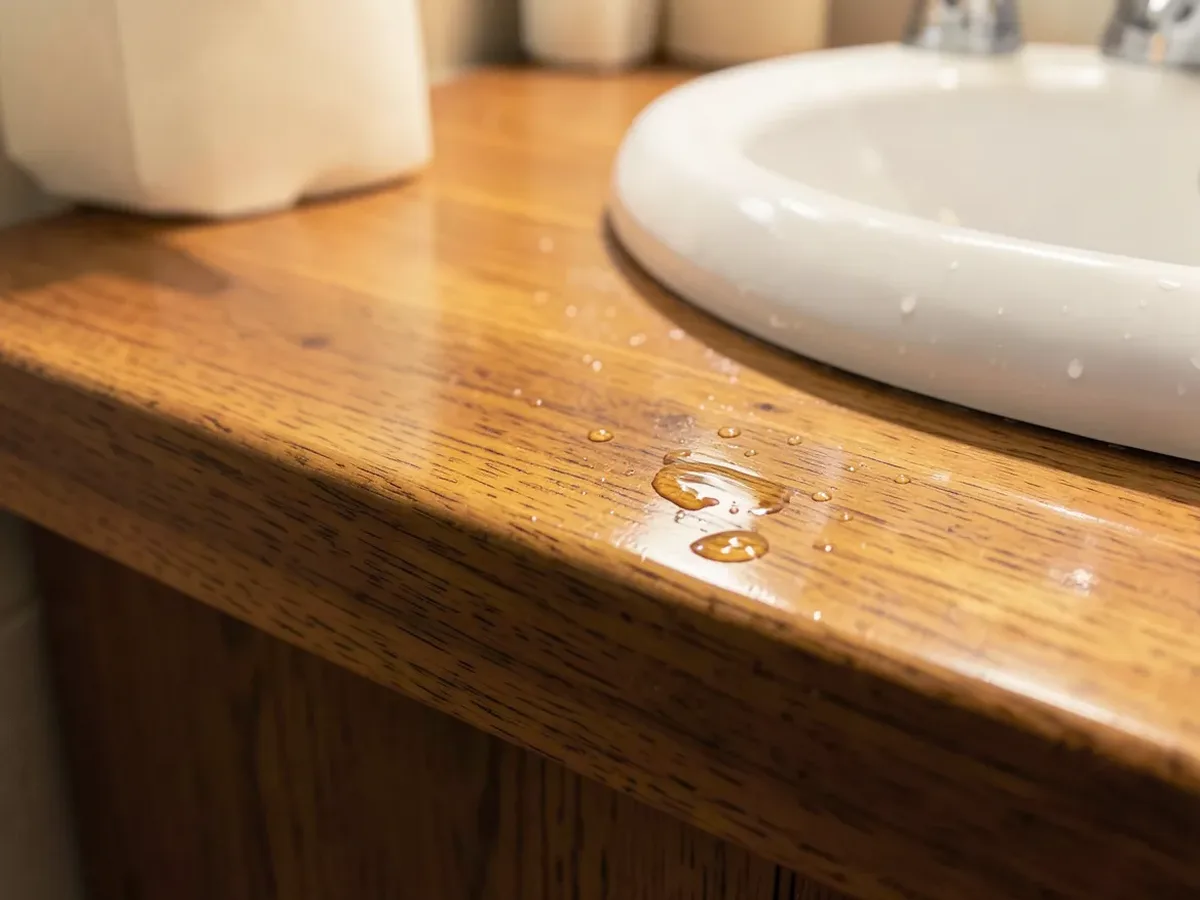
A film-forming finish, not a penetrating oil, is what actually waterproofs a wood vanity top. Marine-grade spar urethane and epoxy resin seal the wood surface with a continuous plastic-like layer, while penetrating oils like tung oil or Danish oil only soak into the grain and wear through fast in a spot that gets splashed and wiped down every day.
A bathroom vanity is a tougher assignment for wood than almost any other piece of furniture in the house, including a wood table that only sees the occasional spill. A vanity top sits inches from a sink used several times a day, it takes on steam from every shower, and any water that gets past the finish has nowhere to evaporate quickly in a humid room. Get the sealing wrong and the failure usually shows up first at the edges and seams, not the flat top, well before the wood in the middle looks damaged.
The Best Waterproofing Option for a Wood Vanity Top
Best Marine-Grade Sealant for Vanity Tops
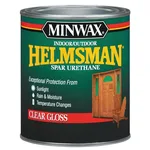 |
Minwax Helmsman Indoor/Outdoor Spar Urethane, Quart, Gloss – $23.61 A film-forming marine varnish built to handle constant moisture, which is exactly the environment a bathroom vanity top sits in.
|
A marine-grade spar urethane like this one is a practical starting point for most wood vanity tops. It is formulated to move with the wood as humidity swings, so it is less likely to crack at the edges than a rigid interior-only varnish. If you want maximum water resistance and do not mind a harder finish to repair later, an epoxy resin coating is the step up – covered further down.
Film-Forming Finishes vs. Penetrating Oils: Why It Matters in a Bathroom
This is the mistake that causes most wood vanity tops to fail early: treating them like a dining table and finishing them with tung oil or Danish oil. Those are penetrating oils. They soak into the wood fibers and harden inside the grain, which looks great and feels natural, but they do not create a continuous sealed layer on top of the wood. Water can still work its way in wherever the oil coverage is thin, and in a constant-splash zone like a sink surround, that happens fast.
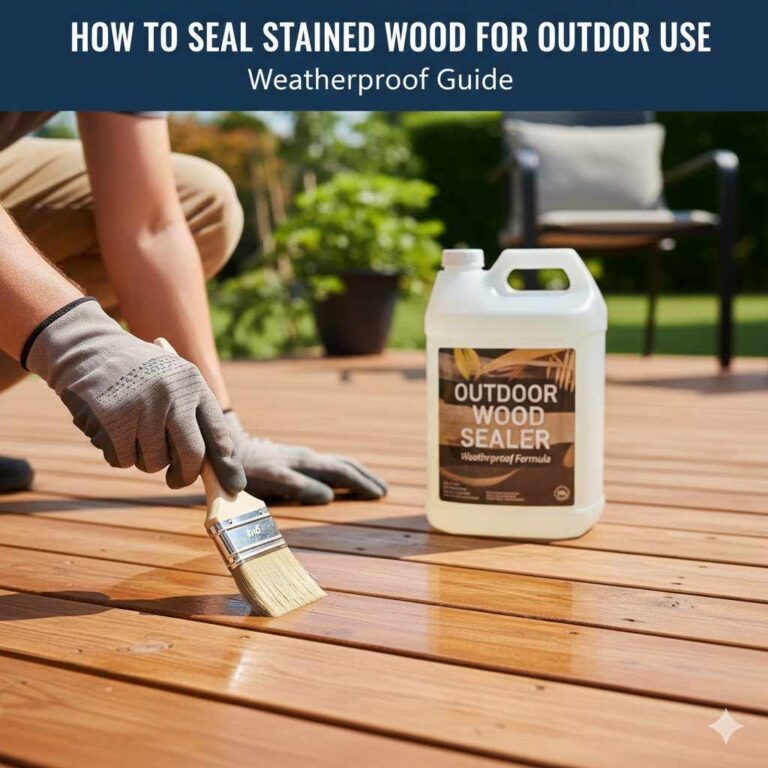
Polyurethane and spar urethane are film-forming finishes instead. They cure into a continuous plastic-like skin sitting on top of the wood, similar to a coat of clear paint. That skin is what actually keeps water from reaching the wood at all, rather than just slowing it down. For a full breakdown of how the two main film-forming options compare on a wood surface, see this spar urethane vs. polyurethane comparison. For a vanity top specifically, the added UV blockers in a marine-grade spar urethane are not doing much (there is little direct sun in most bathrooms), but the extra flexibility they provide as the wood expands and contracts with humidity is a genuine advantage.
Where Wood Vanity Tops Actually Fail: the End Grain and the Seams
The flat top of a vanity is the easiest part to seal well, and it is rarely where problems start. The real weak points are the end grain (any cut edge where the wood fibers are exposed like the ends of a straw) and any seams, such as where the top meets a backsplash, a sink cutout, or a butt joint between boards. End grain soaks up far more moisture than the face of the board because water travels along the grain instead of across it, so a coat that looks even on top can still be thin or missing entirely at a cut edge.
Around the sink cutout is the single most common failure point on a bathroom vanity top. It is splashed constantly, it is harder to reach with a brush, and any gap in the finish there sits directly in standing water every time someone washes their hands. When you seal a vanity top, spend extra time and extra coats on the sink cutout edge, the front edge, and any visible seam – not just the open flat surface.
How to Prep and Seal a Wood Vanity Top, Step by Step
- Clean and dry the surface. Wash with mild soap and water, then let it dry completely for at least 24 hours before sanding – sealing over trapped moisture just seals the problem in.
- Sand with the grain. Use 150-grit, then 220-grit sandpaper, sanding in the direction of the wood grain to remove the old finish’s sheen and any rough spots. Wipe away all dust with a tack cloth.
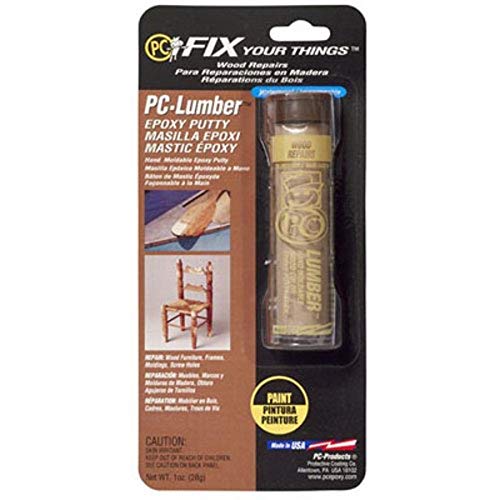
- Fill any gaps or cracks. Use a wood filler that matches the surrounding tone, especially at seams, then sand it flush once dry.
- Seal the end grain and seams first. Brush a coat directly into the sink cutout edge, the front edge, and any seam before doing the flat top. These spots need more product because they absorb more.
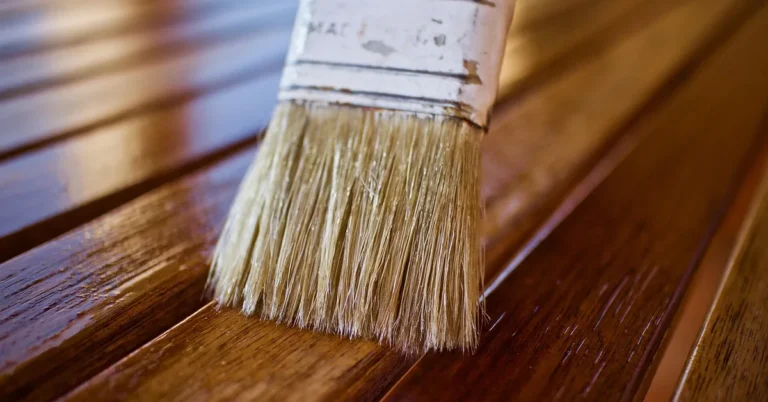
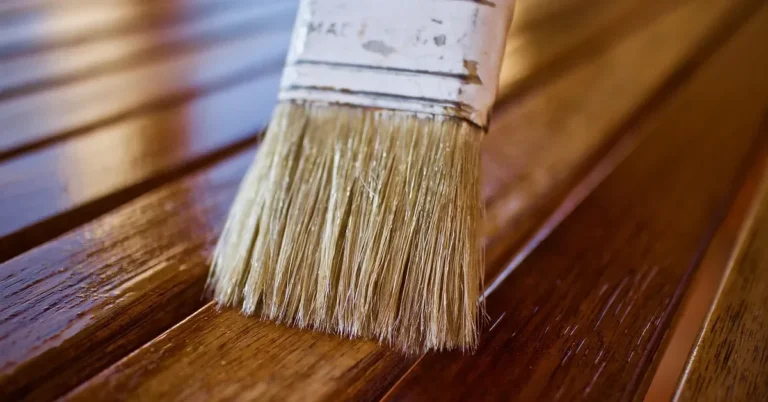
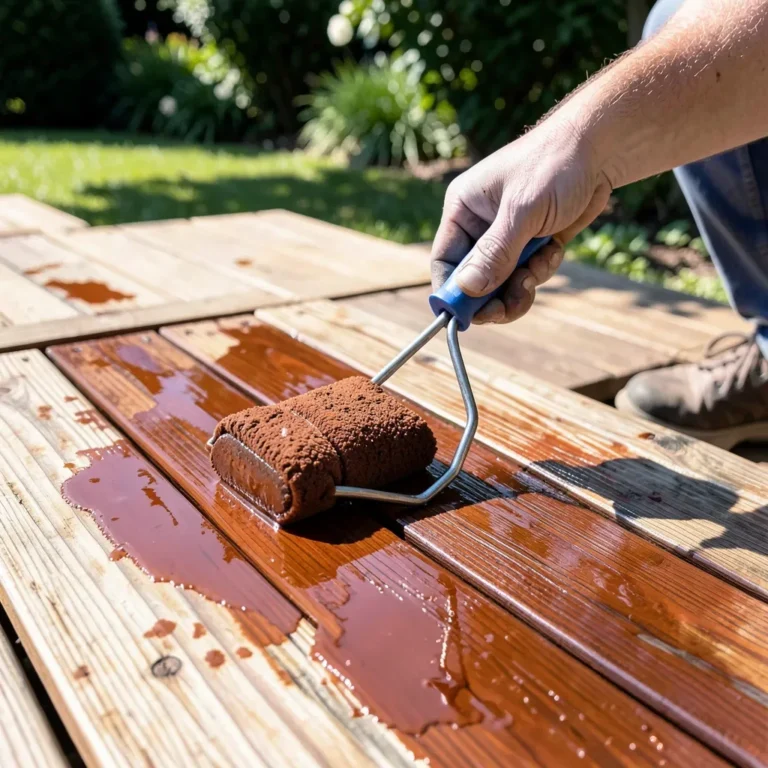
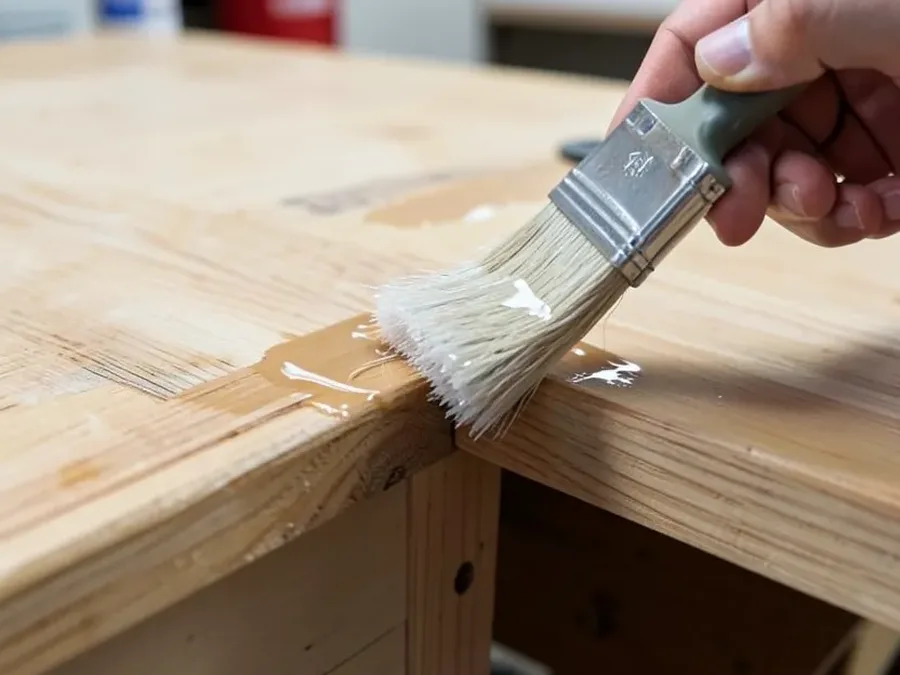
- Apply the film finish in thin, even coats. Use a good synthetic-bristle brush and work in long, even strokes. Two to three thin coats sealed well beat one thick coat that runs or skins over unevenly.
- Sand lightly between coats. Once each coat is dry to the touch, knock down any dust nibs with 320-grit sandpaper and wipe clean before the next coat.
- Let it cure fully before regular use. Most spar urethanes are dry to the touch in hours but need several days to reach full water resistance – check the can’s cure time and avoid heavy water contact until then.
Epoxy Resin: The Heavy-Duty Option (and What You Give Up)
Epoxy resin is the most water-resistant option for a wood vanity top. Poured on as a self-leveling liquid, it cures into a thick, glass-hard layer that fully encapsulates the wood, including the edges if you tape and pour it correctly. For a vanity that gets heavy daily water contact, that level of sealing is hard to beat.
The tradeoff is real and worth knowing before you commit to it: epoxy is much harder to repair or refinish later than a film-forming varnish. A scratch or chip in polyurethane can be sanded out and recoated in an afternoon. A damaged epoxy surface usually needs the whole top re-poured or professionally repaired, since sanding through one section leaves a visible line against the surrounding gloss. Epoxy makes sense when maximum protection is the priority and you are comfortable with a more involved refinish down the road; a marine-grade spar urethane makes more sense if you want something a homeowner can maintain and touch up themselves.
Maintenance: Why a Bathroom Vanity Needs More Frequent Resealing
A well-sealed wood vanity top is not a one-and-done job the way a dry-climate dining table or bookshelf can be. Bathrooms run more humid, see more standing water, and get wiped down with cleaning products more often, all of which wear a finish down faster. Plan to inspect the finish every six months: run your hand across the surface and edges, and look closely at the sink cutout and front edge for dulling, water spots that do not wipe away, or any spot where the wood looks slightly darker than the rest.
Most film-forming finishes on a bathroom vanity need a fresh coat every one to three years depending on how much the sink gets used. You do not need to strip the whole finish for a maintenance coat – a light scuff-sand and one thin fresh coat over the existing finish is usually enough, as long as you catch wear before water actually reaches bare wood.
Troubleshooting Common Problems
White or cloudy water spots: this is usually moisture trapped just under the finish surface, not deep in the wood. Wipe with a soft cloth and mild soap, dry completely, and if the cloudiness stays, a light buff with a wood-safe cleaner/wax often clears it without needing to strip anything.
Peeling or flaking finish: this almost always starts at an edge or seam where the coating was thin to begin with. Sand back the peeling area only, feathering the edge into the good finish, then reapply two thin coats over that spot before it spreads further.
Dark staining around the sink: this signals water has already reached the wood, not just the finish. Let the area dry fully for several days, sand it back to bare wood if the stain does not lighten, then reseal that section – including the end grain at the cutout – before it spreads under the surrounding finish.
Frequently Asked Questions
How do I waterproof a wood vanity top?
Clean and sand the surface, seal the end grain and seams first, then apply two to three thin coats of a film-forming finish such as marine-grade spar urethane, sanding lightly between coats. Let it fully cure before the vanity sees regular water contact, and plan to check the finish every six months afterward.
Is an oil finish enough for a wood bathroom vanity top?
Not by itself. Penetrating oils like tung oil or Danish oil soak into the wood but do not form a continuous sealed layer, so they wear through faster in a constant-splash spot like a sink surround. A film-forming finish such as polyurethane, spar urethane, or epoxy provides much more reliable water resistance for that use case.
How often do I need to reseal a wood vanity top?
Most film-forming finishes on a bathroom vanity need a fresh maintenance coat every one to three years, depending on how heavily the sink is used. A bathroom vanity needs resealing more often than dry-climate furniture because of the constant humidity and standing water it deals with.
Can I use epoxy instead of polyurethane on a vanity top?
Yes, and epoxy resin offers the highest water resistance of the common options because it fully encapsulates the wood in a thick, hard layer. The tradeoff is that epoxy is much harder to repair or refinish later than polyurethane or spar urethane, which can be sanded and recoated in a section without redoing the whole top.
Conclusion
Waterproofing a wood vanity top comes down to picking a real film-forming finish instead of a penetrating oil, and paying extra attention to the end grain and seams where almost every failure actually starts. A marine-grade spar urethane covers most bathrooms well; epoxy resin is the step up for maximum protection if you are willing to trade away easy repairs. Either way, treat resealing as routine maintenance, not a one-time fix, and the vanity top will hold up to daily bathroom use for years.
Sponsored / affiliate links. As an Amazon Associate I earn from qualifying purchases. I may earn additional commission from eligible campaigns.