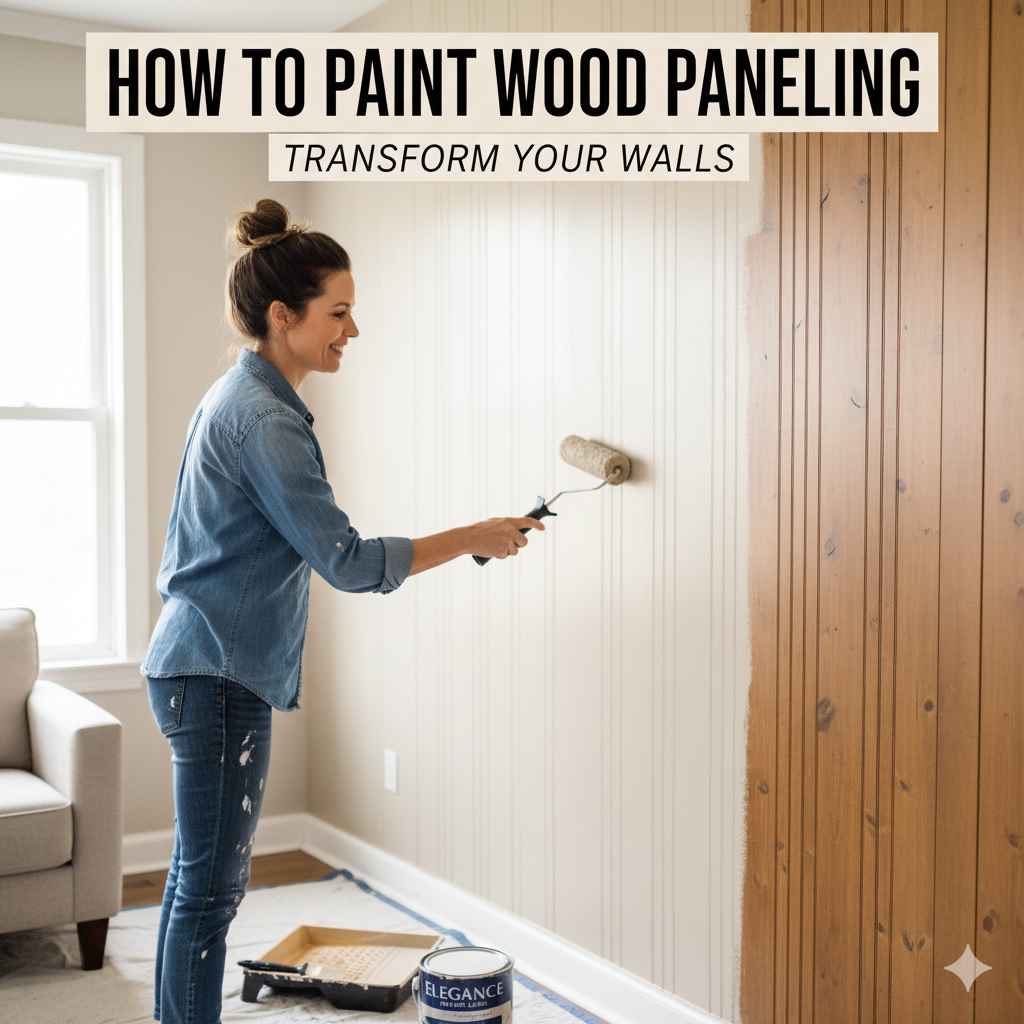
How Paint Wood Paneling: Essential Guide
Yes, you can absolutely paint wood paneling! With proper preparation, priming, and the right paint techniques, you can transform outdated panels into a smooth, modern finish that revitalizes your space. This guide will walk you through every step, making it simple and achievable for any DIYer.
Wood paneling can sometimes feel like a relic of a past decade, casting a dated shadow over a room. If you’re looking to modernize your space without the hassle of removing it, painting is a fantastic solution! Many homeowners feel intimidated by the idea, worrying about drips, uneven coverage, or the wood grain showing through. But don’t worry! With the right approach, painting wood paneling is a straightforward project that can dramatically change the feel of your home. I’ve helped countless people tackle this exact project, and I’m here to show you exactly how to get a beautiful, professional-looking finish. Let’s dive in and bring your walls back to life!
Why Paint Wood Paneling?
Wood paneling, especially the older styles, can often make a room feel dark, dated, and closed-in. Painting it is a cost-effective and surprisingly simple way to achieve a whole new look. It’s a great DIY project because it doesn’t require specialized tools or advanced skills, and the results are often stunning. You can lighten up a basement, give a formal dining room a contemporary feel, or add a fresh backdrop to a living area. Plus, painting can help cover up imperfections in the wood and seal the surface, making it easier to clean.
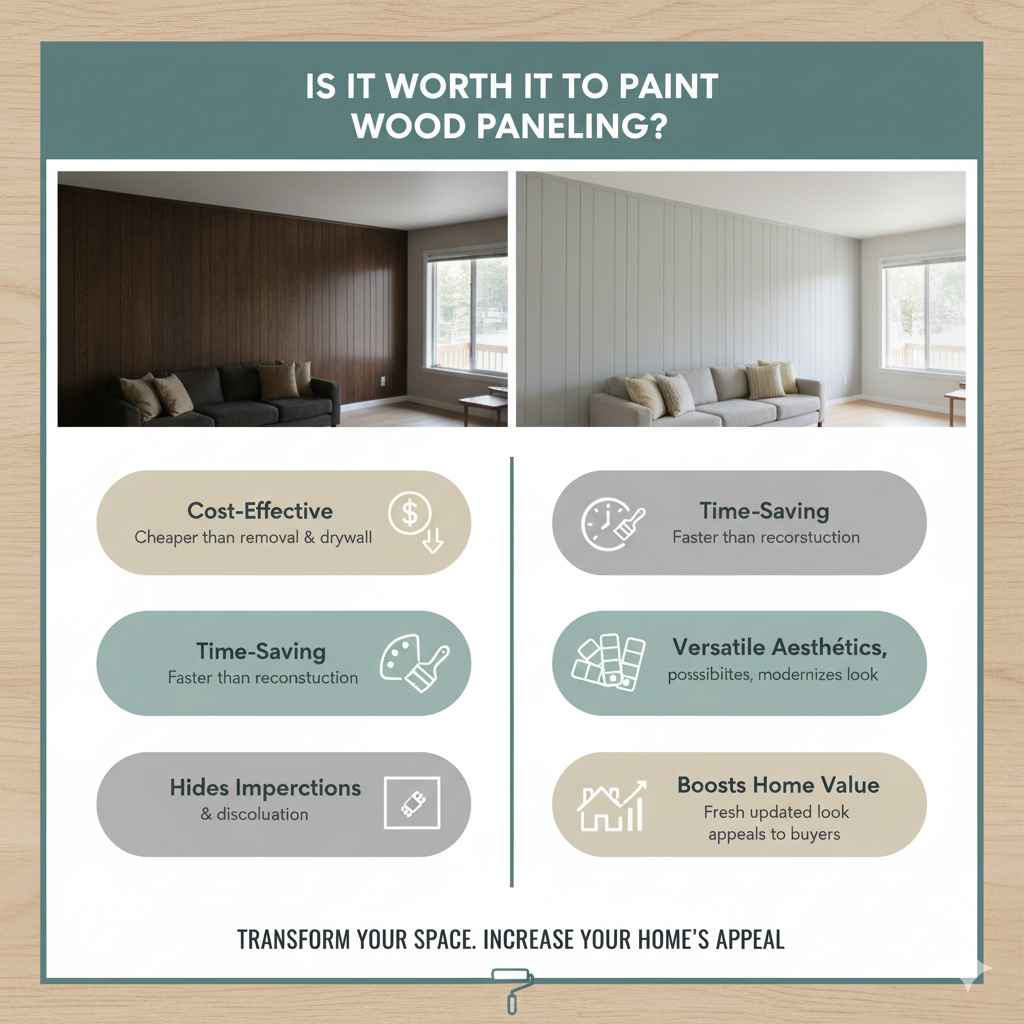
Is It Worth It to Paint Wood Paneling?
Absolutely! Painting wood paneling is overwhelmingly worth the effort for several reasons:
- Cost-Effective: Compared to removing paneling and replacing it with drywall or new wall coverings, painting is significantly cheaper.
- Time-Saving: While preparation takes time, the painting process itself is usually faster than demolition and reconstruction.
- Versatile Aesthetics: Painting opens up endless color possibilities, allowing you to match your decor perfectly. You can achieve a modern, bright look or a sophisticated, deep tone.
- Hides Imperfections: Paint can effectively cover scuffs, scratches, and discoloration that might otherwise be hard to fix.
- Boosts Home Value: A fresh, updated look can make a significant positive impact on how potential buyers perceive your home.
What You’ll Need: Tools and Materials
Gathering the right supplies before you start will make the whole process smoother. Here’s a list of essentials:
Essential Tools:
- Screwdriver (for removing hardware likeoutlet covers and light switch plates)
- Painter’s tape (good quality, 1.5-inch or wider is great)
- Drop cloths or old sheets
- Sanding block or pole sander (with medium-grit sandpaper, 120-180 grit)
- Tack cloth or damp cloths
- Paint rollers (4-inch or 6-inch foam or microfiber rollers for smooth surfaces)
- Roller covers (appropriate nap for your primer and paint – usually smooth to medium)
- Paint tray and liners
- Paint brushes (2-inch angled sash brush for cutting in and details)
- Optional: Electric sander for larger areas
- Optional: Caulk gun and paintable caulk
Essential Materials:
- Degreaser or a good all-purpose cleaner (like TSP substitute)
- Bucket
- Rags or sponges
- High-quality oil-based or water-based primer (specifically designed for slick surfaces or wood, like a stain-blocking primer)
- High-quality interior paint (latex or acrylic enamel, with a satin, eggshell, or semi-gloss finish for durability)
- Fine-grit sandpaper (220 grit) for between coats
Preparing to Paint Wood Paneling: The Crucial First Steps
This is arguably the most important part. Skipping or rushing preparation is the main reason why paint jobs fail or don’t look their best. Take your time here – it pays off!
Step 1: Clean the Paneling Thoroughly
Wood paneling can accumulate dust, grease, and grime over the years, especially in kitchens or high-traffic areas. Any dirt left on the surface will prevent the primer and paint from adhering properly, leading to peeling or a dull finish. You want a squeaky-clean surface for the best adhesion.
- Wipe down the paneling with a damp cloth to remove loose dust.
- Mix a solution of degreaser or TSP substitute (trisodium phosphate is powerful but can be harsh; a substitute is often gentler and safer) with water in a bucket. Follow the manufacturer’s instructions for the correct ratio.
- Use a sponge or rag to wash the paneling, working from top to bottom. Pay attention to the grooves between the panels.
- Rinse the paneling thoroughly with clean water and a clean cloth.
- Allow the paneling to dry completely. This might take several hours, or even overnight depending on humidity. Ensure all grooves are dry.
Step 2: Repair Imperfections
Before you prime, take a close look for any cracks, holes, or deep scratches. These will be more noticeable after painting.
- Use a paintable caulk to fill in any gaps between panels and the wall or ceiling, or any cracks in the wood itself. Apply a thin, even bead and smooth it with a damp finger or caulk tool.
- For small dents or holes, use a wood filler or spackling paste. Apply it according to the product directions, letting it dry completely.
- Once any fillers or caulk are dry, lightly sand the repaired areas smooth.
Step 3: Sand the Paneling
This step is crucial for ensuring your primer and paint have something to grip onto. Even if your paneling is smooth, sanding creates a micro-texture for better adhesion.
- Use a medium-grit sandpaper (around 120-180 grit) to lightly scuff the entire surface of the paneling. You don’t need to remove the finish; you just want to dull the shine.
- If using a sanding block, work with the grain of the wood where possible. For faster coverage on larger walls, a pole sander can be helpful.
- Be extra careful in the grooves. A folded piece of sandpaper or a sanding sponge works well here.
- After sanding, wipe down the entire surface with a tack cloth or a clean, damp cloth to remove all sanding dust. Make sure every bit of dust is gone.
Step 4: Tape Off Areas
Use painter’s tape to protect any areas you don’t want to paint. This includes trim, ceilings, floors, and around windows and doors. Press the edges of the tape down firmly to prevent paint bleed.
Priming the Paneling: Your Foundation for Success
Priming is non-negotiable when painting wood paneling. It seals the wood, blocks tannins (which can bleed through paint), provides a uniform surface, and ensures your topcoat adheres beautifully. For paneling, especially older types, a stain-blocking primer is highly recommended. You can choose between oil-based or water-based, with pros and cons for each.
Choosing the Right Primer:
A good stain-blocking primer is key. Brands like Kilz or Zinsser offer excellent options. Consider:
- Oil-Based Primer: Excellent for blocking stains (tannins from wood, water spots, soot) and adheres very well to slick surfaces. It typically dries harder than water-based primers. Downsides: Strong odor, requires mineral spirits for cleanup, longer drying times.
- Water-Based (Latex/Acrylic) Stain-Blocking Primer: Easier to use, low odor, and cleans up with soap and water. Modern water-based stain-blockers are very effective. Ensure it’s specifically labelled as a stain blocker.
Personally, I often lean towards a high-quality, water-based stain-blocking primer for its ease of use and reduced odor, but if you’re concerned about stubborn tannins or a very slick surface, an oil-based primer is a reliable choice. Always check the product’s recommendations. For more on choosing primers, check out resources like This Old House.
Applying the Primer:
- Stir the primer thoroughly.
- Using your angled brush, “cut in” along the edges of the paneling, the grooves, and around your taped areas.
- Use your roller to apply primer to the flat sections of the panels. Use even, overlapping strokes.
- Ensure complete coverage. You might need two coats of primer, especially if the wood is dark or has knots. Allow the first coat to dry according to the manufacturer’s instructions before applying the second.
- After the primer is completely dry, lightly sand any rough spots or drips with 220-grit sandpaper. Wipe away dust with a tack cloth.
Painting the Wood Paneling: The Finishing Touches
Now for the fun part – applying the color! The type of paint you choose and the finish you opt for will affect the durability and look of your walls.
Choosing Your Paint:
For wood paneling, you want a durable paint that can withstand occasional wiping. An interior latex or acrylic enamel paint is usually the best choice. Consider the sheen:
- Satin: Offers a soft sheen, good durability, and is easy to clean. It’s a popular choice for living areas.
- Eggshell: Similar to satin but with a bit less shine. Also good for general living spaces.
- Semi-Gloss: Provides a higher shine and is very durable and easy to wipe clean. Excellent for high-moisture areas like bathrooms or kitchens, or for trim, but can highlight imperfections more than lower sheens.
Avoid flat finishes on paneling, as they are harder to clean and less durable.
Applying the Paint:
- Stir your paint thoroughly.
- Start by cutting in with your angled brush. Carefully paint along all the edges, grooves, and around taped-off areas. Get into all the corners and seams.
- Load your roller with paint. Apply it to the flat sections of the paneling using smooth, consistent strokes. Work in manageable sections, maintaining a wet edge to avoid lap marks.
- Apply paint evenly, ensuring no areas are missed.
- Allow the first coat to dry completely according to the manufacturer’s instructions. This is typically a few hours, but check the can.
- Once the first coat is dry, inspect for any thin spots or inconsistencies. Lightly sand any rough areas or drips with 220-grit sandpaper and wipe with a tack cloth.
- Apply a second coat of paint, following the same cutting-in and rolling process. For very dark paneling or very light paint, you may even need a third coat for full, opaque coverage.
Tips for a Flawless Finish
Even with great steps, a few extra tips can elevate your painted paneling from good to great:
- Work in Good Light: Natural light is best, but make sure you have plenty of artificial light to see what you’re doing, especially in the grooves.
- Use Quality Tools: Cheap brushes and rollers can leave lint, streaks, and uneven coverage. Investing in good tools makes a significant difference.
- Maintain a Wet Edge: When rolling, try to overlap your strokes slightly and finish each section (e.g., one full panel) before moving to the next. This helps prevent visible “lap marks” where one stroke stops and another begins.
- Don’t Rush Drying Times: Proper drying between coats is crucial for adhesion and a smooth finish.
- Consider the Paint Type: For DIY-friendly, modern finishes, a good quality acrylic latex paint in a sheen like satin or eggshell is usually perfect.
Painting Paneling in Different Styles
The technique for painting remains largely the same, but understanding the unique characteristics of your paneling can help.
Horizontal Paneling
Painting horizontal paneling is very similar to vertical. The key is to sand and prime along the grain of the wood. When rolling your paint, apply it in long, horizontal strokes, ensuring you maintain a wet edge to avoid horizontal lap marks. Focus on getting even coverage across the length of each panel.
Grooved or V-Groove Paneling
This style has distinct indentations between the planks. This is where your angled brush and careful attention to detail are essential. Ensure your primer completely fills and covers the grooves. When rolling, use a shorter nap roller (like a 1/4-inch or 3/8-inch) to avoid pushing too much paint into the grooves, which can create a textured look you may not want. The brush is your best friend for getting paint into these crevices.
Knotty Pine Paneling
Knotty pine is beautiful but notorious for its knots that can bleed through paint. This is where a high-quality stain-blocking primer is absolutely critical. You might even need two coats of primer specifically over the knots. Look for primers that are specifically formulated to block wood stains and tannins. If the knots bleed through the first coat, apply a second coat of primer, focusing on those areas, before proceeding with your paint.
Alternative: Whitewashing Wood Paneling
If you love the look of wood grain but want to lighten it up, whitewashing is a beautiful alternative. It’s a technique where you dilute paint (usually white or a light color) with water to create a translucent finish that allows the wood grain to show through.
How to Whitewash:
- Clean and lightly sand the paneling as you would for painting.
- Mix your paint with water. A common ratio is 1 part paint to 1 part water, but you can adjust for a more or less opaque look.
- Apply the diluted paint with a brush or roller.
- Immediately wipe off the excess paint with a clean rag, wiping with the grain. The amount you wipe off will determine how much of the wood grain shows.
- Let it dry, and apply a second coat if desired.
- Seal with a clear topcoat (like a water-based polyurethane) for durability.
Whitewashing offers a rustic, airy feel without completely covering the natural beauty of the wood.

Frequently Asked Questions (FAQs)
Q1: Do I need to remove the wood paneling before painting?
No, you absolutely do not need to remove it! Painting over existing wood paneling is a very common and effective way to update a room. The key is proper preparation, including cleaning, sanding, and priming.
Q2: What is the best primer for wood paneling?
A high-quality stain-blocking primer is highly recommended. This is important for sealing the wood and preventing tannins (natural wood colors) or knots from bleeding through your topcoat. Both oil-based or water-based stain-blocking primers can work well. Brands like Kilz and Zinsser offer excellent options.
Q3: Will the wood grain show through if I paint my paneling?
It depends on your chosen paint and technique. If you use a good primer and apply paint evenly with a roller, a smooth, opaque finish is achievable, meaning the grain won’t show. If you desire a more rustic look where the grain is subtly visible, you can achieve this with techniques like whitewashing or by using fewer coats of paint, but the standard method aims for a smooth, solid color.
Q4: How many coats of paint do I need?
Typically, you’ll need at least two coats of paint over a properly primed surface. The number of coats can vary depending on the color of the paneling, the color of your paint, and the type of paint used. Darker paneling might require more coats of a lighter paint to achieve full coverage.
Q5: Can I paint over paneling without sanding?
It is strongly advised NOT to paint over wood paneling without sanding. Sanding creates a slightly roughened surface that allows the primer and paint to adhere properly. Skipping this step can lead to paint peeling or flaking later on, and a less durable finish.
Q6: What finish (sheen) is best for painted paneling?
For durability and ease of cleaning, a satin, eggshell, or semi-gloss finish is generally best for painted paneling. These sheens are more resistant to moisture and can be wiped down easily. Flat finishes are typically not recommended for paneling as they are harder to clean.