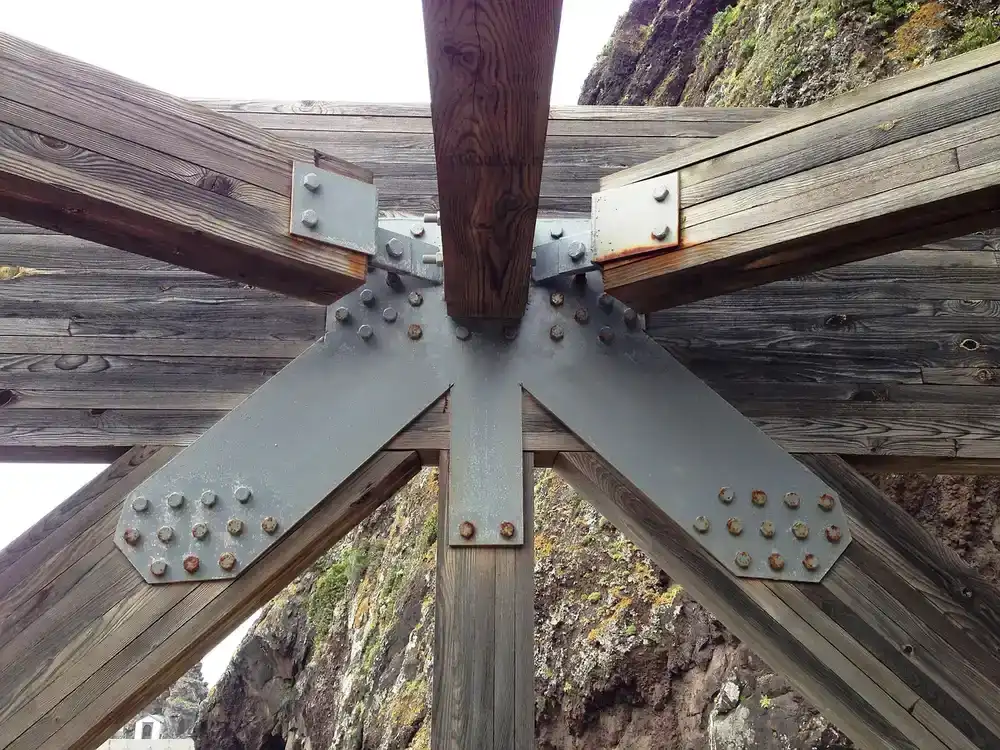
How to Attach Angle Iron to Wood: Self-Tapping Screws vs. Pre-Drilled Bolts
The right way to attach angle iron to wood depends mostly on how thick the metal is. Thin-gauge angle iron (roughly 1/8 inch or less) can take self-tapping, self-drilling screws directly, with no separate pilot hole needed in the metal itself. Thicker angle iron, or any joint that needs real holding strength, calls for pre-drilled holes in both the metal and the wood, then wood screws or lag bolts sized to match.
Both methods work well when matched to the job. Getting the pilot hole size right in the wood, and knowing when a self-tapping screw is actually enough, is what separates a joint that holds for years from one that splits the wood or strips out within a season.
Self-Tapping Screws vs. Pre-Drilled Bolts: Which One You Need
Self-tapping (self-drilling) screws have a drill-point tip that cuts its own hole through thin sheet steel as it drives, so for angle iron in the thinner gauges, roughly 16 to 11 gauge (about 1/16 to 1/8 inch thick), a #10 or #12 self-drilling screw can go straight through the metal and into the wood in one pass. There is no need to pre-drill the metal side at all for stock this thin, which is the main time savings these screws offer over a bolted connection.
Angle iron heavier than about 3/16 inch is a different story. A self-drilling screw will struggle or snap trying to bore through steel that thick. At that gauge, pre-drill through-holes in the angle iron with a metal-rated bit (cobalt or titanium-coated), then run wood screws or lag bolts through those holes into the wood. This also gives you the option of using a nut and washer on the back side for a true bolted joint, which holds up better under repeated load or vibration than any screw alone.
Best Galvanized Angle Iron Bracket
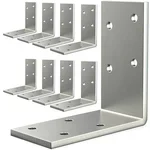 |
KOMOHOM Galvanized L Brackets (8-Pack) – $15.99 Pre-drilled 3-inch galvanized angle iron brackets sized for exactly this kind of wood-to-wood or wood-to-frame reinforcement, with holes already spaced for standard wood screws.
|
Choosing the Right Angle Iron Thickness First
Before picking fasteners, match the angle iron gauge to the actual load. For light-duty work like a closet shelf bracket or a small picture ledge, 1/16 to 1/8 inch stock (16 to 11 gauge) is plenty, and it’s light enough to cut with tin snips or an angle grinder without much effort. For anything carrying real weight, a garage shelf holding tool boxes, a bed frame corner, or a workbench leg brace, step up to 3/16 to 1/4 inch angle iron; it’s stiffer under load and won’t flex or bow the way thinner stock will over a wide span. Structural framing work, like bracing a deck ledger or a post base, generally calls for 3/8 inch or heavier, and at that thickness you’re almost always bolting rather than screwing, since self-drilling screws aren’t rated for stock that thick.
Getting this choice right up front matters more than the fastener choice that follows it – the strongest bolted connection still fails if the angle iron itself is too thin to resist bending under the load you’re putting on it.
Tools and Materials You’ll Actually Need
- Angle iron or steel L-brackets, sized and gauged for your project
- Self-drilling screws (for thin gauge) or lag bolts/wood screws plus a metal drill bit (for thicker stock)
- Drill/driver with a clutch setting, so you can stop before stripping the wood
- Drill bit set that includes both wood bits and metal-rated bits
- Countersink bit, if the bracket needs to sit flush
- Tape measure and combination square for accurate placement
- Safety glasses and work gloves – steel edges and drill shavings are sharp
Step 1: Mark and Position the Angle Iron
Hold the angle iron in place and mark each hole location on the wood with a pencil through the bracket’s existing holes, or through the holes you’ve just drilled in blank stock. Use a square to confirm the bracket is sitting at true 90 degrees before you mark anything – a bracket installed slightly out of square undermines the whole point of using it for reinforcement.
Step 2: Size the Pilot Hole to the Screw’s Root Diameter
This is the step most DIY guides skip, and it’s the one that actually prevents split wood. A wood screw’s root diameter is the solid metal core running down the center of the screw, not the wider diameter measured across the threads. Drill your pilot hole to roughly that root diameter, not the full screw diameter – too small and you’re fighting the screw and risking a split near the edge; too large and the threads have nothing to bite into, so the joint loosens under load. In softer woods like pine you can size the pilot slightly under the root diameter since the wood compresses a bit as the threads cut in; in dense hardwoods like oak or maple, match the root diameter closely or you’ll still split the board even with a pilot hole present.
If you’re using self-drilling screws straight into thin angle iron, you can skip a metal-side pilot hole entirely – that’s the actual advantage of that screw type. But the wood side still benefits from a small starter hole, especially near the end grain of a board where splitting risk is highest.
Step 3: Countersink for a Flush Fit (When It Matters)
If the angle iron needs to sit flush against another surface, such as a wall, a second board, or a mattress in a bed frame repair, countersink the screw heads so nothing protrudes. A countersink bit cuts a shallow, cone-shaped recess at the top of the pilot hole so the screw head sits level with or slightly below the surface. Skip this step if the bracket is purely structural and nothing will be resting against it – it adds a step for no functional benefit in that case.

Step 4: Protect Bare Steel From Rust
Bare, uncoated steel angle iron will start to rust within weeks in a humid garage or basement, and much faster outdoors. If you didn’t buy galvanized stock, prime the metal with a rust-inhibiting metal primer before installing it, then finish with an exterior-rated paint if it’s going outside. Galvanized angle iron skips this step entirely since the zinc coating is already corrosion-resistant, which is the main reason it’s worth the small price difference for anything outdoors or in a damp space like a shed or crawlspace.
Common Mistakes to Avoid
- Skipping the pilot hole entirely on hardwood – even a short self-tapping screw can split oak or maple without one.
- Using a screw that’s too long for the wood’s thickness, so the tip pokes through the far side.
- Overtightening with a driver on full torque, which strips the pilot hole and leaves the screw spinning freely.
- Installing angle iron out of square, which defeats the reinforcement it’s meant to provide.
- Leaving bare steel unprotected outdoors, which leads to rust staining the wood around every screw within a season.
Where This Actually Gets Used
Angle iron brackets show up most often reinforcing shelf supports that carry more weight than a wood cleat alone can handle, squaring up bed frame joints that have worked loose over years of use, and bracing fence posts or deck framing where a wood-only joint would eventually rack. For anyone doing metalworking-adjacent tasks like cutting angle iron to length before installing it, a basic metalworking primer on the right blades and tools is worth a look before you start, and if you’re deciding between screw types for this kind of job, our guide on using sheet metal screws in wood covers the tradeoffs in more depth.
Frequently Asked Questions
Do I need to pre-drill angle iron before attaching it to wood?
Only if it’s thicker than about 3/16 inch, or if you’re using regular wood screws or bolts instead of self-drilling screws. Thin angle iron, roughly 1/8 inch or less, can take a self-drilling screw straight through without a separate pilot hole in the metal.
What size pilot hole should I drill in the wood?
Match the pilot hole to the screw’s root diameter, the solid core under the threads, not the wider diameter across the threads themselves. Go slightly smaller in softwoods and closer to the exact root diameter in dense hardwoods to avoid splitting.
Can I use self-tapping screws instead of bolts for angle iron?
Yes, for thinner-gauge angle iron and lighter loads. For joints under heavy or repeated stress, such as a bed frame or a load-bearing shelf bracket, a through-bolted connection with a nut and washer holds up better over time than screws alone.
How do I stop angle iron from rusting once it’s installed?
Use galvanized angle iron from the start if the project is outdoors or in a humid space, since the zinc coating resists corrosion without extra work. For bare steel already installed, clean off any surface rust, apply a rust-inhibiting metal primer, and top it with an exterior-rated paint.
Conclusion
Match the fastener to the metal thickness – self-drilling screws for thin angle iron, pre-drilled bolts for anything thicker or under real load – and size the wood pilot hole to the screw’s root diameter rather than guessing. Combined with a galvanized finish or a coat of primer and paint on bare steel, that’s the difference between a bracket that holds for years and one that works loose or rusts out within a season.
Sponsored / affiliate links. As an Amazon Associate I earn from qualifying purchases. I may earn additional commission from eligible campaigns.
 VGBUY 25Pcs #14 x 3 Self Drilling Screws for Metal,410 Stainless Steel Self Tapping Screws,Sheet Metal Screws,Quick Metal Tapping,Hex Washer Head
 Stainless Steel Wood Screws #14 x 1 Inch Self Tapping Screws 50pcs, Flat Head Phillips 18/8 Stainless Steel Sheet Metal Screws for Cabinet, Wooden, Indoor and Outdoor Use by IMSCREWS