How to Bleach Red Oak Without Turning It Orange or Blotchy
Use a two-part A/B wood bleach (sodium hydroxide and hydrogen peroxide), not household chlorine bleach. Chlorine bleach only removes surface stains and dye — it doesn’t touch the natural reddish-pink pigment in red oak’s lignin, which is exactly what you need to neutralize to get an even, light result. Two-part wood bleach is the only product that actually breaks down that pigment.
This is the single biggest reason DIY red oak bleaching jobs come out orange, pink, or patchy instead of the clean light tone people expect: they reach for a spray bottle of laundry bleach diluted with water, which works fine for removing a stain or brightening white oak’s already-pale tone, but does almost nothing to red oak’s actual color pigment. Here’s the process that actually works, plus how to avoid the blotchy result that’s the other common complaint.
Why Red Oak Specifically Needs Two-Part Bleach
Best Two-Part Bleach For Red Oak
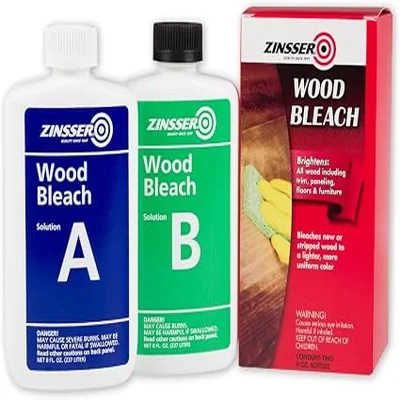 |
Zinsser Wood Bleach Kit, 2-Step System – $26.37 A true A/B two-part system built specifically to remove wood’s natural color and red tones — the correct product category for this job, unlike household chlorine bleach.
|
Wood color comes from two different things: surface stains/dyes sitting in the pores, and pigment compounds bound into the wood’s own lignin. Chlorine bleach (sodium hypochlorite) oxidizes surface stains and dyes effectively, which is why it works for lightening something like white oak, birch, or pine that doesn’t have much natural pigment to begin with. Red oak’s pink-to-reddish cast comes from pigment in the lignin itself, and chlorine bleach doesn’t reach that.
Two-part A/B wood bleach works differently. Part A (sodium hydroxide, a strong base) opens up the wood’s cell structure, and Part B (hydrogen peroxide, an oxidizer) reacts with the exposed lignin to break down the chromophores — the actual molecules responsible for the wood’s natural color. That’s a real chemical change to the wood itself, not just a wash of the surface, which is why two-part bleach can take red oak, cherry, or mahogany down to a genuinely light, neutral tone rather than just cleaning stains off it.
What You’ll Need
- A two-part (A/B) wood bleach kit — sold specifically as “wood bleach,” not laundry bleach
- Rubber gloves rated for chemical use, safety goggles, and a respirator or well-ventilated space (the fumes from both parts are genuinely irritating)
- A synthetic-bristle brush or foam applicator (natural bristles can react with the alkaline Part A)
- A plastic or glass container — never metal, which reacts with the bleach
- White vinegar for neutralizing, plus clean water for rinsing
- 120- and 220-grit sandpaper for raised-grain cleanup after the wood dries
Step-by-Step: Bleaching Red Oak
- Sand and clean the wood first. Any existing finish, wax, or old stain blocks the bleach from reaching the wood underneath. Sand to bare wood with 120-grit, then wipe away all dust with a tack cloth — leftover dust and finish residue is the most common cause of blotchy, uneven bleaching.
- Test on a scrap or hidden area first. Red oak’s tone varies board to board, and the same bleach treatment can pull slightly different results depending on the specific board’s density and grain. A test patch tells you how many coats you’ll actually need before you commit the whole piece.
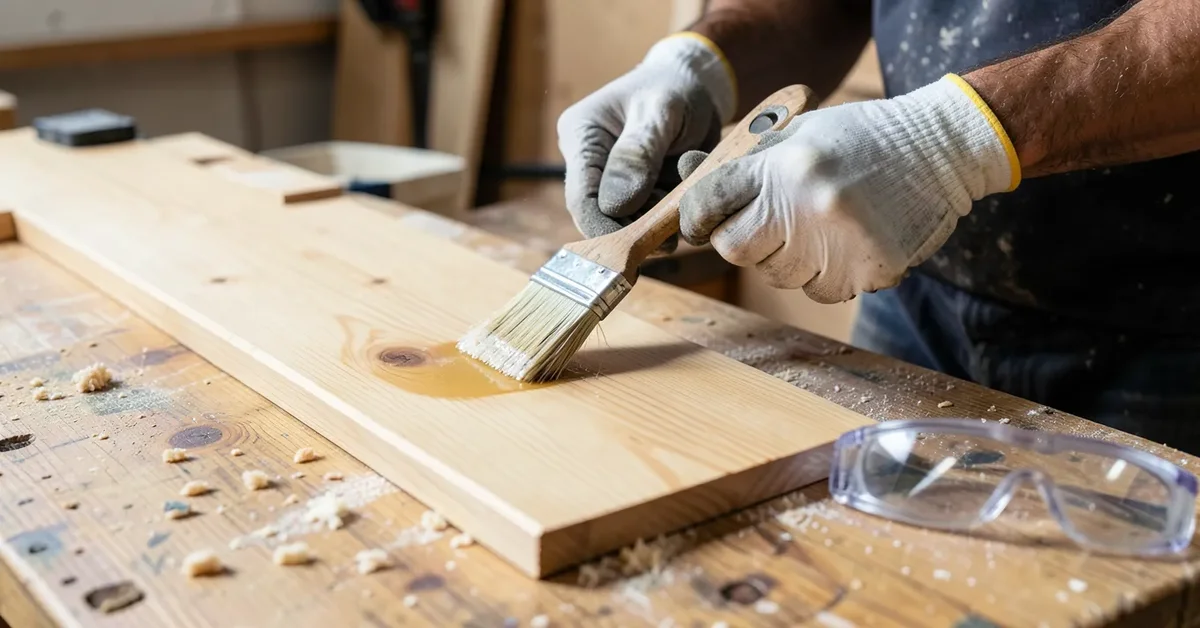
- Apply Part A evenly with the brush, working with the grain, and let it sit for the time your specific product’s label specifies (this varies by brand — don’t assume one product’s timing applies to another).
- Apply Part B over the same area while Part A is still wet, again working with the grain. This is where the actual color-lightening reaction happens — you’ll often see it start working within a few minutes.
- Let the reaction finish per the label, then check the color. If it’s not light enough, most two-part bleaches can be reapplied for a second full A-then-B cycle once the wood has dried from the first pass — check your specific product’s instructions, since not all brands recommend the same re-treatment approach.
- Neutralize with a 50/50 white vinegar and water solution, flooding the surface and letting it sit for about 5 minutes. The vinegar’s mild acidity neutralizes the alkaline Part A residue left in the wood.
- Rinse thoroughly with clean water to remove the vinegar solution, then let the wood dry completely — 24 to 48 hours minimum, longer in humid conditions. Finishing over wood that hasn’t fully dried and off-gassed traps moisture and chemical residue under the finish.
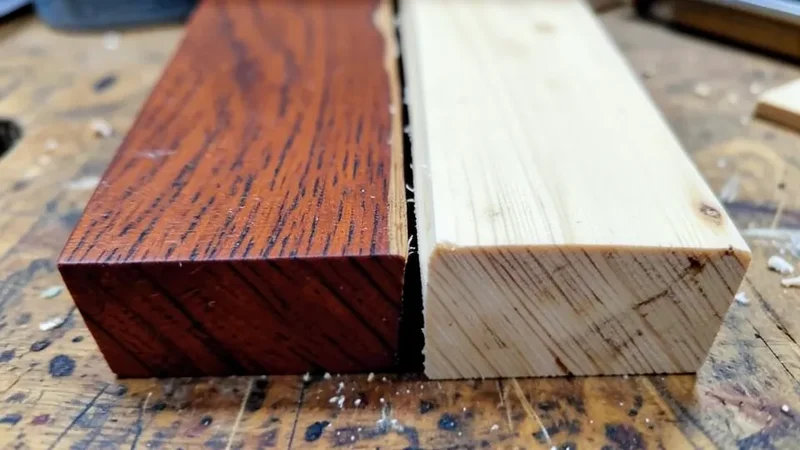
Avoiding the Blotchy, Uneven Look
Blotchiness after bleaching almost always comes down to one of these:
- Uneven sanding before you started. Sand the entire piece to the same grit uniformly — a spot sanded to 220 next to a spot still at 120 absorbs bleach differently and will show as a visible line once bleached.
- Applying Part A and B unevenly, or letting one dry before applying the other. Work in manageable sections and keep the application wet and even rather than trying to cover a whole tabletop in one pass and losing consistency at the edges.
- Not accounting for grain and density variation. Denser latewood grain lines take bleach differently than the softer earlywood between them — this is a normal part of red oak’s structure, not a mistake, and it’s part of why a test patch matters before you commit.
- Rushing the dry time. Raised grain from the water-based bleach needs a light 220-grit sanding once fully dry before finishing. Skipping this leaves a rough, uneven-feeling surface that also finishes unevenly.
After Bleaching: Sanding and Finishing
Once the wood is fully dry, knock down the raised grain with 220-grit sandpaper, sanding lightly and with the grain — you’re smoothing the surface, not removing more color at this point. Wipe away all sanding dust before finishing.
Bleached red oak is genuinely pale, and it’s easy to muddy that result with the wrong finish. A clear water-based polyurethane or a dedicated “white” or “hardwax oil” finish keeps the light tone intact. Standard oil-based polyurethane ambers with age and will gradually push the wood back toward a warmer, yellow-orange tone over months, which defeats a lot of the point of bleaching it in the first place — if you want the light look to last, choose a finish rated non-yellowing or water-based specifically.
Frequently Asked Questions
Can you use regular chlorine bleach on red oak?
Chlorine bleach removes surface stains and dyes but does not break down the natural pigment in red oak’s lignin, so it won’t meaningfully lighten the wood’s own reddish-pink tone. A two-part A/B wood bleach is needed to actually change red oak’s natural color.
How do you neutralize wood bleach after using it?
Flood the surface with a 50/50 white vinegar and water solution, let it sit about 5 minutes to neutralize the alkaline residue, then rinse thoroughly with clean water and allow the wood to dry fully for 24-48 hours before sanding or finishing.
Why did my bleached red oak turn out blotchy?
Uneven pre-sanding, applying the two bleach parts unevenly, or not accounting for red oak’s natural grain density variation are the most common causes. Sand the whole piece to a uniform grit first and apply both bleach parts in even, consistent coats.
Will bleached red oak stay light, or does it darken again over time?
The wood itself stays lightened, but a standard oil-based polyurethane finish ambers with age and will gradually shift the look warmer. Use a water-based or non-yellowing finish if you want the light tone to hold long-term.
Bottom Line
Red oak’s natural pigment only responds to a two-part A/B wood bleach — household chlorine bleach isn’t strong enough to change the wood’s own color, only surface stains. Sand to a uniform grit first, apply both parts evenly, neutralize with vinegar and water, and let the wood dry fully before finishing with a non-yellowing topcoat to keep the light result from drifting warm again.
Sponsored / affiliate links. As an Amazon Associate I earn from qualifying purchases. I may earn additional commission from eligible campaigns.