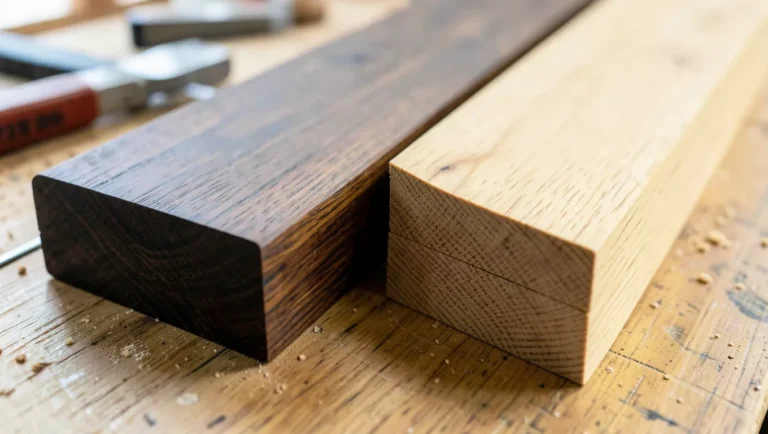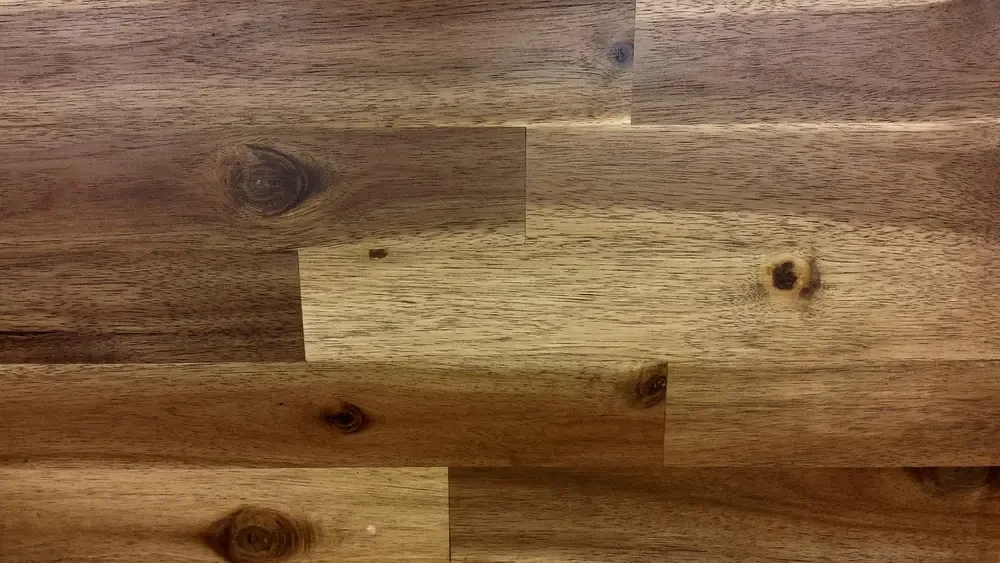
How to Bleach Walnut Wood: Two-Part Bleach Method
To bleach walnut wood correctly, strip and sand off the old finish, then apply a true two-part (A/B) wood bleach — not household chlorine bleach — and neutralize and rinse the wood once it reaches the shade you want. Household bleach mostly cleans surface dirt, mildew, and organic stains; it does not break down the tannins that give walnut its deep brown color, so on its own it will not meaningfully lighten the wood itself.
Walnut is one of the few furniture woods where people are usually trying to remove color rather than add it, and getting an even result without blotching depends on using the right chemistry for the job, not just grabbing whatever bottle says “wood bleach” on the label. Below is the full two-part bleaching process, the safety gear it actually requires, and a step most guides skip: what to do about the raised grain that shows up once the wood dries.
Why Two-Part Wood Bleach Is What Actually Lightens Walnut
A genuine two-part A/B wood bleach works in two chemical stages: Part A (typically sodium hydroxide) swells the wood fibers and opens them up, then Part B (hydrogen peroxide) oxidizes and breaks down the natural pigment and tannin content while the wood is still wet from Part A. That reaction is what actually removes color from walnut’s heartwood, not just its surface.
Household chlorine bleach works differently: it is effective at killing mold and breaking down surface-level organic stains, but it does not penetrate or react with the tannins inside the wood the way a two-part system does. Used on walnut, it typically leaves the color mostly unchanged, can bleach unevenly, and repeated applications can leave the surface fuzzy or damaged. Single-part oxalic acid is a different tool again — it is genuinely good at pulling out iron stains, water rings, and gray weathering, but it is not formulated to strip walnut’s overall natural pigment the way a two-part system is.
For a single walnut furniture piece, here is a genuine two-part kit that matches this exact A/B process.
Best Two-Part Wood Bleach Kit
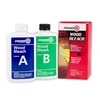 |
Zinsser Wood Bleach Kit (2-Step Brightening System) – $26.30 This is the true two-part A/B formula this guide’s steps are built around — no separate neutralizer or oxalic acid to buy.
|
What You’ll Need
Gather everything before you start, since Part B needs to go on while Part A is still wet.
- Two-part (A/B) wood bleach kit
- Chemical-resistant nitrile gloves (not fabric or latex-only)
- Safety goggles, not just glasses
- A respirator rated for chemical vapors, not a basic dust mask
- Plastic or glass mixing and application containers — not metal, since sodium hydroxide can react with some metals
- A synthetic-bristle brush or foam brush
- Fine and medium-grit sandpaper (150, then 220–320 grit)
- Plastic sheeting to protect the surrounding work area
- Clean rags and plenty of water for rinsing
- A fan or open windows for ventilation
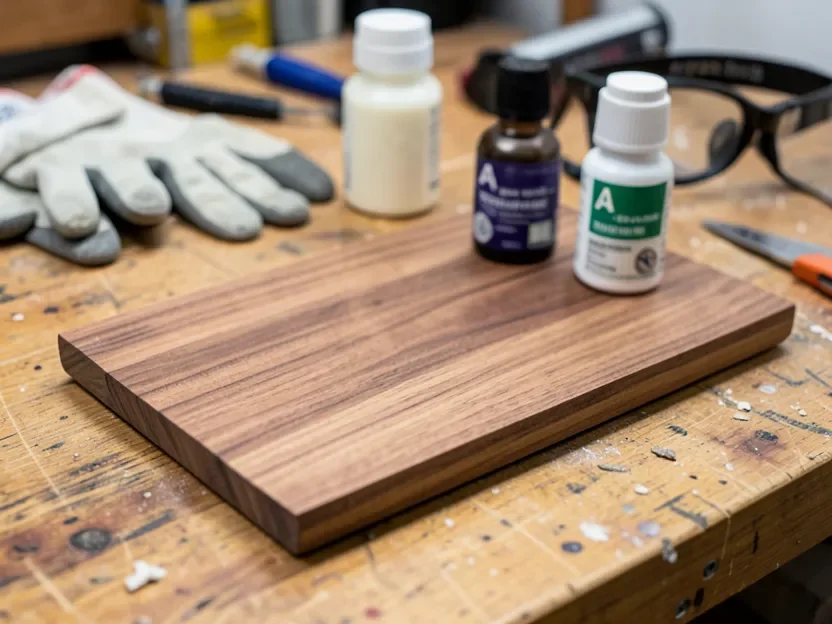
Step-by-Step: How to Bleach Walnut Wood With Two-Part Bleach
- Strip and sand the old finish. Bleach can’t penetrate a sealed surface, so remove any existing finish and sand with 150-grit, working with the grain, until you’re down to bare wood.
- Test on a scrap piece first. Walnut’s tannin content varies board to board and even within the same board, so a test patch tells you how that specific piece will react before you commit the whole surface.
- Apply Part A. Brush it on evenly with the grain and let it sit for the time the label specifies — usually a few minutes.
- Apply Part B while Part A is still damp. This is the step that triggers the actual oxidation reaction; on most kits, you don’t rinse between A and B.
- Watch the color change. You’ll see the wood visibly lighten and sometimes lightly foam as the reaction happens. Give it the full time the manufacturer lists, typically 5–15 minutes.
- Neutralize and rinse thoroughly. Use the manufacturer’s neutralizer or a generous water rinse to stop the reaction and remove residue. Skipping this can leave chemical residue that interferes with the finish later.
- Let the wood dry completely. This can take 24–48 hours depending on humidity — don’t rush it.
- Check the color and repeat if needed. If it’s not light enough once dry, you can run a second full A/B application.
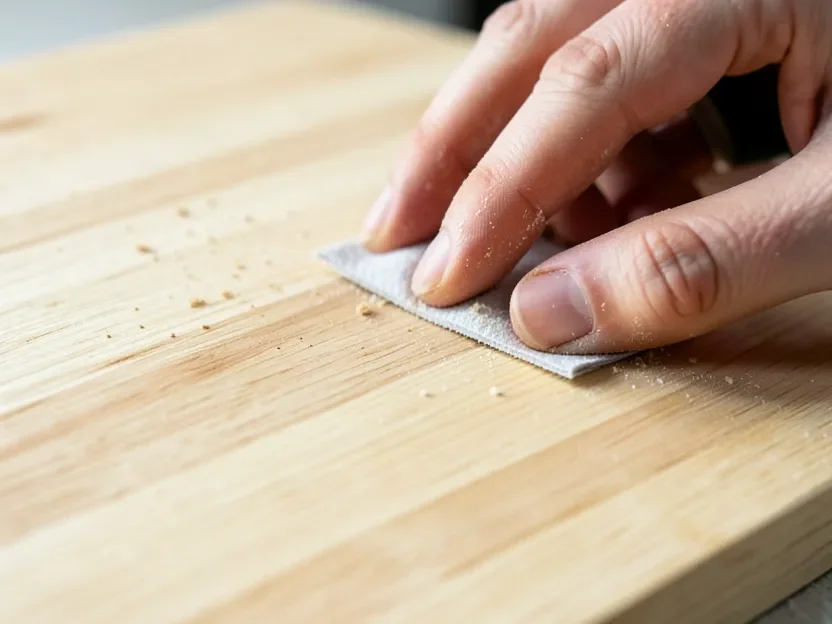
- Sand down the raised grain with 220–320-grit sandpaper once the wood is fully dry (more on why below).
- Apply your finish once the surface is smooth and dust-free.
Safety Precautions When Using Two-Part Wood Bleach
Two-part wood bleach is real chemistry, not a mild household product, and it should be handled like it. Work in a well-ventilated space — open windows and run a fan, or work outdoors if you can. Wear chemical-resistant gloves and sealed goggles, since Part A in particular can burn skin and eyes on contact. A basic paper dust mask does not protect against the vapors; use a respirator rated for chemical fumes if you’re working in an enclosed space. Cover the surrounding floor and furniture with plastic sheeting, and mix and apply the solution in plastic or glass containers rather than metal.
It’s also worth knowing before you order: two-part wood bleach kits ship as a hazardous material and are typically marked non-returnable once opened, which is a real practical detail most guides leave out. Buy a size that matches your project, since you likely can’t send an unused portion back.
Why Walnut’s Grain Raises After Bleaching (and How to Fix It)
Two-part wood bleach is water-based, and soaking bare wood fibers in any water-based solution makes them swell. As the wood dries back out, those raised fibers don’t lie back down flat — they stay standing slightly proud of the surface, giving bleached walnut a faintly rough or fuzzy feel that wasn’t there before you started. This is normal and expected, not a sign you did something wrong.
Once the wood is completely dry — not just dry to the touch, but dry all the way through, which is why the 24–48 hour wait matters — lightly sand with 220 to 320-grit paper, working with the grain, just enough to knock the raised fibers back down without cutting back into the color you just achieved. Wipe away the dust with a tack cloth before finishing. Skipping this step is one of the most common reasons a bleached piece looks great until you run a finish over it and the surface suddenly looks blotchy or feels gritty under a clear coat.
Two-Part Bleach vs. Household Bleach vs. Oxalic Acid
- Two-part A/B wood bleach: The only one of the three that actually breaks down walnut’s natural pigment and tannin content for real, even overall lightening.
- Household chlorine bleach: Good at killing mildew and lifting surface dirt or organic stains — not formulated to react with wood tannins, so it won’t meaningfully lighten walnut’s inherent color and can leave the surface fuzzy with repeated use.
- Oxalic acid (single-part): The right tool for iron stains, water rings, and gray weathering — not a substitute for two-part bleach if your goal is lightening the wood’s overall natural color.
If you’re weighing bleaching against other ways to lighten walnut, including the ammonia fuming method some woodworkers use instead, see our full comparison in how to lighten walnut wood.
Frequently Asked Questions
Can I use household bleach to lighten walnut wood?
Not effectively. Household chlorine bleach cleans surface dirt, mildew, and organic stains, but it doesn’t react with the tannins that give walnut its color, so it won’t meaningfully lighten the wood itself. Use a true two-part A/B wood bleach instead, which is formulated to oxidize the wood’s natural pigment.
What’s the difference between two-part wood bleach and oxalic acid?
Oxalic acid is a single-part product best suited to removing iron stains, water rings, and gray weathering from wood. Two-part A/B wood bleach uses a sodium hydroxide step followed by a hydrogen peroxide step to oxidize and break down the wood’s overall natural pigment, which is what actually lightens walnut’s inherent color rather than just lifting a stain.
Why does the wood feel rough after bleaching?
Two-part wood bleach is water-based, and soaking the wood fibers makes them swell and stand up as the wood dries, a process called grain raising. It’s normal. Once the wood is completely dry, a light sanding with 220 to 320-grit sandpaper knocks the raised fibers back down and smooths the surface before you apply a finish.
How long should two-part wood bleach sit on walnut?
It varies by product, but most two-part kits call for 5 to 15 minutes after both parts are applied before you neutralize and rinse. Always check the specific manufacturer’s instructions, and test the timing on a scrap piece of walnut first since darker, more tannin-rich boards can need longer than lighter ones.
Conclusion
Bleaching walnut wood comes down to using the right chemistry for the job: a genuine two-part A/B wood bleach to actually break down the wood’s natural pigment, careful neutralizing and rinsing, a full dry-out period, and a light re-sand to deal with raised grain before you finish. Skip the household bleach, respect the hazmat handling instructions, and test on scrap wood first, and you’ll get an even, predictable result.
Sponsored / affiliate links. As an Amazon Associate I earn from qualifying purchases. I may earn additional commission from eligible campaigns.